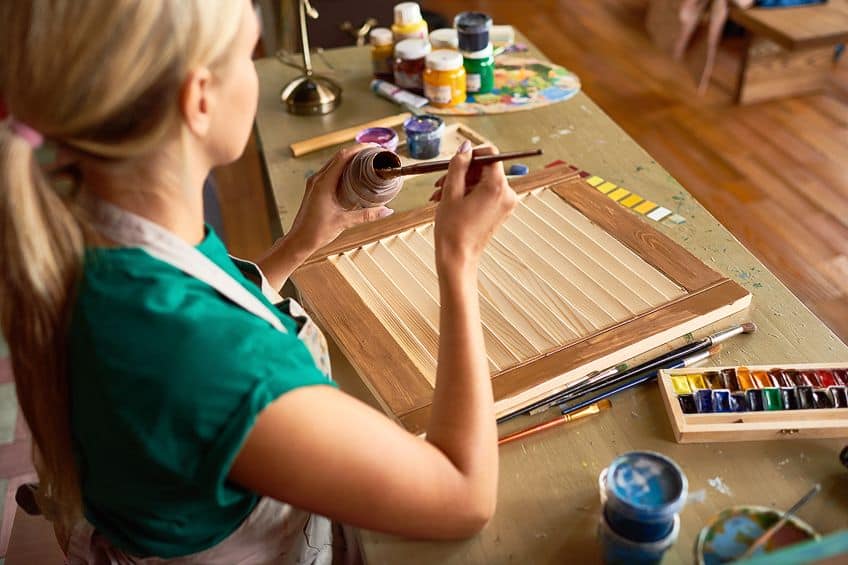
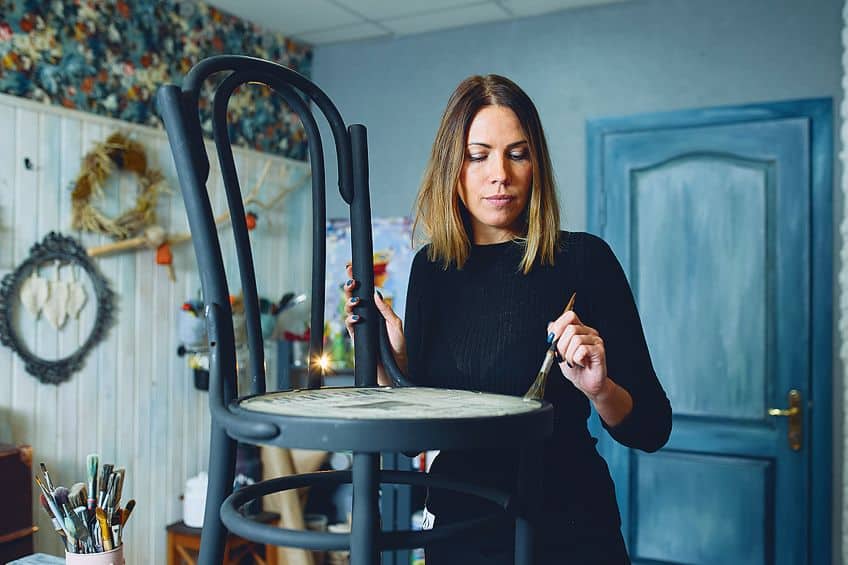
How to Paint Wood Furniture – An In-Depth Tutorial
Do you have an old piece of furniture that needs some wood paint and a little tender, loving care? The process of painting wood is not a five-minute job and can be hard work. Knowing what to do and avoiding any mistakes can make things easier. However, once you have completed your first project and see the results, you will be itching to start another. Painting wood furniture is a great do-it-yourself option, and we are here to take you through the process so that you can have the best outcome.
What Kind of Paint to Use on Wood Furniture
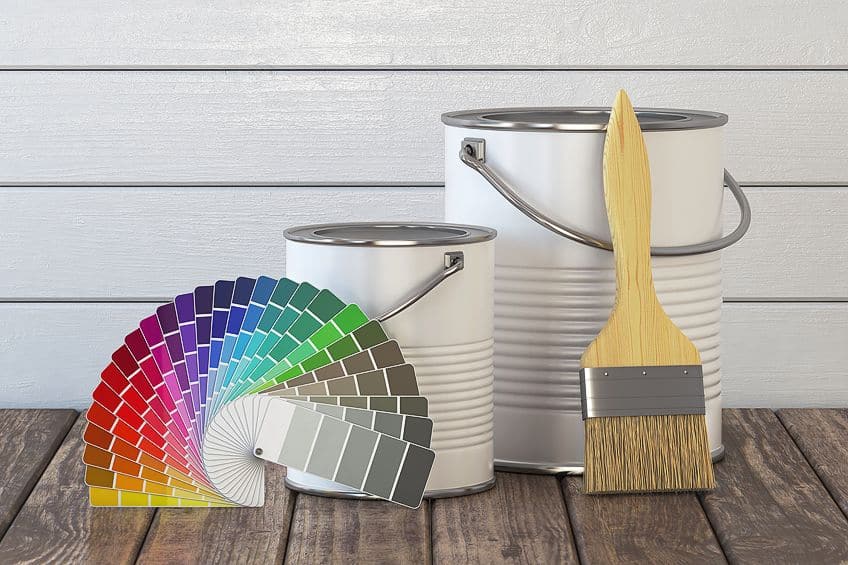
What kind of paint to use on furniture is the most important decision you are going to have to make in this project. There are many options available and choosing the right one can either make or ruin the outcome. Each kind of paint has its own properties, advantages, as well as disadvantages. So, one paint might be good for a certain project, while another is not. Let us have a look at the various options.
- Acrylic Paint
- Oil Paint
- Latex Paint
- Chalk Paint
- Milk Paint
Acrylic Paint for Wood
Can you use acrylic paint as wood paint? Definitely, as acrylic wood paint provides an even finish. This type of paint for wood is water-soluble and you can apply it to different surfaces besides wood. When it comes to applying acrylic paint to wood furniture, you will need to do a bit of preparation.
Consider using it more for things like wooden frames and smaller tables. This paint is easy to apply and adheres perfectly to porous surfaces. The paint is durable, becomes water-resistant when dry, and does not require a sealant if the item is not going to be used often. However, applying polycrylic or water-based polyurethane is best on outdoor wood surfaces.
PROS
- Acrylic paints are mostly non-toxic, but always read the product labels
- Easy to apply
- Comes in vibrant colors
- Easily available
- Durable finish
CONS
- Comes in small containers
- Takes some time to cure completely
- Needs a primer
- Less eco-friendly when compared to latex paint
Oil Paint for Wood
This is the best durable option for furniture, but it comes with some bad disadvantages. Also known as alkyd paints, these are expensive, toxic, and take longer to dry than acrylic paints. You will need to make sure you wear protective gear and work in a well-ventilated space due to the high amount of volatile organic compounds (VOCs) released. Some American states have banned oil paints because of this. However, oil paints will not scratch easily and cure faster than acrylic paints.
When cleaning, you will need turpentine or mineral spirits. If you do not know what type of paint already covers a wood surface, it does not matter with oil-based paint, as you can paint over oil- or water-based paint. The best wood surface for oil paints would include those that are used often and need a durable finish. Since there are effective alternatives today, oil paint for wood might not be the best option.
PROS
- Can be applied to many surfaces including wood
- Extremely durable finish
- Smooth and excellent coverage
- Can be applied over painted surfaces
CONS
- Toxic with high VOC levels
- Not widely available
- Long drying times
- Hard to clean up
Latex Paint for Wood
Latex paint is widely available and is a popular choice when it comes to wood painting. You have a wide selection of brands, colors, and finishes from which to choose. Also, latex paint is water-based and has little to no VOCs. This makes this type of paint perfect for indoor use. Latex paint dries rather quickly, however, it does take about 21 to 30 days to fully cure.
If the wood furniture item you are painting is going to be exposed to a lot of wear and tear, latex paint might not be the best choice as it is prone to damages like scratches or chipping. However, you can apply a topcoat or sealant such as a water-based polycrylic protective finish, which can help with this. Otherwise, latex paints are best used on furniture items that are not going to be used often.
PROS
- Comes in a variety of colors and finishes
- Readily available
- Water-based and easy to clean
- Low to no toxicity
- Will not yellow over time
- Dries quickly
CONS
- Should not be used on surfaces that experience high usage
- Not all latex paints are washable
- Needs a primer
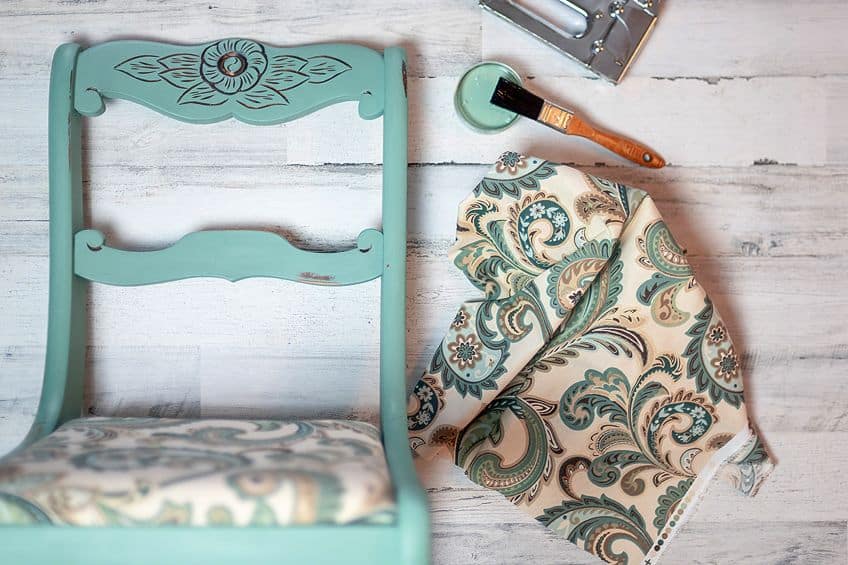
Chalk Paint for Wood
Wood painting with chalk paint is a great way to give older furniture a new look. Being water-based, this paint is not toxic and is great to use on indoor pieces. You can create a more solid and smooth look or go for the distressed wood look. The paint is quite expensive but is readily available at craft stores. There are a few things to note about this chalk paint as it dries quickly, which means painting section by section is best. The paint can be used from the container with no special preparation needed and is best used on vintage furniture and other decorative pieces.
PROS
- Dries quickly
- Provides a smooth matte finish
- Will adhere to most surfaces
- No odor
- No primer is required
CONS
- Can be expensive with fewer colors available
- Needs a top coat, usually a soft wax
- Brushstrokes may cause problems
Milk Paint for Wood
The most natural type of paint for wood is milk paint, which is the best non-toxic paint that can create an amazing vintage, distressed look on furniture. This traditional paint comes in a powder form that you have to mix with water, and it contains the milk protein casein along with limestone, clay, and color pigments. Thus, it is a wonderful eco-friendly choice for painting your furniture.
If you do not want the distressed look, as milk paint tends to flake and chip easily, you can add a bonding agent. A bonding agent is also necessary if you want to paint other non-porous surfaces. You can also apply a soft wax sealer for added protection. Milk paint is the best option when you want a distressed or weathered look to your furniture.
PROS
- Non-toxic with no VOCs
- Dries quickly
- Eco-friendly
- Easy to use
CONS
- Will flake and scratch without sealer
- Needs to be mixed properly or there will be lumps
Type of Paint for Wood
| Acrylic Paints | Oil Paints | Latex Paints | Chalk Paints | Milk Paints | |
| Uses | Best for smaller wood projects | Best used on wood items that require durability or protection. (For example, bathroom cabinets and outdoor furniture) | Best for furniture items that are not used often | Best for vintage furniture and other decorative wood pieces | Best used for the weathered or distressed look to wood furniture and items |
| Toxicity | Mostly non-toxic | Highly toxic | Low to no toxicity | Non-toxic, but some brands may contain toxic ingredients, so read the label | Non-toxic |
| Primer | Requires a primer | For best results, a primer is needed | For best results, sand and prime the wood surface | No primer needed | No primer needed |
| Coats Needed | Two to four | Two coats | Two coats | One to two coats | One to two coats |
| Cost | Can be expensive and usually sold in smaller containers | Expensive | Affordable and cheaper than acrylic paint | Can be expensive | Less expensive than chalk paint |
| Type of Finish | Most have a semi-gloss finish | Matte, eggshell, satin, semi-gloss, and high gloss | Matte, satin, semi-gloss, and high gloss | Smooth matte finish that can easily be distressed | Velvety matte finish that easily flakes over time |
| Is a Sealant Necessary? | Not necessary but recommended for frequent use and outdoor wood surfaces | Not necessary but recommended. Lacquer type sealers or polyurethane sealants are best | Not necessary but recommended for frequently used wood items | Soft wax sealer | Soft wax sealer |
| Drying Times | Generally, dry to the touch in about 30 minutes to one hour and fully cures in 21 to 30 days | 6 to 24 hours to dry and several days to fully cure | Dries to the touch in an hour, you can recoat in 4 hours and fully cures in 21 to 30 days | Dries in 30 to 60 minutes and fully cures in 21 to 30 days | Dries in 30 minutes and fully cures in 30 days |
Choosing What Kind of Paint to Use on Wood
What kind of paint to use on furniture will depend on the wood and what you want to accomplish with the look. It is important to consider a few things before you go out to buy your paint, as this is an important factor when it comes to a successful job.

The Type of Furniture
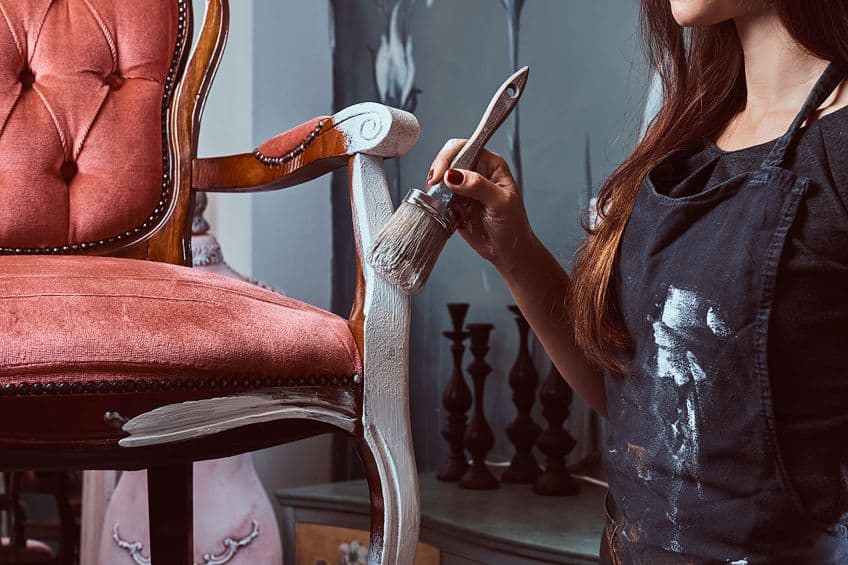
The best type of paint for wood furniture will depend on what you are going to do with your furniture piece. The different paints offer varying levels of durability, so this could affect your final piece. Chalk paint is a popular choice because it is eco-friendly, and you generally do not have to do much preparation and you do not require a primer. However, this is the best type of paint for wood furniture that will not be used often, or on wooden items like frames or other decorative pieces.
The paint is prone to chipping and dirt, so it would not be the best option for a coffee table or a wooden door you use often. You can add more durability by applying a wax or polyurethane sealer. If you are not going for a distressed look, the right paint should not chip or flake, should wipe clean easily, should not feel tacky after it has dried, and should have a smooth finish. When looking at outdoor wood furniture, you will need even more durability and the right paint for this purpose. So, the best way to know what kind of paint to use on wood would be to understand and know your options.
What Colors and Finishes Are Available?
Many types of wood paint come in limited colors, while others have a wide range, and some can even be customized. The finish will ultimately affect the final look of your furniture. Matte finishes offer more of a farmhouse or vintage look, while the semi-gloss to gloss finishes can fit many design layouts and are easier to wipe clean. The different types of wood paint can come in different finishes, so decide which one would suit your project.
How Much Preparation Is Needed?
Preparation is important; you cannot simply slap on some paint and expect the best results. However, there are options like chalk paint that require little to no prep work, and no primer is needed. Although, if you want your furniture piece to last longer, a little bit of sanding, primer, and a sealer can go a long way to protect your wooden surface.
If you ever wonder whether you need to do preparation, always opt for doing the best job and prepare properly the surface properly before painting.
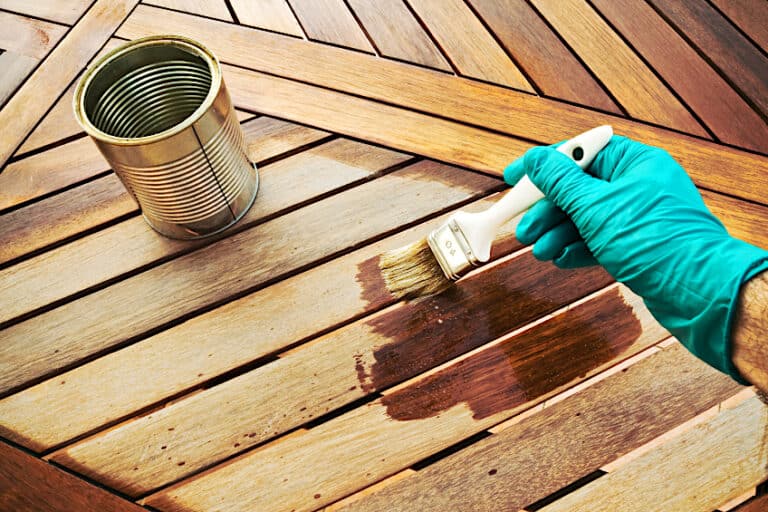
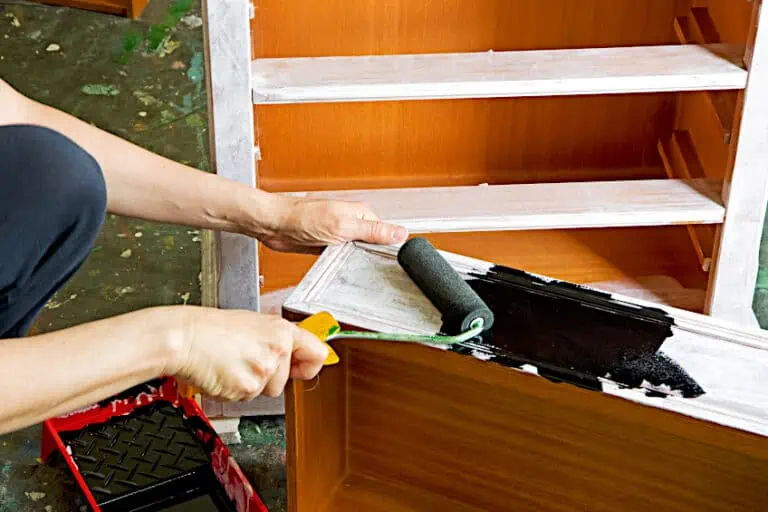
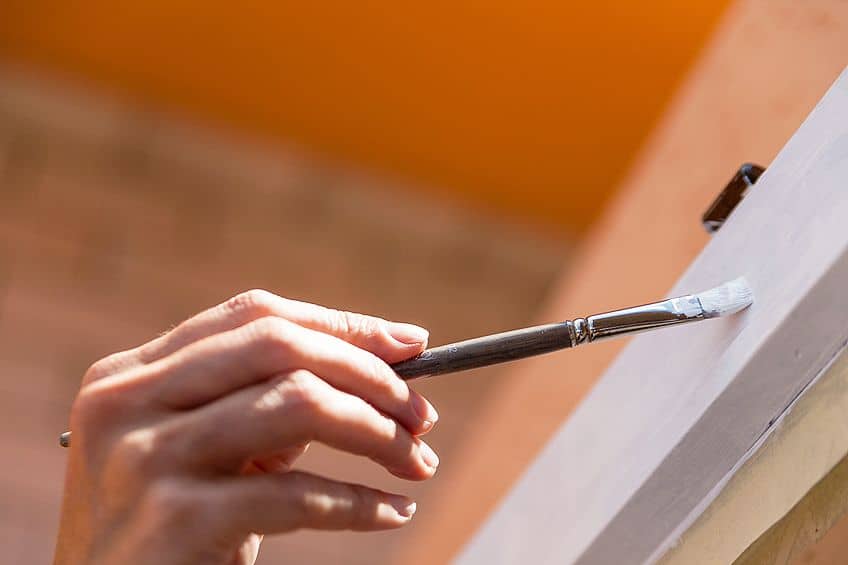
How to Paint on Wood
To create the best finish for a furniture refurbishing project, preparation is the foundation to success. Whatever wood surface you wish to paint, the process is mostly the same throughout. For example, take an old side table that is not used often and follow the steps for how to paint on wood using water-based primer and paint options. These have lower VOC levels, are cheaper than most other options, and can be used on surfaces that are not used often. When it comes to a distressed look, the milk or chalk paint options are best. Outdoor wood surfaces require something with more durability, so acrylic or oil-based paints might be needed.
Step 1
Find a good place to work. Your wood item could be small or larger, and you will need the space to work properly. Also, depending on the paint you choose, working in a well-ventilated space is a good idea. You can also lay down some newspaper or plastic for easier clean-up.
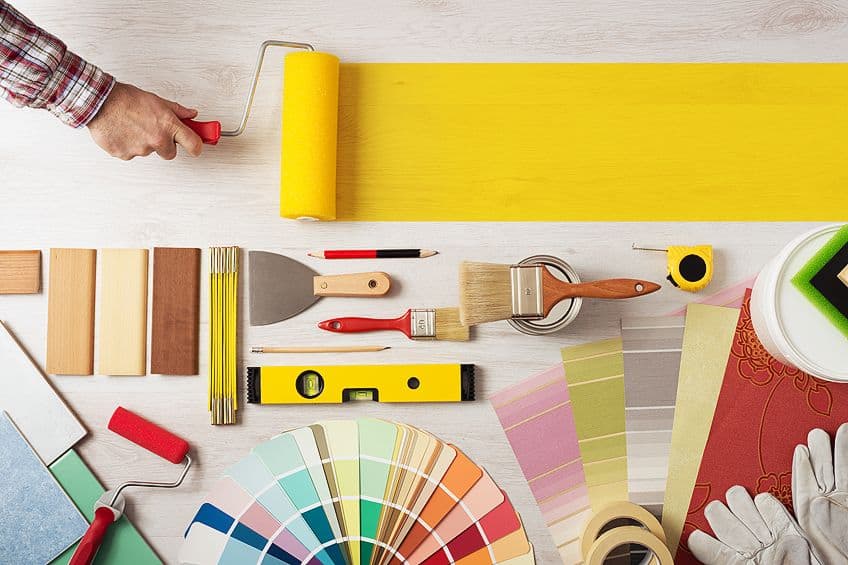
Step 2
Gather all your tools, equipment, and paint together. Deciding on the type of paint is a big step, as well as choosing a good paintbrush, roller, or sprayer to apply the paint. The basic tools and items you will need include:
- Paint
- Primer
- Paintbrush, roller, or paint sprayer
- Some medium- and fine-grit sandpaper
- Tack cloth
- Topcoat (wax or other finish)
- Painter’s tape
- Wood filler
Step 3
If there are any handles or drawers, these should be removed. Drawers can be painted separately. You can then clean the wood surface with a good oil-based soap for wood, which you can get at the hardware store. This is to get rid of any dust and unwanted dirt. Once done, leave it to dry properly before moving to the next step. You can also make your own cleaning mixture to sponge over and clean your wood surface. Simply combine the following:
- A quarter cup of vinegar
- Half a teaspoon of mild liquid soap
- A quarter cup warm water
- A drop or two of olive oil
Step 4
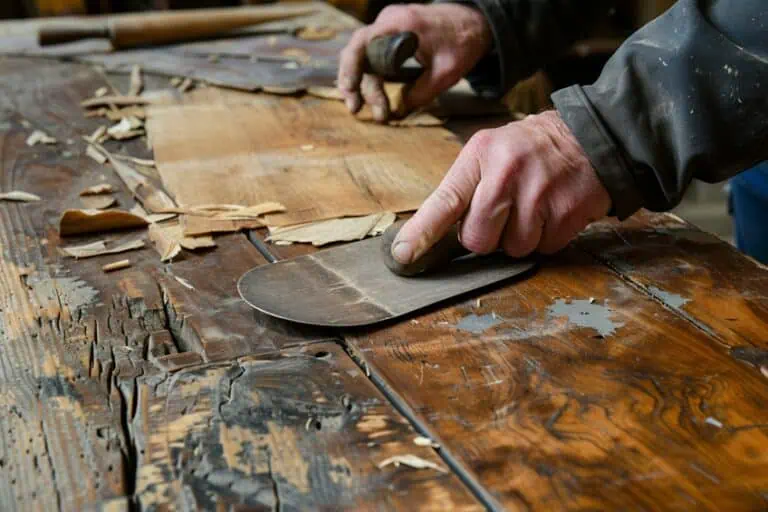
Next, sand the wood surface using medium-grit (80-grit) sandpaper, especially if there is a coat of paint on the surface. The point of sanding is not to reach the original wood, but to make the surface rough so the primer can adhere better. To smooth things over, sand the surfacee with some fine-grit sandpaper (220-grit). If there is no thick paint coat on the wood surface, you can start with fine-grit sandpaper. Clean and wipe the surface down and let it dry. A power sander can also be used for faster results.
Step 5
The wood might have some holes or other damage that needs repairing. Wood filler will do the job. Let the wood filler dry, then use fine-grit sandpaper to smooth it down. Again, wipe away the dust. You can then use some painter’s tape for any spots you do not want to get paint on.
Step 6
Many paints do not require a primer or come as paint and primer in a single product. However, if you want your paint job to last with no chipping or flaking, applying a primer is a good idea. If the wood surface was painted using oil-based paint, an oil-based primer is required before applying a water-based paint. Also, dark woods and a few raw kinds of wood need an oil-based primer to seal the wood.
Tannins in the wood could rise and yellow the surface if a water-based primer were used. There are also some excellent water-based primers you can paint or spray on. Always read the labels and product descriptions to choose the correct product. One coat is sometimes enough, however, you might need to apply a second coat. Wait for the primer to dry, sand it down with fine-grit sandpaper, and wipe clean. Apply the second coat of primer.
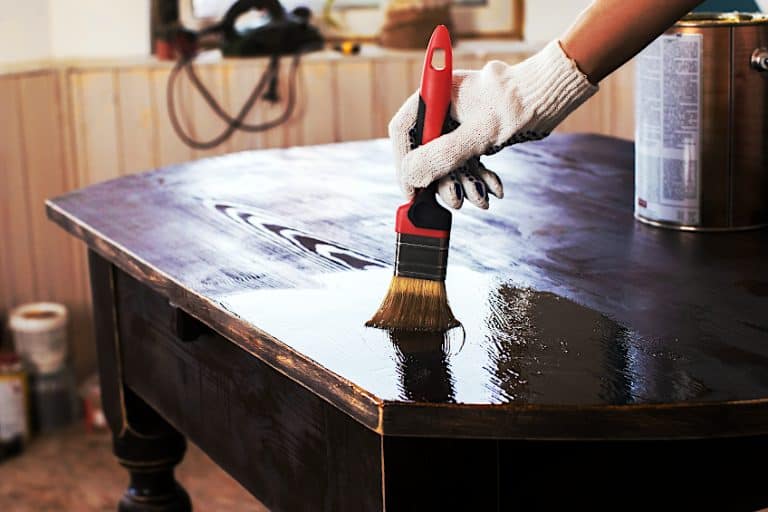
Step 7
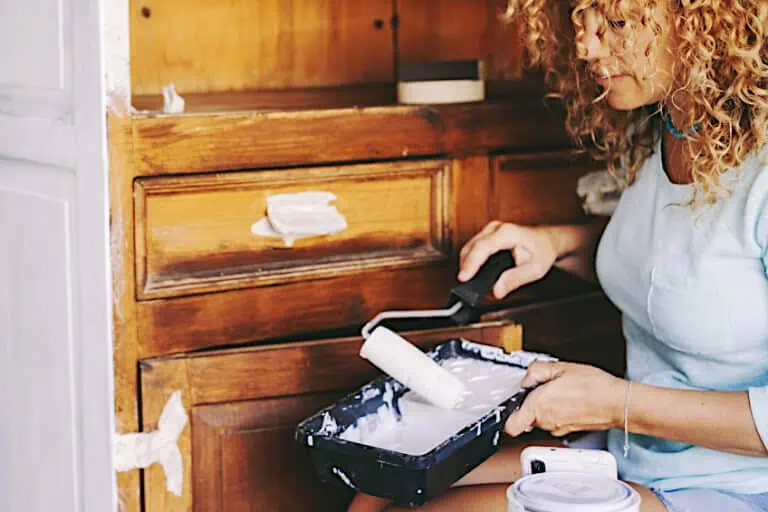
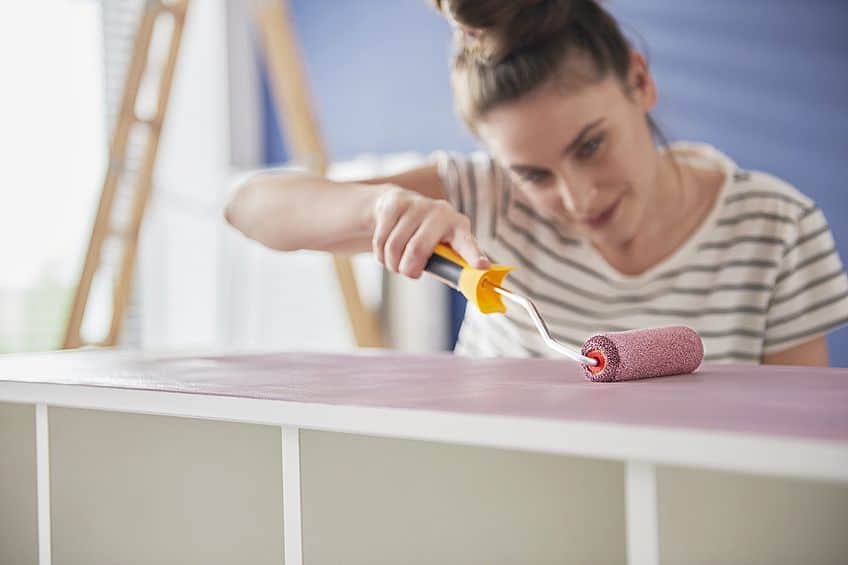
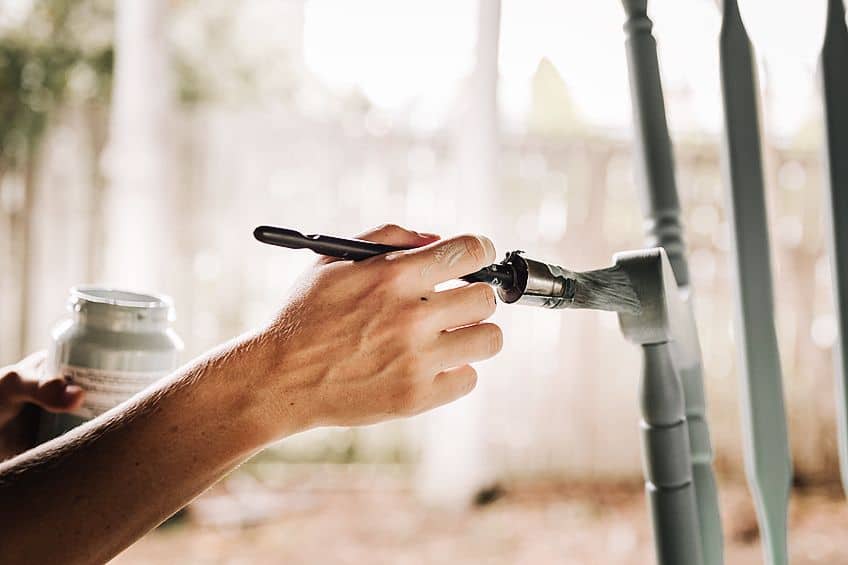
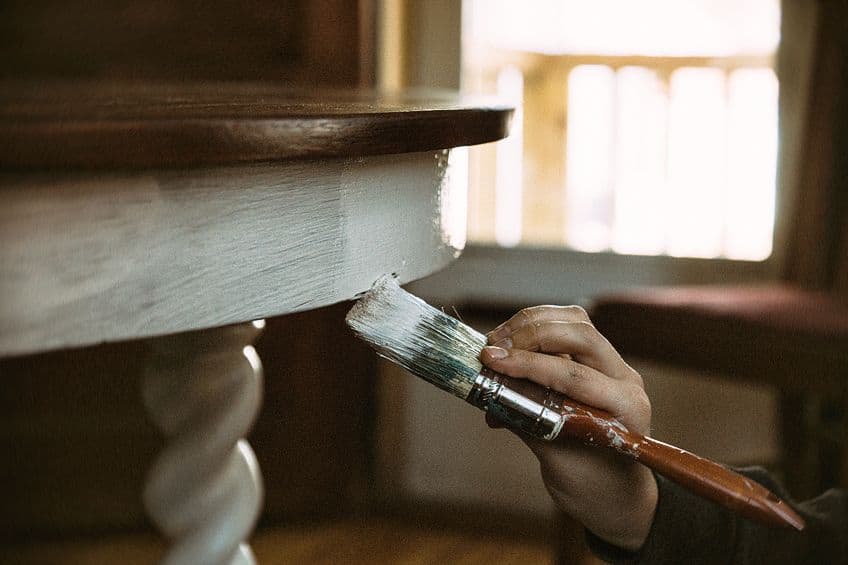
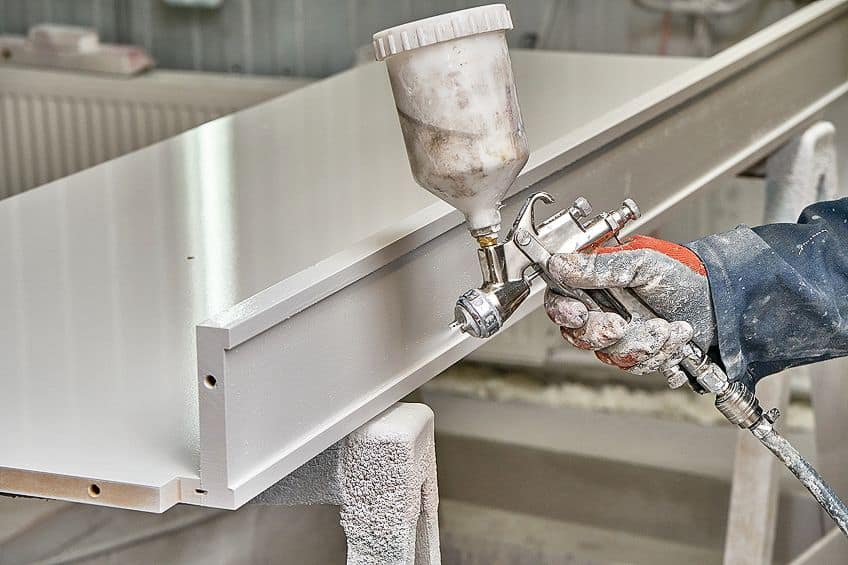
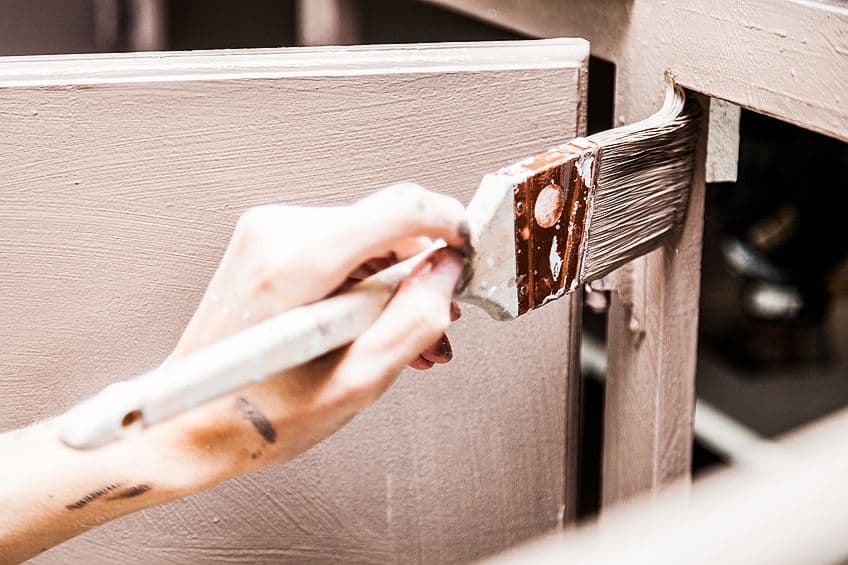
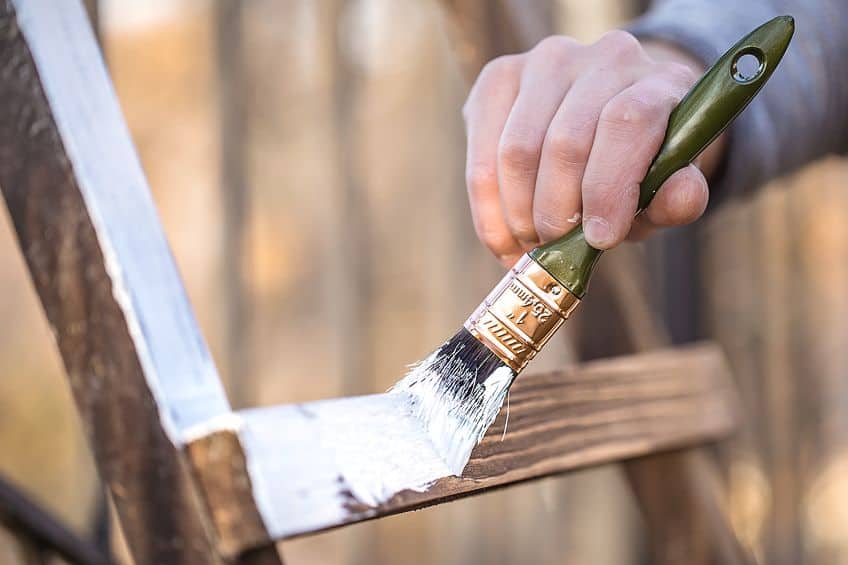
Now, paint your wood surface. Here, you will either use a natural bristle paintbrush, roller, or sprayer. A good-quality angled brush and small roller will provide a smoother finish. When applying with a roller, the shorter the fur or nap, the better. Apply the paint quickly and evenly without going over areas more than once. Wait and allow the first paint layer to dry, then gently sand and wipe away the dust. Apply a second coat.
Step 8
For better durability and protection, a clear topcoat or sealant is recommended. Some paints like chalk paints usually have a soft wax coat added, and other options include polycrylic or polyurethane sealants. For interior wood surfaces, apply a polycrylic coat with a foam brush. Apply it quickly, as it dries quite fast, then wait for two hours to let it dry. Sand the surface lightly with fine-grit sandpaper and clean, and then add another coat. Follow the same process until you have three or four coats.
Step 9
Once you are done, you can put all of the handles and other hardware back. If you have drawers that have been painted, these can also go back. You do not have to, but it might be a good idea to leave the item to cure for at least one to two weeks before using it. Paints usually dry in a few hours, but only fully cure much later. This just ensures the longevity of the wood surface and can prevent future problems.
Tips on How to Paint Wood Furniture
In most cases as mentioned, the way to a successful paint job is in the preparation. This can be tiresome and hard work, but ultimately rewarding. If you are a beginner and you are painting your first or second piece of furniture, you will always be learning new things and trying to avoid others. Here are a few tips on how to paint wood furniture.
Planning Is Important
Deciding on what look you are going for can help you make other decisions easier. Do you want a smooth, solid gloss look or a distressed and weathered look? Is your piece going to sit in a corner as a display item or are you going to be using it often? Is the wood piece going to be inside or outdoors? Answering all these questions before you start should lead you in the direction of the right products, tools to use, and what kind of paint to use on wood.
Sanding and Dust
The first important step is to always clean the wood surface and remove any dirt and dust. As mentioned, preparation is important, however, there are occasions when sanding and priming may not be necessary. For example, if you have a piece of furniture that is in excellent condition and you are looking for a more distressed look, then sanding is not that important. Sanding is essential if the piece has already been painted and has a finish.
Although, some might say that in all cases, a bit of light sanding and priming can only improve the longevity of the furniture piece.
In most cases, you will be sanding, and this can be a messy job. If you are doing all the work inside, it might be a good idea to cover everything and to wear a mask. Always clean the dust away using a tack cloth, as rags or paper towels will not work effectively. If you can, it is best to work outside, but if you do work inside, remember to open a window, and understand that you will not be using that space for some time.
Quality Painting Tools
Do not go for cheap paintbrushes, otherwise, you might sit with bristles in your paint job and that is no fun removing. Brush marks could also be a problem, and getting that smooth finish will be difficult. Rollers are great for painting bigger flat surfaces for a smoother finish. Many also prefer to spray paint, as this is a much quicker option and provides even coverage. You can also go for more unique paint looks by using rags or sponges to apply the paint.
Taking Furniture Apart
Removing hardware and taking furniture apart can help to improve coverage, and you will be able to reach all the nooks and crannies.
More Wood Painting Tips
- Think about using some knee pads when painting on the floor.
- A wood piece dries to the touch in a few hours, but only fully cures in about 30 days, so try not to open and close drawers or place heavy objects on top.
- Have a system for painting that makes sure you cover the entire surface without missing anything. For example, start at the bottom and work your way up.
- Before painting, test out your paint color first and wait for it to dry in order to make sure it is the color you are looking for.
- Practice good brush techniques.
- Always allow the paint to dry between coats.
Frequently Asked Questions
What Kind of Paint to Use on Wood Furniture?
This will depend on many factors, such as whether the furniture piece going to be used a lot, or if you want a gloss or distressed look. The most popular paint is a semi to a high gloss paint finish, as this offers a non-porous and smooth coverage that cleans easily.
Must You Sand All Wood Furniture Before Painting?
Not all wood surfaces need sanding – simply cleaning the surface is enough preparation. However, if the wood has been stained or painted before, sanding is needed. Also, if you want a smooth and long-lasting wood piece, sanding is an important step.
Is Chalk Paint a Good Choice for Wood Furniture?
You can use chalk paint on furniture to achieve a matte look that can also easily be distressed. The paint adds a vintage look to most wood pieces but will need a sealant coat if you are going to use the furniture often. You can use either soft wax, polycrylic, or polyurethane as a topcoat. Chalk paint is best used on smaller wooden items and decorative pieces.
What Furniture Paint Is the Most Durable?
Acrylic paints are more durable than chalk paints, but oil-based paints offer the most durability. However, this type of paint for wood does come with a few disadvantages, including high VOC levels.
What Is Best for Painting Furniture: A Brush or Roller?
Both options are good if you buy quality products, and it is best to have both around for your painting project. A brush can get into the more detailed areas, while a roller covers flat surfaces nicely.

I have been into woodworking since 2005 and woodturning since 2011. Because of my love for wood and woodworking, I started woodhappen.com to teach other enthusiasts about how to finish and seal wood, the best woodworking tools, the different types of wood, and everything else related to woodworking! Read more about me here.