How to Paint Plywood – The Beginner’s Guide to Painting Plywood
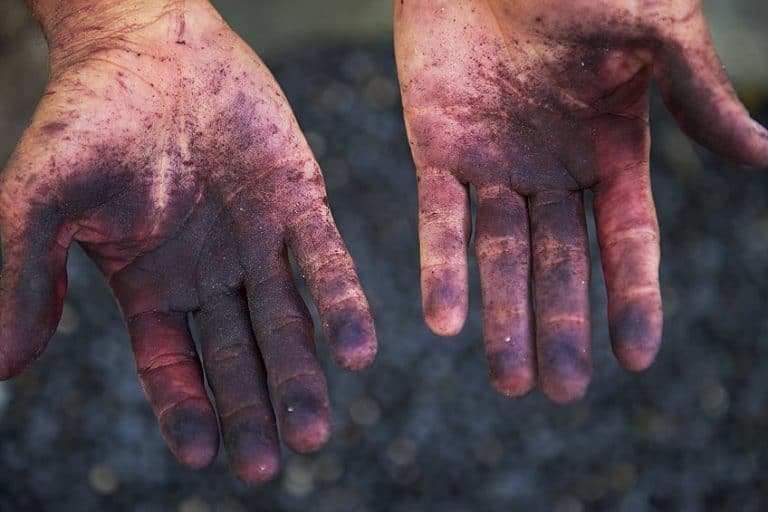
Personalization is one of the most common forms of human expression. Our need to stand apart and forge a personal identity is deeply seeded in our most basic instincts, but painting plywood can have more benefits than simple aesthetic appeal. Let’s have a look at how to paint plywood, why painting plywood is beneficial, and how different finishes offer different benefits.
How Much of a Challenge Is Painting Plywood?
Painting plywood does not differ from painting most other woods – the most apparent differences are largely in the preparation phase and should not throw you off if this is your first time. This being said, you should prepare your tools, your workpiece, and your work area beforehand when you are going to be painting a plywood board.
If you feel intimidated because this is not conventionally solid wood, you should remember that in the context of wood painting, plywood follows the same rules as conventional solid wood. This means that you should use the same diligence, preparation, and safety practices, including sanding down your workpiece, working in a well-ventilated area, preparing your paint sprayer or brush, and of course, wearing the appropriate safety attire.
All of this having been said, asking how to paint plywood is not really what most people mean when they ask this question. Rather, they are aiming to get the same flush, glossy, premium finish that is easily attainable with conventional hardwoods. You most certainly do not need to be a wizard or a professional painter with world-class skill to achieve this look though. In fact, the key to an amazing finish with plywood all lies in the preparation of the board as opposed to your control, range of motion, and dexterity.
Like most things in life, the better prepared you are to face the task at hand, the easier the execution of the task will be. Therefore, ensuring that you have the right tools for the job and have each stage of the painting process planned out beforehand will play a critical roll in what your finish ends up looking like.
What Kind of Paint Works on Plywood?
Everyone has a particular style of clothing or color that complements their build, complexion, personality, and culture. The clothing your parents wore typically won’t reflect the style of your time (although, in their defense, denim and flannel have come back in a big way), because culture and style have evolved, and likely won’t reflect your personality.
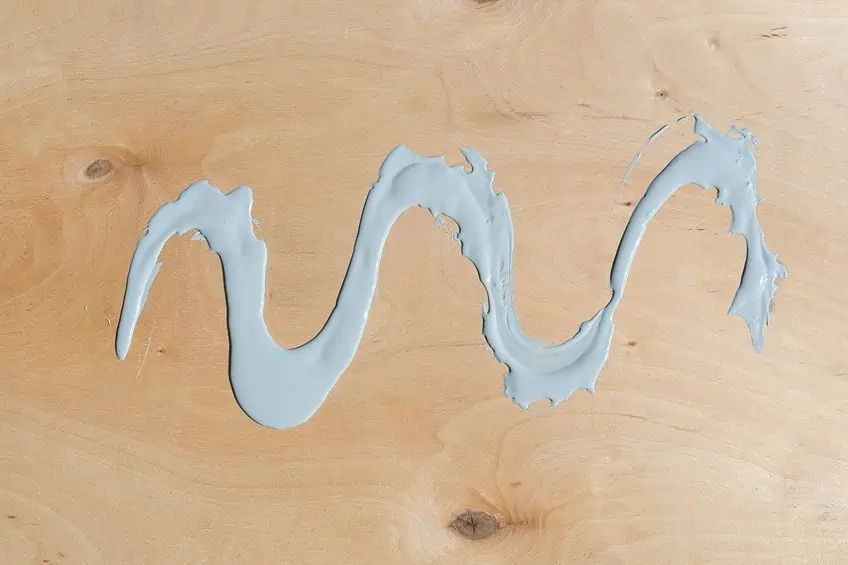
The same philosophy applies to woods – certain woods take better to certain paints, and since plywood has become so popular in recent years, water- and lead-based paints simply don’t agree too well with this wood. Painted plywood has a certain feel and consistency when finished, so let’s have a look at which types of paints are suitable for plywood in certain applications.
| Types of Paint | Application of Plywood |
| Latex-Based Paint | Doors, cabinets, storage chests, shelving |
| Acrylic-Based Paint | Beams, doors, interior walls, shelving |
| Enamel-Based Paint | Beams, doors, interior walls, shelving, tables, floors |
| Oil-Based Paint | Tables, doors, interior walls, shelving units, art, beams, storage chests, cabinets |
If you know a bit about paint, you will notice that the paints that stain surfaces and/or fill recesses in wood typically work much better on plywood compared to other paints out there, and therefore are objectively the best paint for plywood.
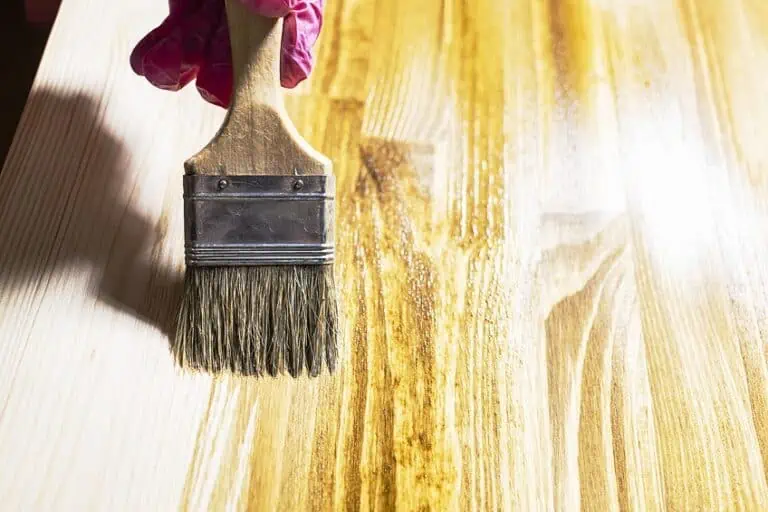
Due to the nature of the wood fibers inside plywood, they absorb moisture-rich medium-consistency paints far better than water-based ones, although you should always consider the application of the wood you are painting by taking into account the wear and tear the object will be experiencing (tables and chairs take lots of intermittent friction due to people interacting with them), as well as the environment in which it will spend the majority of its time (outdoor furnishings and decks need to be weatherproofed and maintained regularly).
You will find that painted plywood is a very long-lasting material when maintained correctly, and will last for years regardless of the application. Should something unfortunate happen to your plywood furnishings, they are easy to repair and/or replace if need be.
This being said, looking after your plywood will ensure that your furnishings will last for decades, all while costing just a fraction of the price that conventional hardwood furniture does. This means that you get the most value for every dollar you invest in these furnishings.
Do You Need to Use Primer on Plywood?
Whether you are painting to finish plywood, or you simply have a DIY project to spruce up, painting plywood and in particular painting plywood edges is virtually impossible without the use of a primer. As we covered previously, plywood is made up of layers of veneer, which are essentially paper-thin pieces of wood that are glued together using really strong adhesives.
These veneers are really good at soaking up moisture, meaning that it is always recommended that you treat your plywood with a resin coating or simply purchase marine-grade plywood in order to avoid your plywood splitting from taking on too much moisture. However, you can use veneer’s thirst for moisture to your advantage in order to allow you to add a nice coat of paint to your plywood board, and this is done simply by using primer.
The problem with painting plywood straight off the bat without using any primer is that it will absorb the paint, which seeps deep into the wood fibers of the veneer. If this happens, the color you have chosen will become muted and therefore won’t have the desired visual impact. Using a primer ensures that the wood does not absorb the paint into the wood fibers, allowing the true color to be displayed in full effect on the face of the plywood as intended.
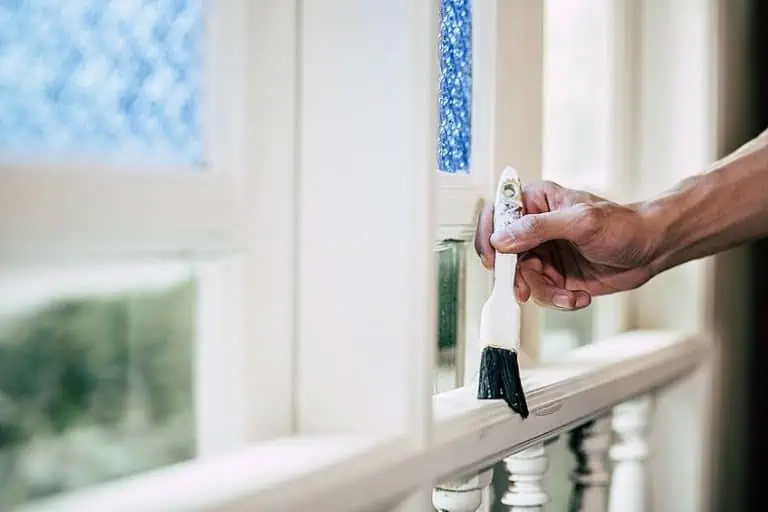
This does not only apply to the face of the wood – you should ensure that you use primer when painting plywood edges as well. This is not only to ensure that the paint catalyzes with the veneer correctly, but to provide the plywood with some water-resistant properties as well!
A Tutorial on How to Paint Plywood
In the same way that everyone feels that they are the best driver on the road, you will find that there are many people who believe that they know what the best paint for plywood, and more importantly, what the best way to paint plywood is. We should always give credit where credit is due, as there are some incredible techniques that many novices and professionals have developed (which you can find on YouTube) in painting plywood. However, for the sake of simplicity, let us have a look at some of the basics.
Fill in the Gaps
As we mentioned previously, plywood is not some mystical material that you need a doctorate to paint or treat. As when working with any other wood, you should start the painting process by filling in any gaps, recesses, or cuts formed by knotting or imperfections in the surface of the wood.
Wood filler is what you will use for this. Use a scraper and a gloved hand to fill in these holes and smooth them over so that they are flush with the face of the plywood. Then, allow the wood filler to set, which usually takes around 30 to 45 minutes depending on the environment and brand. Once the filler has been set, feel free to sand it down if it has expanded to a point where it is no longer flush with the face of the wood surface.
Make It Edgeless
The fact that you are reading this leads us to believe that your project is a labor of love. This being said, when a loved one gets hurt, we tend to get upset and perhaps even shed a tear. Therefore, if you care for your plywood workpiece at least as much as a good acquaintance, you should consider rounding its edges.
Yes, this is by far nobody’s favorite chore, but doing so will give you some extra protection against accidental damage when moving and/or placing said furniture.
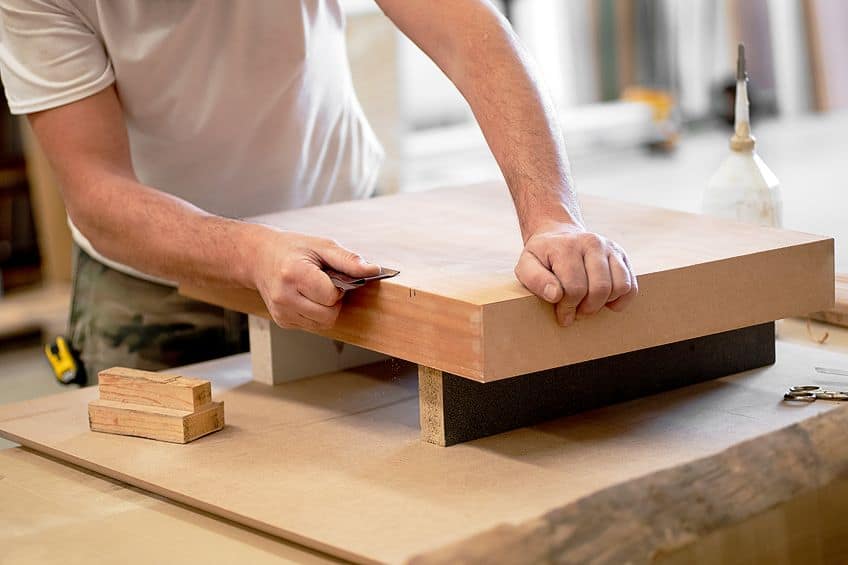
Sharp edges have a tendency to get chipped, dulled, and rounded over time, so by rounding the edges during the finishing process, you avoid any minor future damage. This will also allow you to control just how round you would like your edges to be. When rounding edges, you have three choices: you could use a screwdriver, fine-grit sandpaper, or (if you trust your ability) you could power sand.
Smoothen Things Out
We will assume that if you want to paint your plywood, you most likely don’t have an existing finish. In this case, before you start painting the board, you will need to apply some joint compound to each face of the wood, including the edges. In order to do this effectively, you will need to use a putty knife, the same type that you would use to apply joint compound to the edges of the newly installed drywall before painting.
The same principle applies in this instance: simply pop some joint compound on the face and edges of the plywood board and use the putty knife to ensure that the joint compound is spread evenly.
Ensure that all of the holes you filled with the wood filler earlier are covered as well, ideally, you would like a uniform amount of joint compound on every given face of the board to ensure that the surface is flush and ready for the next step in the process. Once you are happy with the way you have applied the joint compound, allow it a couple of hours to dry, the recommended time of which is 24 hours. While you could get away with less time, it is always better to be safe than sorry!
Wax On, Sand Off
You probably laid the joint compound on pretty thick, right? Not to worry, that’s what you were going for – coating plywood with something that is basically construction putty is the easiest way to achieve uniformity by maximizing volume.
Now you have a choice to make: You can either develop carpel tunnel by sanding down your entire workpiece by hand, or you can use a power sander to take off some of the excess joint compound on your plywood board. We suggest the latter. Sanding paper is great to finish plywood off, but not for the meat of the work. The power sander will allow you to achieve a flush surface much faster than the old-school way would.
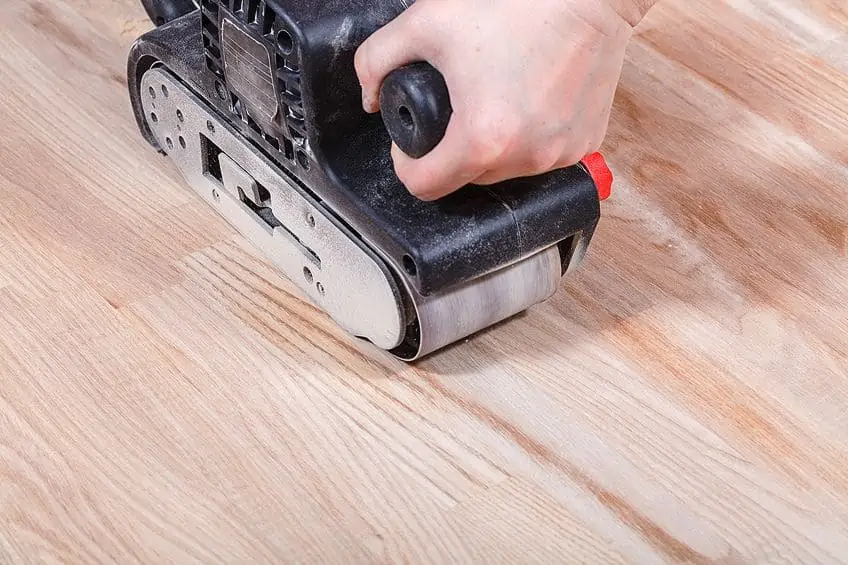
There is a trick to sanding down joint compounds on plywood. Specifically, you want to use light-handed circular motions with your power sander and work out any of the spots where the joint compound has bunched up. This will allow you to create that uniformity before you go splattering paint all over it. Remember that sanding down joint compounds is going to create a lot of dust, so you should wear an appropriate face mask and eye gear. Also, working outdoors will save you some time sweeping up joint compound dust later.
Now that you know how to sand plywood compounds properly, you can wipe off your workpiece with a dry microfibre cloth.
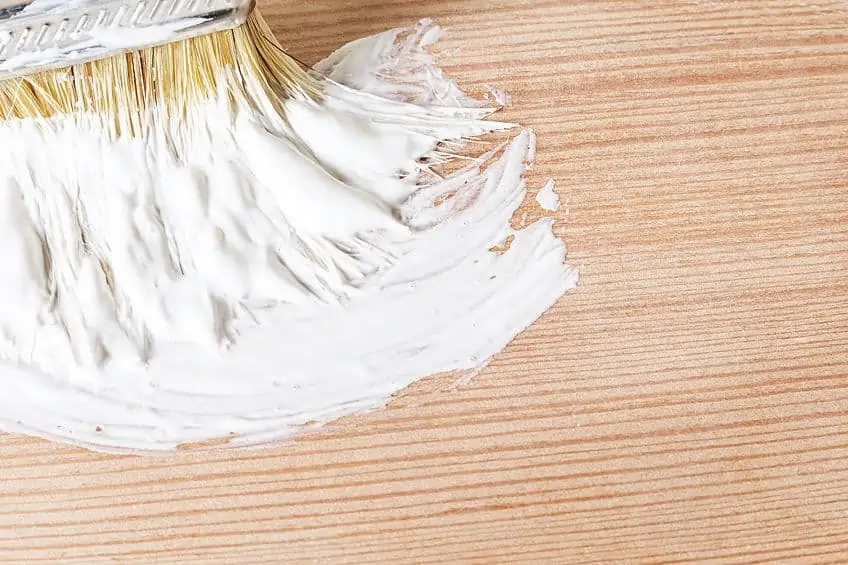
Prime Time
Is your workpiece clean? Are you sure? If not, give it another once over, and don’t lean into it too hard or you might end up damaging your freshly sanded joint compound surface. Once you have ensured that the surface is clean, it’s time to get your hands dirty (metaphorically) with some primer.
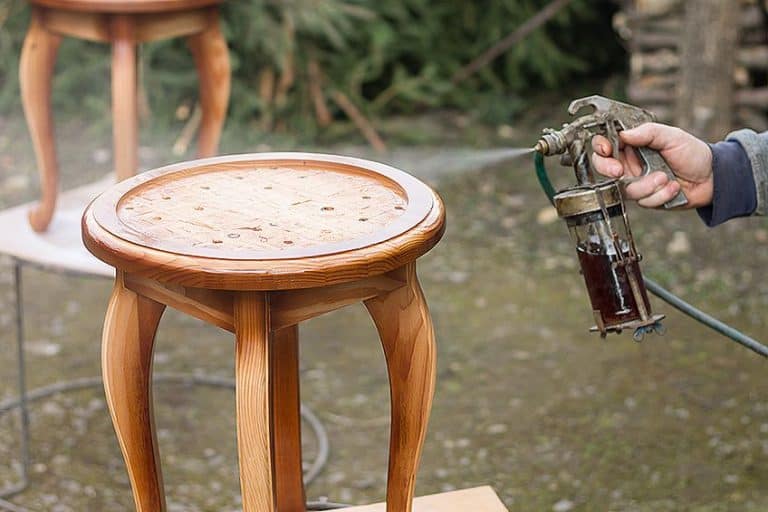
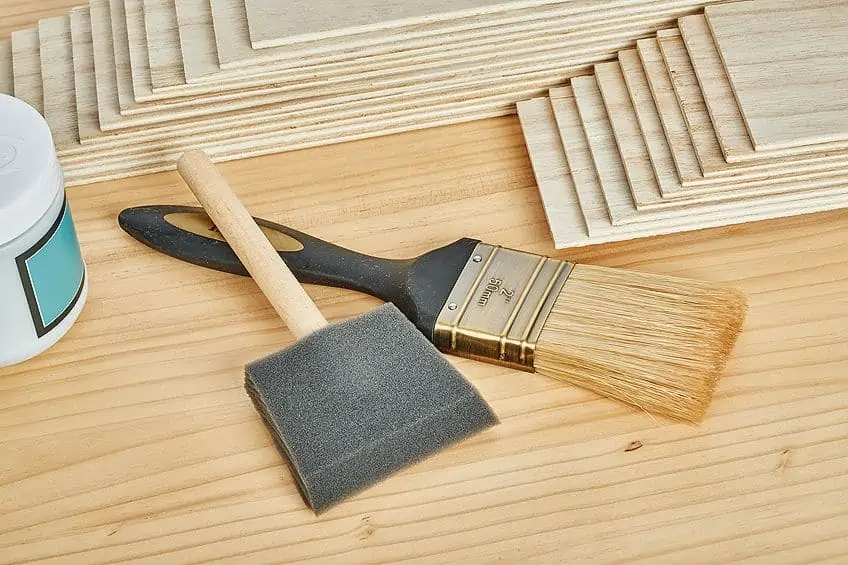
Once again, you have the option of using the old-fashioned brush-and-bucket method, or you could go the more efficient less-likely-to-botch-your-workpiece way of using a powered paint sprayer. If you are using an electric sprayer, ensure that it is graded for use with primer (most modern sprayers are).
Once you are ready, load your sprayer up with some primer and get spraying – the best results can be found by applying primer in consistent, even strokes in either direction. Overall, you are aiming to apply two really good coats of primer to your plywood board, allowing for four to six hours between coats for the layers to dry. Be sure to sand down the surface lightly between each coating to avoid the risk of your workpiece having dust and other such particles contaminating the surface before you apply your paint.
Remember that plywood primer can be toxic if inhaled. Therefore, when working with plywood primer, always ensure that you are wearing the appropriate personal protective gear and that you work in a well-ventilated area.
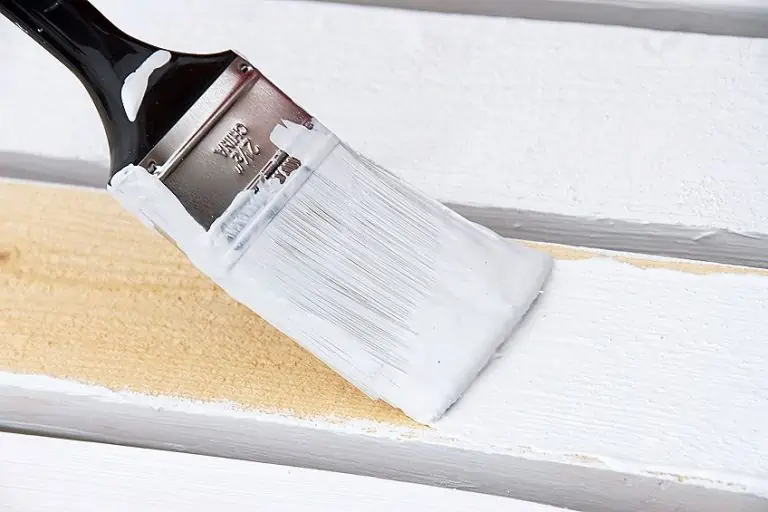
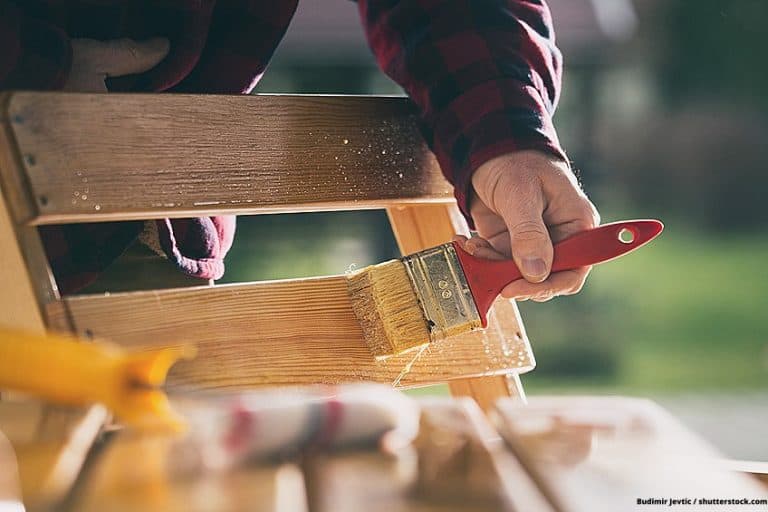
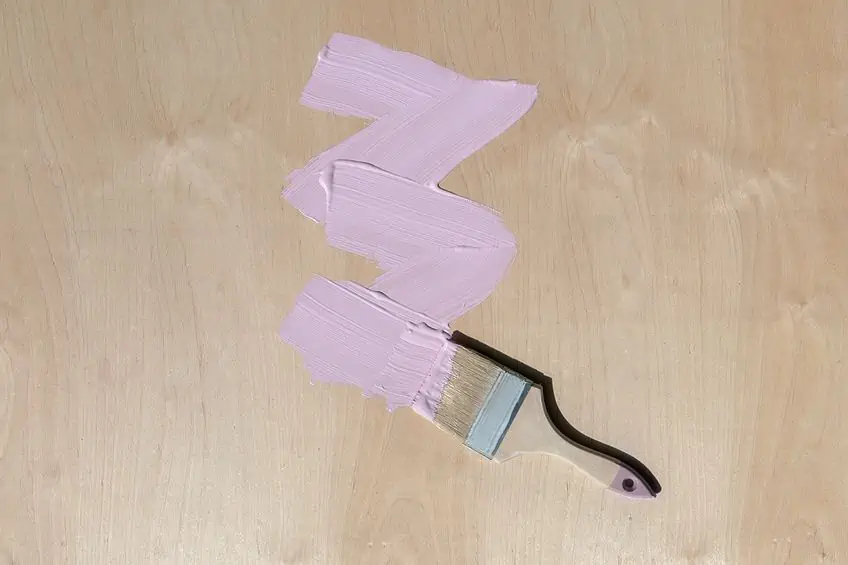
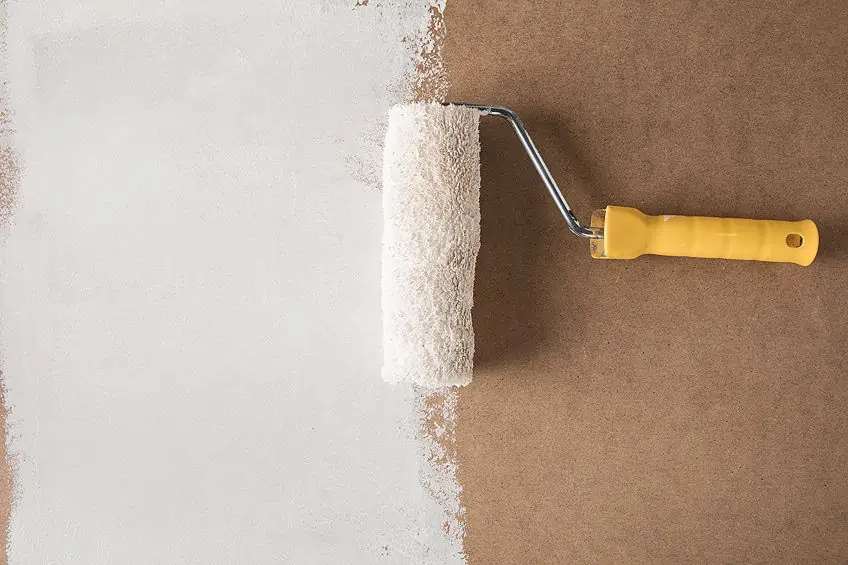
Painting Your Masterpiece
Whether you will be spray painting plywood or painting it by hand, it is important to remember that you clean your paint sprayer or brush or replace it with a new one after applying your primer, as contaminating your paint with primer can have disastrous effects on the appearance of your plywood workpiece.
Spray painting plywood is pretty much the same as painting any conventional hardwood in the sense that the more practice you have, the easier it becomes. If you are using a spray gun, which we recommend in order to avoid dealing with brushstrokes, your goal should be to execute swift, smooth, unbroken passes with your spray gun while maintaining consistent trigger pressure throughout the process.
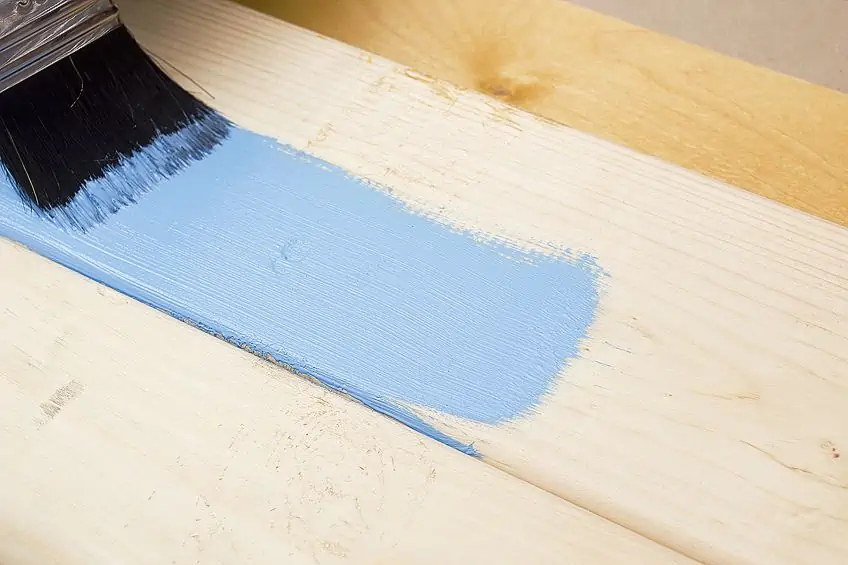
When using a brush, your goal is the same, although the skill required is different in the sense that both the length and consistency of each brushstroke will affect how the finished product looks. We have mentioned many times that painting plywood is much like painting any other conventional hardwood, with the only difference being that in order to achieve a uniform finish with plywood, your preparation must be well thought out. This way, even if the execution is troublesome, your painted workpiece will still appear relatively impressive.
Now that you know how to paint plywood, how paints interact with their wood fibers, why it is important to use primer, how to prepare plywood to be painted, and what a good primer and paint look like, it is time for you to put your skills to the test. Remember to always prepare your workspace beforehand, try to use a paint sprayer as far as you can, and as always, safety first!
Frequently Asked Questions
Does Painting Plywood Make It Waterproof?
Although there are many variations of plywood that are waterproof at the point of purchase, it is possible to use coatings like latex-based paints to protect and waterproof the veneers exposed at the edges of the plywood board. This will prevent the wood from absorbing excess moisture and even make it marginally heat-resistant.
Which Plywood Is Best for Painting?
Regardless of whether you are working with conventional hardwood like pine or engineered woods like plywood, the more rigid the board, the easier it is to paint. When choosing plywood to paint, you should consider using hardwood veneer, as this will take to both the primer and paint quite easily.
Do I Need to Seal Plywood Before Painting?
Regardless of whether your plywood will be used indoors or outdoors, you should always apply a sealant to ensure that the wood is protected, as it can absorb moisture quite easily. Sealing your plywood with two coats of primer and then two coats of either acrylic- or latex-based paints will ensure that you have a long-lasting, water-resistant seal on your plywood boards.

I have been into woodworking since 2005 and woodturning since 2011. Because of my love for wood and woodworking, I started woodhappen.com to teach other enthusiasts about how to finish and seal wood, the best woodworking tools, the different types of wood, and everything else related to woodworking! Read more about me here.