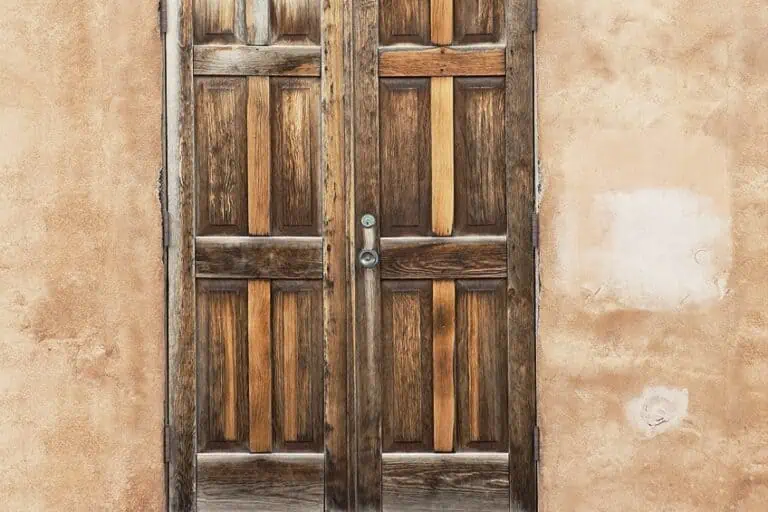
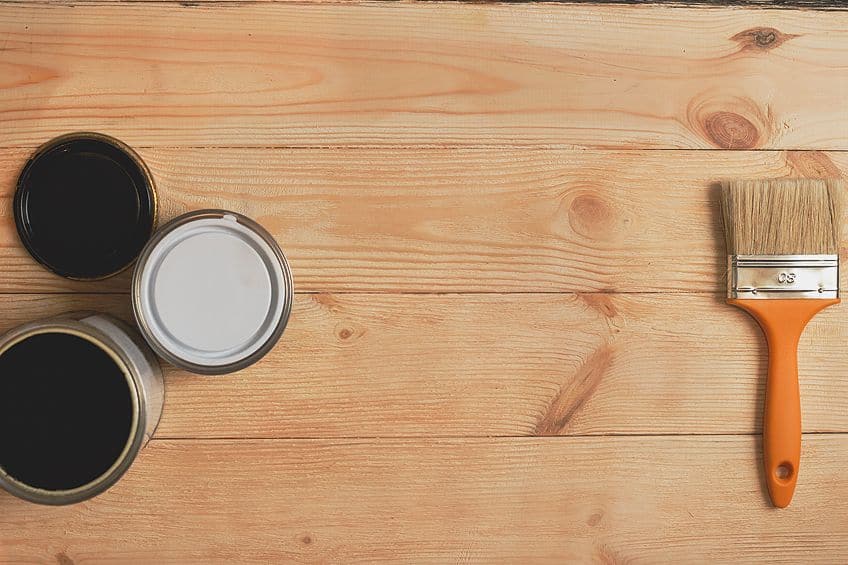
Can You Stain Over Polyurethane? – Using Gel Stain on Sealant
If you have recently tapped into some serious woodworking skills, you will have learned how applying a stain to the finished wooden item you created will raise the value and the longevity of your project. A good stain will bring out all the best parts of the wood, and it will enhance its natural appearance as well. But what if the item you want to stain has already been coated in polyurethane, can you stain over polyurethane? In this tutorial we will be discussing whether or not staining over polyurethane is possible. We will explain the effect a gel stain will have on polyurethane, and how to apply a gel stain over an old stain. If you thought that was neat, wait till we get into the various products that are a stain and polyurethane in one.
Types of Wood Stain
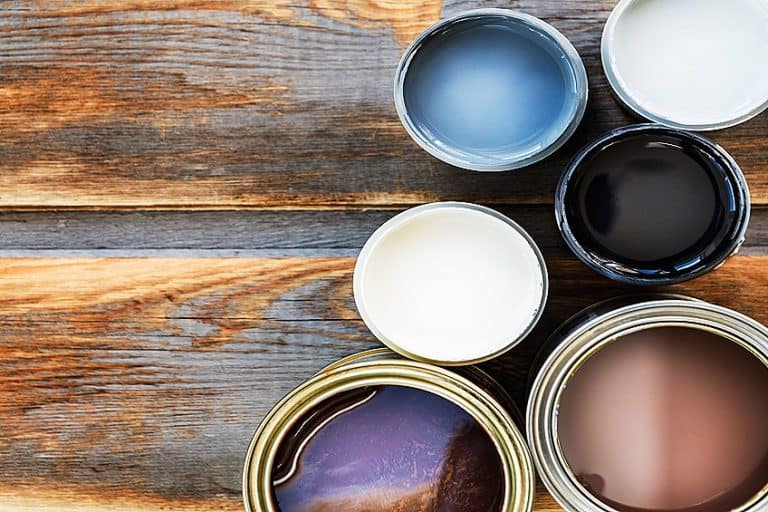
If you thought that all wood stains are designed to do the same things, you were not exactly correct there. There are various types of wood stains that are designed for various tasks and have different benefits that you can appreciate. There are stains that are more suited to being absorbed into wooden surfaces, and others that are more like a sealant. Can you stain over a coat of polyurethane? Well, yes you can, but only if you use a gel stain over stained wood with polyurethane.
Essentially, polyurethane is a sealer which then makes the wood liquid-resistant so the stain should not be an absorbent one, but also one that acts as a sealer. Gel stain over polyurethane is possible because it does not need to be absorbed by the wood in order to stain the wood.
Oil-Based Wood Stain
Among all the wood stain types, oil wood stain is one of the most commonly used and was one of the first types of stain to be discovered. This can take the form of linseed oil which is a natural derivative. Regardless, some manufacturers put chemical solvents and thinners into their oil-based wood stains, so protective gear is still needed when you are working with them. This type of stain is a great option to use if your wooden item needs some hydrating.
Water-Based Wood Stain
If you are concerned about the state of the planet, you might prefer this type of wood stain because of the lack of chemicals in the formula. Not only that, but they are praised for having a much longer lifespan, and will strengthen the wooden surface. Water-based wood stains will also dry much faster than an oil-based stain, and you could even double up the protection by adding a layer of oil-based wood stain over the water one, even though the water-based stain can not be done over an oil-based stain. Just make sure the water-based stain underneath is properly dry.
Lacquer, Varnish, and Shellac
If you are looking for a stain and polyurethane in one, you might want to look out for shellac, varnish, or a lacquer product to layer over your wooden project because they occasionally carry some pigment that will act as a stain. They are also great sealers for the wood’s surface, providing great protection from liquid spills, weather conditions, and more. They come in liquid forms that must be applied with a brush or a roller, or even in an aerosol canister, with a spray application.
Keep in mind that gel stain will not take on varnish, shellac, or lacquer.
Water-Soluble Dye Stain
This type of wood stain comes in the form of powder, and before you can apply it to the wood surface, you will need to add some water to it to make a paste. This is a versatile type of wood stain that has a wide variety of colors to choose from that will expand your project scope to higher levels. One downside to this type of stain is how sensitive it is to the sun’s UV rays, inevitably fading over time.
Gel Stain
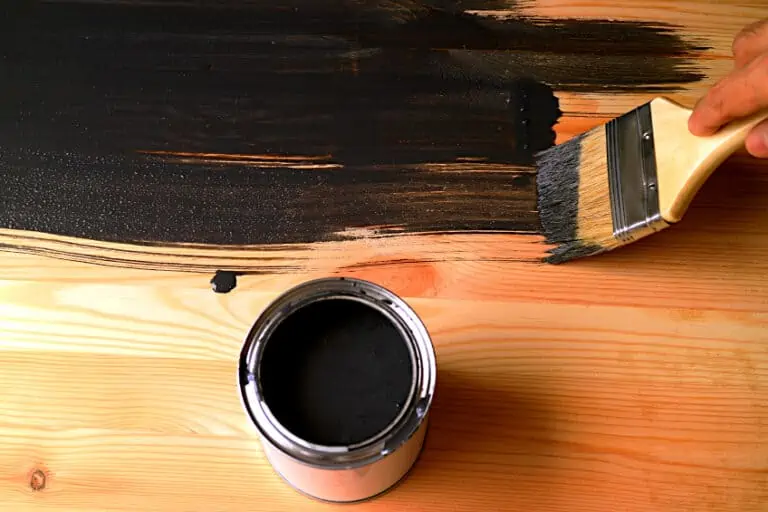
Our last wood stain variation that we will be discussing is the topic of our tutorial, the gel stain. This type of wood stain has a much thicker consistency than the other stains, which means that you can use it on surfaces at a vertical angle because it will not drip. Being typically oil-based, gel stains also have a darker tinge to them, so they can deepen the tint of any wooden surface beautifully. Furthermore, staining over polyurethane is made easy with a gel stain because the gel stain itself has polyurethane in its mixture.
Using Gel Stain Over Polyurethane
In this next section, we will teach you how to use a gel stain over an old stain that has polyurethane, or simply how to apply a gel stain over polyurethane coats. As we have mentioned before, you cannot simply add any old wood stain that you found in your garage, or bought without researching first over your polyurethane-coated wooden surface. This is because some wood stains need to be absorbed by the wood, and the polyurethane makes it non-absorbent because it acts as a sealer.
So, we have laid out some guidelines on how to apply gel stain over polyurethane, the process that you can follow for a professional-looking job. Be advised, that once the gel stain has been applied, the wood will be a darker tint, and you will need to strip the wood if you want to lighten the tint that came from the gel stain.
Taking Your Project Apart and Preparing It
For starters, it is a good idea to remove any fittings or accessories that are attached to the project you are working on before you apply gel stain over polyurethane. If your project is to stain a door, you might want to remove the door knocker, doorknob, maybe the copper number for your home’s address. When working with a cupboard, it is important to remove all the components attached as well, like the shelves, handles, or anything else that was added to the wood’s surface. This makes your task much easier without all the little obstacles that you would have had to paint around.
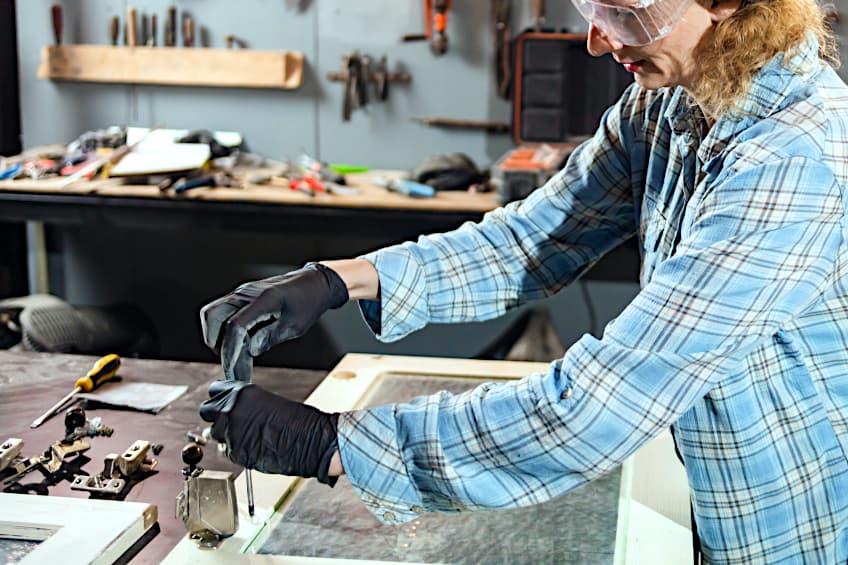
Make sure that you are working in a space with ample airflow, and that you are kitted out with protective gear. A respiratory mask and an eye mask, in particular. These stains contain chemicals that can be harmful to your health if directly exposed to your skin or inhaled.
Cleaning Up When You Are Done
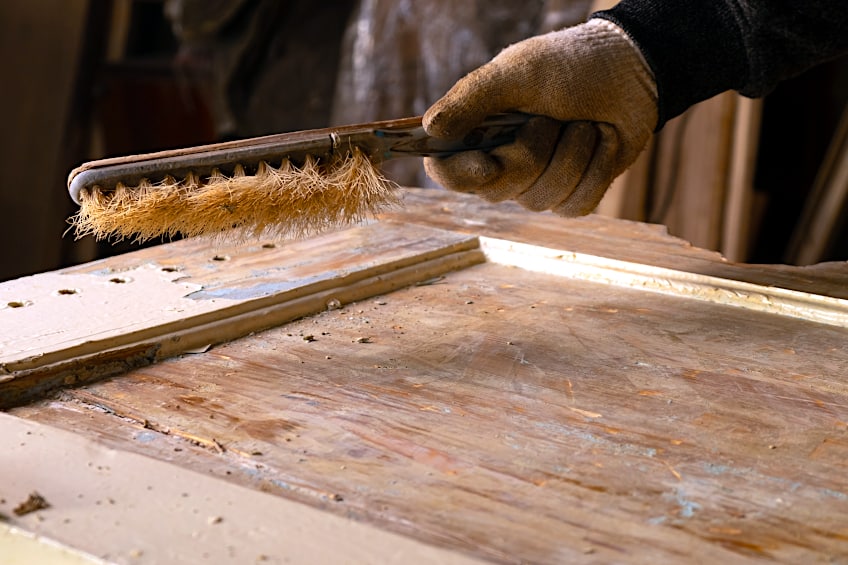
It is essential to clean the surface of your wooden item before you start using gel stain over stained wood, or not stained wood. Any dust particles, or oily stain, or grimy residue will prevent the stain from sticking to the wood’s surface, or it will ruin the flush effect that you ideally want. You can use water that is mixed with denatured alcohol like mineral spirits.
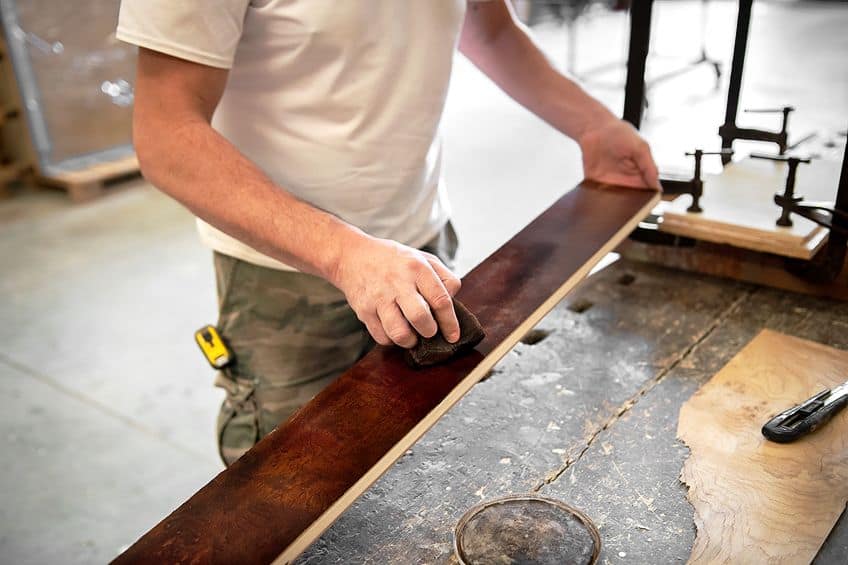
Sanding
This should not be a cause for dread or panic, because when we say sanding, we do not mean a back-breaking sanding session that is exhausting. We simply meant to add some texture to the surface of the polyurethane to make staining over polyurethane with gel stain possible. The rougher surface is better for the adhesion of the gel stain.

When you select the sandpaper, make sure you use one with a finer grit than usual, because like we said, you simply want to remove the slick glossy part of the surface so that it will accept the gel stain better. If you are struggling to get the sandpaper into the smaller areas, try folding the sheet into a sharp edge and wedging it back and forth.
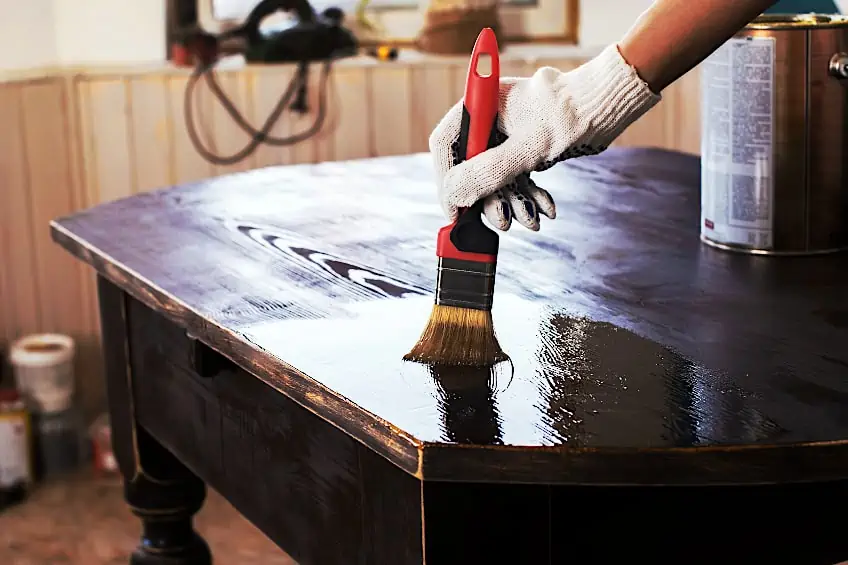
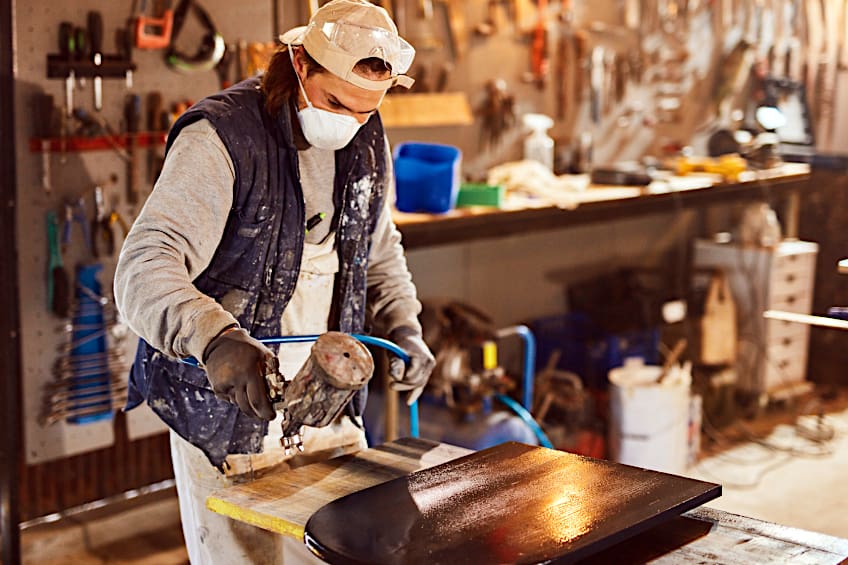
Applying Gel Stain
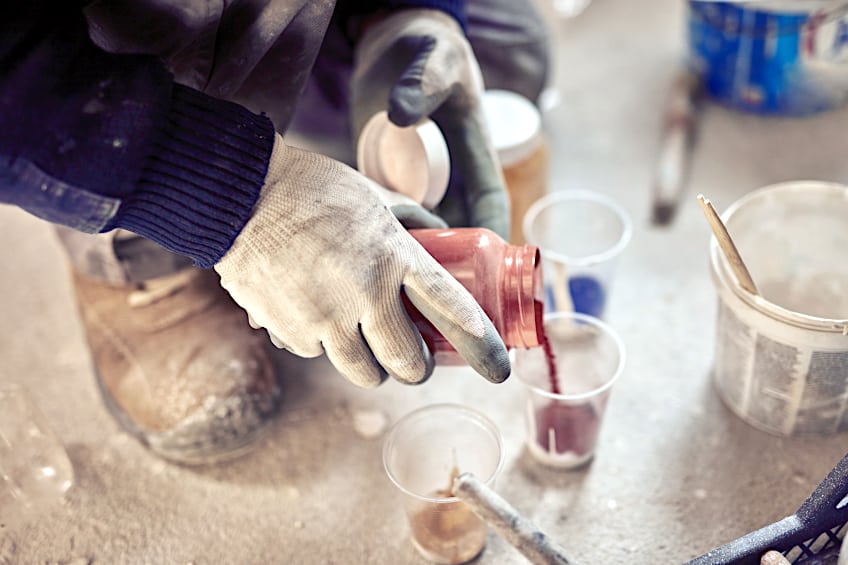
Before you actually start applying the wood stain, try out the product you chose on a smaller and less conspicuous area. This helps you to avoid any delays or disappointing results from what you expected and what you received in terms of the color of the stain. As we have mentioned, make sure that you have adorned yourself in the right protective gear to prevent any spills and splashes of the gel stain on your skin. The right gloves will keep your hands looking great!
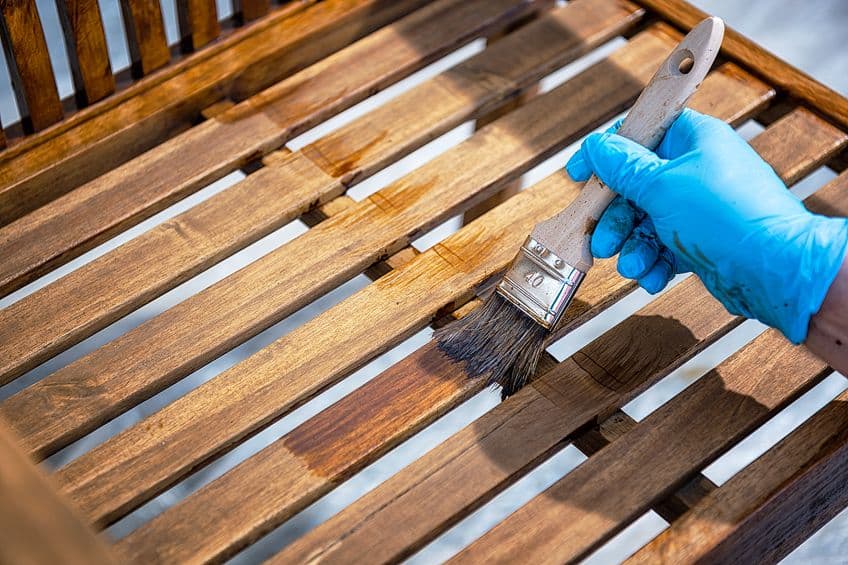
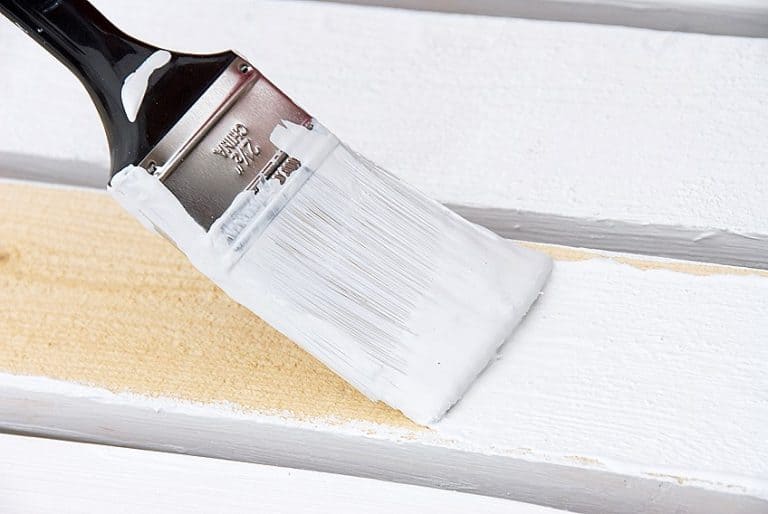
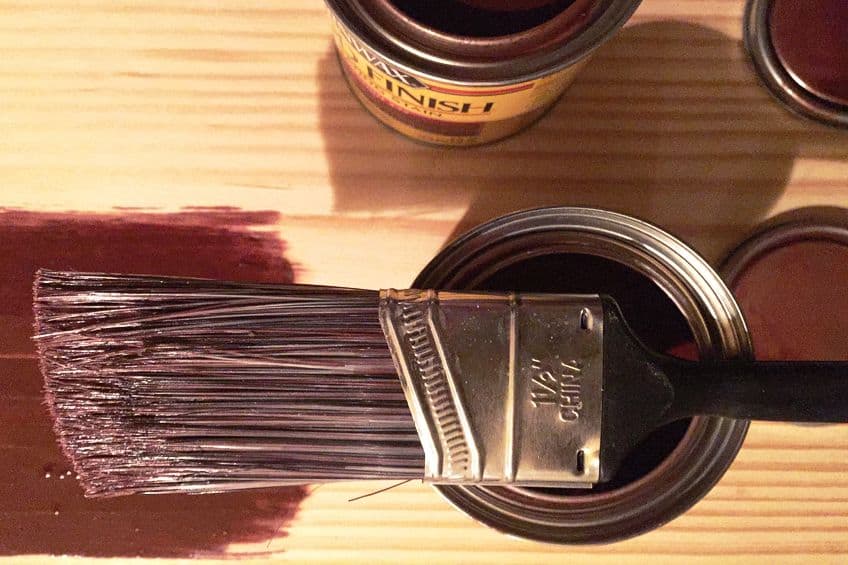
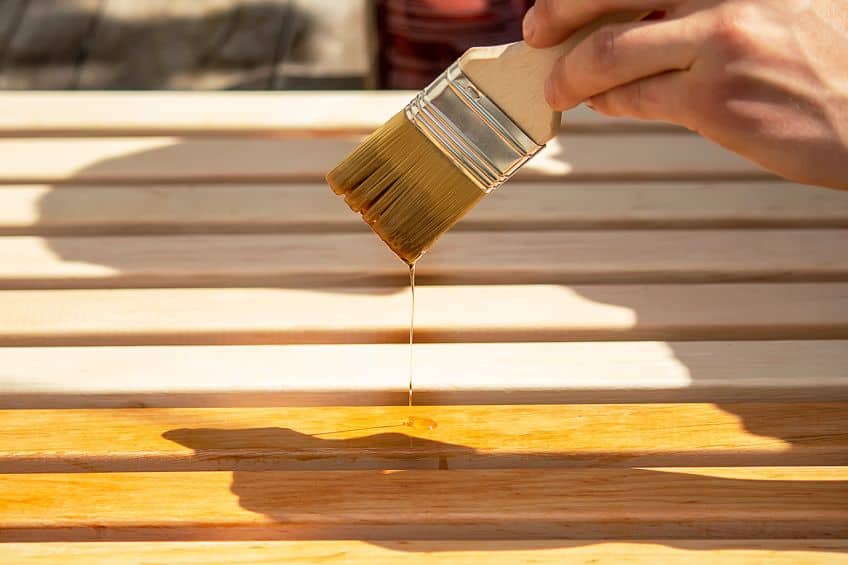
A gel stain is basically a stain and polyurethane in one, and it can be applied with a roller or a brush, or you can use the type of gel stain that comes in a foam form. But we do not like to recommend that one because it has a tendency to allow bubbles to form. Just focus on a single space at one time, do not start one area, and then keep moving around because that will make a mess of things. Use a paintbrush, or a cloth to rub the stain over each section and work it onto the surface until you are happy with how it looks. This process can be repeated until the entire project has been covered.

It is generally advisable to apply a thin layer of the stain as a starting point, and then if you do not like the final color, you may add another once the first layer has dried. The drying time for gel stains is usually up to twenty-four hours, and we advise waiting the maximum amount of time to ensure it has fully dried.
Reassembling Your Project
Once you have waited the right amount of time for your newly gel-stained project, you can start to reattach all the bits and pieces that you took off your wooden surface. This step, along with the step where you took every attachment off, might seem a bit tedious to you, but we highly recommend it because it will ensure you complete the job neatly, aiding the professional feel of your skill.

Suggestions For Staining Over Polyurethane
- To prevent the unfortunate circumstance that the stain is too dark, or that it will not work with your wooden surface, test out the stain on a smaller and less conspicuous area of your wooden items. This way, you can see the result that the stain offers without risking the entire project
- If you are not wild about the available tones of the stain’s coloring, then you can always make your own by mixing stains
- If you are unsure of what the existing coating is on your wooden item, you can find out by dipping a piece of cotton wool with acetone and rubbing it over another hidden area of the item in question. If the acetone-dipped cotton wool begins to stick, then you know it is a lacquer, a varnish, and a shellac coat
- If you don’t want to use gel stain, there is an alternative method available to you, which is to use thin oil-based paint, or even an oil-based glaze, thinned down with paint thinner. Do not over-apply a thick layer, but keep to a thinner application. This will prevent the stain from dripping and ruining the smooth and even effect. There will always come a time to add more, but you cannot add less once it has already been applied
- We seriously advise taking the extra parts from your wooden item like the doorknobs from doors, and shelves from cupboards. This allows the application to be much easier and will look much neater. Imagine if you ignored this step, and you wherein a rush, the gel stain will end up all over
- If you ignore our advice on wearing protective gear and accidentally spill the gel stain onto your hands, you can use a natural oil, or even baby oil to clean it off
- Make sure that you are kitted out with the right protective gear. This includes a respiratory mask, an eye mask, and some gloves. You could even make sure that you have long sleeves and durable clothing on if you wish. The various products contain chemicals in their formula that can be toxic with regular exposure
To conclude this tutorial on how to use a gel stain over an old stain and/or polyurethane, we want to reiterate how gel stains are actually a stain and polyurethane in one product, and can easily be applied to a surface that has already been coated with polyurethane. Polyurethane sticks to polyurethane, and the effect can be quite stunning. So, can you stain over polyurethane? The answer is yes!
Frequently Asked Questions
Can I Apply a Gel Stain Over an Old Stain?
You can, but in order to ensure the adhesion, the surface must be thoroughly cleaned with detergent or TSP, as any oily residue will impair the adhesion of the gel stain.
How Can I Fix a Mistake I Made With Gel Stain?
Denatured alcohol like mineral spirits is a great way to remove fresh mistakes on your gel staining. But to avoid making mistakes, make sure to apply a succession of thin layers instead of one or two thick layers.
How Much Sanding Is Needed Before Applying Gel Stain?
You need only do a little bit of sanding, using a piece of sandpaper that has a finer grit. The idea is to create a rougher texture to enhance the adhesion of the gel stain to your wooden surface. The ideal sandpaper should be of a four-hundred grit more or less.
How Long Should I Let Gel Stain Sit to Dry?
This is not a necessary step, because the gel stain will simply dry, and it does not need time for the stain to “activate” as is implied by a sitting time. All you will need to do is apply the gel stain in your preferred method, either with a cloth, a paintbrush, or the spray-on method, and then wait for it to dry. This could take up to 24 hours.
What Is the Best Way to Dry Gel Stains?
The drying time of your freshly applied gel stain will be clearly stipulated on the label of the product you chose. Typically, gel stains take up to ten hours to dry, but a full twenty-four hours to cure properly.
Why Choose Gel Stain?
As well as staining over existing stains, gel stains are ideal for staining polyurethane surfaces. Even if the wooden surface has been painted with acrylic or oil-based paint you can still apply a gel stain. Gel stains are durable and they promise some sort of protection because there is polyurethane in the mix. They also come in a variety of color finishes that you can choose from, making them a versatile product.
Would a Lighter Stain Work on Previously Stained Wood?
Generally, changing a wood stain from dark to light is unusual and would be difficult to achieve using stain alone. You will have to first strip away some of the existing stain before applying a lighter one. Keep in mind though, that stripper can damage the wooden surface that you are trying to protect.

I have been into woodworking since 2005 and woodturning since 2011. Because of my love for wood and woodworking, I started woodhappen.com to teach other enthusiasts about how to finish and seal wood, the best woodworking tools, the different types of wood, and everything else related to woodworking! Read more about me here.