How to Lighten Stained Wood – Adjusting the Color of Finished Wood
Staining wood can be a challenging process, and when it doesn’t come out the way you envisioned it can be a bit frustrating and even a bit demoralizing. The good news is that if you want to lighten up your wood there are a few methods you can use. Lightening the stain of your wood not only changes the visual impact it has on the workpiece, but the space around your workpiece can feel lighter and more “open” compared to using a really dark wood stain. Let’s have a look at some techniques you can use to lighten up your stained wood workpieces and what the best ways to go about these methods are. Remember, the point of DIY crafting is customization and pushing your craft beyond finishes that are readily available, so if you’re feeling a bit nervous simply relax and enjoy the process.
What Methods Can Be Used to Lighten Wood Stain?
Lightening up your wood stain can be easy and enjoyable, but there is more than one way of going about it. Here are a few of the most common ways to go about lightening the stain on your workpiece to achieve a classy, refined aesthetic that will last the lifetime of your workpiece. Remember to always wear the appropriate personal protective gear when working with wood stain, and to always ensure that your workspace is well-ventilated.
Bleaching Your Wood
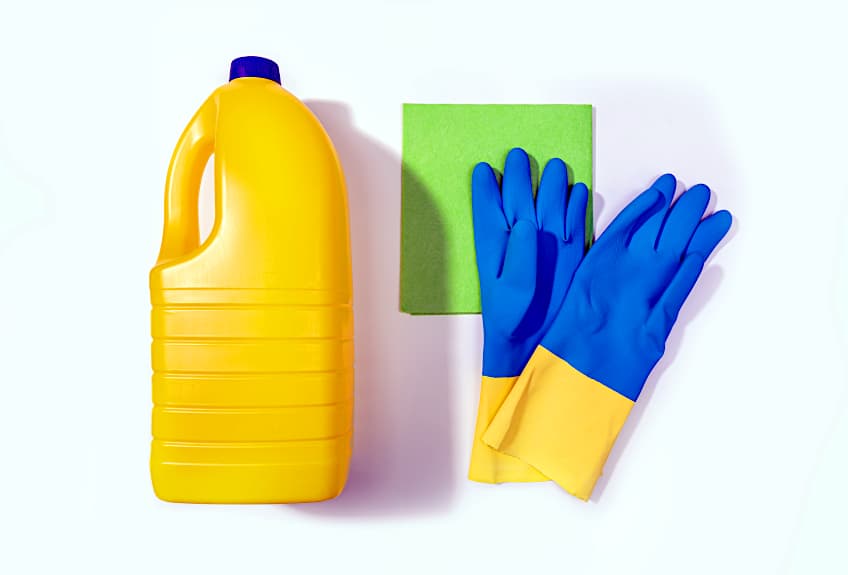
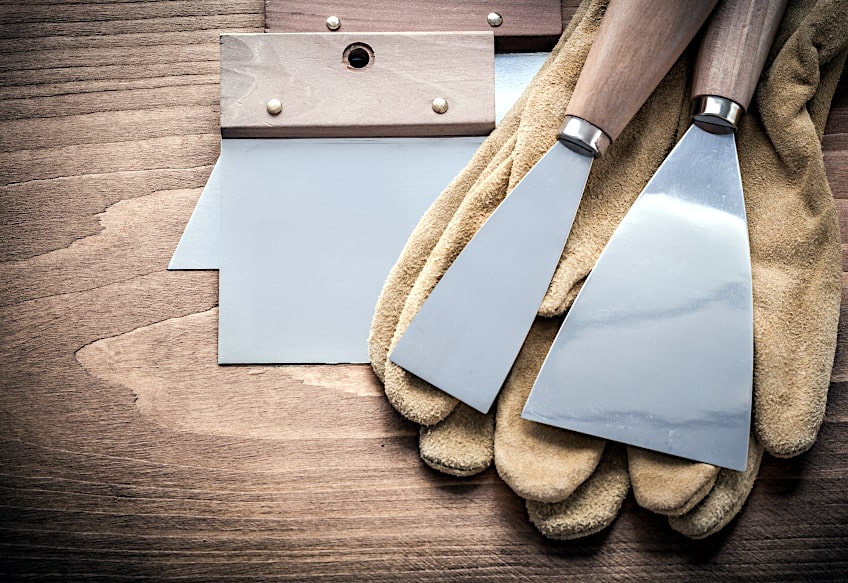
Wondering how to lighten stained wood with bleach? This is one of the easiest ways to lighten up your wood. Before you get started you should ensure that you have some gloves, a set of goggles, a tarp and that you have adequate airflow in your work area. Additional tools you will need include a chemical wood stripper, wood bleach, a paint scraper, fine-grit sandpaper, access to some hot and cold water, and a paintbrush. Oh! Don’t forget to lay down a tarp in your workspace to ensure none of your belongings get bleached along the way.
Strip Your Wood’s Surface
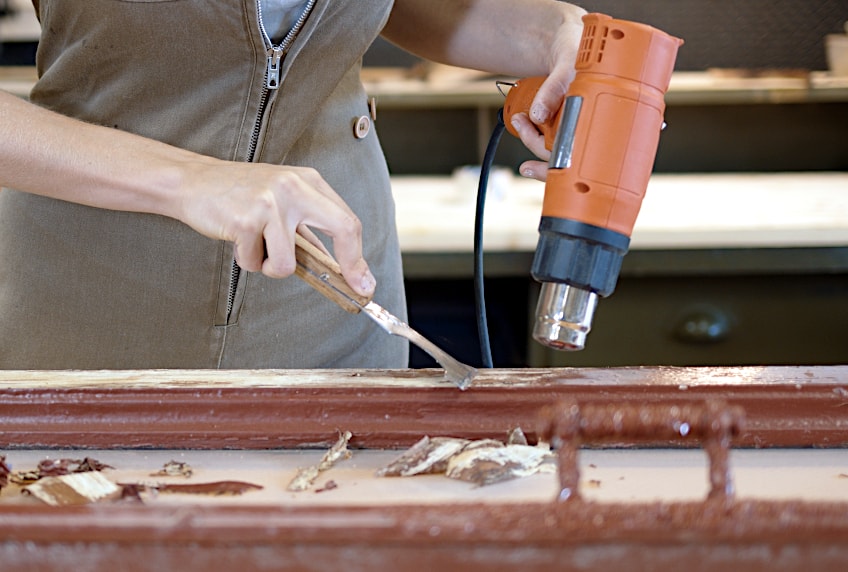
Chances are that if you have had your workpiece for a long time, it probably has a protective layer of polyurethane on its surface or some varnish. If you are going to be bleaching this bad boy we are going to need to remove the surface coating first. How do we do this? Well, a wood stripper is pretty much the only way to get all of it in one go, so open up your tin of wood stripped and dip your brush right in.
To remove any existing wood finish, apply an even layer of wood stripper across the surface of your workpiece. This allows the stripper to soak in and work its magic evenly, which means you won’t be stuck trying to get little areas of polyurethane off your workpiece later on. This process should take roughly 20 minutes, and once the stripper has dissolved the polyurethane or varnish on the surface of your workpiece, give it a minute or two before moving on to the next step in the process.
Remove the Stripped Coating
Now for the messy part. Once your wood stripper has turned the surface coating into something that resembles snakeskin, it’s your job to scrape the residue off the surface of your workpiece. Experienced crafters will recommend that you use a plastic wood scraper to avoid damaging the grain of your workpiece, so once you have that in hand simply start scraping the residue off the wood’s surface.
A pro tip when removing stripper is to use your scraper at a 45-degree angle – it’s a bit like spreading butter on bread but the angle is inverted. Remember to put the stripped coating residue in a container graded for harmful materials as wood stripper as a habit of eating through most conventional garbage bags, which is just awful for the environment.
Once you have the majority of the coating off, look for any contrasts in color on the surface of the workpiece. If there are darker spots spread over your surface, get in there with your scraper and remove them.
The surface of your workpiece should appear uniform in color once all of the polyurethane or varnish has been removed. Allow the workpiece to breathe for a few minutes before moving on to the next step in the process.
Prepare Your Wood Bleach
Remember that bucket we said you’d need for this process? Fetch it. Once you have your bucket in hand, you’re going to want to throw your wood bleach into the bucket, but make sure that you’re wearing your goggles, gloves, and that every window in your workpiece has been opened.
Why? Wood bleach is some really strong stuff and inhaling the fumes it produces can cause mild to moderate discomfort. Once it’s in the bucket, ensure that you follow the directions on the packaging. Some manufacturers recommend using water or their own solution to dilute the consistency of their wood bleach while others might just have you mix it up a bit.
Once your wood bleach is ready to use, ensure that your workpiece is secure and that you have your paintbrush ready for the next step of the process. If you don’t want your wood to become too light when the wood bleach has been applied, include some oxalic acid in your wood bleach mixture.
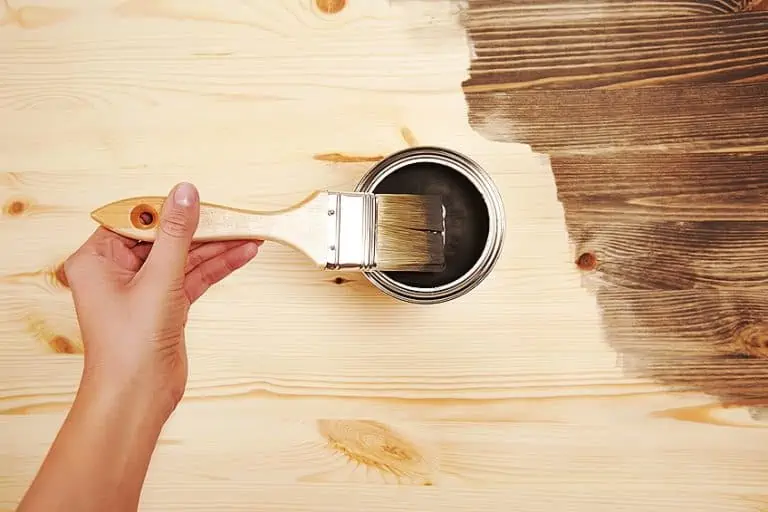
Apply Your Wood Bleach
Now for the moment you’ve probably been waiting for. It’s time to apply the wood bleach to your board. As with most surface coatings, most of the effort lies in the preparation of the surface rather than applying the coating itself.
Get your brush (preferably once with natural bristles) and dip it into your now mixed wood bleach. Apply a thin layer of bleach to your workpiece and do your best to distribute said bleach evenly across the surface of your board. If you are working with a particularly large workpiece, you could try using a small to medium-sized mop to speed the process along a bit.

Using a mop or similarly spongy material will allow you to force the bleach into wood’s fibers which means you’ll see results a lot quicker compared to if you just let it sink in on its own. Once your wood bleach has been applied to your satisfaction, step back and allow it to do its thing for roughly 30 to 45 minutes depending on whether you decided to dilute the mixture or not.
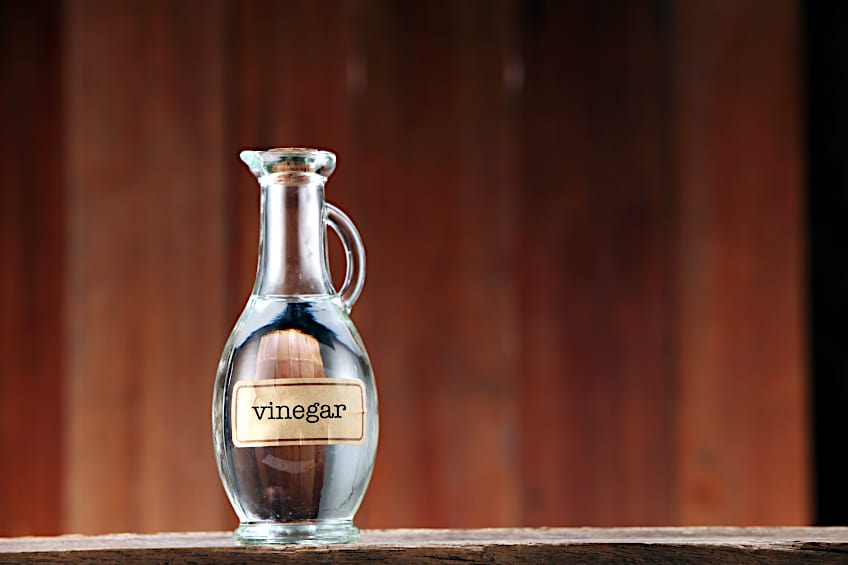
Apply White Vinegar to the Surface
Once you have waited for the allotted 30 minutes, consider adding some white vinegar to the surface of the workpiece. Get yourself a bowl or small bucket and pour in some white vinegar, then mix it with some water.
As far as possible, the vinegar mixture should be equal parts water and vinegar, this will allow for the wood bleach to settle quickly. How do you apply the vinegar to the surface of the workpiece? Simply dip a cloth into the mixture and allow it to soak for a few seconds, and then ring out the excess. Once you have the ideal amount on your cloth, rub the mixture over the surface of your workpiece.
Give the mixture a few minutes to set in and then simply remove the mixture from the surface of the wood with a workpiece with a wet cloth, preferably soaked in warm water. Ensure that all of the wood bleach and white vinegar has been removed from the workpiece before continuing to the next step in the process.
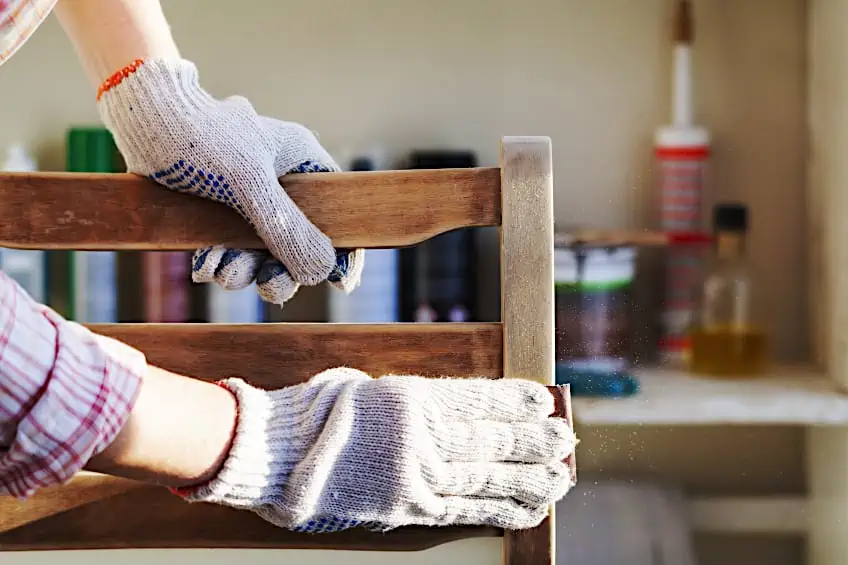
Sand Your Workpiece and Resurface It
Job’s done, right? Well, it could be, but we recommend taking some extra steps to ensure that you have the best chance of enjoying and maintaining your workpiece. Remember that you removed the protective coating in order to bleach the surface of your workpiece, so it would be a good idea to replace that coating before things like moisture, insects, or excessive heat ruin the surface of your workpiece.
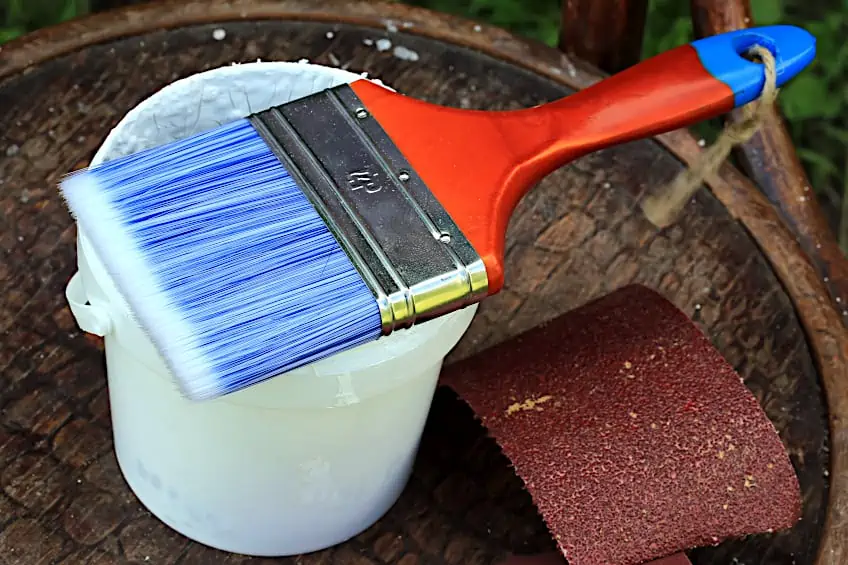
Before you apply your new polyurethane coating you should re-sand the surface of your workpiece as the mixture of wood bleach and vinegar does tend to make the texture of wood quite rough. Sand your workpiece with fine-grit sandpaper, preferably 160 to 180 grit. Once your workpiece has been sanded, clean the surface with a fresh cloth and apply your protective coating once more.
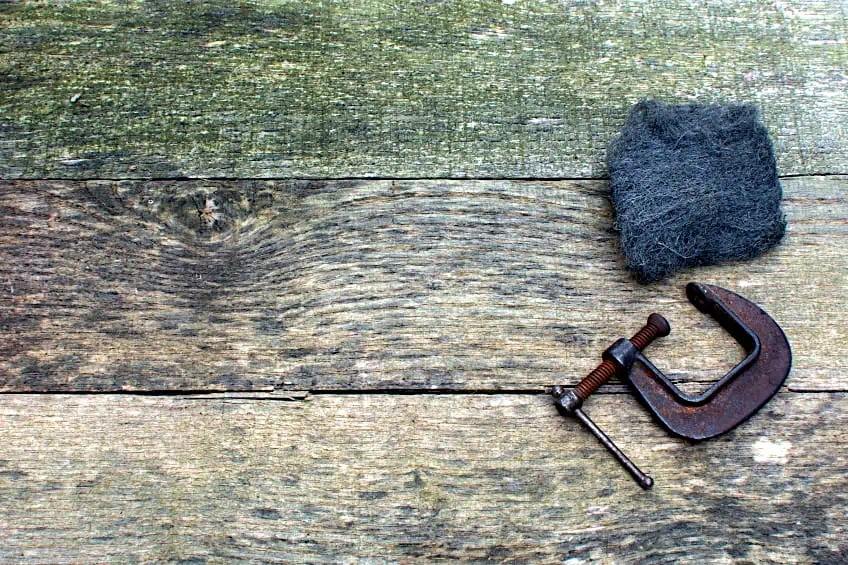
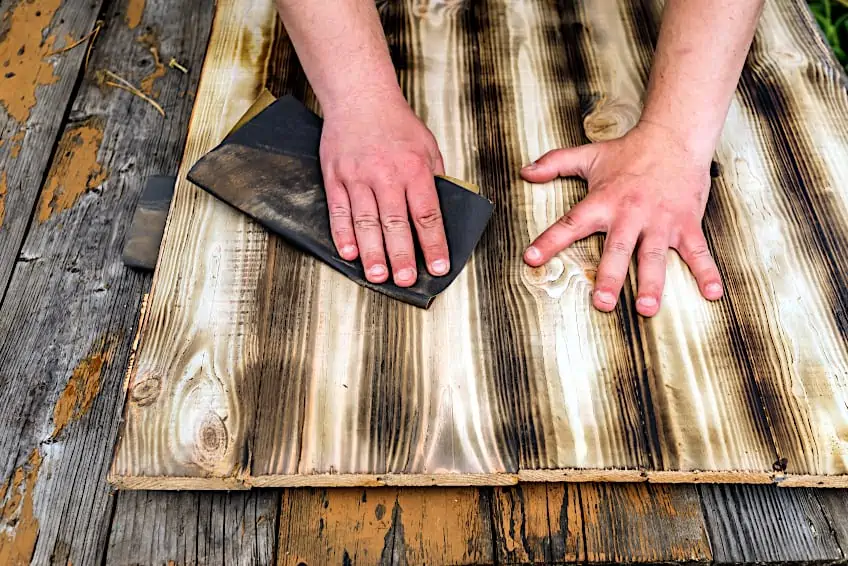
Using Steel Wool
If you’re wondering how to lighten stained wood with steel wool, rest assured this is by far the easiest way. Steel wool can be used for a lot more than getting stubborn stains out of your pots and pans. In fact, it’s pretty effective as a means of lightening up your wooden surfaces. For this method, you will need steel wool (the fine kind) mineral spirits, warm water, some gloves, some goggles, and a clean cloth. Even though you aren’t working with anything particularly toxic, ensure that your workplace is well-ventilated before starting.
Use the Steel Wool on the Wood
Thought we were going to warm up to this bit? Nope. We’re diving straight into the thick of things with this method. Start by dipping your steel wool into some warm water until it’s completely saturated, then ring it out until you have a usable amount of water left over. Once you’re good and ready it’s time for you to get going, start by scrubbing the surface of your workpiece with the steel wool, ensuring that you apply your pressure evenly across the surface of your workpiece.
Remember that the goal when using steel wool isn’t to remove the stain from the wood completely (it can be really easy to forget this) but to make the stain as light as you would like. This being said, gauging how much pressure is applicable to achieving your goal is important. Remember that if you take off too little stain you can always go back and scrub some more, but taking off too much might result in you having to re-stain your workpiece from scratch.
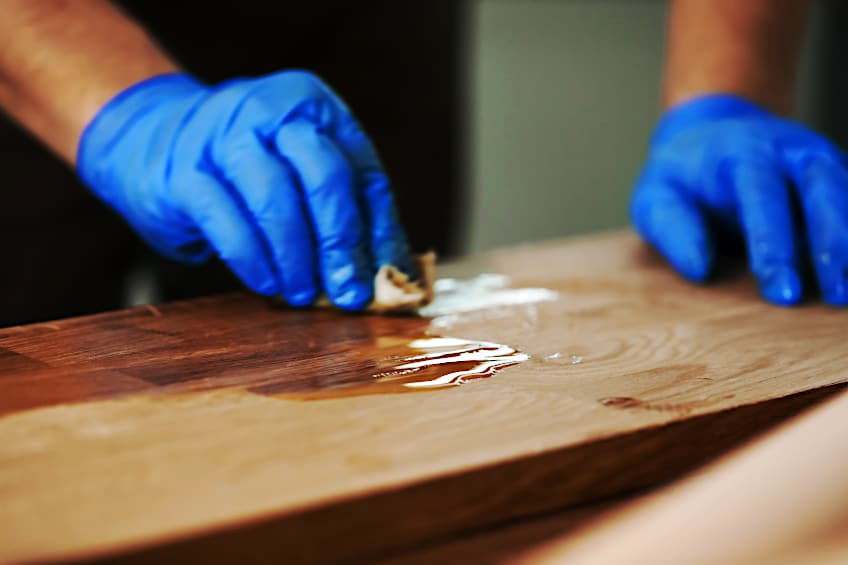
Use Mineral Spirits on the Exposed Surface
Now for the cool part. Get your mineral spirits and apply some either to the surface of your workpiece or to the cloth you have been using thus far. Once your spirits have been applied, simply rub them over the surface of your workpiece at an even pace. You should be able to see the effect it has on the wood stain in real-time, watching it raise and alter the tone of the stain as you rub the spirits into the wood.
You have the choice of adding more stain or switching to a fresh cloth during this process, this is helpful especially if your cloth becomes saturated with spirits during the lightening process. Be sure to keep an eye on how the wood changes color and adjust your approach accordingly, this could mean the difference between the color that you want and completely saturating your board with spirits.
Alternate Until Satisfied
Now that you know what the routine is, simply repeat the process until you are satisfied with the finish. This can get a tad repetitive after the first couple of attempts, not to mention physically taxing, so ensure that you take regular breaks not only to stave off fatigue but to ensure that you don’t ruin your workpiece by falling into a monotonous rhythm. Once you have reached the tone of stain that you were aiming for, allow your workpiece to breathe for a few minutes before moving on to the next step.
Once the color has settled and the mineral spirits have stopped reacting with the wood stain, you should end up with your final results. When you reach this point simply wipe the surface with a clean cloth and marvel at your brand-new finish.
You should know that this method works best with oil-based stains and might not have quite the same effect if your wood has been treated with a water-based stain. Finally, if you would like to re-treat your wood with a thin layer of sealer you should, considering you just scratched off quite a few layers of wood stain. This method is more labor-intensive and is better suited to smaller workpieces.
Diluting Your Stain Before Application
If you prefer not retroactively lightening your stained wood, this is the method for you. This could also be right up your alley if you’re wondering how to lighten dark stained wood. This method is more proactive in approach, and it works especially well if you have already purchased a dark wood stain and only once you got home from the store.
You will need natural wood stain, a conventional wood stain, a brush, some rags, and the usual personal protective gear in the form of some gloves and a face mask. This being said, let’s have a look at how to lighten dark stained wood.
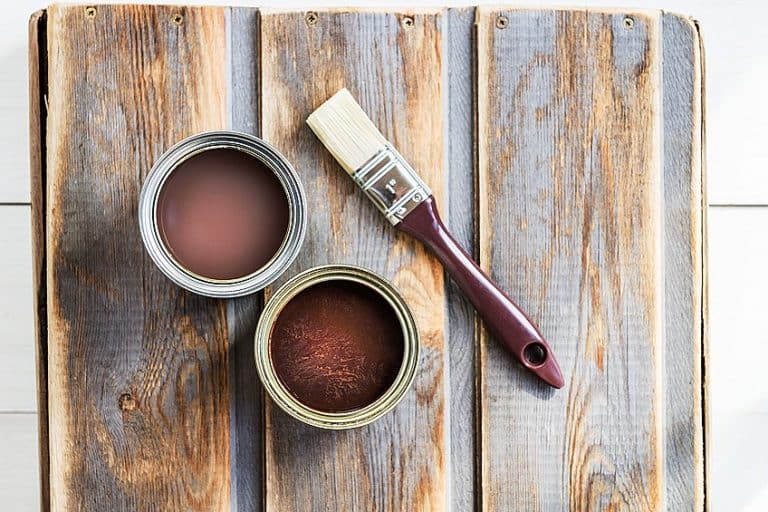
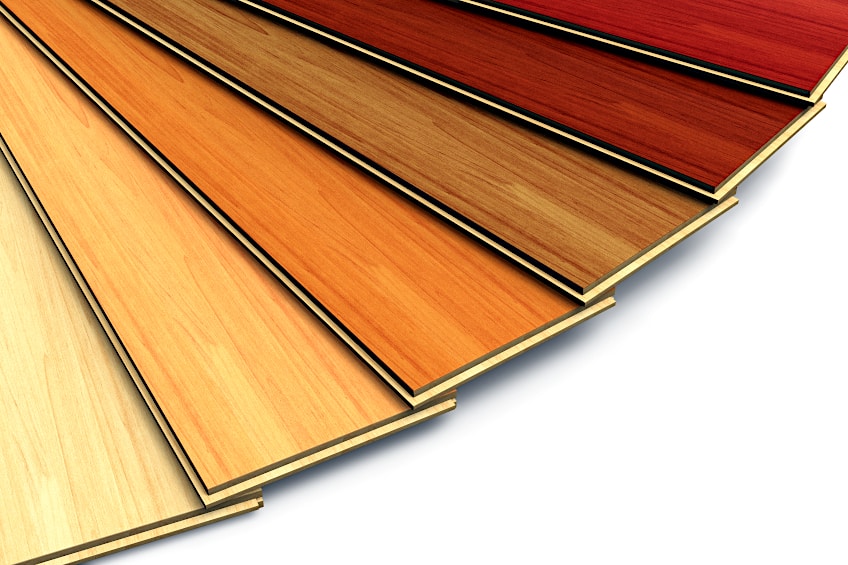
Gather Your Wood Stains
As you should be able to tell by the color difference, natural wood stain can be used as a lightening agent when mixed with the strongly tinted wood stain. This is arguably better than trying to retroactively lighten the wood stain already applied to your wood, and it can be a lot less labor-intensive compared to the aforementioned too.
Something you should look out for is what the base formula of each wood stain is. If your natural wood stain is water-based then ensure that your tinted wood stain has the same base, if they aren’t the same you could end up with a messy situation on your hands. The same goes if you have an oil-based natural wood stain and oil-based tinted wood stain on your hands.
Mix Your Wood Stains Together
Now for the relatively easy part of the process. A lot like mixing epoxy resin, mix the natural wood stain and tinted wood stain in a 1:1 ratio, this ensures that the natural wood stain only lightens the overall hue of the mixture and doesn’t oversaturate it. In the interest of simplicity, you could add all the contents of each container into a separate container and mix them well.
Using entire containers of stain to mix your ideal color works well if you have a large workpiece, but if you are working with a smaller workpiece simply use a measuring cup and add equal amounts of each wood stain into it. Mix well until you have a lighter version of the tinted wood stain you started with.

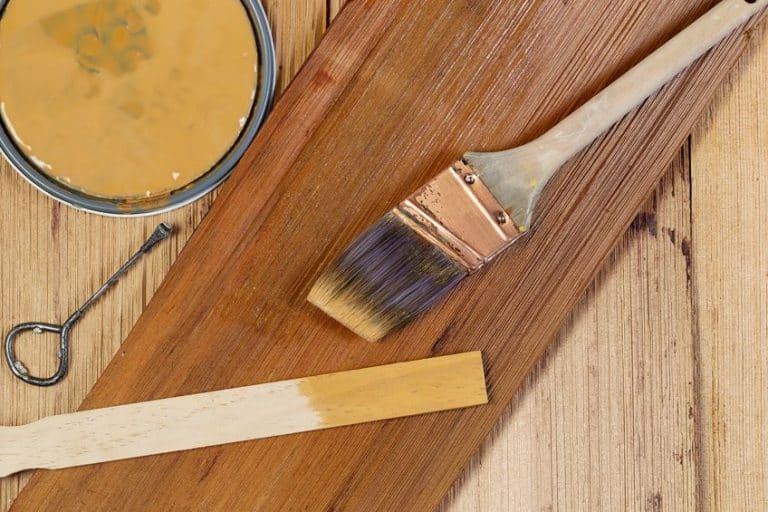
Test Your Lightened Wood Stain
The last thing you want is for the wood stain you have worked so hard to create to be sub-par once it has been applied to your workpiece. How do you avoid this? Well, simply get a spare board of the same type as your workpiece and apply your newly formed wood stain. Allow the stain to set and cure for the manufacturer’s recommended time period, this will allow you to see what the treatment will look like once it has been applied to your workpiece.
If you aren’t happy with the finished product, simply modify the mixed batch by adding natural wood stain to lighten the mixture or tinted wood stain to darken the mixture, and ensure you mix the final product together well before moving on to the next step in the process.
What Are the Consequences of Using Bleach on Your Wood?
Knowing how to lighten wood stain is all well and good, but have you ever stopped to wonder what effect treatments like wood bleach and chlorine have on your wood board? In your quest to lighten wood stain, you might be causing damage (although unintentionally) to your wood board if you don’t work carefully. So, how do wood bleach and other wood lightening agents affect wood?
Well, chlorine bleach, in particular, has a nasty effect on the natural fibers that bond wood boards together, it actually breaks down the lignin in the wood fibers which can cause the board to deteriorate over time.
To illustrate this, imagine crushing chipboard in your hands, this is what saturating your wood’s fibers bleach could potentially lead to if you don’t pay close attention during the lightening process. Besides overusing wood bleach, there have been attempts to use chlorine or regular bleach on wood, which is not advised if you value the aesthetic appeal of your workpiece.
Although bleach does work to lighten wood, it can also cause blotchy discoloration which could result in you having to resurface the entire board. Why? Chlorine crystals tend to form on the surface of the wood, which is notoriously hard to get rid of unless you have a power sander or high-pressure cleaner handy.
There are loads of unconventional ways to lighten your wood’s stain, but they can be risky not only for your workpiece but for your personal health too. We recommend sticking to wood treatment products designed and built for wood lightening.
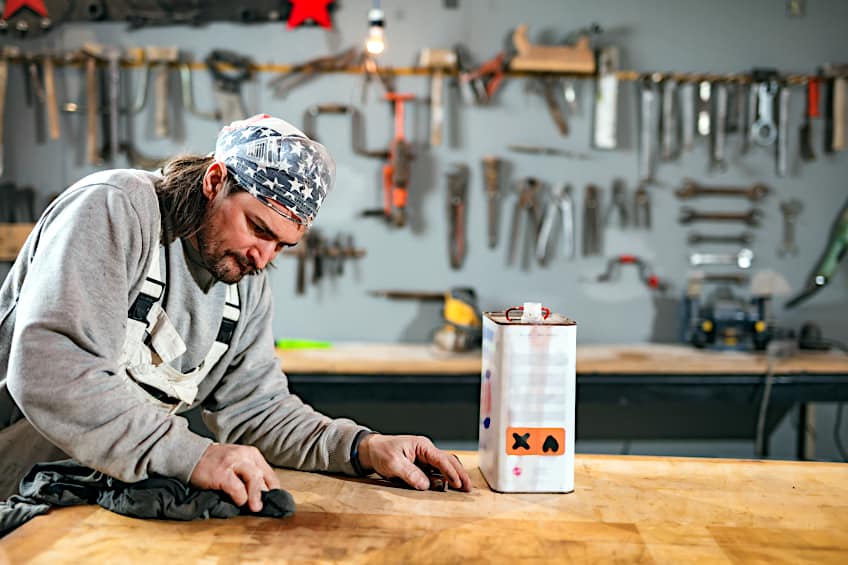
Is Staining Wood Dangerous?
This does depend on your definition of danger, after all, everything is relatively dangerous given the right circumstances. Can staining wood be hazardous to your health though? Absolutely.
Conventional wood stains typically have lots of chemicals known as volatile organic chemicals. Although it is common knowledge that these chemicals are pretty bad for the environment, they also pose considerable risk to both your respiratory system health and have the potential to cause serious discomfort should they ever come into contact with your skin.

Besides their toxicity, conventional wood treatments can also be highly flammable. Oil-based wood stain in particular should always be handled in a well-ventilated area and should never be exposed to open flames.
It is not just the wood stain itself that you should be cautious around either, if any of your belongings or tools that have been exposed to wood stain can be flammable as well. This being said, ensure that you dispose of any rags, brushes, or other applicators appropriately once you have completed staining your board.
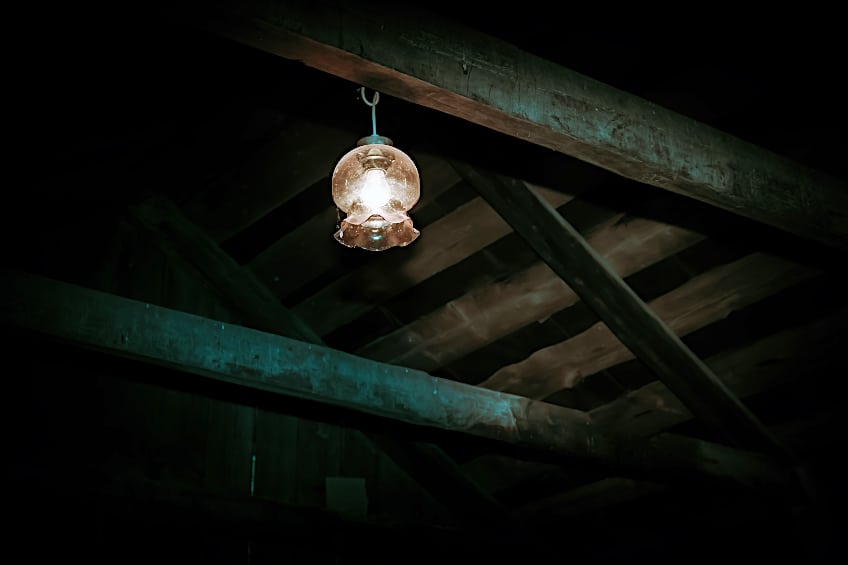
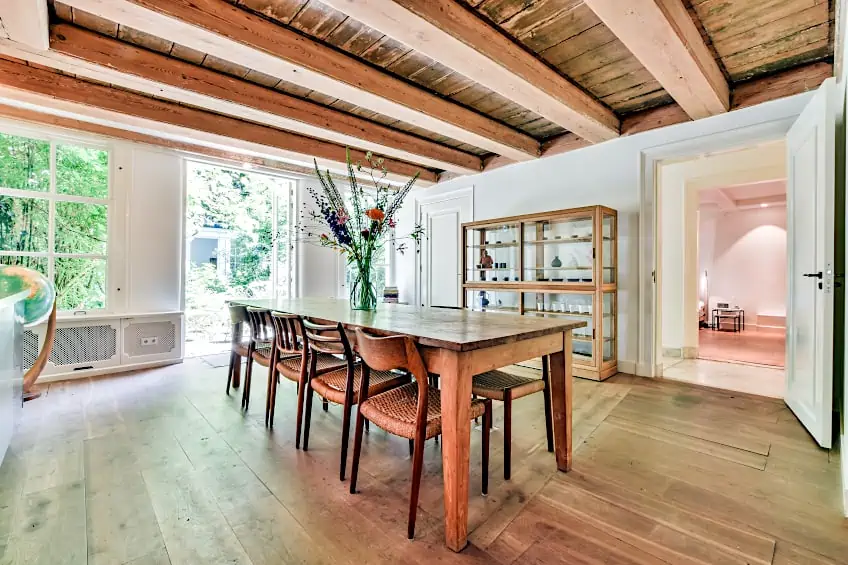
How to Lighten Wood Stain on Overhead Beams
Roofing isn’t something that we think about all too often, and not maintaining it can lead to serious problems in the long run. As a side note, if you were wondering how to lighten wood stain without sanding, this section is for you. For this exercise, you will need a scraper, some tarp, wood stain of both the natural and tinted variety, and of course a brush and some rags for the clean-up process. Now that you know what you need, let’s have a look at how to lighten wood stain without sanding and restore your roofing beams, killing two birds with one stone.
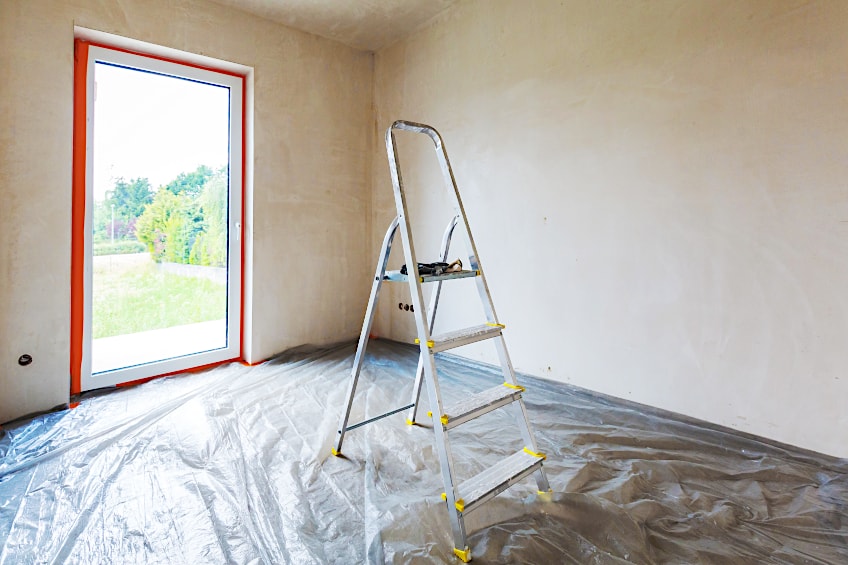
Prepare Your Workspace
When you are working with wood stain or applying any sort of wood treatment or coating it’s important to cover up anything you won’t be coating. Getting a tarp and laying it over the area you will be working in can help particularly when you are staining overhead beams, whether you have exposed beams in your home or whether you’re working in your attic.
Next, ensure that you have adequate airflow in your workspace and that you are wearing the appropriate personal protective gear including a face mask and gloves graded for use with volatile organic chemicals. Before you move into the next step, ensure that any ladder or other means of elevation you’ll be employing to reach your ceiling is secure and locked in position.
Mix and Test Your Wood Stain
Once you have prepared your workspace it’s time for you to put your gloves and mask on and mix your wood stains together. Mix your natural wood stain and colored wood stain together in a 1:1 ratio as you would with any lightening procedure, but this time you might want to mix everything you have together in one container.
Make sure to mix them in almost exactly the same volume, to avoid any mix-ups, simply purchase the same quantity of each wood stain so you won’t have to waste any time with measuring cups. Once they’re both in the same container, mix them together well and allow the mixture to breathe for a minute so you’re able to see the result.
Ready to apply your wood stain? Don’t! Always test wood stain on a spare board before you apply it to your workpiece. Even though the color might look appealing in its wet form, wood stain tends to take on a different consistency and overall hue once it’s had a chance to bond with the wood’s fibers.
Pop some wood stain onto some spare board and allow it to cure and set for the manufacturer’s recommended time period. This will allow you to see what the finished product will look like.
Scrape the Old Coating Off Your Wooden Beams
This part can be tricky. Scrape off any surface coating like wood stain or paint still on the wooden beams. This is where your scraper will come into use, ensure that you get every little bit of surface coating off the beams, and ensure you watch your step on the ladder.
Once all the previous coatings have been removed, wipe off the surface of your workpiece with a clean cloth and ensure that the surface is clear of any residue. Ordinarily, at this point, you would need to sand down the surface of your workpiece, but when working with overhead beams this is not necessary.
Apply an easy surface prep undercoat (or ESP) to create a barrier between the remaining wood stain and the stain you will be applying, this will prevent the new stain and old stain from contaminating one another. Ensure that you allow this coating to dry for the manufacturer’s recommended time period before moving on to the next step in the process.
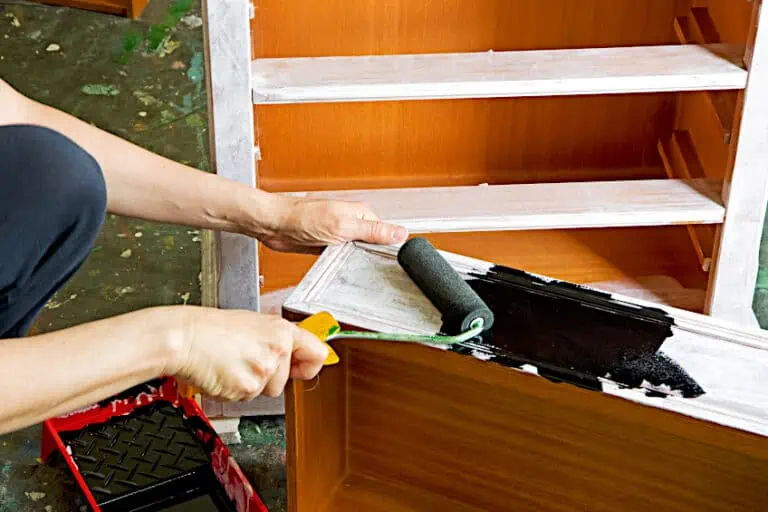
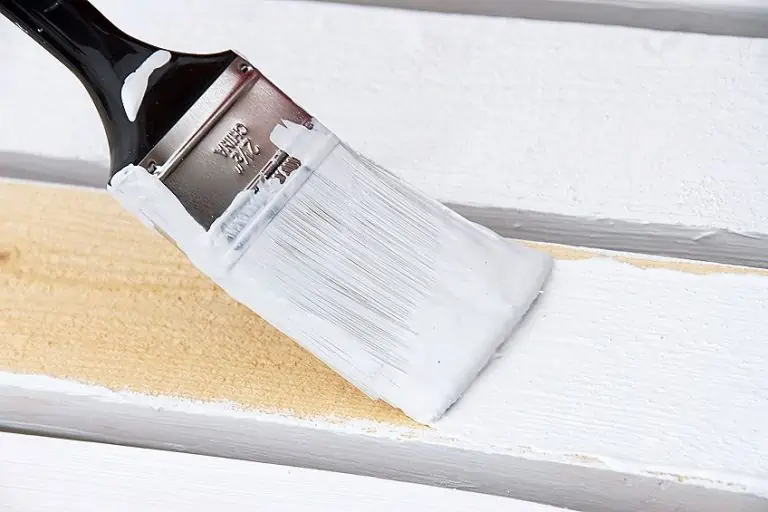
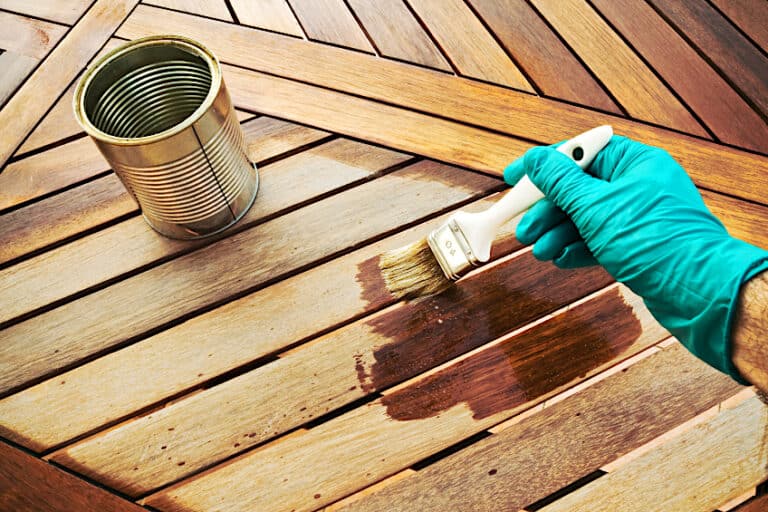
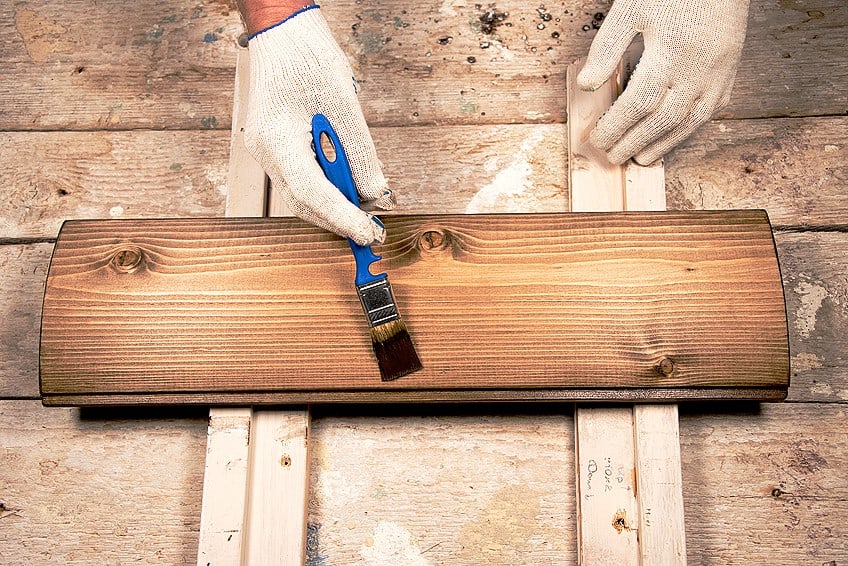
Apply Your Wood Stain
Now that your surface has been prepared it’s time to apply your wood stain. Get your brush ready and ensure that your stain container is secured if you are working on an elevated platform.
Once you get started, ensure that you paint by following the length of the board, this ensures that you get an even application. A good trick to keep in mind is to use thinner coats, this way the finish has time to develop as one coat dried and cures.
This will also allow you to control the hue of the finish, by adding the stain incrementally to the surface of the board. Once you are satisfied with your finish, allow the wood stain to dry for the manufacturer’s recommended time period.
If you would like to protect your finish you do have the option of adding a polyurethane finish to your workpiece, this will protect it from things like moisture, insect infestation, excessive heat, abrasion, and impact damage.
Now that you know it’s possible to lighten stained wood, how to lighten wood stain, how to lighten wood without having to sand the surface, how to lighten wood using wood bleach or chlorine, and the effects that these chemicals can have on the structure of your wood, it’s time for you to get out there and put your new-found knowledge to the test. Remember to always work in a well-ventilated area and always wear the appropriate personal protective gear when working with wood stain or lightening agents.
Frequently Asked Questions
Can You Lighten Stained Wood?
Can you lighten stained wood? Yes! There are a few methods you can use to lighten stained wood. Some of the most popular methods you can use are bleaching the surface of your board with wood bleach, sanding the surface of your board, using steel wool, and using a combination of natural wood stain and color wood stain.
How to Lighten Dark Wood Furniture?
Wondering how to lighten dark wood furniture? The most commonly used (and easiest) way to lighten dark wood furniture is to use turpentine or mineral spirits on the surface of the board. This will effectively make the surface of the board lighten without completely removing the existing finish. If you have a polyurethane finish on the surface of your board, ensure that you remove it before treating your wood with the aforementioned wood treatments.
How to Lighten Wood Without Stain?
If you’re wondering how to lighten wood without stain, the best way to go about this is simply to use wood bleach. Wood bleach will allow you to maintain the natural color of your wood without any artificial color being added to the wood fibers.

I have been into woodworking since 2005 and woodturning since 2011. Because of my love for wood and woodworking, I started woodhappen.com to teach other enthusiasts about how to finish and seal wood, the best woodworking tools, the different types of wood, and everything else related to woodworking! Read more about me here.