How to Use Liquid Sandpaper – Sanding Deglosser Guide
No matter what woodworking project you find yourself doing, the chances are that you’ll find yourself having to sand the surface of your workpiece. Thankfully, there are various grits of sandpaper for you to choose from, and even power sanders to help you along with really big projects. However, there is one surface prep tool that often gets overlooked these days, and that might be better than conventional sanding methods in some applications. Liquid sandpaper is typically less labor-intensive to use, and if used correctly, can lead to a much better finish than conventional resurfacing methods. That being said, let’s have a look at what liquid sandpaper is and how to use it.
What Is Liquid Sandpaper?
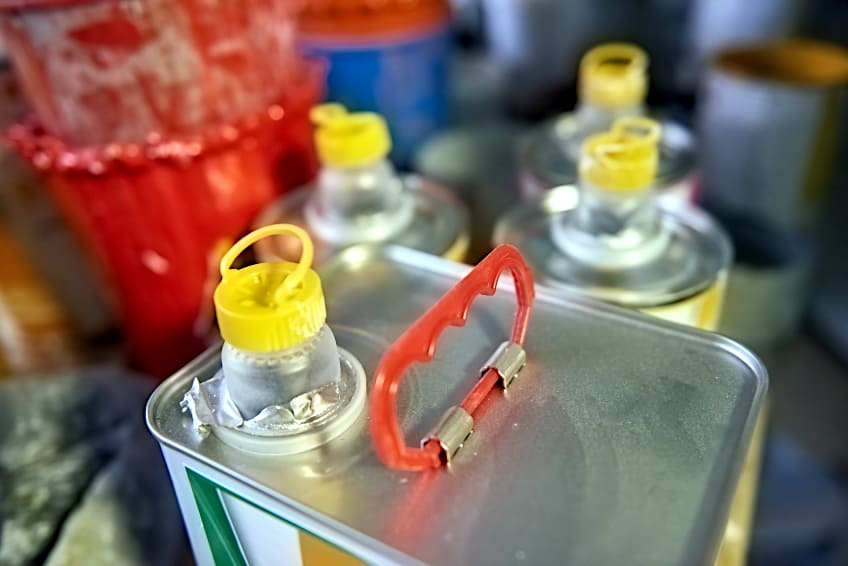
Before we show you how to use liquid sandpaper, we thought we’d establish what exactly liquid sandpaper is. What is liquid sandpaper then? Liquid sandpaper is, essentially, a chemical compound that can be poured on painted or treated wooden surfaces in order to remove the said finish. It functions by lifting the finish and eroding its adhesive properties so it can be completely removed.

If your workpiece is irregularly shaped, or its material would make it difficult to sand conventionally, liquid sandpaper could be just what you’re looking for. Additionally, if your workpiece has some hard-to-reach places or doesn’t respond well to the effects of friction, this method could allow you to effectively resurface it while avoiding damage to it.
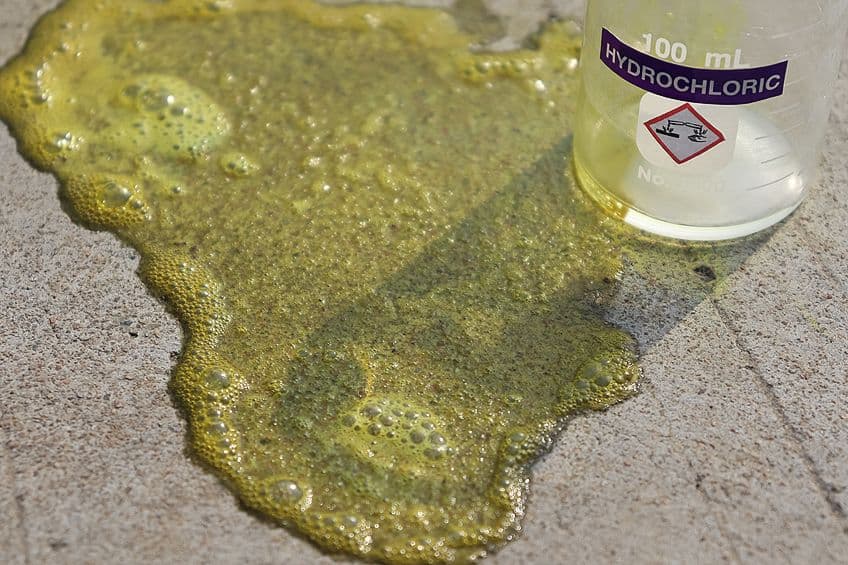
What is liquid sandpaper made of? Liquid sandpaper generally consists of naphtha, ethyl acetate, and ethyl alcohol, and sometimes contains trisodium phosphate. These chemicals create a corrosive solution that effectively “eats” the existing surface coating on a wooden workpiece, allowing you to remove the coating’s remnants once the substance has been neutralized.
Liquid sandpaper is also known as liquid deglosser. Why, you ask? Liquid deglosser is used to, as you’ve probably guessed, remove glossy finishes from the surface of wooden workpieces. Whether it be a silicone or thin resin coating, all that you need to do is apply some liquid deglosser to the surface of your workpiece and allow it to do its thing for the manufacturer’s recommended time period.
Is Liquid Sandpaper the Same As Sanding?
Well, not really. Liquid sandpaper is available in various degrees of potency and is therefore capable of removing both thin and thick surface coatings depending on the strength being used. Where deglosser is really useful, is for preparing surfaces with loads of detail for painting. If the compound has been watered down it’s essentially just going to loosen the surface coating without really raising it, but stronger variations will strip the surface coating entirely.
That being said, even though the end result is the same as sanding, the process differs in such a way that the texture and finish of your workpiece will not be the same as sanding it. Therefore, unless you’re comfortable with this result, you should stick to using sandpaper, or try some liquid sandpaper on some spare material before moving it to your actual workpiece.
What Are the Pros and Cons of Liquid Sandpaper?
Just like conventional sandpaper, there are some pros and cons associated with liquid sandpaper. While it might not be suited for every application, there are some notable advantages and disadvantages to using liquid sandpaper, but it’s a good idea to familiarize yourself with all of its properties before attempting to use it.
- Requires far less effort to use than conventional sandpaper
- Great for use on curved/concave surfaces
- Does not create fine wood particles like sandpaper
- Great for use on surfaces with varying gradients or intricate contours
- Can be used in combination with brushes and rollers for easier applications
- Available in various strengths to remove different finishes
- Cannot be used indoors unless the area is well-ventilated as it produces fumes
- Liquid sandpaper contains loads of VOCs (volatile organic chemicals) that are bad for the environment and your personal health should it be inhaled or come into contact with your skin
- While liquid sandpaper is designed to remove surface coatings and will not repair damage/imperfections on the surface of your workpiece
How to Use Liquid Sandpaper
Now that you know what liquid sandpaper is and what it’s used for, we thought we’d give you a step-by-step tutorial detailing how to use liquid sandpaper effectively. Remember that chemicals like this can be harmful when mishandled, so ensure that your environment is well-ventilated and that you are wearing all of the appropriate personal protective gear. To ensure that you don’t forget anything, here is a list of things you should have on hand when using liquid sandpaper.
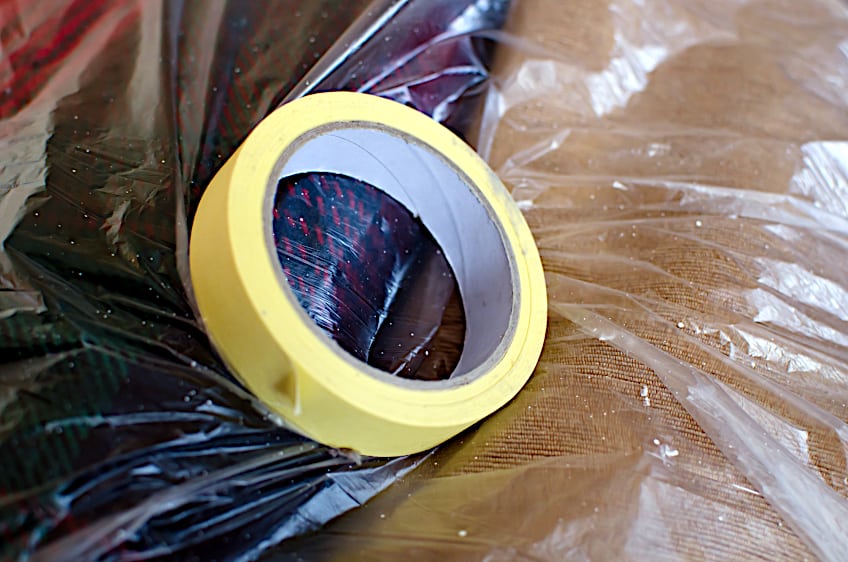
- A drop cloth
- Liquid sandpaper
- A paintbrush
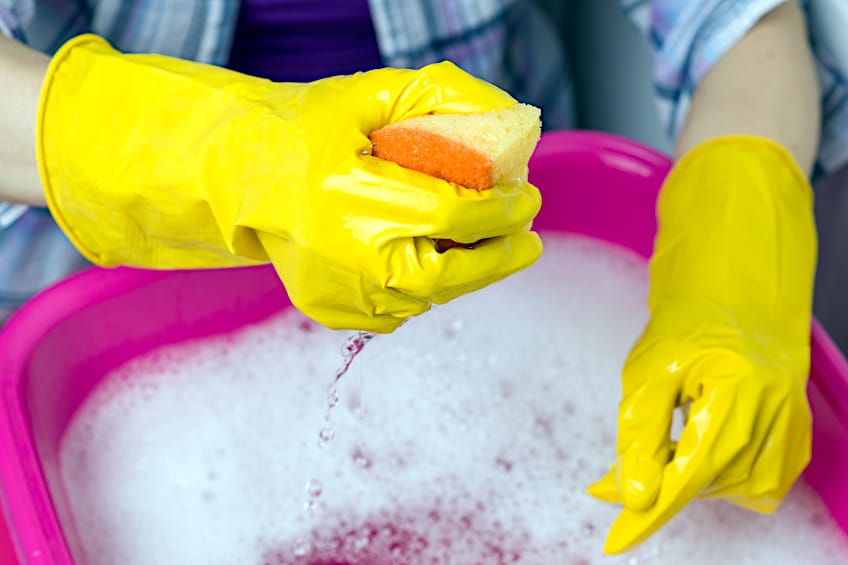
- A set of gloves
- A set of eye goggles
- A face mask/respirator
Prepare Your Workspace
Regardless of what type of woodwork project you find yourself doing, arguably the most important step is to ensure that both you and your workspace are adequately prepared for the task ahead. How do you ensure that your workspace is well-prepared? Well, you could start off by ensuring that you have adequate airflow in your workspace.
The best way to go about this is to ensure that you have air entering and exiting your immediate space in a constant, unobstructed manner. This is especially important due to the fact that liquid sandpaper contains a lot of VOCs. Once you’re sure that you have decent airflow in your workspace, it’s time to make sure that your surfaces are protected.
How do you ensure that your workspaces are protected? Simply ensure that any surface you don’t want the liquid sandpaper getting on has been covered with a tarp, drop cloth, or some old newspaper. Once you have covered these surfaces ensure that the coverings are secure either with weighted objects or simply by using some painter’s tape.
Once your workspace is prepared you should ensure that you are protected as well. Since liquid sandpaper tends to give off a lot of harmful fumes, you should put on your face mask, eye protection, and gloves before you even consider opening the container. Ensure that all of your personal protective gear is secure and that you have all the tools you’ll need before proceeding to the next step in the process.
Prepare Your Workpiece
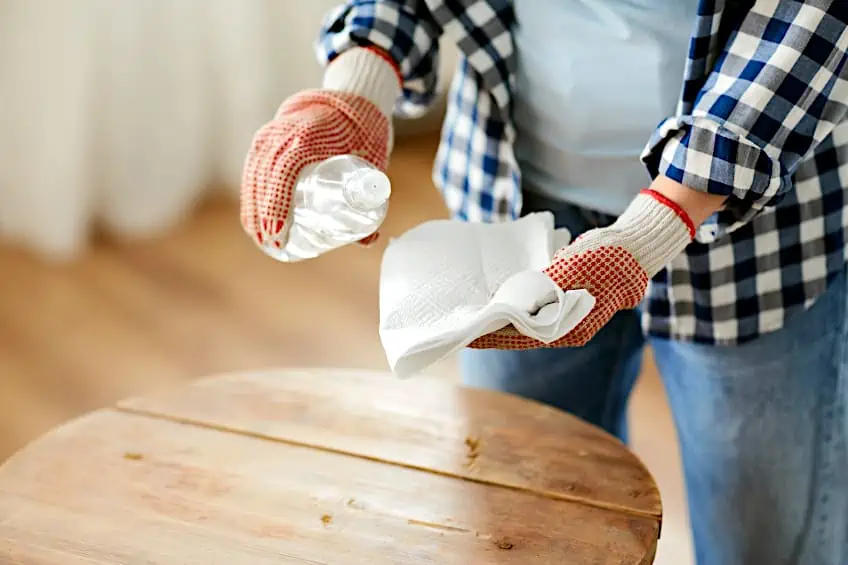
Just as you prepared your workspace, you’ll need to prepare your workpiece too in order to achieve the best results. How do you go about this? Well, considering that your workpiece has probably been standing for a while, you should clean it. Cleaning the surface of your workpiece is easy and should only take a couple of minutes. All that you need is some warm water and a clean cloth. Give the surface of your workpiece a good once over and ensure that any dirt or grime present on the surface has been completely removed. The goal here is to ensure that the surface is as clean as possible, as anywhere that the liquid sandpaper is applied will be affected. Applying liquid sandpaper to a dirty surface could result in a failure to strip the existing finish in this area.
Once you’re sure that the surface is clean, allow it to dry completely. If you are resurfacing a workpiece that is in constant contact with hands, feet, or foodstuff, you really want to ensure that it’s clean. Surfaces like these tend to build up quite a layer of dirt and grime over the years, resulting in a sort of film that could prevent your liquid sandpaper from functioning effectively.
If you’re having trouble cleaning your surface don’t be afraid to use cleaning products. The only catch when using these is to ensure that your workpiece doesn’t have any soap or cleaning residue on it when the liquid sandpaper is applied. Why? Just like dirt or moisture, it will prevent the liquid sandpaper from functioning effectively. That being said, give the surface a once over with a clean cloth once it’s dried and allow it to dry completely once more before moving on to the next step.
Apply Your Liquid Sandpaper
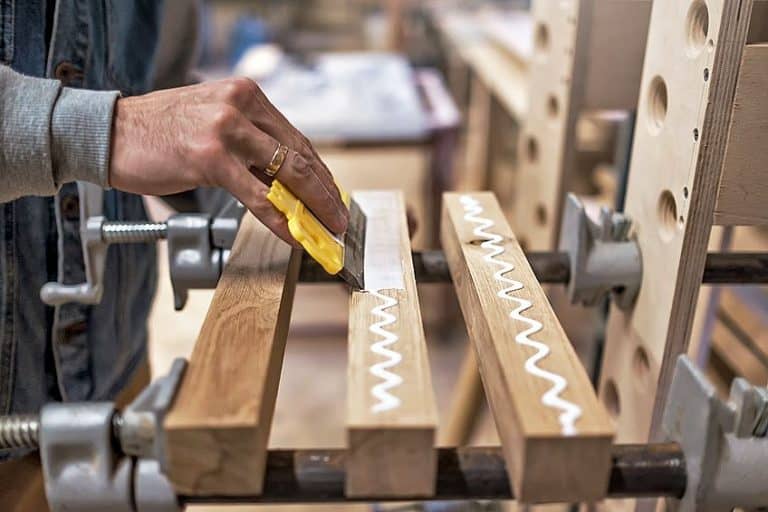
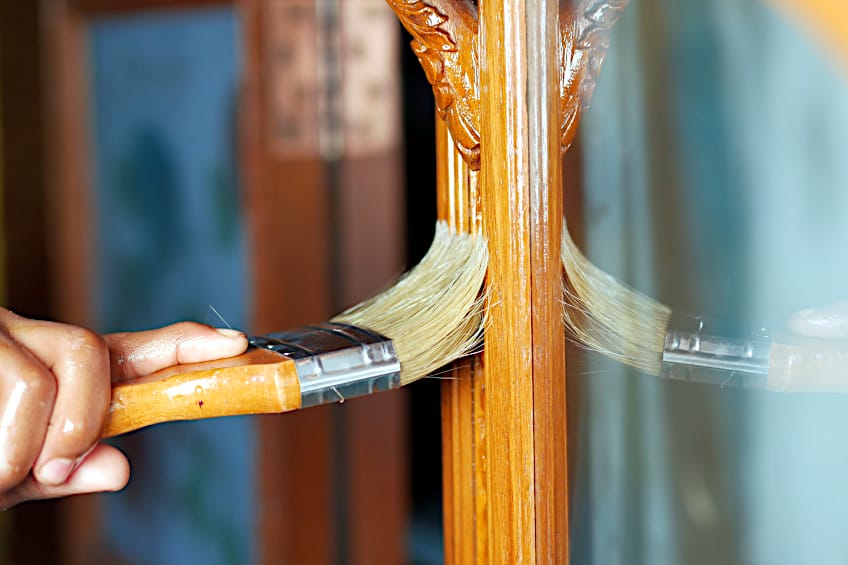
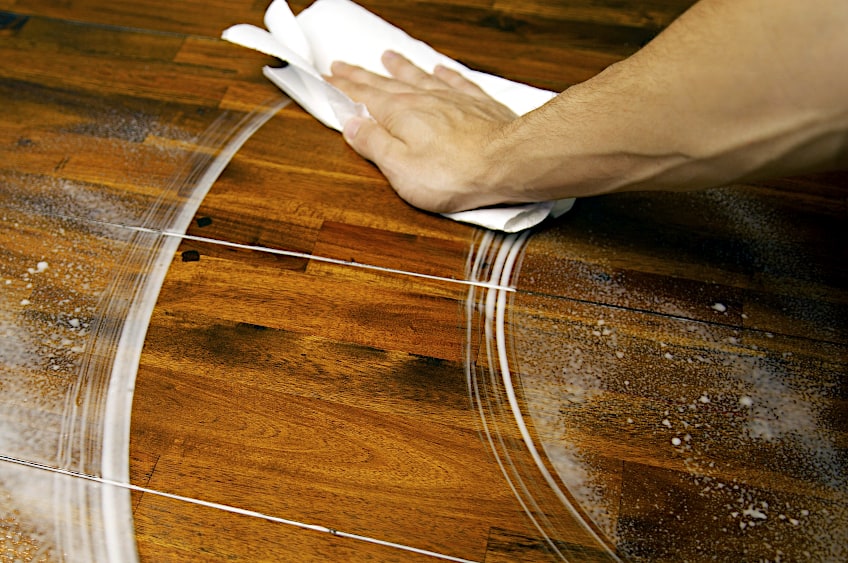
Now for the fun part. Grab your liquid sandpaper and open the container. You will be applying it directly to the surface of your workpiece, all that you need to do is pour some out on the surface of your workpiece in strategic places (so plan ahead!). Once the liquid sandpaper is on the surface of your workpiece, use a clean cloth or brush to rub it across the surface area.
The goal here is to ensure that the surface has an even layer of liquid sandpaper on it. Spread the compound out meticulously, ensuring that no one part has more than the other. While most professionals will advise using a cloth this isn’t always conducive with larger or irregularly shaped workpieces, two factors that typically warrant the use of liquid sandpaper, to begin with.
However, this doesn’t mean that you can’t use a combination of brush and cloth to ensure that the liquid sandpaper is evenly applied. Simply use the cloth to apply your liquid sandpaper to the primary surfaces and use the brush to get those hard-to-reach areas. Be sure to apply your liquid sandpaper to all the areas you wish to resurface.

Once you’re happy with how you’ve spread out the liquid sandpaper all that you need to do is allow it to work for the manufacturer’s recommended time period. This can vary from brand to brand and can depend on the grade and quality of liquid sandpaper you have chosen to use. You will then notice that the finish has begun to lift away from the surface of your workpiece. At this point, you might want to leave the immediate area and ensure that you set a timer for the period indicated by the manufacturer. After all, there’s no need for you to expose yourself to harmful fumes any longer than you have to. Once the time period has elapsed you can get another clean cloth in hand before moving on to the next step in the process.
Remove Your Residue
As you can see, using liquid sandpaper is super easy, but it’s important that the surface of your workpiece is properly cleaned once the liquid sandpaper has had a chance to do its thing. Leaving the residue on for too long could result in the surface of your workpiece being damaged, especially if you have overapplied the compound. How do you remove liquid sandpaper from the surface of your workpiece correctly? The best way to go about it is to use your clean cloth and simply gather it in one section of your workpiece before disposing of the residue. Wipe your cloth across the surface of your workpiece until you’ve gathered all of the liquid sandpaper residues, just ensure that you have your gloves on and that you don’t let any get into contact with your skin as it can cause some mild discomfort.
Something you should watch out for is liquid sandpaper that needs to be neutralized upon removal. What does this mean? Some types of liquid sandpaper need to be wiped away with a wet/damp cloth in order to deactivate the corrosive element in their makeup. While this doesn’t apply to all liquid sandpaper products, you should read the instructions beforehand and/or use a wet cloth just in case.
The goal here is to ensure that all of the residue has been removed from the surface, especially if you’re going to be resurfacing your workpiece with paint or wood stain later. Be sure to check all the contours and nooks when cleaning the surface so that no liquid sandpaper residue is left behind. Once you’re done, give your workpiece one last visual inspection before moving on to the next step in the process.
Ensure Your Surface Is Ready for Refinishing
Now that your workpiece is all nice and clean, you should ensure that the surface is ready for any finish that you’ll be applying in the future. Some types of liquid sandpaper simply require the surface of the workpiece to air out for a few hours, whereas others require you to wipe down the surface with a clean cloth and water to neutralize any residue in the wood fibers. We recommend doing both. Once your workpiece has had a chance to breathe for a few hours, get a wet cloth and wipe down the surface of your workpiece. This way, nothing is left to chance, and once your workpiece has had a chance to dry completely, you can start applying your new finish or reseal the surface as you’d like.
We do not recommend trying to apply your finish immediately after your liquid sandpaper residue has been removed. Not only could this result in your finish failing to adhere and cure correctly, but it could ruin your surface due to the interaction between the liquid sandpaper and your finish of choice.

Another thing to watch out for is products that only allow a limited time for your workpiece to be resurfaced. While this might seem a bit silly, some variations of liquid sandpaper only allow for new surface coatings to be applied within a certain time period. Failing to apply your new finish in this time period can result in poor adhesion and/or a poor-looking finish.
How Do You Dispose of Liquid Sandpaper?
If you’re concerned about how to dispose of your liquid sandpaper residue and the cloth that you used to remove it, you should be. After all, liquid sandpaper is corrosive, and even though it has been neutralized it can still pose a risk to the environment around you. Therefore, you shouldn’t just leave the residue on the floor of your workspace and/or workbench.
How do you dispose of the residue then? Well, if your residue and cloth are still wet simply leave them out and allow them to dry. Once they have dried out completely you can throw both the residue and the cloth away. This is generally acceptable unless your town or city has a specific ordinance against it.
For good measure, you can place your cloth and residue in a separate (smaller) trash bag to ensure that it doesn’t get mixed up with the rest of your waste. Regardless of whether or not you choose to do this, we highly recommend placing it in your outdoor refuse container as even though the substance has been neutralized it can still have quite a strong smell to it.
Disposing of Leftover Liquid Sandpaper
Liquid sandpaper is extremely convenient, but it is also extremely hazardous and should not be misused. Aside from storing and using it, you should also ensure that you dispose of any unused liquid sandpaper correctly. Unfortunately, liquid sandpaper cannot just be flushed down the drain or thrown away with the rest of your household waste. How do you dispose of the liquid sandpaper properly? Well, this depends on where you live and what services you have available to you. In most instances, you can simply take the liquid sandpaper to a hazardous waste disposal center. Most counties tend to have facilities like these, but if there isn’t one in your area, there are some other options you can explore.

If you don’t have a hazardous waste disposal team in your immediate area you can simply store your liquid sandpaper until you have the opportunity to have it collected. How do you properly store liquid sandpaper? All that you need to do is ensure that the container has been sealed in an airtight manner and store the container in a cool, dry place devoid of direct sunlight.
You should also ensure that the area in which you store your liquid sandpaper is not near anything that could produce sparks or an open flame. Liquid sandpaper is extremely flammable thanks to the chemicals in its composition, and if the contents or fumes are ignited it could result in a large fire and/or an explosion.
How to Clean Off Your Tools
Considering that liquid sandpaper is flammable and contains loads of VOCs, it’s probably a good idea to ensure that your tools are clean of all liquid sandpaper residue before you put them away. How do you remove liquid sandpaper from tools? All that you need to do is get a clean cloth and wipe the residue off. If it’s stubborn, you could use some warm water and a scrubbing brush to get rid of it.
While the smell of liquid sandpaper residue can be annoying, the reason you should clean your tools is that the residue can gunk them up, especially when you use a brush to spread it out. If you’re still having trouble removing your liquid sandpaper from a paintbrush, feel free to use some solvent but only if the residue has been neutralized.
Now that you know what liquid sandpaper is, what it’s made of, how to use it, and how to clean it up afterward, it’s time for you to get out there and put your newfound knowledge to the test. Remember that liquid sandpaper can be dangerous if it is mishandled, so ensure that your workplace is well-ventilated and that you are always wearing the appropriate personal protective gear.
Frequently Asked Questions
Does Liquid Sandpaper Work?
This depends on what you’re trying to do. Liquid sandpaper is essentially a stripper that allows you to remove high-sheen finishes and other types of surface coatings without the use of actual sandpaper. If applied correctly, and the finish you’re trying to remove isn’t too thick, it should work pretty well.
Does Liquid Sandpaper Work the Same As Regular Sandpaper?
No, it does not. Conventional sandpaper uses surface friction and repeated motion to remove and smoothen out material. Liquid sandpaper, on the other hand, simply corrodes the coating it’s applied to, allowing you to remove the residue once it’s done. It is not capable of smoothening or changing the contour of the surface it’s used on.
Can Liquid Sandpaper Be Used on Varnish?
Yes! Liquid sandpaper can be used to remove a number of surface coatings and wood treatment products. Liquid sandpaper can be used to effectively remove paint, gloss, and even varnish, given that it has enough time to work in.

I have been into woodworking since 2005 and woodturning since 2011. Because of my love for wood and woodworking, I started woodhappen.com to teach other enthusiasts about how to finish and seal wood, the best woodworking tools, the different types of wood, and everything else related to woodworking! Read more about me here.