Pallet Flooring – The Best Guide for Creating Your Own Pallet Floors
Are you looking for hardwood flooring at a fraction of the cost? How about adding a rustic cabin-in-the-woods type charm to that living room or man-cave? Sure, pallets may not have a consistent grain pattern and be free from knots, but they can offer durable and truly unique-looking wood flooring. With the correct guidance, DIY pallet flooring is doable. This article aims to introduce you to the concept and point you in the right direction, from selecting pallets to installing them as flooring.
What Is Pallet Flooring?
Pallet flooring is exactly that – Flooring that is made from deconstructed, wooden shipping pallets. The fact that hundreds of tons of old pallets land up on American landfills each year is an absolute waste of perfectly good building material.
A Lot of these pallets are made from hardwoods such as hickory, walnut, and maple. The planks that make up these pallets are usually standard sizes which means they are ideal for flooring but they may require a little machining to make them fit better.
PROS
- Environmentally friendly reduction in landfill waste
- It is easy and affordable to replace and repair
- Wooden pallets are easy to find
- Hardwood pallet flooring is very durable, especially when sealed
- Wood pallets are very affordable
CONS
- Some pallets may contain bacteria
- It may be difficult to find pallets with a consistent grain and no knots
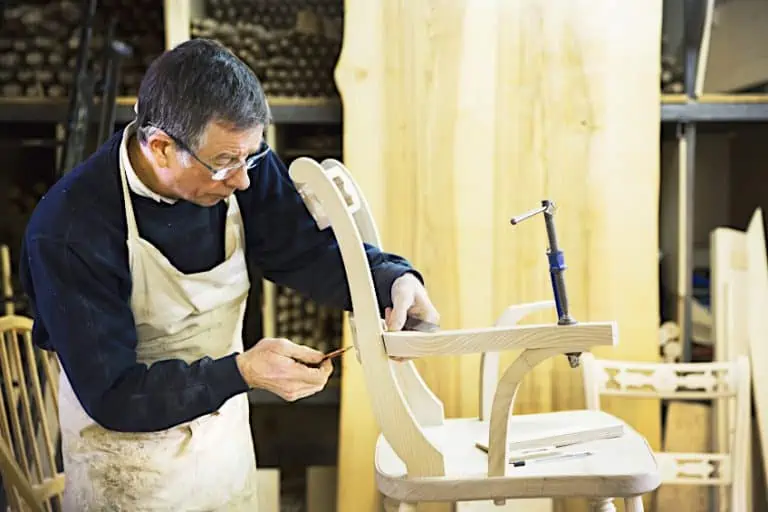
Must-Haves for Installing a Pallet Floor
Further in this article, we will be looking at how to install a DIY pallet floor. But first, you may be interested in some of the tools and adhesives that help you with this project. We have compiled a list of some of the best products to help you successfully install pallet flooring yourself. Read on to find out more.
Pallet Breaker
A pallet breaker will make the arduous task of disassembling pallets far easier.
PROS
- Specifically designed for pallet disassembly
- Does not damage pallet planks
- Saves time and energy
CONS
- Can be awkward to use because of the weight size
Benchtop Planer:
A benchtop thickness planer is perfect for achieving uniformity of pallet planks. It is perfect you all DIY projects especially when it comes to perfecting the installation of pallet floors.
PROS
- Saves you a lot of time
- Accurate results
CONS
- Expensive
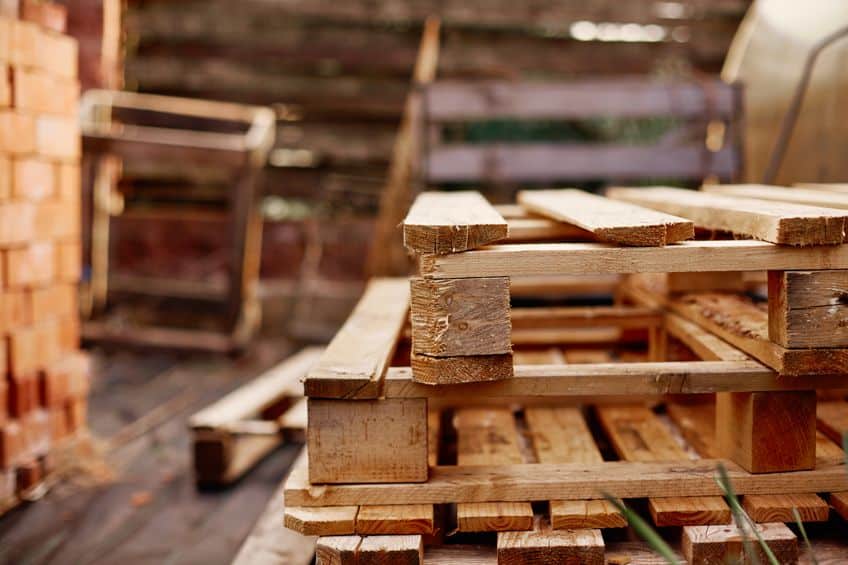
Collecting Pallets
Collecting pallets is the first step to DIY pallet flooring. There are some challenges that you may face when selecting the right pallets. This section aims to show you what to look for as well as what to avoid when searching for wooden pallets for flooring. Read on to find out where to source pallets and how to identify chemically treated pallets and other pallets that may be toxic. Later in this article, we will look at how to install a pallet floor. We will cover the most effective disassembly techniques and how to properly prepare the planks for installation.
Where to Look for Wooden Pallets
As previously mentioned, usable wooden pallets are widespread. However, the trick is knowing where to look. Collecting enough pallets to install a wood pallet’s floor may take a bit of time. It is best to be patient and selective.
One of the best places to look for wood pallets is anywhere that receives big shipments of merchandise. These places would include grocery and department stores, warehouses, and hardware stores. To save yourself some disappointment It is wise to call ahead to find out if they would be willing to part with them.
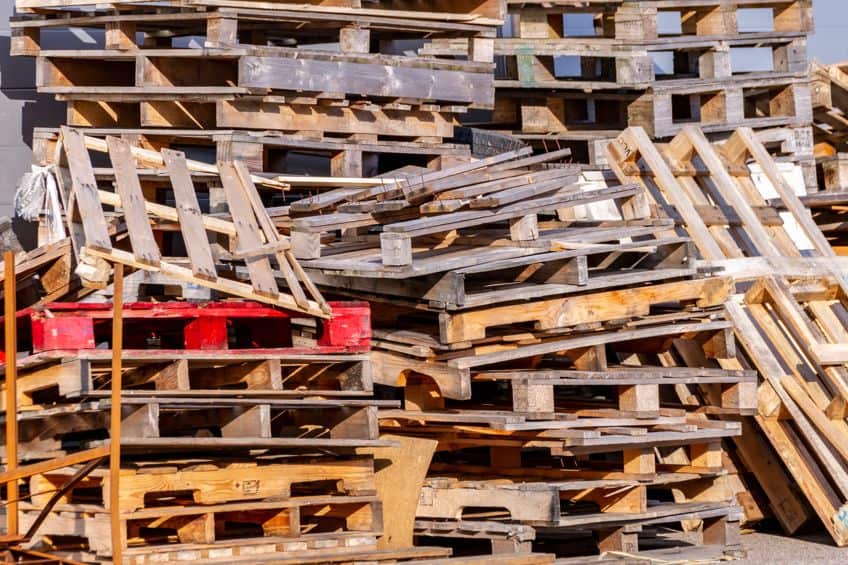
As a last resort, you can look for old discarded pallets at landfills or dumpsites. Pallets found in these areas have more chance of being in poor condition as they could have been exposed to the elements for a prolonged period. This may result in rotting of the pallets as well as fungi growth which can be toxic.
Selecting Pallets for Pallet Flooring
Some pallets will have stamps on them which help give you some information on what you are dealing with. Pallets that do not have any stamps are called national pallets and are usually used for shipping goods domestically, within a specific country. These pallets are not treated with chemicals and should be safe to use.
Safe Pallets for DIY Pallet Flooring
Pallets may have an “IPPC” stamp. “IPPC” stands for International Plant Protection Convention. These pallets are treated with methods that are safe and are designed to kill plant disease or invasive insects. Pallets that are treated with these methods will have a stamp on them. An “HT” stamp indicates that the pallet has been heat-treated. A “KD” stamp on the wood pallet indicates that the pallet has been kiln-dried. A “DB” stamp means debarked.
All of the above stamps are a sign that the pallet is safe to use for DIY pallet flooring.
Unsafe Pallets for Pallet Flooring
Some pallets may be stamped with “MB” which means it has been treated with Methyl-bromide. It is best to avoid these pallets as well as pallets with a “CT” stamp which means the pallet has been chemically treated. Avoid chemically treated pallets when searching for pallets for pallet flooring as these chemicals can be dangerous to your health. Be safe by following the advice mentioned above and if you are unsure it is best to leave it and move on.
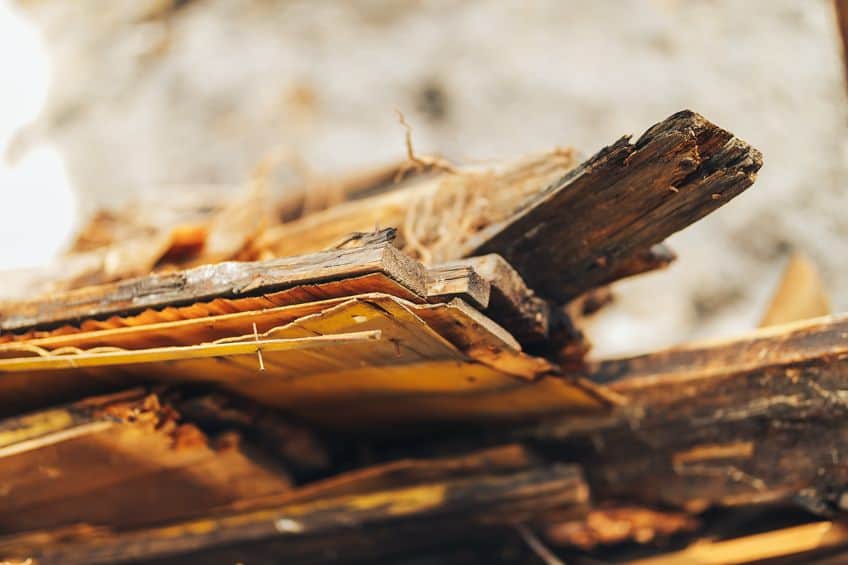
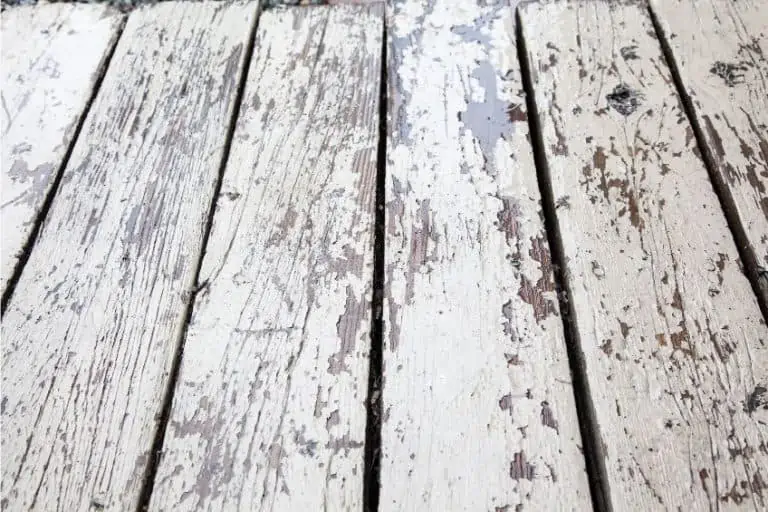
It is best to avoid pallets that have unidentifiable stains or spills on them. These pallets could have been used to transport toxic chemicals or meat which could carry bacterial growth such as e.coli or salmonella. These bacterias can be harmful to your health. Avoid pallets that seem to have color on them. These pallets could contain formaldehyde. As mentioned earlier in the article it is best to stay away from pallets that have been exposed to wetness for a long time. These pallets could be warped or contain fungal spores that could pose a threat to your health.
Wood Types
Pallets are made from a wide range of different woods. Some of them are hardwoods such as beech, ash, birch, and cherry. Some of them are pallets made from softer woods like cedar, spruce, and pine. Differentiating between the different types of pallet wood can be difficult unless you are very familiar with the different wood types.
It is important to note that having a pallet floor made up of all the wood varieties is OK and in most cases it is unavoidable. Just be aware that when working with these different woods they will all react slightly differently to sanding, planning, cutting as well as when it comes to sanding.
How to Install Pallet Floors
Once you have collected enough pallets for your project it is time to get to laying down the pallet floor. It may sound easy enough but there are a few things to consider as well as some important preparation that is needed before you rush into the project. What follows is an overview of how to install pallet flooring onto concrete.
We will cover disassembly, preparation, installation, and assembly. With a bit of guidance and patience, you will be enjoying your wood pallet flooring before you know it. After all, the most time-consuming part was collecting all those pallets, right?
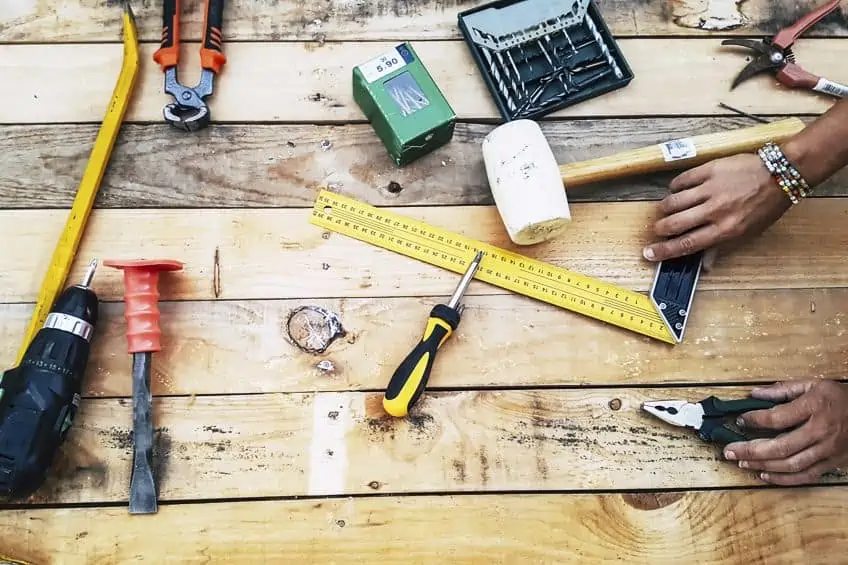
What You Will Need to Install Pallet Flooring
There are several pieces of equipment that you will need to install your own DIY pallet flooring. Here is a brief list of some of the most essential tools:
- Safety goggles
- Work gloves
- Dust mask
- Claw hammer, crowbar, or Pallet breaker
- Circular saw or hand saw
- Orbital sander or belt sander
- Dish soap and water
- Bleach
- A spray bottle
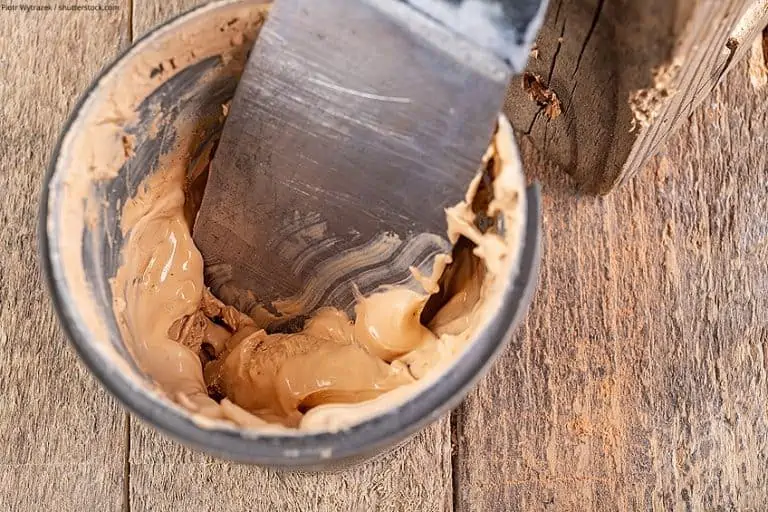
- Floor adhesive
- Roller, paintbrush, or notched trowel
Disassembly
There are a few ways to disassemble a pallet. Some of them are more effective than others. This is the most strenuous part of the project. Be sure to don a pair of work gloves and some safety goggles. Just to be safe. Use a claw hammer to gently but firmly pry the planks from the pallet. This tool may damage the plank. So take care. A crowbar or pry bar might give you some added leverage but the best tool for the job is a pallet breaker. It is a simple tool that gives you a lot of leverage and does not threaten to damage the planks of wood.
Go easy and make sure to start in the morning to avoid doing this job in the midday heat. Another way to get this done is to use a circular saw. This makes things a lot easier as you are simply cutting out a section of the plank leaving nailed ends behind. However, by doing this you sacrifice the length of the plank which may come in handy when trying to cover a large area of floor or if you are running low on pallets.
Preparation
Now that you have selvage as many planks as you can make sure that you have enough to cover the floor. One disassembled pallet could leave you with enough planks to cover 2 square yards, depending on how many planks survived the disassembly. Once you are certain that you have enough planks you will need to remove all the nails from the wood. Be sure to keep an eye out for staples too. A handheld metal detector can prove to be invaluable if you can get your hands on one.
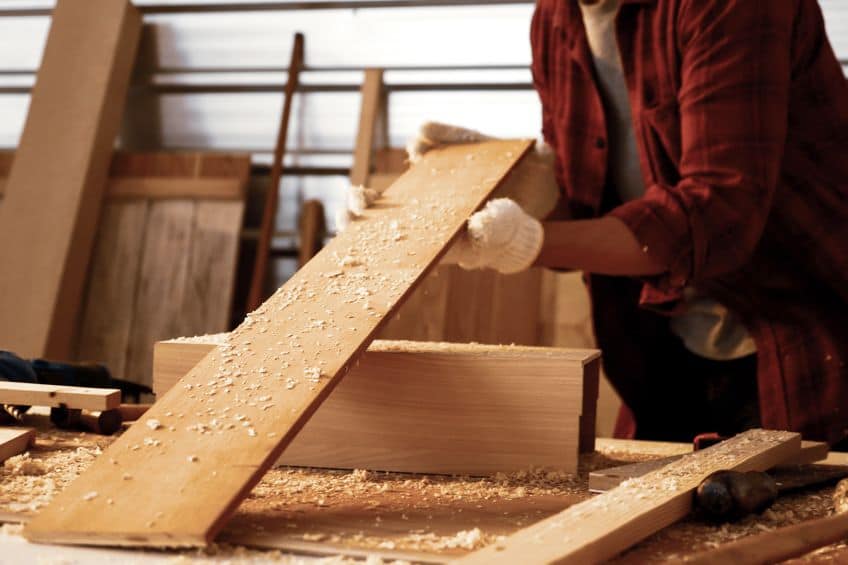
If there are any planks with damaged ends, use a circular saw to cut them off. If you want to achieve a smooth level floor it might be an idea to run all the planks through an electrical planer.
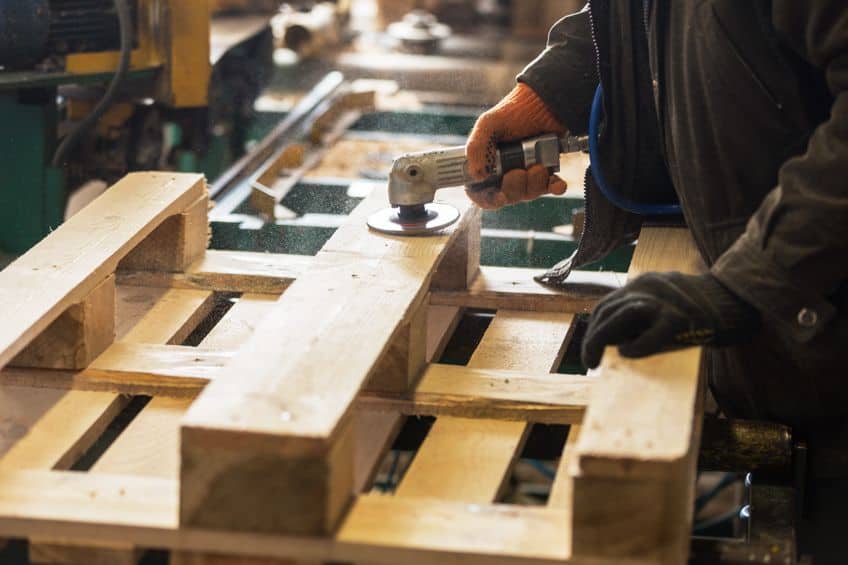
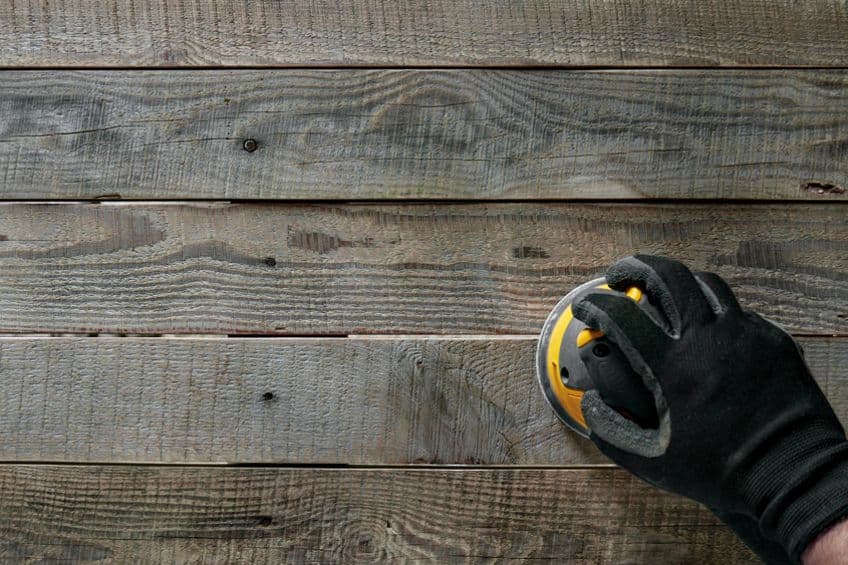
This will help you achieve uniformity in the thickness of the planks. Once this is out of the way it is time to get sanding. Use orbital sand or a belt sander. Be careful and be sure to don the appropriate safety gear such as goggles, a dust mask, and gloves. When sanding the planks, remember that you are trying to get a smooth finish. Wash your planks with dish soap, water, and a scrubbing brush to remove any grease or grime that may still be on the surface of the wood. In a spray bottle mix up and solution of one part beech to three parts water and spray the surface of the planks. Allow the planks to dry in an area that is out of the weather.
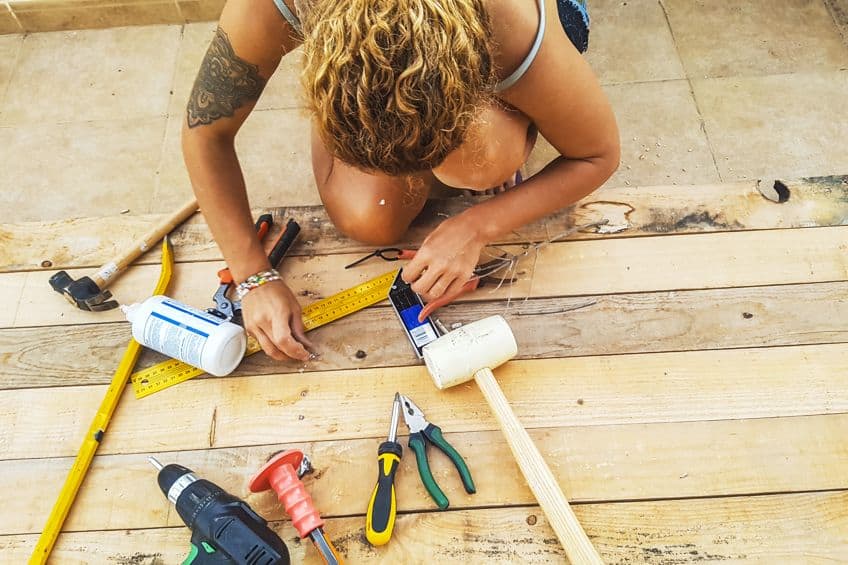
Laying Down Pallet Floors
First, remove the old flooring as well as any skirting. Clean the area thoroughly by removing any leftover adhesive or dirt. You may want to apply a moisture sealant to the concrete floor. To test if this is necessary you can tape down a piece of clear polyurethane sheet to the floor. After 24 hours you may notice that water droplets are forming on the plastic. This is a sign that you need to apply a coat of concrete moisture sealer.
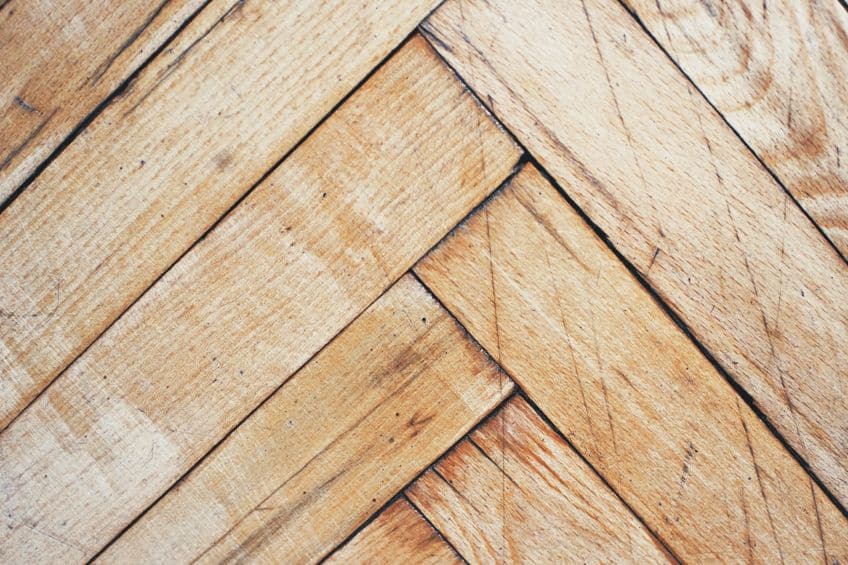
Have a look at the different floor patterns available. There are a few to choose from such as herringbone, chevron, brick bond, and mosaic. Choose which one works for you. Bear in mind that you will be dealing with planks of wood of different shades so spread them around out so you do not have too many of the same shade in one area.
Use a good quality floor adhesive to stick down the planks. You may want to lay down a subfloor as this can give your floor added strength but it is not entirely necessary. Work from one end of the room to the other sticking down the planks while allowing 10 millimeters of space between the wall and the planks. The adhesive can be applied with a brush, roller, or notched trowel but for the best results, it is best to refer to the manufacturer’s instructions.
Allow at least 24 hours for the adhesive to cure before resuming normal use of the floor. At this point, you may want to stain the wood or apply a high gloss finish. However, you may opt for a rough and ready rustic look. Whatever you choose you can rest assured that you now have a durable floor that did not break the bank and that will be easy and cheap to maintain.
Tips and Tricks for DIY Pallet Flooring
DIY pallet flooring is a large undertaking and you may come up against a variety of different challenges. Here is a list of our top tips and tricks to make your pallet flooring as smooth and easy as possible.
- When sticking pallet floors down onto the concrete, use strong tape to prevent the planks from shifting before the adhesive dries. Peel away the tape once the adhesive has cured completely.
- Some pallet wood tends to be quite splintery. Be sure to wear a pair of tough work gloves to protect your hands when handling pallets, especially when it comes to disassembly and machining.
- If you are looking for a rustic-looking floor , skip the sanding process and apply a clear polyurethane coat to the sealing floor. If you are wanting a more professional finish consider renting a drum sander to achieve an ultra-smooth professional-looking pallet floor.
- During the process of collecting pallets make sure that people that you know (especially store owners) are aware that you are collecting pallets. This way, when people come across pallets they’ll be reminded of you and hopefully send them your way.
- A circular saw is a great way to make quick work of disassembling palettes. However, if you have not had any experience using power tools, try using a hand saw. It may not be as quick but it is a far safer method.
- It is always best to seal a wooden floor even if it is made out of pallets. This will prevent it from absorbing the moisture that could lead to fungi growth. Sealing wood also makes it more resilient to stains and easy to clean.
- When collecting pallets it is best to be selective and to avoid stained, warped, or crooked pallets. Ideally, you want pallets with an “IPPC” stamp. Avoid chemically treated pallets. These will either bear a “CT” stamp or “MB” (Methyl-bromide) stamp.
Although the process of collecting enough pallets to install pallet flooring may take some time, it can be a very rewarding experience. Not only because of the money you saved in the process but the floor you create will be one of a kind and you can be proud of the fact that you have reused something that may have just rotted away if you had not intervened. That aside, be sure to follow the guidelines for collecting pallets safely and take care when working with power tools. Where the correct safety gear and lastly, enjoy the process!
Frequently Asked Questions
Can Pallet Planks Be Used for Flooring?
Pallet wood may be rough and contain knots as it has not been refined. This does not mean that it can not be used for flooring. Pallet wood is still good timber and ideal for flooring. Collecting usable pallets is the biggest hurdle but it is doable with some patience and discernment.
How Much Do Pallet Floors Cost?
Pallet flooring costs will depend largely on how you source your pallets. In some cases, you may be able to source pallets for free. In other cases, you may have to pay for the pallets. Generally speaking, pallets are cheap. A pallet flooring can cost as little as 200 dollars if you plan to install the planks yourself.
Can I Use a Claw Hammer to Disassemble Pallets?
A claw hammer or a pry bar will help you disassemble pallets but there is a chance that you could damage the planks. The best tool for disassembling pallets is a pallet breaker. This simple yet specialized tool will give you a good amount of leverage thus making disassembly easier.
Can I Install Pallet Floors on Concrete?
Yes, you can install pallet floors on concrete. Make sure that the concrete is sealed with a moisture barrier and use a strong flooring adhesive. This will prevent moisture from disrupting the adhesive, thus making your pallet flooring last a lot longer.
How to Remove Nails From Pallets?
Removing nails from pallet planks can be a pain. A claw hammer will do the trick but sometimes the nail will be embedded. In this case, try driving the nail through using a thin center punch or another nail. When all else fails just cut out that section of wood.

I have been into woodworking since 2005 and woodturning since 2011. Because of my love for wood and woodworking, I started woodhappen.com to teach other enthusiasts about how to finish and seal wood, the best woodworking tools, the different types of wood, and everything else related to woodworking! Read more about me here.