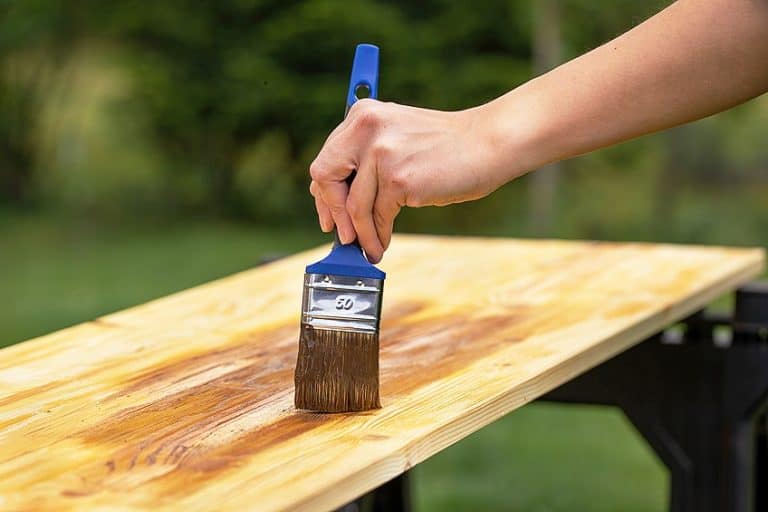
How to Seal Painted Cabinets with a Cabinet Sealant
Many surveys have revealed that the kitchen is the best and most used room in your house. Your kitchen cabinets are some of the most important aspects of your kitchen, as they provide you with storage space as well as enhance the appearance of your kitchen as a whole. You can preserve and protect your wooden pieces with the best clear coat for kitchen cabinets.
How to Seal Painted Cabinets with a Cabinet Sealant
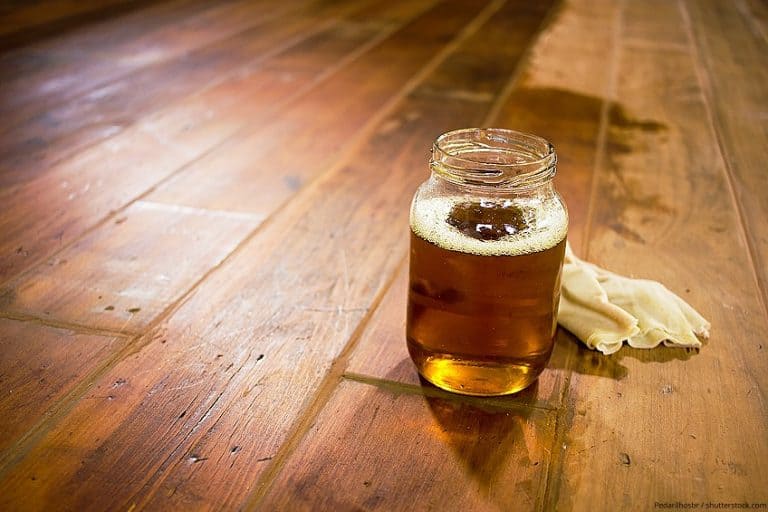
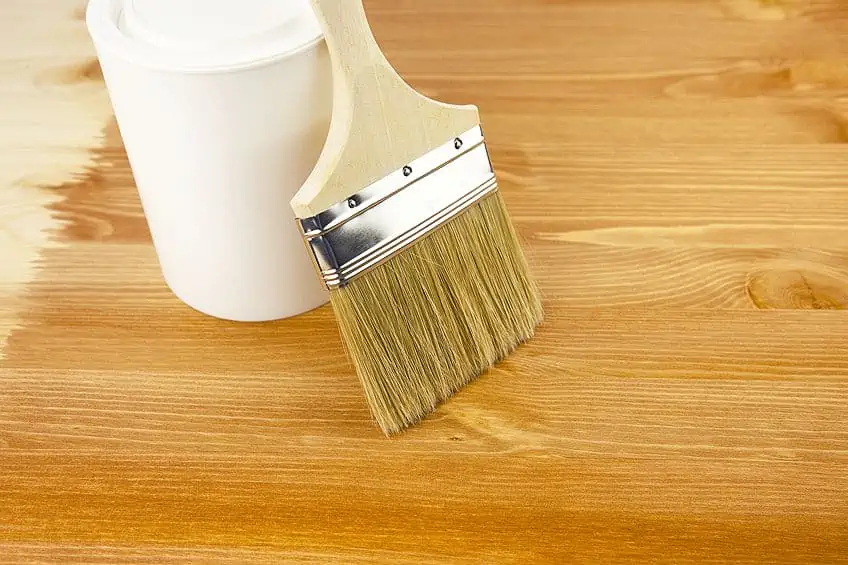
A clear coat of cabinet sealer can be applied to all your wooden cabinet surfaces, including painted, stained, or unfinished wood. The sealer will nourish and protect the wood from any stains or spills, as kitchen cabinets are continually exposed to water and heat.
Yellowing of the Finished Coating
You might want to know that all clear finishing coat products such as polyurethane, lacquer, stains, and oils may turn yellow over time if applied over white paint. The yellowing process is dependent on several different factors, including dyes, the type of wood, not complying with the manufacturer’s instructions, and moisture in the wood.
This process is difficult to predict, however, as some users experience no yellowing where others will experience yellowing over time. However, it is impossible to guarantee that any particular product will not yellow when applied over white paint.
Resistance to Scratching
All kitchen cupboards store metallic items that have sharp points like knives, forks, or spoons, all of which can scratch the surface. Thus, you need to make sure that you buy a cabinet sealer that is unaffected by scratching, or else your metallic utensils may destroy the coated surface of your cabinets. You should also consider whether your clear coat can withstand excessive heat and dampness.
Solid Coating
If possible, try to choose a solid clear coat, as it will be thicker, which means more durability and water-resistance. You will save on money and your time, as you will not have to reapply a top coat for painted cabinets anytime soon.
Cost
We are all aware that whenever we buy a more expensive product, it is generally better. However, most of us have to stick to what we can afford. So, if you are going to buy a cheaper clear coat, make sure it has excellent reviews and that it will suit your purpose.
Type of Wood Finish
If your wooden kitchen cupboards are unfinished, it is recommended that you use an oil-based cabinet sealer. This protects the wood, but will also remove the raw wood look. However, if you do not choose an oil-based cabinet sealer, it is recommended that you first stain the wood and then apply the clear finished coat.
Clear-Coat Appearance
It is important to consider the smoothness of the clear coat finish, as you get satin, semi-gloss, and gloss varieties. A high-gloss finish may be a good choice, as it is easy to keep clean by just wiping it down, where a satin finish may require more elbow grease to clean off.
Also, remember that the texture must be suited for the purpose. For example, a high-gloss finish is not acceptable on the floor, as it will make it very slippery. Your kitchen cabinets will look amazing in a semi-gloss finish, as it will fit into the aesthetic of your kitchen.
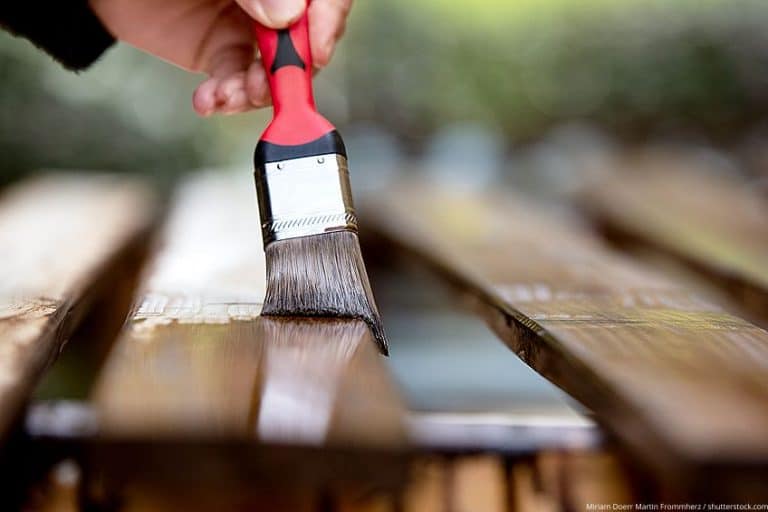
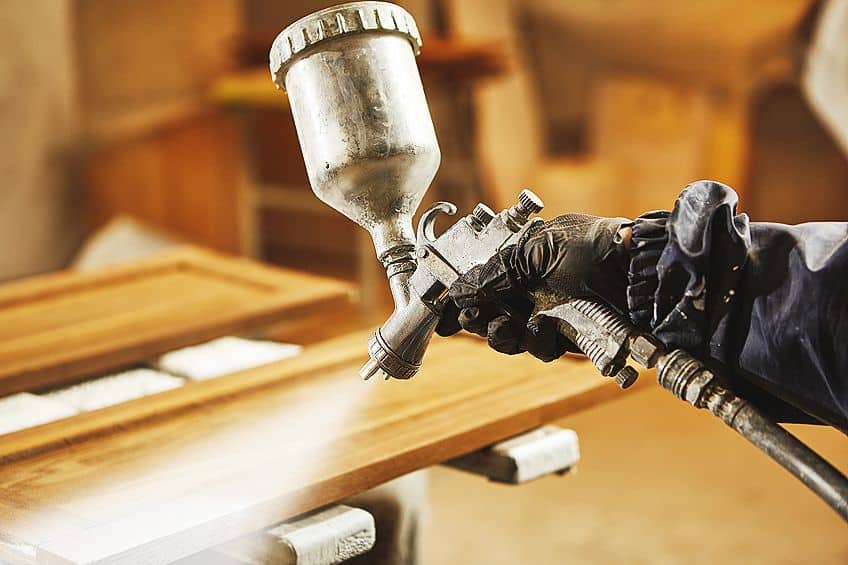
How to Apply Lacquer to Your Kitchen Cabinets
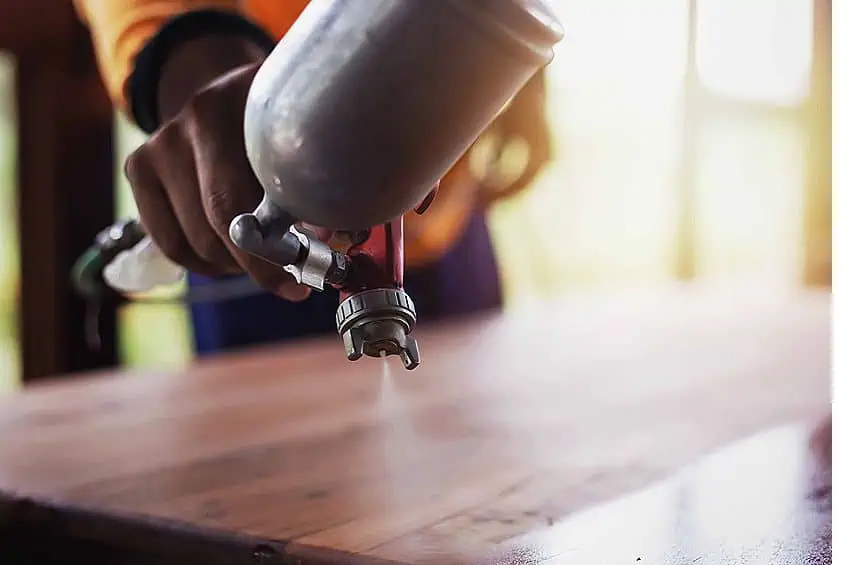
You can apply a lacquer to your kitchen cabinets either by using spray equipment or with a brush. While spray equipment is the recommended choice, you can also achieve a beautiful finish over your wood by using a brush provided you take the proper care to do it correctly.
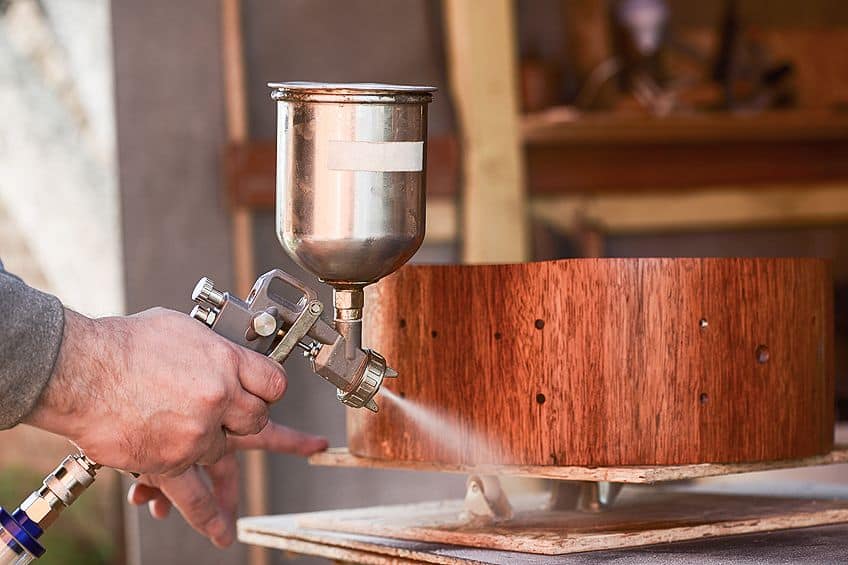
Using Spray Equipment
Even though you can use a brush to apply lacquer, you should use spray equipment to apply it properly. This means you must work in a well-ventilated area, as spraying emits noxious odors and is also flammable. We also suggest that to get the desired results with lacquer, you remove the doors before spraying and, if possible, spray the cabinets before they are installed.
- Remove the doors, screws, and bolts before you start and keep them somewhere safe.
- Sand the wood down using various grades of sandpaper and finish with a 150-grit.
- You then need to apply a stain straight away while the wood grain is still open. If you are working with birch or a knotty pine that absorbs the stain unevenly, use a brush to apply a wood conditioner first and allow it to dry overnight.
- Your wood is now ready to be sprayed with the lacquer. If you use regular lacquer, you will need to thin it with some lacquer thinner in equal amounts. If you are using a type of lacquer that can be sanded, then it needs to be thinned using 20% lacquer thinner.
- Pour the thinned lacquer into your cup until it is around three-quarters full, and then attach your air hose and turn on the compressor. Put on your respirator and spray the first wet coat, which will take around 10 to 20 minutes to dry
- Using a 220-grit piece of sandpaper, sand the surface down and wipe off the excess dust with a clean, dry cloth. Now you can spray the second, third, and all subsequent coats until you have reached your desired finish. Generally, three coats are sufficient.
- Now, you can spray the final finish coat. This should be thinned just enough to make it sprayable. You do not have to sand the finish coat.
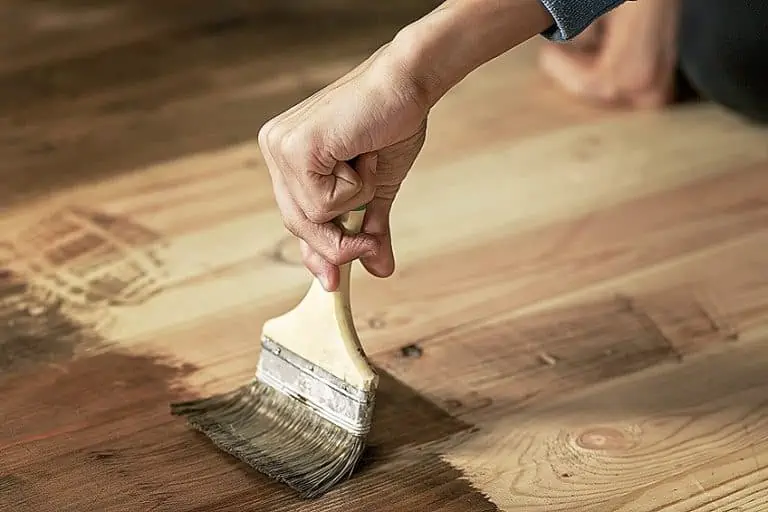
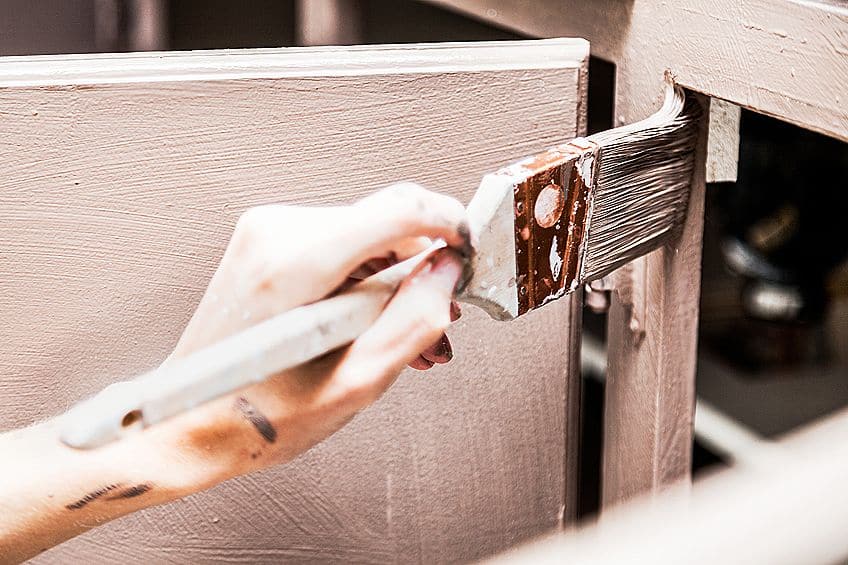
Using Brushes
It has often been said that the only way you can end up with a perfectly smooth wood surface is to apply a coat using spray equipment. However, if you take the time to prepare the surface correctly and follow the correct procedure, you can end up with a perfect, smooth wood surface by using a paintbrush and lots of patience.
- Start by preparing your kitchen. Clear out your cabinets and all loose appliances on the countertops. Mask off the walls around the cabinet and spread plastic over the floors and any other area that needs to be protected. Remove all the doors, shelves, and all the hardware, being sure that you store it all in a safe place. Clean all the remaining surfaces such as the door frames and sides of the cabinets, and wipe them with a clean, dry cloth.
- If there are any gaps or cracks in the wood, you need to fill them with wood putty. Sand the edges until all the sharp points are removed and the surface is smooth.
- Sand down the doors and the drawers. Use a 100-grit piece of sandpaper for this and wipe the surfaces clean with a clean, dry cloth.
- Using an oil-based primer, prime all the wooden surfaces and allow them to dry overnight.
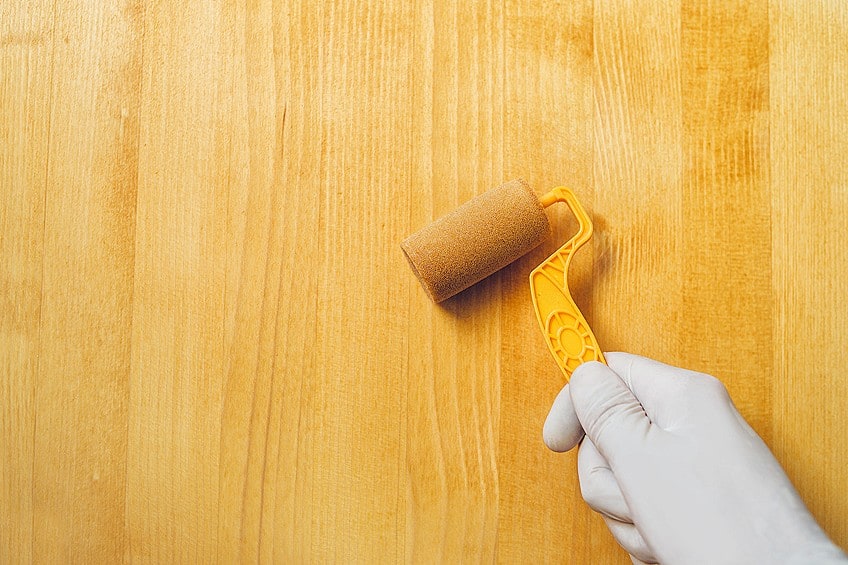
- Now, you can apply your lacquer coat sealer using a brush or a paint roller. Always paint from top to bottom and across the grain, finishing by going with the grain.
- Using 280-grit piece of sandpaper, sand down the surfaces between coats. Lastly, apply the final finishing coat and allow 24 to 48 hours for the surface to dry properly.
- Hang the doors up again and return the drawers. Remove the tape and plastic sheeting and the job is done!
What Are the Benefits of Using a Clear Coat for Kitchen Cabinets?
The top coat for painted cabinets does not only protect the wood from spills, stains, and heat, but also enhances the beauty of your kitchen. The application of a clear coat will help to prevent possible damage to your kitchen cupboards. The following are some more benefits for using a clear coating on your kitchen cupboards:
Shine
A clear coating on your kitchen cabinets will bring out the shine when the sun and other lighting reflects off of it. This appears to bring life to the wood.
Residue-Free
In some cases, when using paint for your kitchen cupboards, there is a residue left behind. However, with a clear coat for cabinets, this will never happen. A paint coating tends not to cover rough edges, but a clear coat will have no problem, as it covers any rough edges perfectly.
Avoids Degradation
If you have a sunny kitchen, there is a possibility that the sun may degrade the painted surfaces. This will happen unless the paint contains a UV-resistant element. However, if you apply a clear coating over the painted surface, it will protect the paint, as it is formulated to offer UV protection.
Prevents Chipping
Painted surfaces tend to chip after a time, but applying a clear coat over the paint will stop any chipping from taking place. Especially in the kitchen, varying temperatures could cause the painted surface to crack as it expands and contracts. The application of a clear coat will overcome this problem.
Choosing the Best Clear Coat for Kitchen Cabinets
When you are painting anything in your home, the final finish is what counts. You may have the best wood, clear coat, and tools, but if the final finish is not right, then all the effort you put in will have been a waste of time. With this thought in mind, we are going to help you choose the best product for sealing painted cabinets in your kitchen.
Best Overall Clear Coat for Kitchen Cabinets: MINWAX Polycrylic Protective Finish
Minwax Polycrylic Finish is one of the leading brands for wood care and finishing products in America today. Almost everyone has made use of it at some time or another when renovating their kitchens. It is used in the preparation, protection, cleaning, maintenance, and repair of wood surfaces, keeping the wood surface durable and beautiful.
This product is not only used to protect and beautify your kitchen cupboards, but can also be used on doors, furniture, and other indoor wooden surfaces. The finish is water-based and produces a crystal clear, fast-drying clear coat that gives a long-lasting protective layer to your wood surface. Because it is water-based, it will give you a much harder finished surface, and it has a fast drying time.
This finish is ideal for use on light woods such as maple, birch, and ash, as its crystal-clear finish brings out the beauty of the wood, and it is effective when applied over water-based wood stains.
Pros
- Low odor and safe to use
- Used and trusted by many happy people
- Available in various sheens
- Dries very quickly
- Provides excellent protection and durability
- Easy to clean up
- Long shelf-life
Cons
- Not completely waterproof
- Tends to be very thin
The product is designed to give you an ultra-fast drying time, which means that you can apply the second coat within two hours. This product is also supplied in various types of sheen such as matte, semi-gloss, gloss, and ultra-flat. The low odor makes it safe for children and pets, it will not yellow, and it is easy to clean up by simply using soap and water.
Premium Clear Coat for Kitchen Cabinets: GENERAL FINISHES High-Performance Water-Based Topcoat
There are many options available as a finish for your kitchen cupboards. These include stains, polyurethanes, oils, or lacquers. However, the General Finishes High-Performance Water-Based Topcoat is regarded, worldwide, as the very best polyurethane for kitchen cabinets and most wood finishes on the market today.
This clear topcoat comes in all three main sheens available, being semi-gloss, satin, as well as gloss, which covers all wood applications including your kitchen cupboards. If you want an even higher sheen or shine, all you need to do is buff the surface, although this is a lot of extra work. Another major advantage of this product is that it also contains UV stabilizers, which will stop the sun’s rays from breaking the coating down. This is useful if your kitchen gets a lot of sun.
Many products that contain UV stabilizers are recommended for outside use, but this product is created only for indoor use. It gives you a very durable, high-grade clear coat finish that can withstand scratching and most harsh conditions.
Pros
- Contains UV stabilizers
- Water-based and quick-drying
- Comes in numerous sheens
- Durable and thick clear coating
Cons
- Fairly expensive
- Can only be used indoors
- Can become yellow over time
The designed finish of this amazing product concentrates mainly on its durability more than its other features. This characteristic was foremost in the manufacture’s thoughts when developing this product. So, if you are looking for a durable, strong, and clear finish for your kitchen cabinets, this product is a must. This top coat is very useful when used on floors and can cover between 125 and 150 square feet.
Best Value for Money Clear Coat for Kitchen Cabinets: VARATHANE Polyurethane
Rust-Oleum is one of the most proven and trusted names in the paint manufacturing industry. This Varathane Water-Based Ultimate Polyurethane has been specially developed to bring out your wood’s natural beauty because of its high-clarity, crystal-clear finish. It is also durable and gives your wood a protective layer from damage caused by staining or scratching, and preserves the good quality of your wood surface.
This sealer coat also has an ultra-fast drying time because it is water-based, drying to the touch within 30 minutes. You can easily apply the second coat within two hours. You will be able to cover an area of around 125 square feet with this product. Everything should be easy to clean up afterward with some soap and water.
Pros
- Crystal-clear finish
- Reasonably priced
- From a very trusted brand
- Water-based
Cons
- Thin consistency means that more coats are required
- High-clarity finish may not be suitable for all applications
If you are looking for a finish for your kitchen cabinets that has maximum gloss, then this clear coat is what you need. This type of finish is great for your kitchen cupboards, although we do suggest that you give your cabinets a good stain before you apply the clear coat. This is due to its high clarity finish, which could leave your cabinets with a rather plain look otherwise. So, applying a light stain first will ensure the best possible finish, which should last for a long time.
Can You Use Lacquer as a Clear Coat for Kitchen Cabinets?
Using lacquer will not give you the same durability as a polyurethane finish, but its impact resistance, flexibility, and sheen far exceed other clear coat finishes for your kitchen cupboards. It will provide you with a clear coat that is waterproof, chip-resistant, and breathable, with a sheen of various levels, from high gloss to matte. With daily wear and tear, its sheen may become dull, but with a little buffing and polishing, its luster can be restored. Before making a decision about the whether lacquer is best for your kitchen cabinets, let us guide you through some advantages and disadvantages of this type of coating.
Benefits of Using Lacquer on Your Kitchen Cabinets
There are a number of advantages to using lacquer as a coating for your kitchen cabinets. These include the fact that lacquer is quick to dry, easy to use, long-lasting, and can be used to resurface your countertops with a choice of several types of finishes.
Lacquer Dries Very Fast
This is a major advantage for lacquer on kitchen cabinets, as you do not have to wait for it to dry. If you use the lacquer at room temperature, then it should dry within 15 minutes. You can then sand it down and apply the second coat, which can be completed within an hour. Lacquer dries particularly quickly when compared to other clear coatings, which can take from 72 hours to seven days to dry properly.
Lacquer is Ready to Use Straight Away
You can use your lacquer straight from the container without having to mix or thin it first. You also do not have to apply it in any special way to ensure proper curing. It is thin enough to apply using a brush, although it is preferable to apply it using a spray gun, as this will give you an amazing finish to your kitchen cupboards.
Lacquer Provides a Long-Lasting Surface Finish for Your Kitchen Cabinets
A lacquer finish on your kitchen cabinets will outlast any of the other coatings like polyurethane, stains, varnish, or shellac. It may not be as durable as the other coatings, but will last longer without flaking or yellowing. It also seals your wooden surface by penetrating deep into the wood fibers, which is better than that of a topcoat. You will need just two layers, which can last for up to 10 years.
Using Lacquer to Resurface Your Kitchen Cabinets
Before you coat your kitchen cupboards with lacquer, you need to ensure that there is no yellowing, staining, scratching, or damaged areas on the wooden surface, as these will leave a grey color that is locked into the surface. To remove these problems will take a great deal of hard labor, so it is essential to take good care of your cabinets to avoid such problems.
Lacquer Comes in Three Finish Options
Lacquer is supplied in a matte finish, which gives you a dull finish and is not all that popular. Then there is a medium finish, which brings out the grain and natural hue of the wood and is used by most people resurfacing their kitchen cabinets. Lastly, there is a high gloss finish, which gives you a reflective surface, but it also shows dust more easily.
Disadvantages of Using Lacquer on Your Kitchen Cabinets
As with all things, there are also several disadvantages to using lacquer on your cabinets.

Lacquer Only Gives Your Cabinets Around 10 Years of Life
When you use lacquer on your kitchen cupboards, you only have up to ten years of life under normal conditions. However, if you cook and use heat often in your kitchen, the life span can be reduced down to five years. You will have to renew the surface by sanding down the wood surface and applying a new layer of wood lacquer. Areas that cause the lacquer to break down are around the sink and stove, as this is where steam and water are used, thus causing the lacquer to change color and become yellow.
Surfaces Coated With Lacquer Tend to Become Brittle
This type of problem becomes more prevalent when your kitchen has heavy use, where you will discover fine cracks appearing on the doors and the joints. This is mainly due to moisture and temperature changes, which cause the wood to expand and contract. The fine cracks are what causes the lacquer to become brittle.
When You Lacquer Kitchen Cabinets, Blushing Can Become a Problem
If you do not follow the correct process when applying the lacquer to your kitchen cabinets, blushing can result. This will become evident almost immediately, as milky-white marks appear as soon as the lacquer dries. This is due to moisture underneath the surface of the lacquer. If spraying the lacquer, make sure that there is no water or moisture in the airlines of your spray equipment and that your equipment is clean and dry. This type of problem may also occur when there is high humidity in the surrounding area.
A Lacquered Surface is Not Chemical-Resistant
If the lacquered surface comes into contact with water, salt, or other chemical products, that area will form spots and change color. The lacquered surface is not heat-resistant, so if any of your kitchen cabinets are near a heat source, you need to make sure that you apply an extra coat or two to protect the surface from the heat.
Lacquer Does Not Keep for Long
The lacquer will only last on the shelf for about 3 to 6 months, so be sure to buy only enough to complete the refinishing of your kitchen cabinets. If you try to use the lacquer after its shelf life has expired, then the result will not be what you desired and planned for.
View our Sealing Painted Cabinets web story here.
Frequently Asked Questions
Can You Use Polyurethane Over Paint?
Yes, you can use polyurethane over paint as long as you clean the surface, ensuring that everything has been prepared properly.
Are Oil- and Water-Based Paints Different?
Oil-based paints form a layer that is thicker, making them wear-resistant and able to withstand high loads. Oil-based paints have a solvent that can be toxic and will take longer to dry. Water-based paints dry more quickly and are less toxic due to their water base.
When Can You Wash a Painted surface?
The painted surface usually gains strength after about two weeks, but the longer you wait, the better.
Can a Clear Coat be Applied Over a Painted Kitchen Cabinet Surface?
Yes, and doing so is preferable as it saves the surface from abrasions. Without the clear coating, the paint can dry out, crack, chip away, and eventually peel off.
Is There a Specific Type of Finish For Kitchen Cabinets?
The best polyurethane for kitchen cabinets is a topcoat with a semi-gloss, which will stop the shine from the paint coat underneath from coming through. However, shinier topcoats are often preferred for kitchen cupboards.
How Many Layers of Clear Sealer Can be Added to Kitchen Cabinets?
Most people apply two coats, but three coats will give you that extra layer of protection and finish.

I have been into woodworking since 2005 and woodturning since 2011. Because of my love for wood and woodworking, I started woodhappen.com to teach other enthusiasts about how to finish and seal wood, the best woodworking tools, the different types of wood, and everything else related to woodworking! Read more about me here.