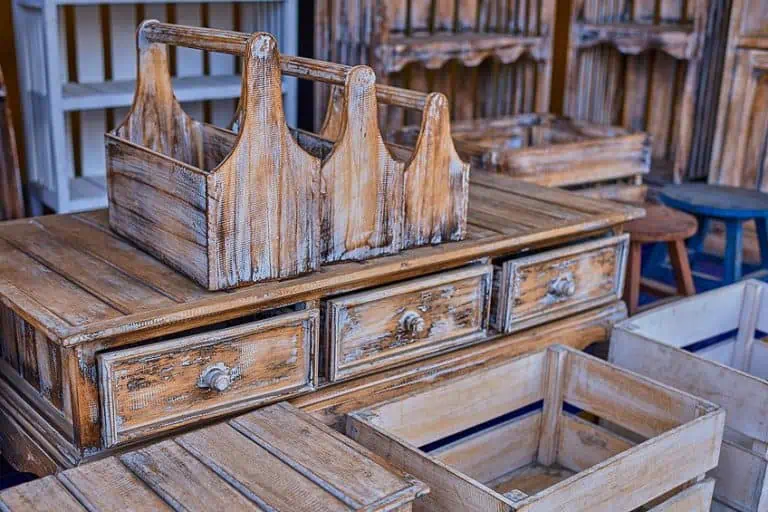
Can You Screw into Wood Filler? – How to Use Fasteners in Putty
Wood filler is one of the easiest ways to repair damage to a wooden workpiece, but many are unsure of its limitations. Can you screw into wood filler? What are the weight tolerances? Will the repair last? These are all excellent questions to ask when your workpiece in on the line. That being said, let’s have a look at what wood filler is and whether you can drive screws into it once your workpiece has been repaired, not to mention if the repair will be affected by the addition of your fastener.
Can You Screw into Filler?
Finding wood filler you can screw into is pretty easy considering that most wood filler brands these days can design their products with fasteners like screws and nails in mind. That being said, screwing into wood filler is entirely possible, but before you do it’s best to understand how to do it correctly to avoid damaging your filled area again.
How to Screw into Wood Filler
The type of wood filler you can screw into is generally any filler that will not crack once it has dried and cured completely. Simply put, wood filler is not able to handle most fasteners.
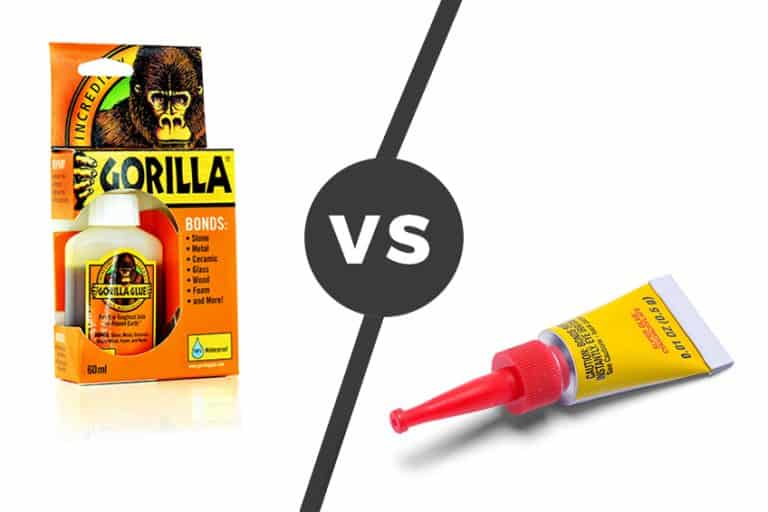
If you do need to screw into your filler, you are best off using two-part epoxy filler, multipurpose wood filler, or exterior wood filler.
Occasionally, you may find yourself with no choice but to screw into wood filler, when you do, here is how best to go about it.
Ensure Your Filler Has Fully Dried and Cured
As we mentioned previously different types of wood fillers are available, and due to the different substances in their composition their drying times can vary considerably. While some wood fillers can dry and cure within 30 minutes to an hour, others can take 24 hours to dry and cure before they can be drilled or tapped into.

Before you attempt to create a pilot hole or simply penetrate your filler with a self-tapping screw you should ensure that it has been allowed to dry and cure as recommended on the packaging. Failing to do so could mean tapping into a surface that is still very malleable, at which point the filler will need to be removed and replaced.
Sand the Surface
Sanding the surface of the area you have filled is also important. This is because the surface may be uneven and crack slightly easier when not sanded. When sanded smooth, the surface is less likely to crack when a screw or nail is inserted into it, so it’s best to thoroughly sand the surface using some 220-grit to 320-grit sandpaper.
Depending on what your filler is made of it can be challenging to sand, but you should be careful not to over-sand the filled area. However, if you do, you can simply refill the area using the steps we mentioned above, wait for it to dry and cure, and then sand the affected areas again (a bit more carefully this time).
Drill Your Pilot Hole
While you might think that using self-tapping screws means you can skip this step, it is always best to drill a pilot hole before you attempt screwing into your filler. Why? With a pilot hole drilled your filler is less likely to crack, and it will ensure that your screw remains straight while it is being driven into the filled area.
Do you need a special drill bit when creating a pilot hole? Not really, all you need is a drill bit that is one size smaller than the screw thread you intend to use.
Easy enough, right? Pop your bit into your drill, secure it in the chuck (don’t forget to use a key if your drill uses one), and begin drilling. The depth at which you should stop depends on the type of wood you are working with.
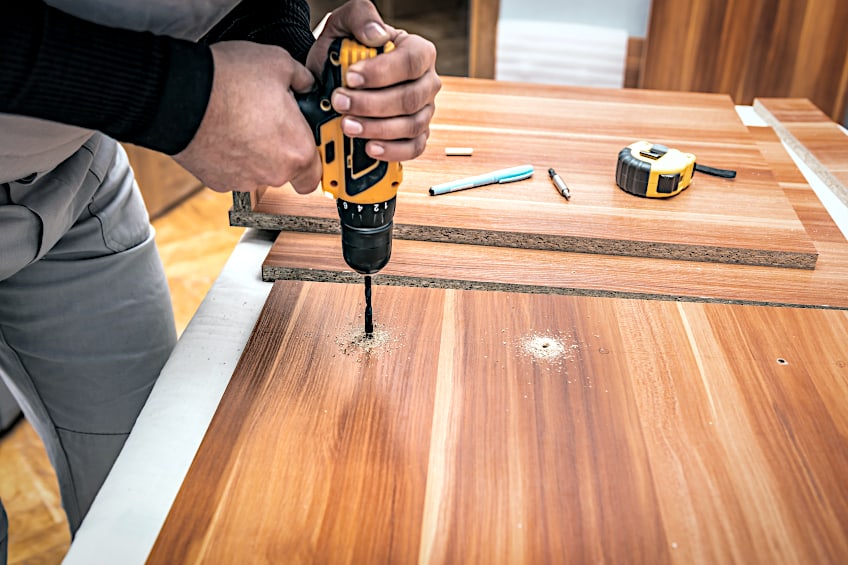
For really dense hardwood species like oak, we recommend your depth be around ¼-inch deep, for medium-density woods like Fir you can go for about 5/8-inch deep holes, and for softwood species, 1 inch should be just fine. Once the hole has been tapped be sure to clean it out using some compressed air before popping your screw into it.
Drive-In Your Screw
As you’ll see the preparation is far more challenging and labor-intensive when compared to driving in your screw. Your screw can be driven using a good old-fashioned screwdriver, or you could use a drive configuration attachment on your drill. Since you have a pilot hole to stabilize your screw neither should be an issue to use. Place your screw tip into the pilot hole, place your screwdriver or drill in contact with your screw’s head, and begin driving it into the filler. Once your screw’s head is in contact with the surface of your workpiece you may stop.
If your screw has a countersunk head, simply keep driving until the head is flush with the surface of the filler. You have successfully screwed into wood filler!
How to Use Wood Filler
Wood filler is meant to be an easy-to-use void-filling substance accessible to both new wood crafters and professionals alike. However, despite its ease of use, it can be daunting to use for the first time, so we have created a short tutorial detailing how to prepare your workpiece and your wood filler for the repair process, and how to use your wood filler effectively.
Prepare Your Workpiece
Wood filler is typically used during the preparation process. What does this mean? After the surface of your workpiece has been cleaned and sanded you should use the opportunity to fill in any holes or scratches on the surface. This will ensure that you have a flush surface for your paint or stain to be applied, remove any broken or loose pieces of wood from the surface, and clean the void with some compressed air or clean cloth.
Ensure that the area around the holes you want to fill has been thoroughly sanded and cleaned.
You will need to remove any paint chips or flakes to prevent your filler from failing to adhere. If you do find any stubborn areas don’t be afraid to tackle them with an orbital sander or a sanding block, Remove any stay wood particles or splinters before moving on to the next step in the process.
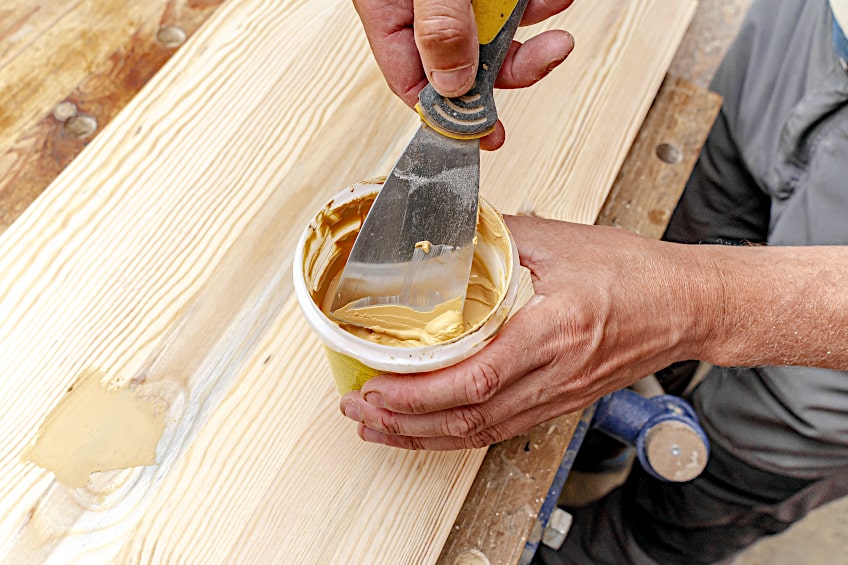
Fill Your Workpiece
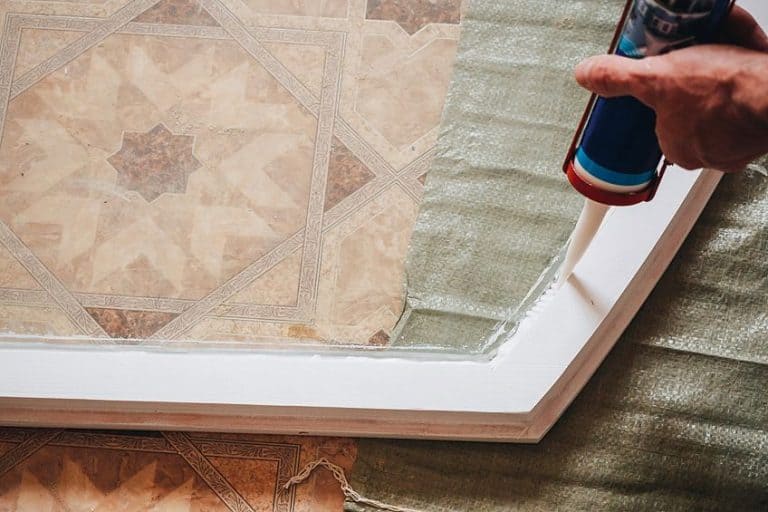
Once your workpiece has been cleaned and sanded it should be ready for repair. While fillers sold in little pots are still available, many fillers are now available in tubes so they can be easily dispensed into the affected area. Pop the cap off your tube and stick the open end inside the recess you want to fill up. Lightly squeeze the tube until the filler begins filling up the recess.
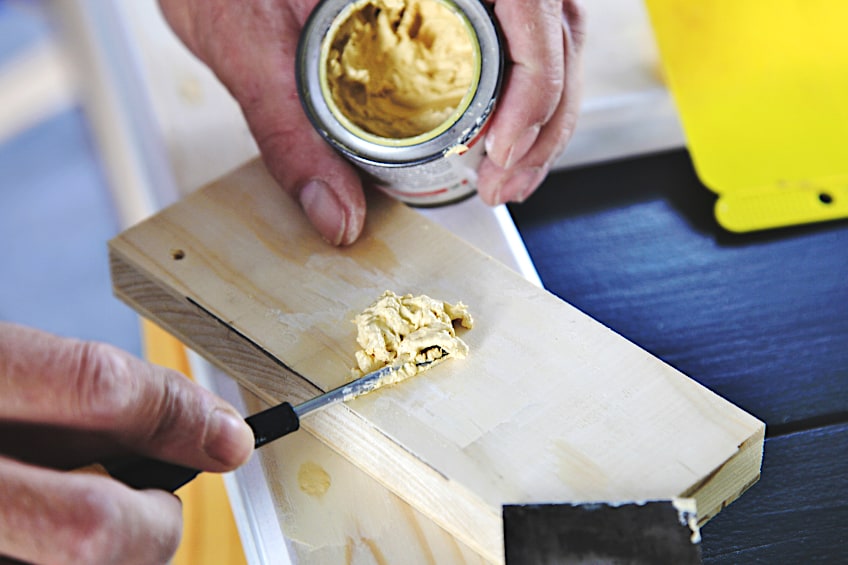
As the recess begins to fill slowly move the tip of your tube outward as you work your way out. Don’t hesitate to move the tube around to apply filler in areas of the hole that aren’t getting coated with filler.
Do not stop once you reach the surface of your workpiece, overfill the recess slightly and once you are done pop the cap back onto your wood filler.
Sand the Filled Areas
Repeat this process until all of the little holes and scratches have been filled. Once you are done, grab a putty knife and place the edge against the surface of your workpiece. Next, angle your putty knife at 45 degrees and drag it across the filled area to remove the excess filler and simultaneously create a flush surface. Repeat this process on all filled areas and allow the filler to set and cure as recommended by the manufacturer.
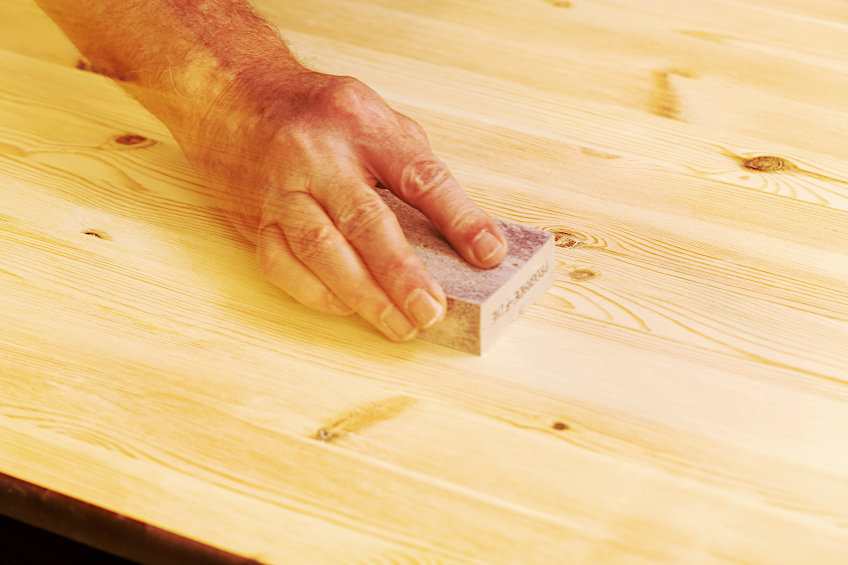
Once the filler has set you can begin sanding it. The idea is to make the filled areas as flush as possible with the rest of your workpiece and/or shape them into a form that compliments the rest of it.
Sanding wood dust can be done with 120-grit sandpaper or even 160-grit depending on the type of finish you’re aiming for. When you are done sanding, wipe away any wood/filler particles using a clean cloth.
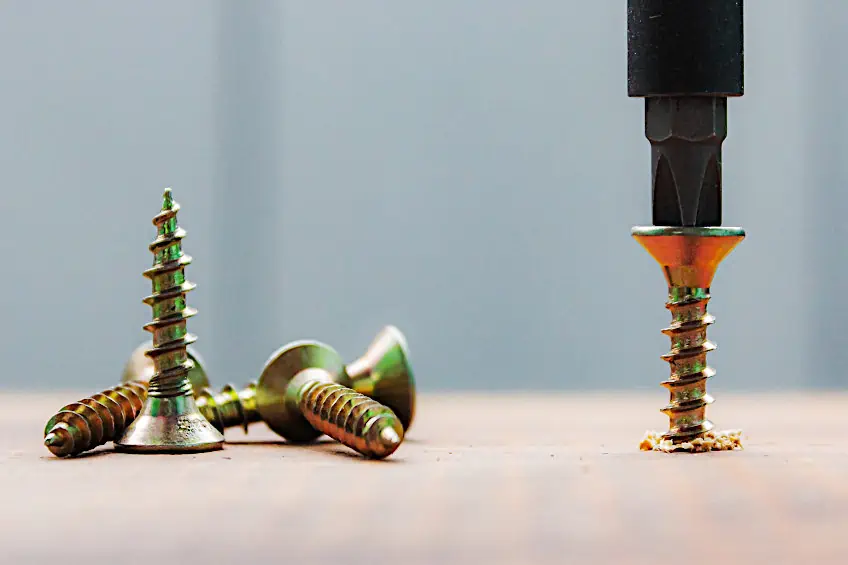
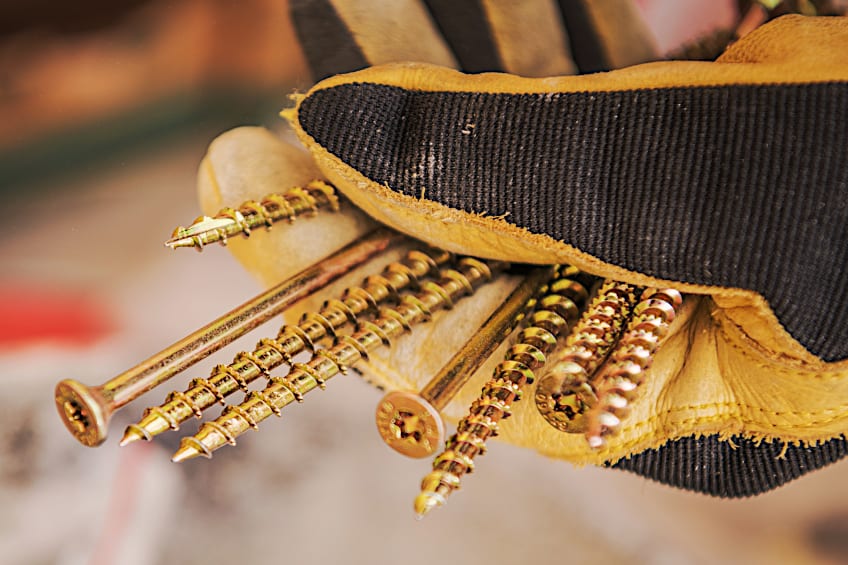
What Are the Best Screws to Use With Filler?
Wood filler is supposed to be usable with most screw types but depending on the brand and quality of the filler results can vary. If you are looking for a good screw type that won’t let you down when driving into filler we recommend self-tapping screws or dedicated wood screws to ensure your workpiece is secure and your filler does not crack or become undone over time.
Factors to Consider When Screwing into Wood
While filling a hole in wood is relatively uncomplicated things can go wrong pretty easily if something goes wrong. This isn’t unique to screwing into wood filler, as with any project there are variables one must consider to minimize the probability of error. Here are a few things to keep in mind should you ever find yourself needing to screw into the wood filler.
The Type of Filler
Different types of wood filler have different tolerances and therefore you should familiarize yourself with how far you can push your wood filler. Certain wood fillers are only designed for aesthetic repair, while others have load-bearing capabilities.
Consulting the label or manufacturer’s website should ensure you know what the limits of your filler are.
What Type of Wood You Are Working With
Wood species can vary considerably in density and ease of use. Therefore, some wood species might be easier to repair with wood filler than others. Checking which filler type and method have the best track record with the wood species you are using can save you quite a bit of time and money down the line.
The Application of Your Workpiece
You know what your workpiece will be used for once the filler has been applied. Ensuring that your filler is capable of withstanding the forces that will be acting on your workpiece (and by extension it) could save you from having to repeat the filling process in the future. Checking the temperature, impact, abrasion, and chemical resistance of your filler is therefore important.

Hardening and Curing Time
We mentioned previously that different filler types have different hardening and curing times. This could be important depending on whether the repair is time sensitive, so be sure to check how long it’s going to take your filler to be screw ready once it’s been applied.
Keep in mind that faster-curing substances aren’t always as robust as ones that take a bit longer.
Different Types of Wood Filler
Wood filler is generally sold in easy-to-use containers like squeezable tubes or little tubs appearing as a paste-like substance. However, wood filler can also be found in powdered form, where it can be mixed with water to form a paste and then inserted into a hole. The latter is less commonly used these days because of the convenience the ready-made version offers.
The cool thing about wood filler is that it is available in various colors and textures.
If you have a dark wood species like walnut or a lighter wood species like cherry, the chances are that you could pretty easily find the right wood filler to perfectly blend into your workpiece. Aside from the color and being sold in ready-to-use form, wood filler can also have different base elements.
Generally, wood filler is made with one of two substances as a base. The first is water, which is the powered version you can purchase and mix with water. The second is the ready-to-use kind that is petroleum-based. One isn’t really better than the other, and the effectiveness of both versions largely depends on the application and the quality of the material used to make them.
Home-Made Wood Filler
You could make your own wood filler too. For years those without access to convenience stores or home improvement outlets have had to get creative when correcting mistakes while crafting. The trick is simply to mix some sawdust with some wood glue until it resembles mulch and then pop that into the hold, flatten it, and wait for it to dry.
Home-made filler is a quick and effective fix, but nowhere near as reliable as a dedicated wood filler.
Characteristics of Wood Filler
While there are many substances that can be used to fill a hole in a wooden workpiece, not all of them have the characteristics to be defined as wood filler. That’s right, a substance has to meet three criteria to be considered a dedicated wood filler, and if it doesn’t, it’s pretty much just another product that just so happens to be able to fill wood.

So when it comes to wood filler, what are the main characteristics it should have, you ask?
Hardens While Curing
Generally, whether it be paint or epoxy, things tend to harden while they cure. This is generally a result of a solvent evaporating or moisture inside the substance slowly dissipating. In order for a wood filler to be classified as such, it needs to harden as it cures, but as you will see this is just one characteristic that a dedicated wood filler must have.
Must Be Sandable
Wood filler is designed to fill holes in wooden workpieces. Suffice it to say that whatever you’re able to do to wood, you should be able to do to the filler as well. Sanding is a fairly common practice when shaping a wooden workpiece.
It stands to reason that a dedicated wood filler must be sandable in order to be considered as such.
It Must Be Stainable
Wood, whether it be engineered wood or solid wood, can be stained. Some wood species respond better to certain stain types, but they can all be stained with varying degrees of difficulty.
A dedicated wood filler must also be able to absorb stain at a similar rate to wood.
The degree to which the color is transferred and displayed by the filler does not have to be perfect, but close enough to match.
Alternatives to Wood Filler
These days the term wood filler is used to describe a whole range of products that are used to fill wood, but there are products that aren’t classified as dedicated wood filler that can be used to fulfil the same purpose. Let’s have a look at a few of them so you know what your options are should you find yourself without wood filler while needing to repair a hole.
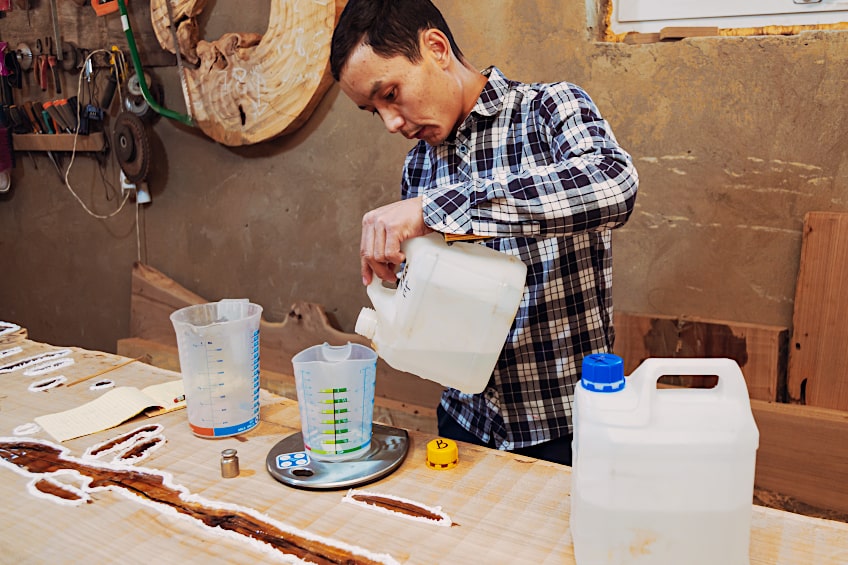
Two-Part Epoxy Resin
Resin is an excellent choice for both repairing and coating a number of surfaces. Tw-part epoxy resin fillers are usually mixed in a 1:2 epoxy-to-catalyst ratio and then used to fill the void. Epoxy can take up to 24 hours to fully harden and cure, but they are capable of accepting screws and are impact, abrasion, heat, cold, and chemical resistant.
Wood Putty
Wood putty isn’t really an alternative to wood filler, but it can be handy in some instances. While wood filler is used to fill deep cuts and dents in the surface of a wooden workpiece, wood putty is used to repair more superficial wounds. Wood putty can also be screwed into and is applied much in the same way wood filler is.
Wood Plugs
Wood plugs are pretty much just what the name implies; plugs made of wood. All you need to do is drill a hole to fit the plug, pop the plug into the hole, and then paint over it.
Plugs are a lot like dowels that hold some wooden workpieces together and can be used to both fill holes and hold workpieces together structurally.
Tips and Tricks For Using Wood Filler
If you are going to be working with food filler regularly there are few useful tricks you should keep in mind that will make your project a bit easier. for one, if your workpiece is going to be positioned outdoors its usually best to go with the pricier filler to ensure that you filler doesn’t falter at the first sign of rain and wind.
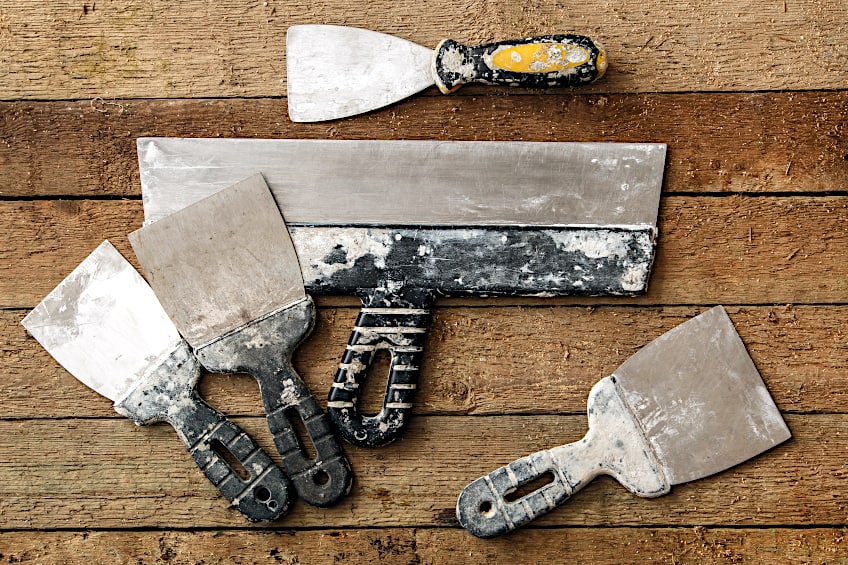
Another trick is to invest in a good putty knife to ensure that your excess wood filler is properly removed.
This way you don’t waste time cleaning up the surrounding area or making multiple passes on the same spot. Remember that the more time you spend applying and cleaning the area you’ve filled the more time it will take to set and harden.
Finally, whenever possible, try and apply your wood filler in stable environment. Excessive heat and moisture can mess with the curing process, and if this happens you’ll end up removing your botched filler and repeating the process. If you have to apply your filler in adverse weather conditions try and shelter the area being repaired somehow.
And this is how to screw into wood filler! Remember that while wood filler is capable of lasting a long time, you should recognize when it’s best to simply replace your workpiece. Wood filler is in no way a 1:1 substitute for actual wood and should be used with caution in heavy-duty applications. You should also remember to wear some eye goggles and a set of gloves when working with power tools and fine wood particles.
Frequently Asked Questions
What Is Screwable Wood Filler?
If you are wondering what screwable wood filler is, it’s basically any wood filler that will allow you to screw into it once it has hardened and cured completely. Multi-purpose wood filler and two-part epoxy wood fillers are good examples of this wood filler type.
What Is the Best Wood Filler for Screw Holes?
Wood filler can be used for a number of applications, but when you need to screw holes into your filler, there are a few types you should stick to. What is the best wood filler for screw holes then? Wood fillers with good rigidity are the right choice, with the most common and (arguably) the most popular being multi-purpose wood filler.
Can You Screw Into Wood Filler Before it Sets?
Just because something is possible doesn’t mean you should do it. While you could insert your screw into the filler while it is drying, there is no way of securing the screw into your desired position. If the screw does move as the wood filler is hardening you will have to remove the filler and repeat the process again.

I have been into woodworking since 2005 and woodturning since 2011. Because of my love for wood and woodworking, I started woodhappen.com to teach other enthusiasts about how to finish and seal wood, the best woodworking tools, the different types of wood, and everything else related to woodworking! Read more about me here.