How to Transfer a Picture to Wood – Easy Image Transference Methods
While there are loads of ways for you to place pictures onto a workpiece, one of the most tried and true ways of doing so is to simply transfer a picture. This is especially true when your workpiece is made of wood as it tends to take to the transfer process a lot better than other materials. What does it mean to transfer a picture to wood though? What is the best way to go about it? Is there more than one way? Let’s have a look at these and other questions regarding the transfer of pictures onto wood surfaces as well as some of the issues you might encounter while attempting to do so.
How to Transfer a Picture to Wood
Wondering how to transfer a picture to wood? There are actually quite a few ways for you to go about transferring pictures to a wooden surface, all of which have their distinct advantages and disadvantages to them. Let’s have a look at how best to go about these as well as their respective advantages and disadvantages. Remember that some of these techniques involve the use of potentially harmful chemicals so ensure that you’re always wearing the appropriate personal protective gear and that your work area is well ventilated when working with them.
The Mod Podge Method
This is one of the easier methods to use when you’re looking to transfer photo to wood because you only really need one other thing besides your wood surface and your photo of choice. If you’re in the mood to transfer photo to wood using this method, you should ensure that you have prepared the photo and the wood correctly. Firstly, ensure that your wooden surface is clean of dust and debris.
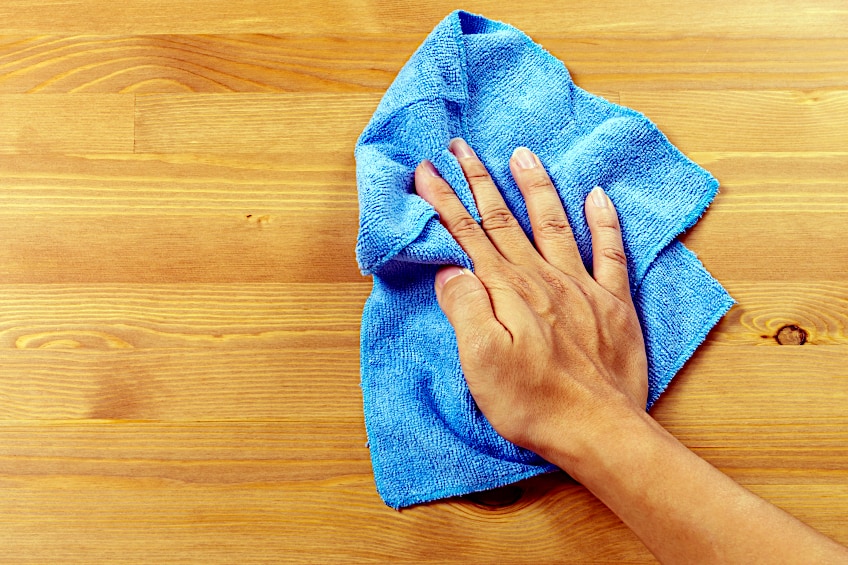
Once you’re sure that the surface of the wood has been cleaned it is time to ensure that your photo is ready for the transfer process. Ensure that your photo is clear of any smudges or grime by wiping it down with a clean cloth, and then using scissors to the size you’re like the transferred impression to be. Once your photo and wood block are ready, it’s time to get your mod podge ready.
Before we use the mod podge for the photo transfer process it is important that you mock up the position that your photo will be placed in. Ensure that the photo and wood block is marked to indicate your desired position of the photo before you apply your mod podge. Once you’re sure, remove the photo and apply a thin layer of mod podge to the surface of your wood workpiece, ensuring that it has been spread evenly.
Now that your mod podge has been applied to your workpiece, use the markings you created earlier to perfectly (or as close as you possibly can) place your photo (with the image side facing downward!) on the surface of your workpiece. Use your hand or a roller to ensure that it is uniformly flat on the surface of your workpiece. Leave the photo attached to the wood for a full 24 hours before moving on to the next step in the process.
Once the full 24 hours have elapsed, it’s time for you to remove it. Get a wet cloth and place it over the photo on your wooden workpiece. Once the moisture has saturated the surface of the workpiece, rub the photo paper off the workpiece until it disintegrates (feel free to tear the bigger pieces off). Once removed, seal the transferred picture with a sealer of your choice depending on the overall aesthetic you’re going for. This is a complete mod podge photo transfer process.
The Best Mod Podge for Photo Transfer: MOD PODGE Waterbase Sealer, Glue and Finish
If you’re going to be using Mod Podge for photo transfer, then you might as well go with the best one out there. The original Mod Podge is so good that it has become something or an icon in the world of crafting. How popular are we talking about? Well, any paste that functions even remotely similar to Mod Podge is automatically called “Mod Podge”, much like the term “Google” has become synonymous with any search engine we use today.
What makes Mod Podge so special though? Well as we mentioned previously this is the original crafting paste, so they’ve had years to perfect their formula for all of their loyal customers. It’s also extremely versatile, as it can be used for photo transfer, decoupage, and even as a plain adhesive if need be. How versatile is Mod Podge though?
Well, considering the fact that it works on everything from canvas, to tin, to paper, to wood, and even metal, we’d say that it covers pretty much any surface you need it to work on. Also, since this paste is water-based all that you need is some soap and water to clean up any mess you make along the way, which is convenient if you have little ones using it for their crafts.
- Versatile
- Easy to use
- Reputable brand
- Easy to clean up
- Easy to store
- Non-toxic formula
- Sold in limited quantities
- Not a durable adhesive
- Not waterproof
- Extreme heat can cause the adhesive to fail
The Acetone (Nail Polish Remover) Method
Chances are that if you’ve ever taken an art class at school, this is probably something that you’ve done before. It’s relatively easy because all that you need is some acetone and/or nail polish remover and you’re good to go. The only problem with using this method of photo transfer to wood is that it doesn’t work on laminated materials so transferring conventional photographs are out of the question.
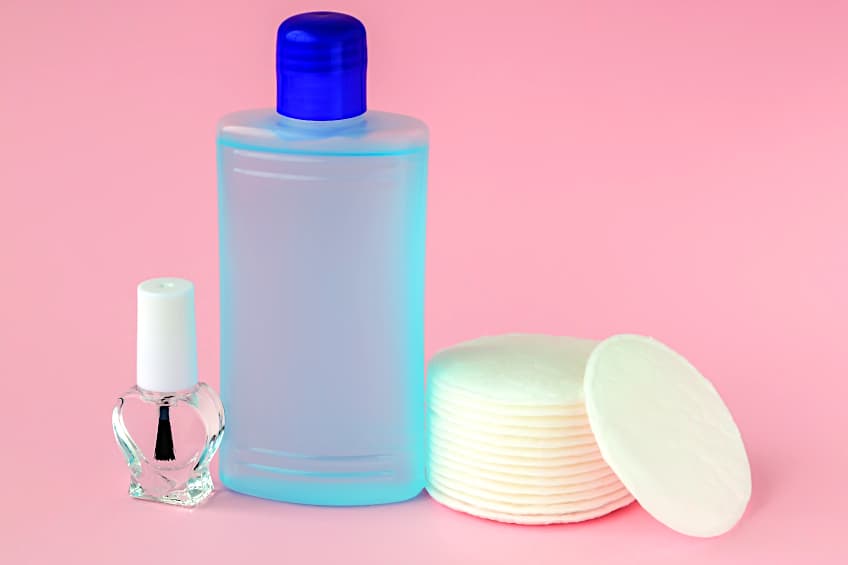
Why? Well, when using mod podge to enact photo transfer to wood, it works on the ink used to create the photo, whereas using nail polish remover acts on both the paper and the ink, meaning that only photographs printed on white paper can be transferred using this technique. How do you go about doing this?
Prepare your photograph by ensuring that it will be the correct size for your workpiece on your computer (resize it). Next, if you have wording on the photo in question, invert it, so that it will not display backward when the photograph is transferred to your wooden workpiece. Next, give your wooden workpiece a good once-over with a clean cloth to ensure that it is free of any debris.

Once your photo has been printed, place it on your workpiece and mark the position that you intend to transfer the image into. Once marked, flatten the photograph so that it is as flush as possible with the surface of your workpiece. Once you’re satisfied, apply some nail polish removed to a cotton swab or a face cleansing pad and rub the back of the photograph until it becomes transparent.
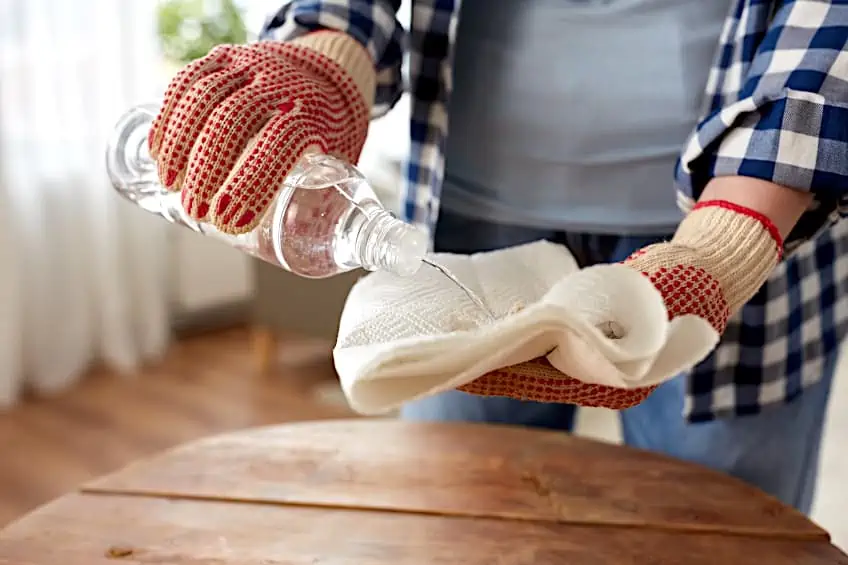
Once you can see the image through the back of the paper, rub the back with a spoon to ensure that every piece of the image transfers onto the surface of the wood. Once you’re satisfied, pull the paper away from the wood and you should see that the image has been transferred successfully. If you’re going to transfer photo to wood using this method, ensure that your workspace is well ventilated at all times as acetone tends to displace oxygen in enclosed spaces.
The Waxed Paper Method
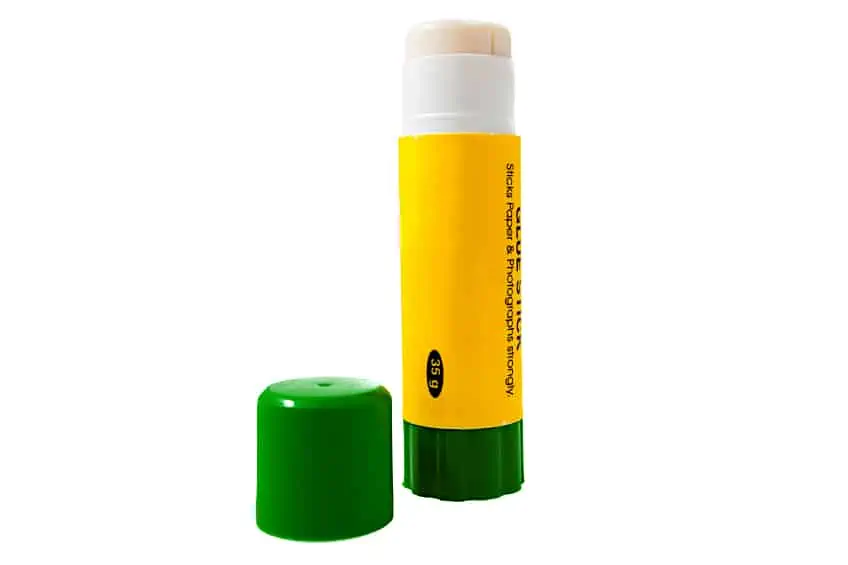
If you’re looking to avoid harmful chemicals and getting your hands dirty entirely, then this is the photo transfer method for you. It will require you to have a working printer and some wax paper on hand, and keep in mind that this will not work on conventional laminated photographs (the kind that you develop). You’ll also need a stick of glue which you can pick up virtually anywhere.
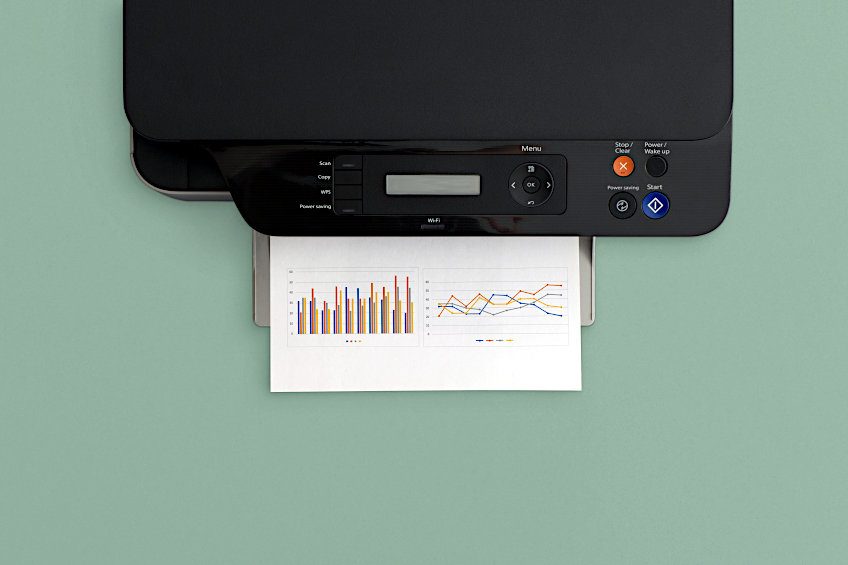
Using this approach to transfer photo to wood is really easy, all that you need to do is apply some glue from your glue stick to your printer paper. Once you’ve got your printer paper completely covered in glue, apply your wax paper (which should be the same size as your printer paper) to the glued printer paper and ensure that it is completely flush. Use a spoon or your fist to knead down on the paper if need be.
Wax paper is actually colloquially known as wood transfer paper in some crafting circles, so once you’re convinced that your wood transfer paper and printer paper are lined up and joined completely flush, place it into the printer. You want to place it in the paper tray with the shiny side of the wax paper facing upwards. Next, do some computer magic and resize your image to the size of your wooden workpiece before hitting the print button.
Once your photo has been printed onto the paper there’s no time to waste. Before the ink dries, place the photograph onto your workpiece, and just like you did when combining the wax and printer paper, knead down on it to ensure that all of the image is transferred onto the wooden surface. Keep at this for a couple of minutes and then remove the paper from the wood. You should see that your image has successfully been transferred to your wooden workpiece.
A variation on the wax paper method method is to use freezer paper instead. The plastic coating on this type of paper retains the the ink from some inkjet printers really well. The best option is to do a test with your printer and see whether wax or freezer paper provides the best results. Just remember to print on the glossy side!
The Petroleum Jelly Method
This is a pretty popular method of wood photo transfer in the crafting community and the best thing about it is that you don’t need any fancy tools to get it done. It’s pretty quick too so if you’re a bit crunched for time this method is one you should consider. All that you need for this wood photo transfer method is some petroleum jelly (yes, the kind you use on skin and hands) and some printer paper to get started.
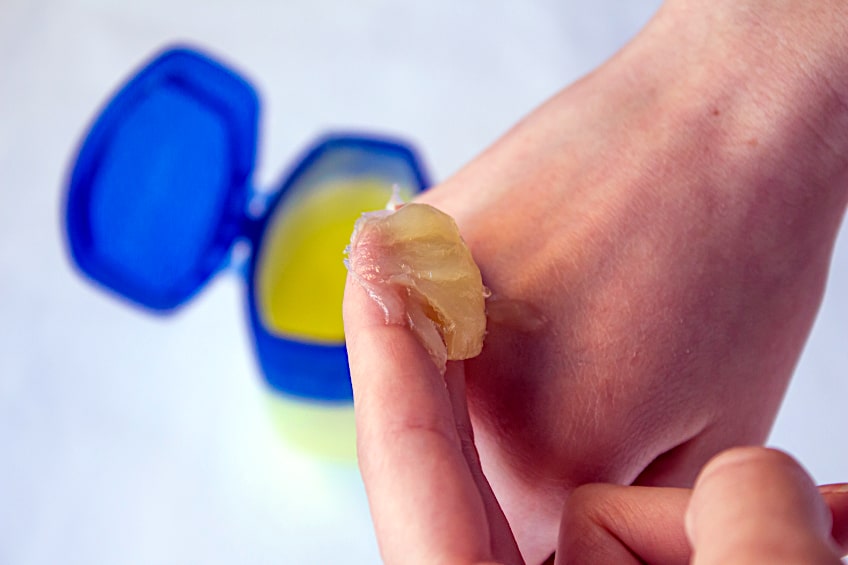
This method works best on images that have been printed on paper, but feel free to give it a shot with conventional photographs too. Like you did in the previous methods, ensure that your photo is inverted if it has any text on it, so that your words aren’t transferred all back to front. Next, resize your image to fit your workpiece and cut it out so it’s a bit easier to manage.

Once you’re satisfied with the preparation of your photograph, get your jelly ready. Cover your wood in a decent layer of the jelly and spread it out evenly. Next, place your photograph on the wooden workpiece and use a spare can, spoon, or just your fist to apply pressure to the image during the transfer process. Depending on the type of ink your printer uses this can take a few minutes or an hour.
Once you’re satisfied with the job you’ve done applying pressure to your image, get a wet cloth, and just as you did with the mod podge method, saturate the paper with moisture until you’re able to rub and peel it off your wooden workpiece. This method has varying results, so we recommend being thorough with the application of pressure and applying your image while the ink is still relatively wet.

If you don’t want to sacrifice your old photographs you can also use a combination of petroleum jelly and fabric glue to transfer inkjet prints onto wood. The best part of this method is that you can reprint an image on top of an existing print to get a greater depth of color. And while the initial preparation can be time consuming, once you have roughened its surface, you can use the transparency (OHP) sheet required for this technique over and over again.
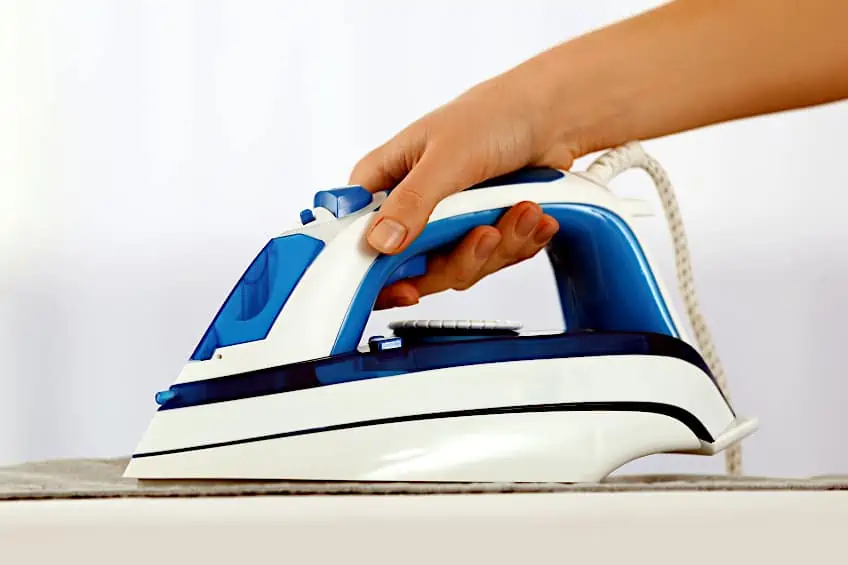
The Hot Iron Method
The nice thing about this method is that all you need to get it done is a picture that’s been printed by a laser printer or a photocopier and an ordinary iron. How this works is that laser printers and photocopiers use heat to activate the ink, so when the heat is applied to the image when in contact with the wood, the ink is activated, and the image is transferred onto the wooden workpiece with relative ease.

This method does take some elbow grease and patience to execute correctly. To get started, print your image and ensure that it is the correct size for your workpiece. If it isn’t, resize it, and ensure that if you have any text present on the image you invert the image so that the text is legible once the transfer has been completed.
Once your image has been prepared and printed ensure that the surface of your workpiece is clean and ready for the process. Place the image onto the workpiece and using some masking tape adhere the end of the workpiece to the wood to act as a hinge. Next, ensure that your iron is hot and start running it across your workpiece. The goal here is to heat up the paper as much as possible (without burning it) so ensure that you’re applying pressure and moving quickly across the paper when using this technique.
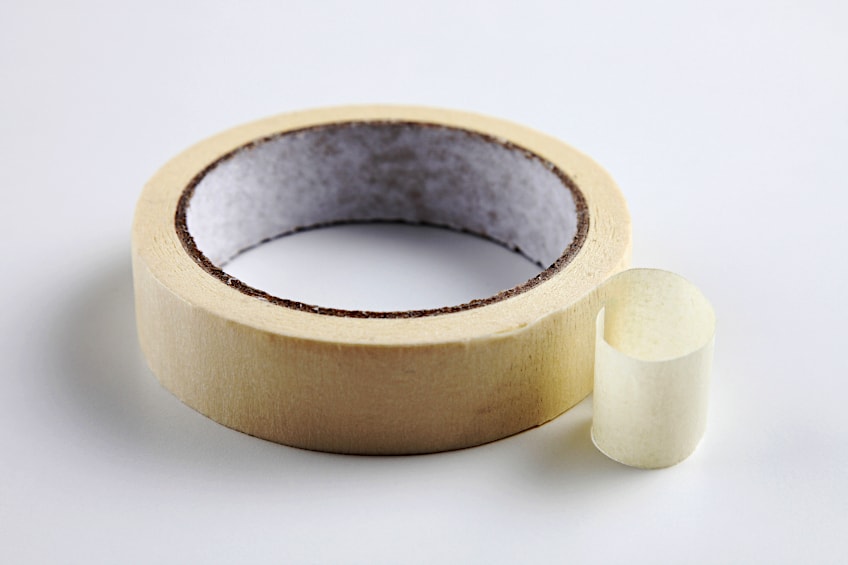
Next, periodically lift the paper to see how much of the ink has been transferred (this is why you’ve created the masking tape hinge). Repeat this process until you’re satisfied with the image transfer and remember to be patient when using this method, as it can take time to get every portion of the image transferred to the wood surface. Once transferred, allow the ink to cool before touching the wood directly. Also, keep in mind that the color white cannot be transferred to the wood.
You can also use an iron and some t-shirt iron-on paper to transfer images onto wood. Like you did with the regular paper, simply use your printer to arrange your image onto the paper and place it on some wood, then use your iron to evenly transfer the image onto your wooden workpiece. It’s that simple!
Can You Seal Photos That Have Been Transferred to Wood?
Sealing pictures on wood is possible and really easy. We would even go so far as to say that it is necessary for you to do so, considering how much damage wood takes over its lifetime as a material. The last thing you want is for all of your efforts to go to waste when someone brushes past your workpiece and ruins it, so why not seal it? It’s quick and easy.
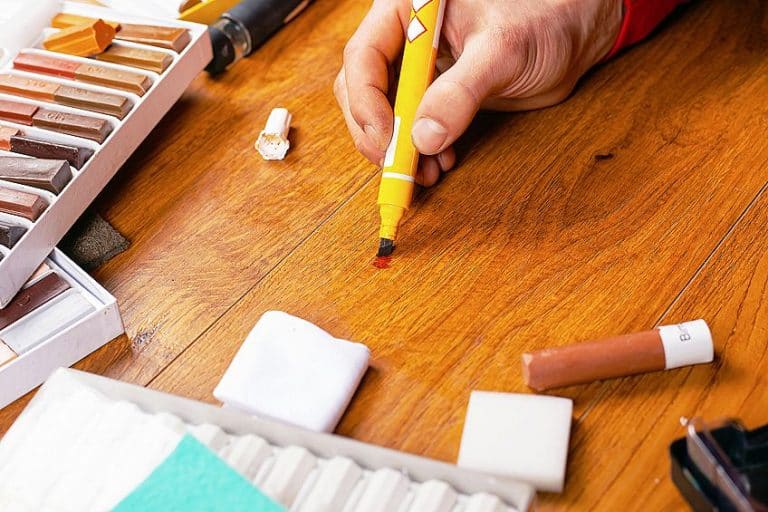
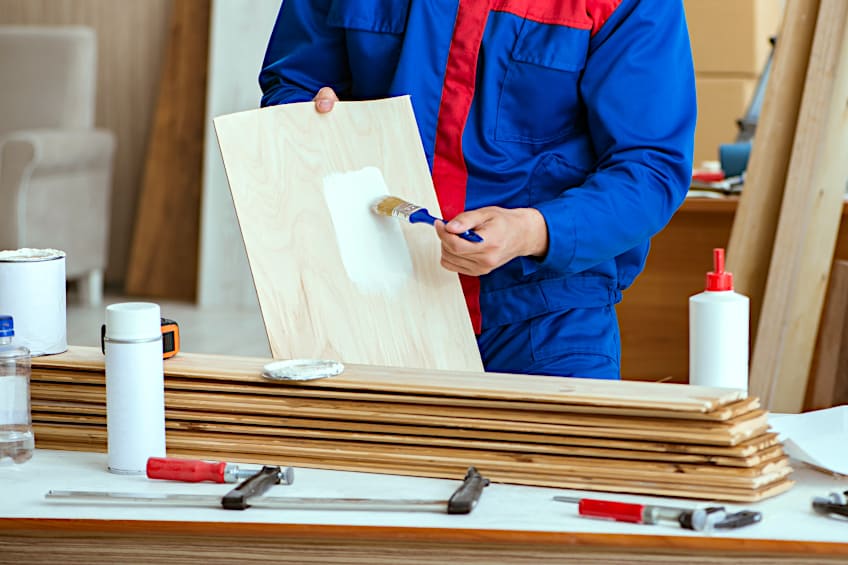
How do you go about sealing pictures on wood? All that you need is a bit of shellac and a paintbrush and you’re pretty much good to go. Once your photo has been transferred to your wooden workpiece allow it to dry out for about 24 hours before attempting to seal it. We do this because different wood types can take considerably different time periods to accept the transfer completely, so better safe than sorry.
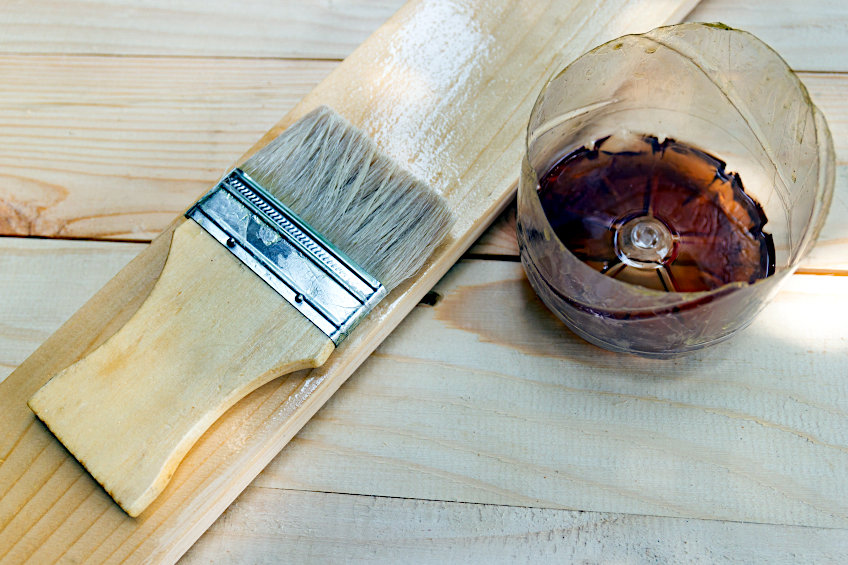
Once your picture is ready, dip your brush into the shellac and apply a thin layer of it over the surface of your workpiece. The goal here is to apply a thin even coat over the surface that has received the image, allowing each coat to dry before applying the next. How many coats do you need to apply? Well, depending on the wood type you’re working with it could take anywhere between five to eight coats for it to be an effective seal for your image.
Of course it is also possible to transfer an image to wood using a polyacrylic sealer. The benefit of this method is that the transfer medium is also a sealant and works extremely well on both painted and raw wood. However, keep in mind that this method is only applicable to images produced on laser-jet printers.
Which Objects Are Good for Image Transfer?
While wood transfer is fairly easy, many people fail to recognize just how versatile it can be when used to decorate seemingly random objects in your home, or that you have made yourself. This being said, let’s have a look at a few common wood objects that you can use your newfound image transfer knowledge on, just be careful not to get too carried away as it can be quite tempting to transfer images onto pretty much everything.
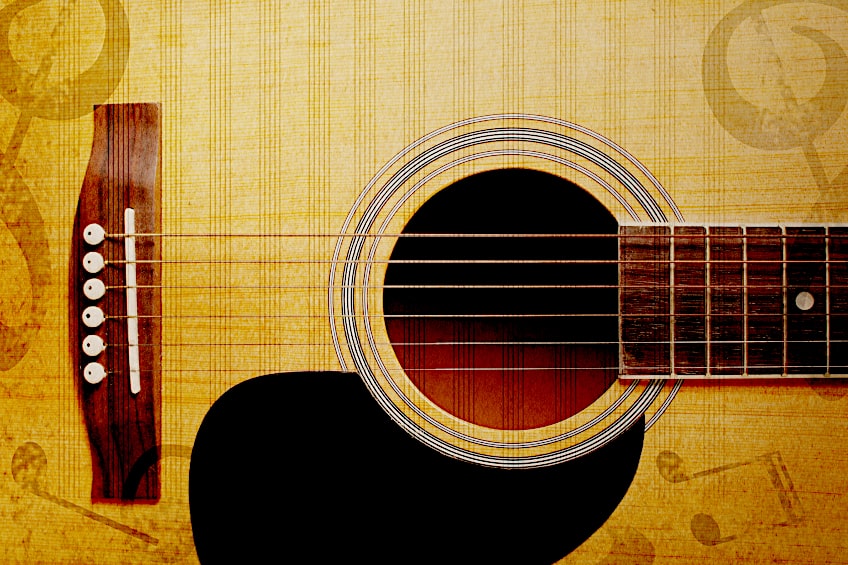
Guitars
It might seem like a bad idea at first, but photo transfers look amazing on acoustic guitars, especially if they’re made of a light wood composite. You can transfer images of your favorite chords, musicians, and pretty much anything else you can think of to truly personalize your guitar. Don’t forget to seal your creations though, or they’ll last about as long as stickers do.
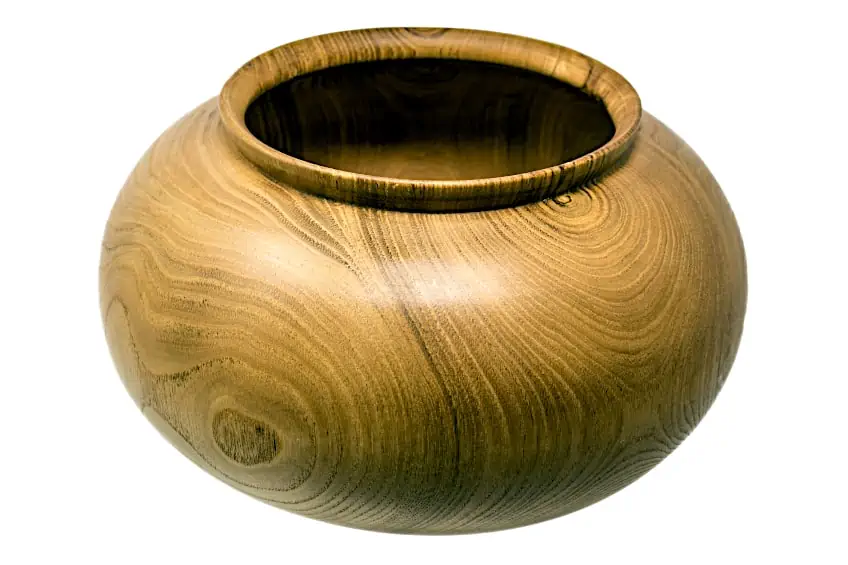
Wooden Bowls and Vases
If you’re looking for a classy way to decorate a wooden vase that doesn’t involve paint or using wood stain, then photo transfers are a great alternative. Not only will sealed images last the lifetime of the object but they tend to give it a distinct aged look and only get better with time. Bowls and vases with photo transfers also make great gifts for pretty much any occasion whether it be weddings or birthdays.
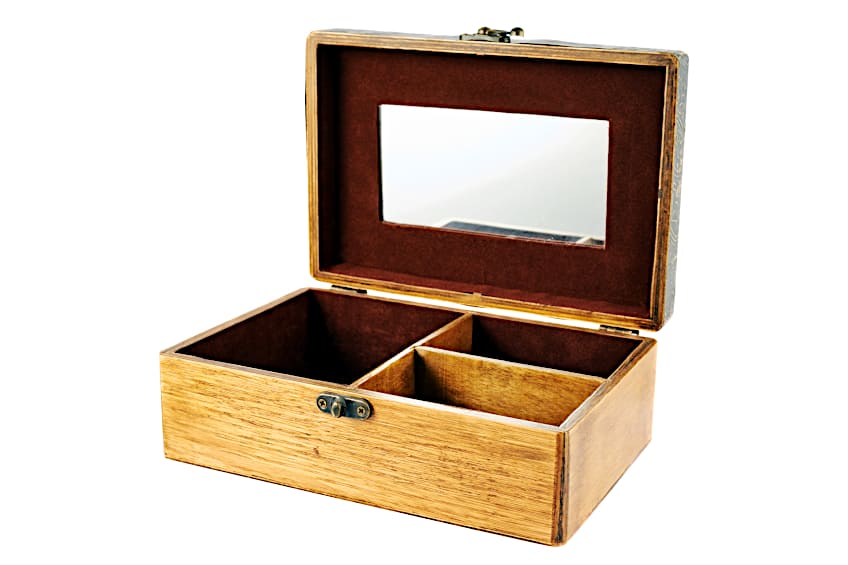
Jewelry Boxes
Jewelry boxes are an excellent choice for image transfers. Whether it’s your or you happen to be personalizing a gift for your friends and /or loved ones, these are really fun to make. Plus, they take considerably less effort compared to painting and pyrography, which means you’ll be able to get more done in less time. Place anything on them, landscapes, portraits, your favorite quote, the possibilities are endless!
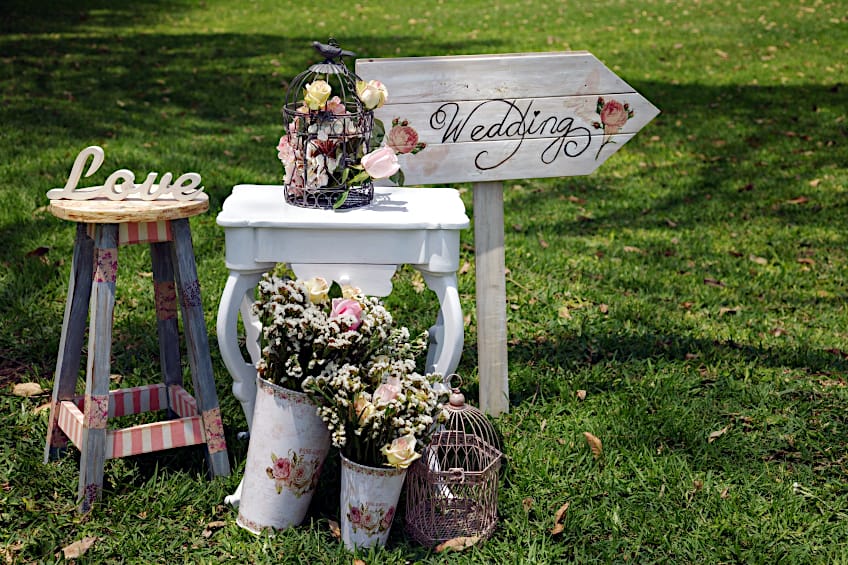
Decoration Plaques
This idea has become really popular in recent years thanks to all the hype around retro aesthetics. Instead of framing your family photos and hanging them on your wall, why not go for a unique approach and transfer them onto a large wooden slate? This is easy and it’s a great way to preserve your precious memories using a medium that ensures they won’t fade and yellow over time.
Now that you know of a few ways you can go about transferring images to your wooden workpiece as well as some of the things you’ll need to do it, it’s time for you to get out there and put your new-found knowledge to the test. Remember to always work in a well-ventilated area when working with acetone and to always ensure that you wear gloves when working with any type of adhesive.
Frequently Asked Questions
What Is Photo Transfer?
Photo transfer is the process of transferring an image from paper to wood or any other material by means of a specific medium. This medium can be many things including but not limited to acetone, Mod Podge, a hot iron, wax paper, and even wax crayon. This use of these intermediaries in conjunction with acutely applied pressure transfers the image to the material you have chosen.
Can You Transfer a Glossy Photo to Wood?
The good news is that you can transfer a glossy photo to wood, the bad news is that you won’t be able to invert that image. Why is this bad news? Well, the photo will be inverted, which is fine if you don’t mind that, but if you have any wording on the image it will also be inverted making it illegible.
What Is the Easiest Way to Transfer Photos to Wood?
Don’t feel like going through all of the efforts the Mod Podge method entails? Well, you could glue a piece of A4 wax paper to a piece of A4 printing paper (with the glossy side facing up) and place it in your printer. Once the image is printed on the glossy side of your wax paper simply press it onto your wood surface and it should transfer immediately.

I have been into woodworking since 2005 and woodturning since 2011. Because of my love for wood and woodworking, I started woodhappen.com to teach other enthusiasts about how to finish and seal wood, the best woodworking tools, the different types of wood, and everything else related to woodworking! Read more about me here.