How to Spray Paint Cabinets – Tutorial, Tips and Tricks
Quick home makeovers and DIY projects have become increasingly popular as of late, mostly as a result of people spending more time at home and as such, picking up on all of those cracks in the paintwork and their outdated kitchen cabinets. While some home upgrades can be costly and time-intensive, kitchen cabinets are a great way to test the waters and your DIY skills. This is because in most cases, all your cabinets will really need is a fresh coat of paint. To help you breathe fresh life into your cabinets, we will be looking at how to paint kitchen cabinets with a spray gun by identifying the best paint sprayer for cabinets.
The Benefits of Using a Sprayer to Paint Your Kitchen Cabinets
While you could invest in countless paint brushes and rollers to paint your kitchen cabinets, this is a time-consuming and costly method of completing a fairly simple task. It is far easier and more cost-effective to do the job with a paint sprayer instead. The equipment lasts in the long term, the finish is spectacular, and it is really easy to clean up the minimal mess.
By making use of a spray gun to paint your kitchen cabinets, you can rest assured knowing that you can adjust the spray to meet your needs and reduce paint spillage and wastage. Sprayers are ideal for quick jobs and give you the opportunity to take on your next project a lot sooner. Of course, this all depends on your ability to select the correct spray gun and fittings to complete the job. In turn, your paint skills will be out on the frontline as you get to know your new spray gun.
As with any home improvement-related equipment purchase, there is a lot that needs to be considered before settling on the perfect product that will turn your DIY dreams into a reality in the shortest time possible whilst ensuring a professional finish. To start with, you need to know which type of paint sprayer is best suited to spray your kitchen cabinets.
How to Paint Kitchen Cabinets with a Spray Gun
We have covered everything that you need to know when it comes to selecting the ideal spray gun to paint your kitchen cabinets, so the next logical step is to discuss how to spray paint cabinets. We have created a quick how-to guide to help you on your way.
Step 1: Clean
The first thing you need to do is clean the cabinets as well as determine whether the cabinets are even worth saving. If the cleaning process does more harm than good, you are probably better off installing new cabinets. Remove the cabinets, spread them out on the work area and wipe them down with warm water and dish soap. Remove any dirt or grease marks to ensure that the paint adheres to the cabinet’s surface. Rinse the soap off with clean water and then dry the pieces. Stick tape over the hinge area to prevent the hinge holes from becoming damaged or blocked.
Step 2: Remove and Label
This ties in with the first step. While you are cleaning the cabinets, you will want to look into removing the pieces, labeling them, and then storing them in a safe space. This will make it easier and simpler to put them back together once you have finished painting them. We recommend labeling the pieces on areas that will not be painted, such as the hinge hole. You also need to ensure that the labels do not fall off, as the last thing you need is a puzzle at the end of the project.
Step 3: Protect the Area
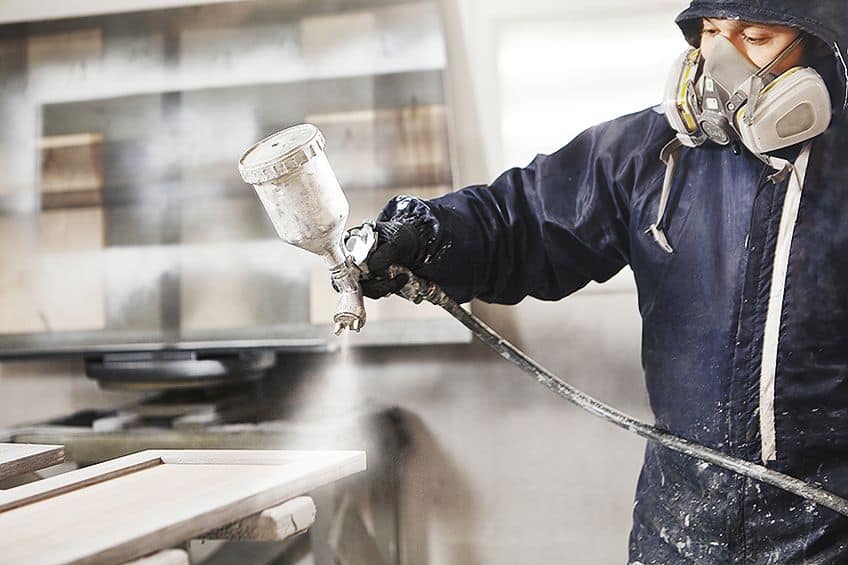
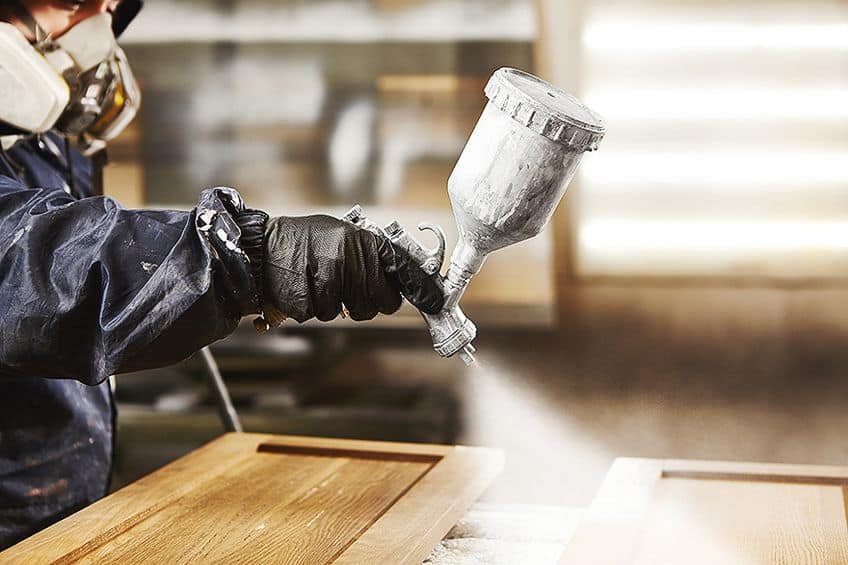
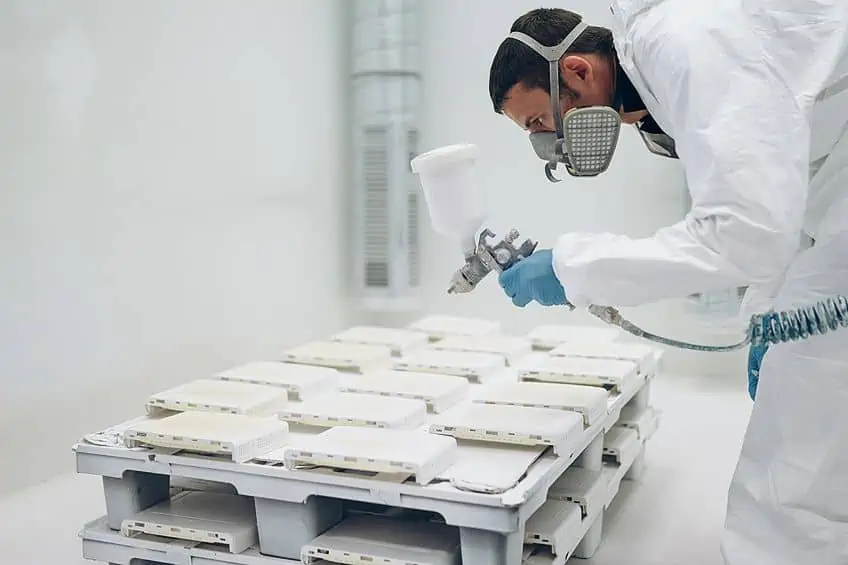
After you have cleaned the cabinets, you will need to clean the surfaces that the cabinets will be attached to. Once cleaned, you will want to mask off the flooring, walls, and ceiling and wrap any appliances with plastic sheeting. Do not be afraid to cover the floors, countertops, doors, and windows, as the risk of overspray is quite likely when working with a spray gun, so it is better to be safe than sorry. You also need to ensure that the area you are working in has proper ventilation to prevent paint fumes from building up. You might also consider investing in PPE to protect your eyes, mouth, and clothing from paint splatter and fumes.
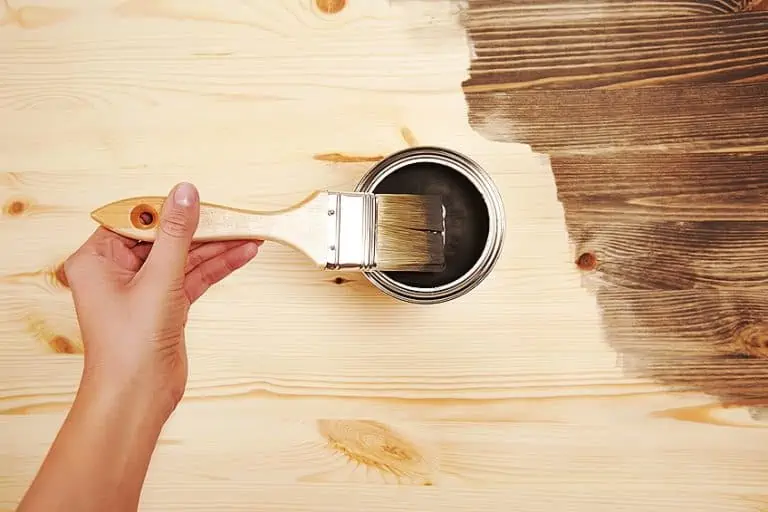
Step 4: Perform Repairs
If the cabinets have any problem areas, sand them down to smooth them out. If you want to re-attach the handles and hinges in a different spot, you will want to block out the existing holes as well. Spackling compound can be used to repair dings, scratches, and holes. Be sure to clean away any dust left over from the repair job. You can then prime the cabinets using a stain-blocking primer. You need to stain both sides of the panels, so make sure that you wait for the first side to dry before flipping it and painting the next side.
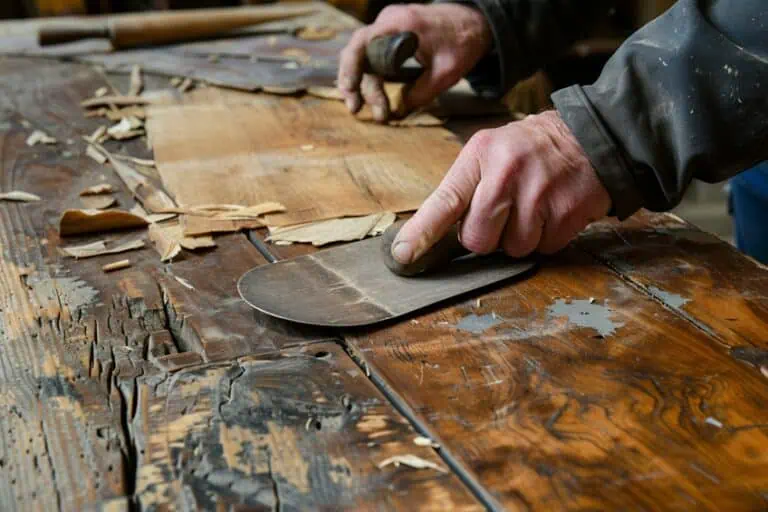
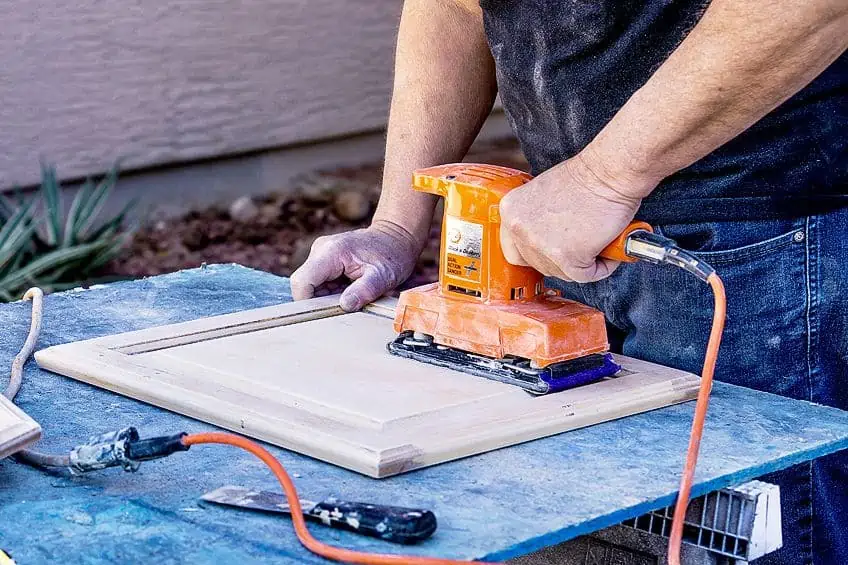
Step 5: Sand It Down
Use fine-grit sandpaper to sand the doors down, going with the grain of the wood. Once done, wipe away the dust particles to prevent them from settling in the finish of your kitchen cabinets while painting. You will also need to clean your working area to prevent any of these particles from being transferred to the wet paint or becoming airborne.
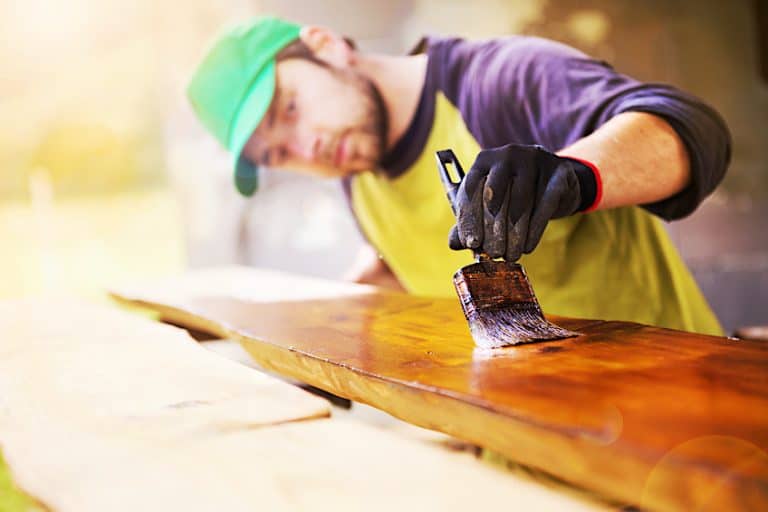
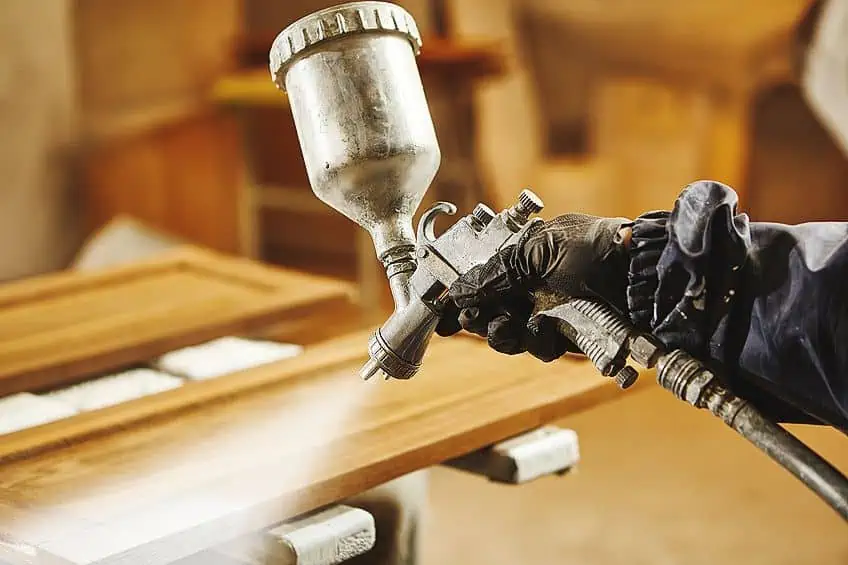
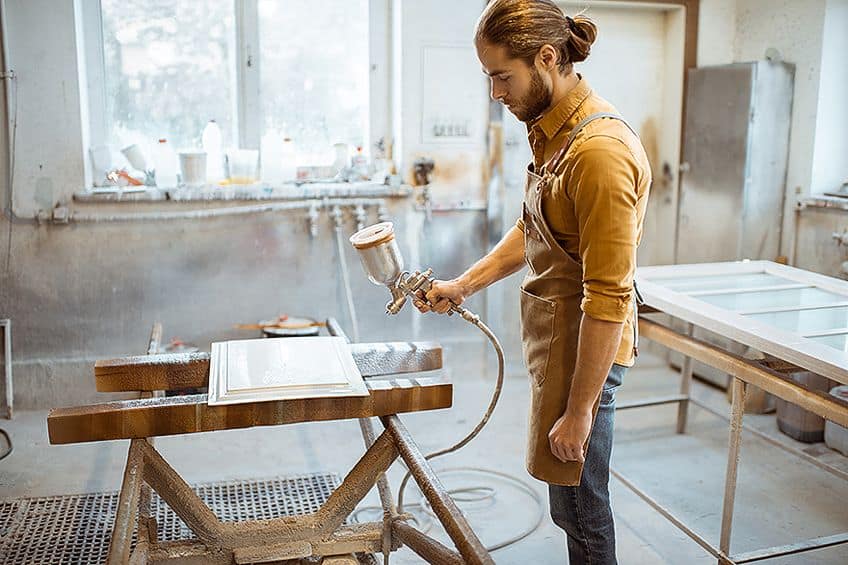
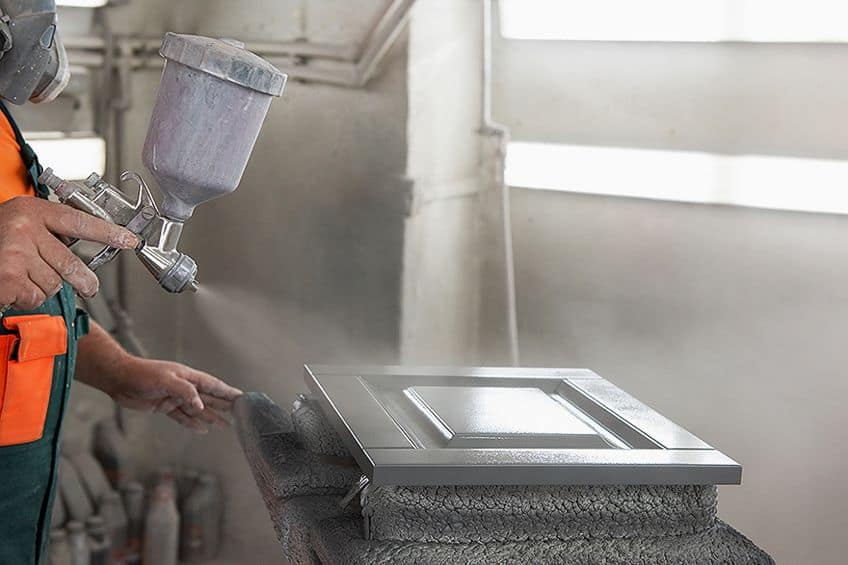
Step 6: Paint Your Cabinets
Pour your paint into a bucket and thin it out if necessary. Use a paintbrush to paint the frames, after which you then switch to the spray gun. The spray gun will smooth out any uneven marks and brush strokes while covering the unpainted areas of the cabinet.
Step 7: Practice Makes Perfect
Before setting out to paint your cabinets, we recommend practicing your painting technique on other surfaces to get the hang of things. It is also worth your while to set up an area to spray the cabinets where it will make minimal mess, and if any mess does occur, it will not be a train smash.
Remember, you are not a professional, so it is okay to make mistakes and a bit of a mess. What matters is what you do with it afterwards – what did you learn?
Step 8: Touch-Ups
If you spot any runs or uneven coats of paint, touch them up with a paintbrush before it dries. If the paint has already started to dry and is sticky, rather wait until it dries completely, sand it down, and then repaint the area. It may be worth buying a paint pen in which to store some of the paint. This will make quick touch-ups easier should the need arise.
Step 9: Reassemble
Once you have finished expertly painting your kitchen cabinets, you will need to put it all back together to see the finished product in all of its beautifully painted glory. Be careful when it comes to reattaching the door hinges, as you do not want to scratch the newly painted surface. Do not stress if there is an accidental scratch or two; it is easy to fix.

Choosing the Best Paint Sprayer for Cabinets
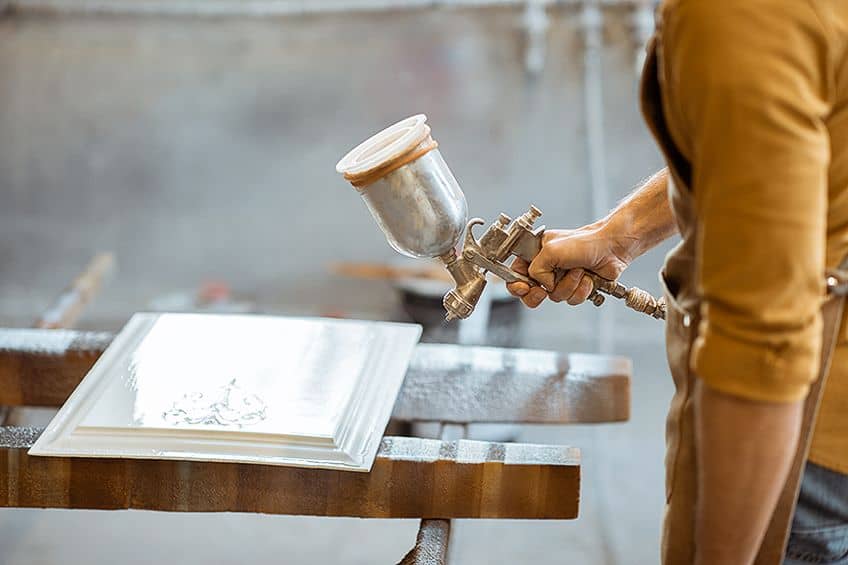
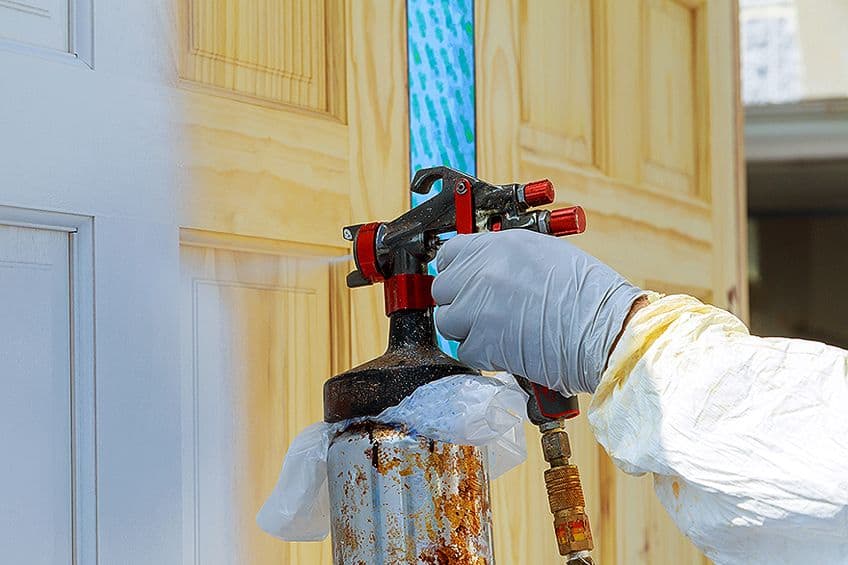
When it comes to selecting the best paint sprayer for cabinets, the first thing you need to know is how the set-up actually works. Paint sprayers consist of a paint canister that holds the liquid being applied, such as paint or wood stains. The canister is connected to a nozzle that is operated using a trigger mechanism. Paint sprayers produce even coats of paint and provide a smooth finish, making it easy to see why so many people have started using paint sprayers for their DIY project painting needs.
However, you need to keep in mind that as much as these tools can do wonders for your project, your ability to use the spray gun will play a big part in determining the success of your project.
The Four Types of Paint Sprayers
There are different kinds of spray guns on the market, which can be divided into four main categories, namely compressed air, high-volume low-pressure (HVLP), low-volume low-pressure (LVLP), and airless paint sprayers. We will take a quick look at each of these options below and even suggest a spray gun that is currently available should you wish to look into investing in one.
Compressed Air Paint Sprayers
The traditional version of the paint sprayer is the compressed air paint sprayer. The device applies thin coats of paint using a spray gun that is attached to a high-pressure hose, which is attached to a pressurized tank. The cost of a compressed air sprayer set-up can be rather steep, but you can also hire them from hardware stores to meet your project needs.
When it comes to finding the best paint sprayer for cabinets, this is by far one of the best in terms of creating a professional-looking finish. Unfortunately, this option is a bit more time-consuming to use, as it requires more layers of paint than other spray gun options available on the market.
These traditional sprayers can be more difficult to control as a result of the pressure and force exerted by the air compressor to disperse the paint. This also means that there is a risk of the paint spreading unnecessarily, which can become rather messy. However, this can be easily rectified by experimenting with different nozzles to determine which flow and pattern best suit your needs.
High-Volume Low-Pressure (HVLP) Paint Sprayers
Unlike the traditional air compressors, high-volume low-pressure (HVLP) sprayers make use of a built-in electric turbine to spray the paint. They are also a more budget-friendly solution, as no air compressor is required to use the device. While they are powerful, HVLP spray guns are more suited for smaller jobs, such as a quick kitchen cabinet refresh. Due to the condensed nature of this device, the risk of overspray is reduced. This means that there is less paint spillage and more accurate painting. In most cases, you will need to thin out the paint to use it, but the directions to do so should be included in the owner’s manual.
Low-Volume Low-Pressure (LVLP) Paint Sprayers
This variety of paint spray gun makes use of compressed air systems to spray the paint, except that they are able to function on smaller and less powerful air compressors. In a similar manner to that of the HVLP spray guns, the LVLPs create smaller spray patterns and can take longer to paint your project. They also produce less overspray and as a result, less paint is wasted in the process. Some sprayers will need to have the paint thinned out, so always read the owner’s manual properly before use.
Airless Spray Gun
These spray guns also make use of an electric motor to spray the paint. They are able to pump paint through the hose and tip at pressures of up to 3000 psi. This is the best option for applying thicker coats of paint, which means that it requires fewer coats to complete the job, thus saving you time and money. The pitfall of these devices is that their powerful spray results in a significant amount of overspray, which leads to a lot of paint being wasted. If you are working on bigger projects, the best paint sprayer for this would be an airless spray gun.
How to Spray Paint Cabinets: Things to Consider
While understanding and knowing what the different paint sprayers available are, you need to know what features these devices should have in order to complete your DIY paint projects and creations. This will also help determine your needs so as to make the best decision for your project. These features will relate to the task at hand, so your project plan will need to be detailed when you reach the point of finally investing in a spray gun.
Project Size
The first thing that you need to consider when it comes to determining how to spray paint cabinets is the size of your project and the required paint job. This is because different spray guns have different paint capacities, as well as different levels of force used to disperse the paint. The last thing you want to do is have to stop and refill your paint canister every five minutes, or to have to clean up a mess as a result of overspray. If your spray gun does not meet your requirements, you will find yourself wasting paint and time. For smaller projects such as painting your kitchen cabinets, we recommend low-volume sprayers that are handheld and easy to use.
Spray Regulation
Next, you need to determine how to regulate the spray of the paint. HVLP sprayers use adjustable air caps while airless spray guns have a tip that diffuses the paint. The size of the tip will determine the amount of paint that will be released, as well as the shape and size of the pattern. The correct tip will reduce the risk of clogs and ensure a more professional-looking finish.
A simple way to think of this is to try to find that perfect middle point between too much paint being released and too little. You may need some time to experiment and play around with your settings on your spray gun.
Compressed Air or Airless?
On the note of HVLP and airless sprayers, that is the next decision that you will need to make: do you want to have a manual spray gun or an electric one? These two methods use compressed air and electric pumps, respectively. While compressed air spray guns offer more flexibility in terms of adjusting the spray intensity, air-powered sprayers are easier to clean and have a higher transfer rate. Both compressors offer a beautiful finish to any kitchen cabinet.
The Relationship Between Power and Paint Output
It is self-explanatory when you think about it: the more power the sprayer has, the higher the output will be. Sprayers with more power are often best suited for large projects that require a quick coat of paint due to their ability to produce a larger spray pattern. This does not always work on smaller-scale projects such as kitchen cabinets, however, as it releases too much paint, resulting in overspray.
The Amount of Pressure Needed
Most paint sprayers have controls that adjust the pressure released by the sprayer. If the pressure supplied is too low, the paint will be uneven and blotchy, while too much pressure creates overspray. The rule of thumb is to provide pressure that is able to atomize the coating being sprayed. This will be dependent on the viscosity of the liquid. A sprayer with adjustable pressure will make your painting experience a whole lot easier.
The Paint Capacity
For obvious reasons, you will want to have a high capacity for holding paint so that you do not have to continuously stop and refill the spray gun. HVLP sprayers usually have a cup that attaches to the sprayer, while airless spray guns can pull the paint straight out of the paint can. This means that in terms of capacity, airless spray guns have the highest capacity available.
Ease of Use
When it comes to determining which sprayer is the easiest to use, HLVP sprayers are usually the best option as they are easy to adjust and control. They are ideal for small projects and do not produce a lot of overspray. It is also a complete set-up, which means that you do not have to buy an air compressor or additional equipment to complete the paint job. Airless compressors are powerful and produce significant overspray, making them more suited for large-scale projects. LVLP spray guns are great for small-sized projects, although they do require an air compressor to work.
Frequently Asked Questions
What Size Tip Is Best Suited for Spraying Kitchen Cabinets?
To reduce the risk of overspray, you will want to use a small tip. We recommend a 311 sized tip, as it will create a 6-inch fan. If you are using a sprayer with a cap, adjust the sprayer accordingly to ensure that you achieve the desired result. If you have bought a kit with multiple tips or fittings, we recommend giving them all a try to see what kind of sprays they produce. This will be helpful for future projects.
How Should I Prepare the Cabinets?
The first thing on your list should be removing the cabinets and cleaning them. Pay special attention to grease marks, as they are common in the cooking area of the kitchen. These spots can make it difficult for the paint to adhere to the surface, so make sure that you give the cabinets a proper cleaning beforehand. Next, you will want to sand down any imperfections and fill them up where necessary. Once this has been done, apply the primer and let it dry before the first coat of paint is applied. Once you are happy with how the paint is applied, leave it to dry before reassembling and reinstalling the cabinets.
Why Should I Use A Spray Gun Instead of a Paint Roller?
While paint rollers and brushes have been a DIY painting stable for years, it can be difficult to manoeuvre them in tight spaces, and they can also produce unsightly lines. To get an even coat of paint across all surfaces and inside those tricky corners, a spray gun works wonders. All you need to do is set up your gun, spray away, and be amazed. We do recommend that you practice on a few odd surfaces beforehand to get the hang of painting with a spray gun.
What Pro Tips Do You Have for Amateur Spray Painters?
This question is a bit tricky and can become quite extensive, but we will share the basics to help get you started. The first thing you need to do is make sure that the paint in your can does not dry out in the process of painting – always keep the lid closed when not in use. Keeping in the theme of paint, mix it properly before use and be sure to mix it before pouring any out into your spray gun canister. Next, always prepare your surface properly before painting. This means cleaning it, sanding it down, and adding a primer before you even think of reaching for the paint. Once you are ready to start painting, spray evenly from top to bottom, being careful to avoid overlapping.
Do I Need to Wash the Spray Gun After Each Use?
Unless the paint job will span over a day or two, you should be washing your painting gear at the end of each day to prevent long-term damage. For projects spanning over a few days, place your gear into a plastic bag and pop it in the fridge. The cold temperatures will stop the paint from drying. However, you will need to let the equipment thaw out before you are able to use them to continue your project.
How Can I Tell Which Paint Is on My Cabinets at the Moment?
A pro tip for figuring out what kind of paint is currently on your cabinets is to wipe a cotton ball covered in isopropyl alcohol across the existing paint. If the color rubs off, the paint is latex, and if there is no color residue, it is oil-based.
Why Can I Not Simply Paint Over the Existing Paint?
To start with, the paint needs to be able to stick to the surface, and old, dirty paint is not going to help the situation. Secondly, if you want to have an even coat of paint, you need a smooth surface to work with, and although your cabinets may look smooth, the odds are that they are not. So, instead of rushing through the job, take your time and do it properly.

I have been into woodworking since 2005 and woodturning since 2011. Because of my love for wood and woodworking, I started woodhappen.com to teach other enthusiasts about how to finish and seal wood, the best woodworking tools, the different types of wood, and everything else related to woodworking! Read more about me here.