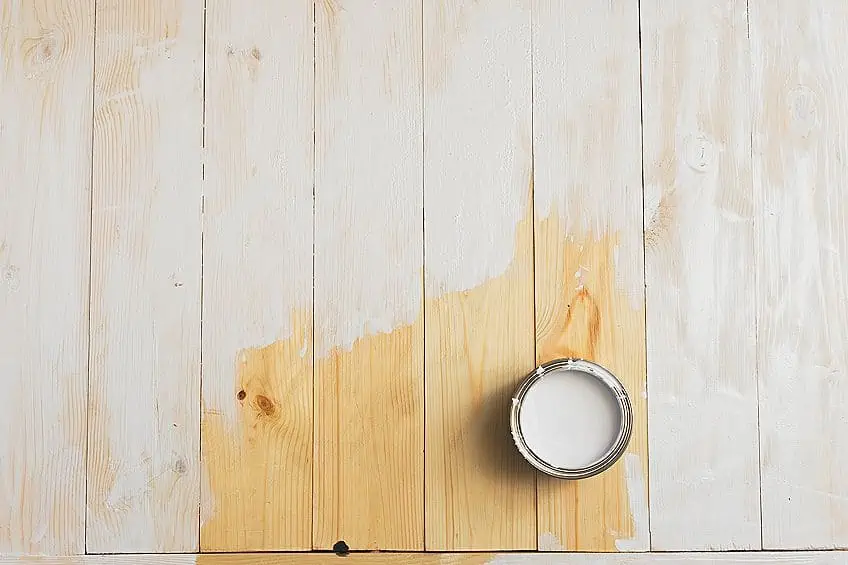
How to Paint Wood – A Comprehensive Guide on Wood Painting
You might think that wood painting is easy, and that there is no need to follow a strict set of rules. However, if you want an item you can be proud of after you have painted it, then there are certain steps you need to follow in order to give you that brilliant finish. Everything depends on the type of wood and the surface you are treating. In this article, we will be taking you through how to paint wood for a perfect finish.
How to Paint Wood
You can paint on any wood surface, such as new wood pieces, previously painted wood, wooden furniture, or even floors. The only requirement is that you need to follow a few instructions for a beautiful finish.
Try not to skip any one of the steps no matter how insignificant it may seem to you, as this could cost you a lot of money and the wood paint will not last long. We also suggest that you purchase some good quality tools and products so as to guarantee a trouble-free experience.
Just like any other project you may tackle, preparation plays a major role in a successful job.
Planning Your Wood Painting Project
When planning, the choice of wood paint plays a vital role in wood painting. Are you going to select an oil- or water-based wood paint? Remember, the primer and paint you choose must be compatible, which means that an oil-based primer must be used with oil-based paint.
Oil-based paints have their advantages, although they do require a well-ventilated workspace. Paint thinner or spirits are needed when cleaning your tools. How each product performs is also important.
For example, using shellac is excellent when trying to cover up old stains on your wood, but beware, as it has a strong odor.
On the other hand, water-based primers will have little to no effect on covering stains. The choice of materials will depend on the type of wood you are painting and also the previous treatment the wood has had. Always remember to read the manufacturer’s instructions properly before using the product.
When dealing with many of these products, you will need to take special precautions as some of them contain harmful chemicals. You must protect yourself first by wearing protective equipment. Also, people, pets, and plants must be taken into consideration when choosing the right space to work in.
Try to finish the job of priming and painting in one process, which means that you should not delay the process by longer than a week.
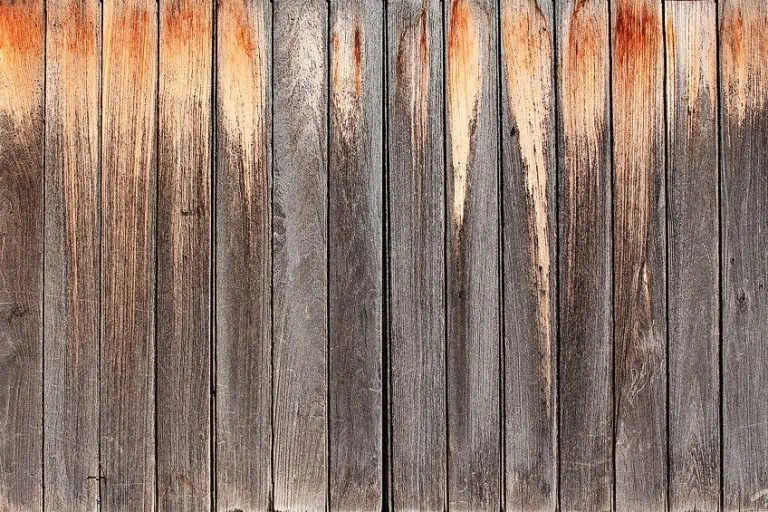
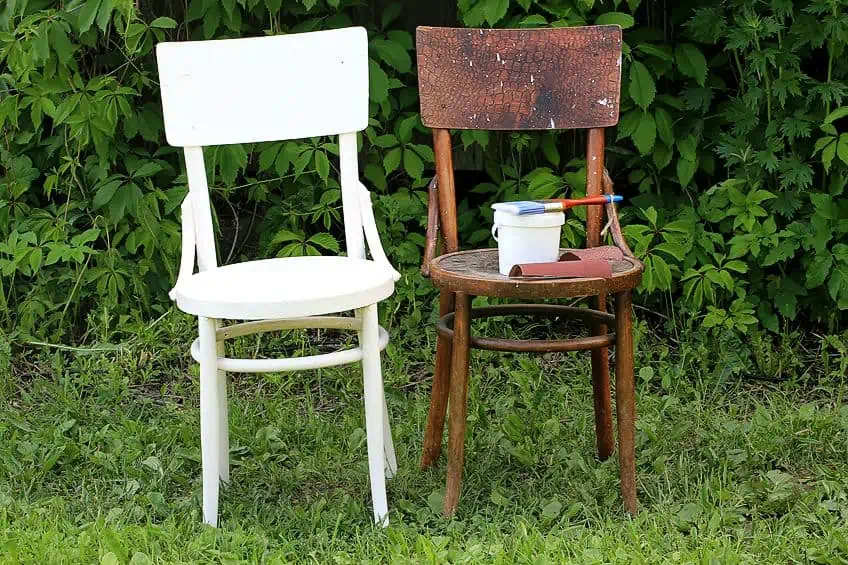
How to Prepare Wood for Painting
Preparing the wood is the most important step in the whole process of wood painting and also one that many users overlook. Remember, a coat of paint will not cover holes, cracks, or any other imperfections. These need to be addressed properly at the beginning of the process.
If you are using a new, unfinished wood, then this initial preparation stage is not relevant – all you need to do is sand it down. However, if the wood has been painted or treated before, you need to go through the following process:
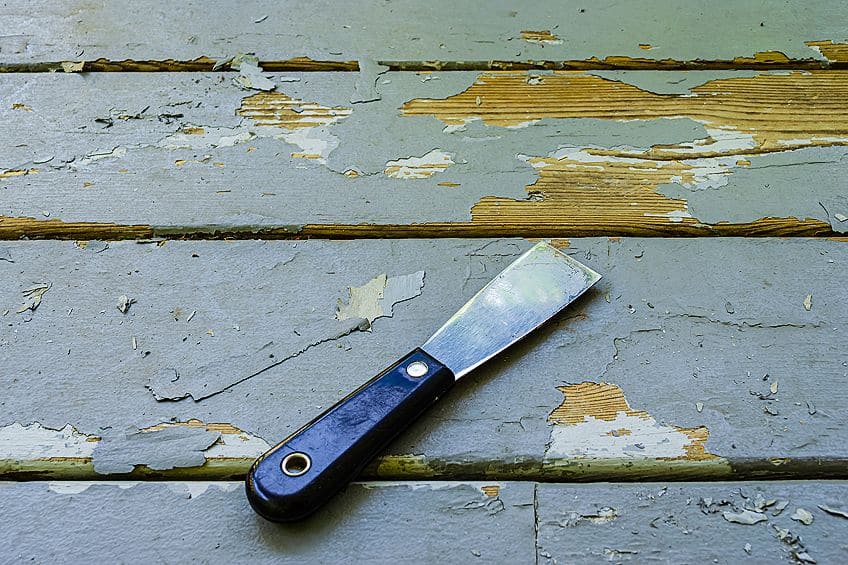
Remove the Old Paint or Stain
- Scrub the surface of the wood with some TSP (Trisodium Phosphate) solution to remove any grease or dirt using a cloth or sponge.
- Then, rinse it off with clean water to remove all the old residue. If you detect some loose or cracked paint remaining on the surface, take a scraper and remove as much as you can.
- At this stage it is necessary to remove all of the old coating, as you still need to sand the surface in order to ensure that all the leftover paint or stain is removed.
- If the wood surface has been treated previously with varnish or an oil-based stain, it may be necessary to remove the coating first by using chemicals. However, there are many products on the market that can be applied directly over these types of coatings without removing them. You should refer to the manufacturer’s instructions.
Repair Dents, Dings, and Chips in the Wood Surface
- Next, if you find any chips or dents that are deeper than 1/8-inch, you need to caulk them. This should be done preferably with a polyester resin or auto-body fillers.
- Using a putty knife, apply the filler and make sure that it is higher than the wood surface. If the wood has chips or scratches that are not very deep, use a putty knife to apply some spackling compound, and do not worry if you use too much as you can always sand it away later.
- This next step is not often followed but it is worthwhile, as it saves you a lot of trouble later. Use some latex primer over the filler, as this will show up any leftover imperfections.
- Now, take a bright light and hold it close to the wood surface, so that any and all scratches or bumps show up. Use a pencil to circle those spots and sand them with 180-grit sandpaper until the marks have gone. You can then reapply the filler to that spot.
This may sound laborious to you, but remember that a perfect finish requires patience and proper preparation.
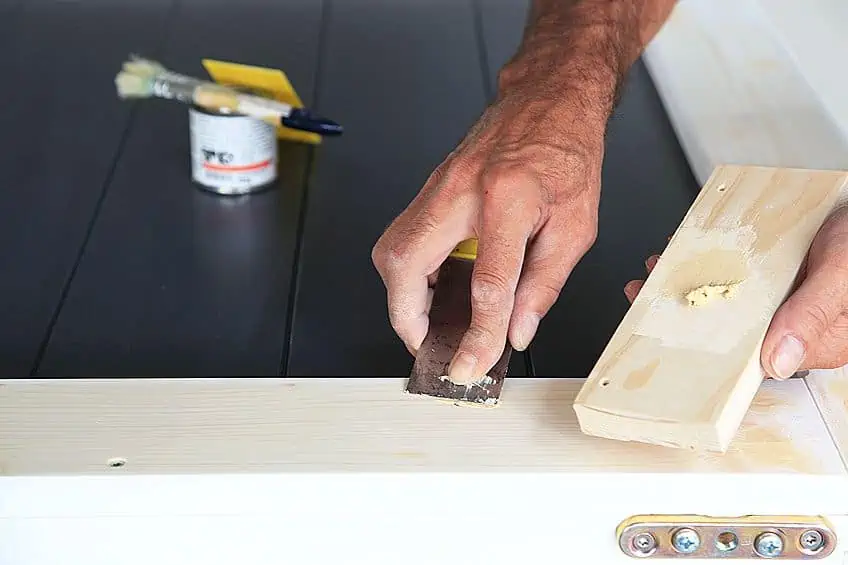
Sanding the Wooden Surface
- You still need to sand the surface of new wood before you paint. Use sandpaper of 280- to 320-grit, although begin sanding previously-treated wood with a coarser 80- to 100-grit sandpaper. Make sure that you remove any loose paint on the surface of the wood.
- Next, now you can use much smoother 150- to 180- grit sandpaper. Remember to always sand with the wood grain.
- When sanding wood between coats of paint, you can use 360- to 600-grit sandpaper. Some of the tools you can use for sanding your wood surfaces are:
- An orbital sander, which is used mainly for larger jobs and requires sanding discs.
- A sheet sander, which is cheaper and is best used on flat surfaces. This tool requires regular sandpaper.
- A sanding block, which may be the cheapest, although is very labor-intensive. This tool is used for smaller jobs and finishing touches.
- After the sanding is complete, you need to clean the wood properly before continuing. First, you can use a vacuum cleaner to get rid of the dust. For water-based primers, you can use a clean damp cloth to wipe the surface and a tack cloth for oil-based primers.
This operation is important, as the paint will not adhere to the surface of the wood if there is any dirt or dust present.
Preparations for Painting
Before you even begin painting the wood, you should have all of your equipment and your workspace ready. Additionally, there are a few added guidelines for painting wood to get the best finish.
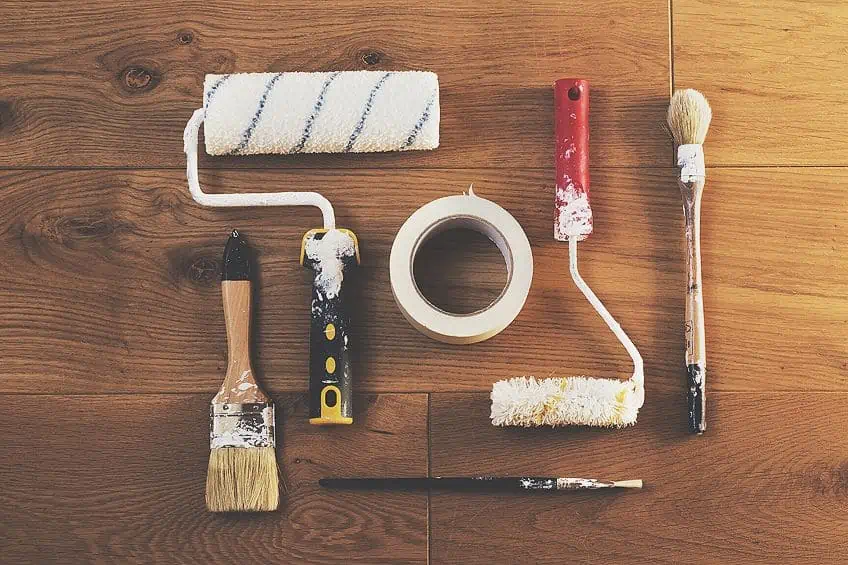
Brushes
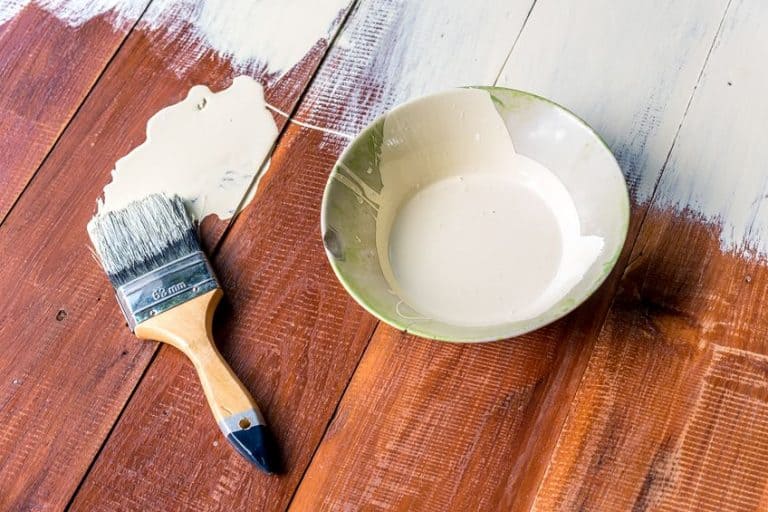
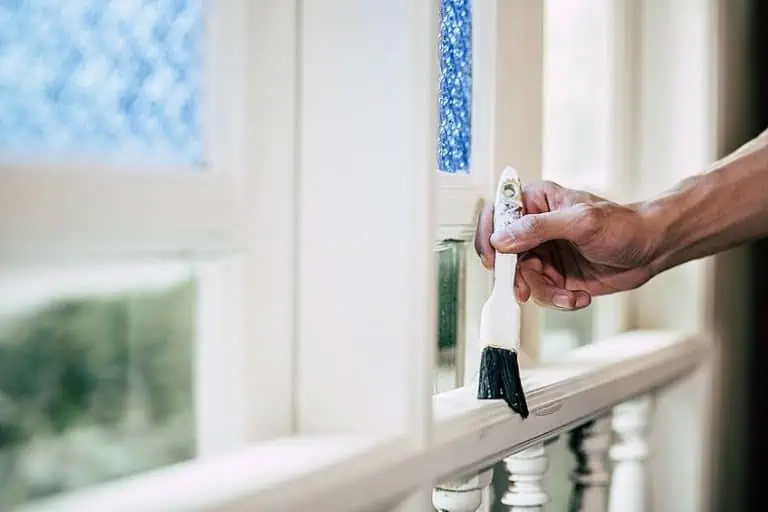
One of the most important factors in producing a good finish is that of the paintbrush. The right type of brush is important, as a good-quality brush will hold a good load of paint on the bristles and apply it smoothly over the surface of the wood.
- For latex- or water-based paints, use a synthetic bristle paintbrush and use a natural bristle paintbrush for oil-based paints.
- Use a straight brush for flatter areas, and an angled brush for most detailed sections.
Painting Techniques
The technique you use when applying the paint is also important, as it can affect the final finish.
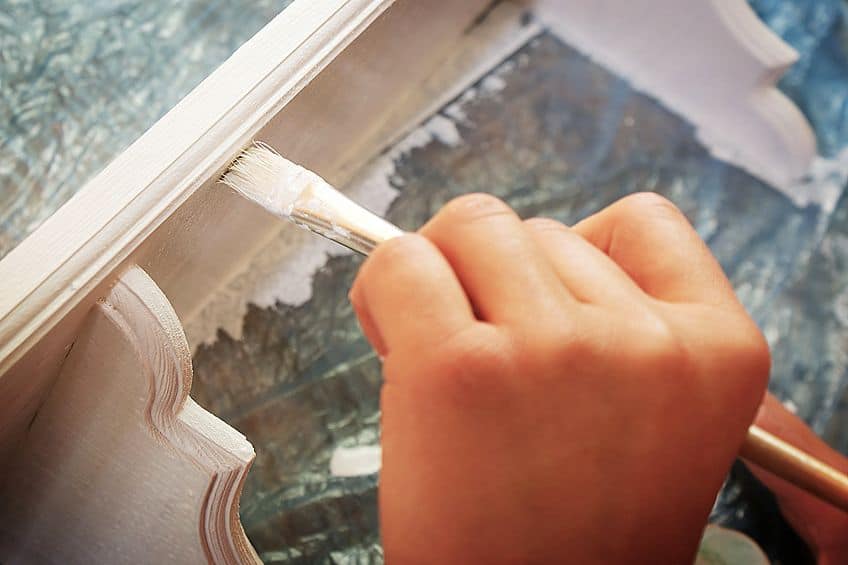
- Starting at the top of the item, and with the brush fully loaded with paint, move the brush downwards towards the center. As soon as your brush starts to drag it is time to reload with paint. When brushing, you need to move quickly over the area and reload several times with paint.
- Lightly run an unloaded brush over the painted surface in order to smooth it out, which is a process referred to as tipping. Holding the brush at around a 45-degree angle, start to move it lightly over the surface using slight downward pressure.
- Try to cover the whole area or a certain section, but never let the paint rest for longer than a minute before you start tipping. When tipping, you may find that the paint leaves parallel ridges. Do not be alarmed, as these ridges will disappear as soon as the paint skins over.
- Remember, you can work faster to complete the job if you allow the brush to carry its maximum load each time. To avoid wood paint from dripping, you can lightly knock the brush on the edge of the paint tin. If you need to have a half-loaded brush, drag it over one of the sides against the lip of the container.
Taping Off
Before you start to apply the primer, there may be certain areas you want to leave unpainted, or perhaps you want these areas to be painted a different color. These areas need to be taped off.
You can make use of specially treated tapes that have been designed especially for use with latex paints. This tape adheres very well to the wood and also minimizes the paint from seeping into the wood.
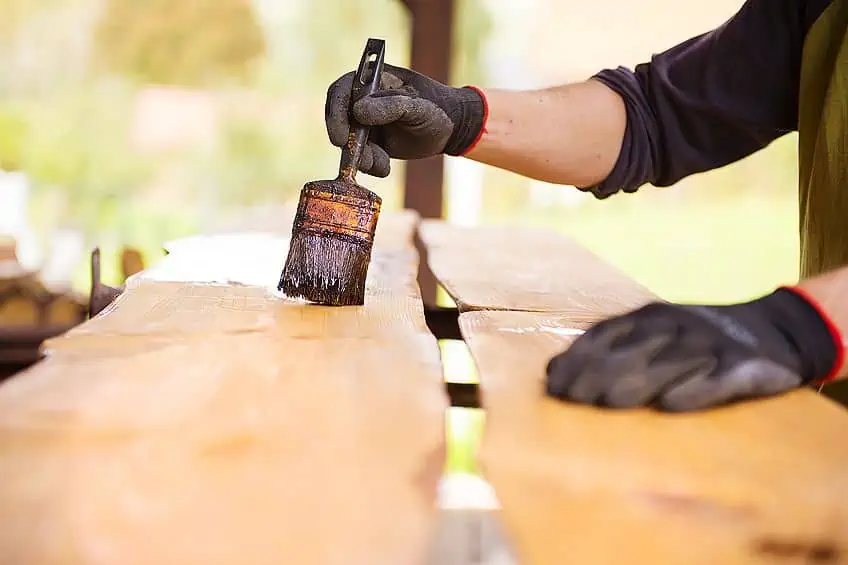
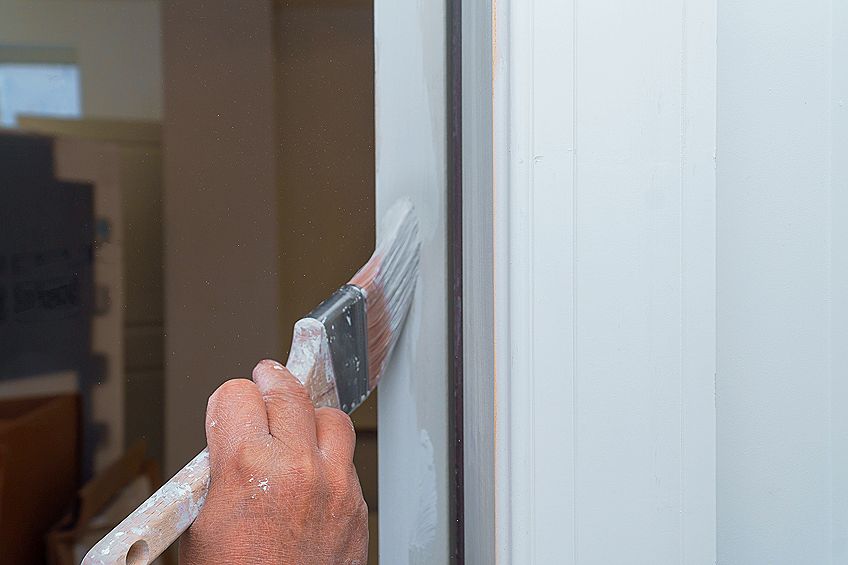
Applying the Primer
Priming your wood to paint on is important, as it will help to hide marks, stains, knots, or any other damage on your wood. The primer will even out the grain and make the surface smooth, as wood is porous and easily absorbs the paint.
Primer also prevents the wood from bleeding, which happens when the tannins in the pores of the wood move up to the surface. Tannins are acidic chemicals that are part of the sap in the wood and provide the wood with its different hues. If these tannins are allowed to seep through, they could damage the paint.
If you fail to prime your wood the paint may, at a later stage, begin to peel or show other types of defects. One or two coats of primer should be sufficient, but make sure that your primer is completely dry before you begin painting.
If you find that the wood grain has been slightly raised, you can use a fine-grit sandpaper to make the surface smooth before you apply your paint. Always clean the dust away before you move on.
What Type of Primer Should You Use?
Now, you have to decide what kind of primer you are going to use. If you intend to apply a dark paint, then you should use a gray primer, whereas you should use a white primer if you are going to use a lighter paint.
Do you want to use an oil- or water-based primer? We have mentioned above in this article that an oil-based primer should be used with paint that is oil-based. The same applies for water-based wood paints. However, many professional users say that you can use an oil-based primer and then follow with water-based paint.
This is because oil-based primers adhere much better to the wood than water-based primers. This process is not always the right one for every job, however; you will need to read the manufacturer’s instructions carefully.
The problem with an oil-based primer is that it is not as flexible as a water-based primer, which could result in the paint cracking. It is, however, the more durable option by far.
You might also want to select a brush-on or spray primer. Spray primer is much faster and easier to apply but will require several coats, as it is applied very thinly. The brush-on primer is much slower and requires more patience, although the final result is a much more even coat.
You may also consider a stain-blocking primer, which will prevent the paint from bleeding, and will also help to hide all those marks, knots, or stains that appear on the surface of your wood. You can purchase water- or oil-based stain-blocking primers.
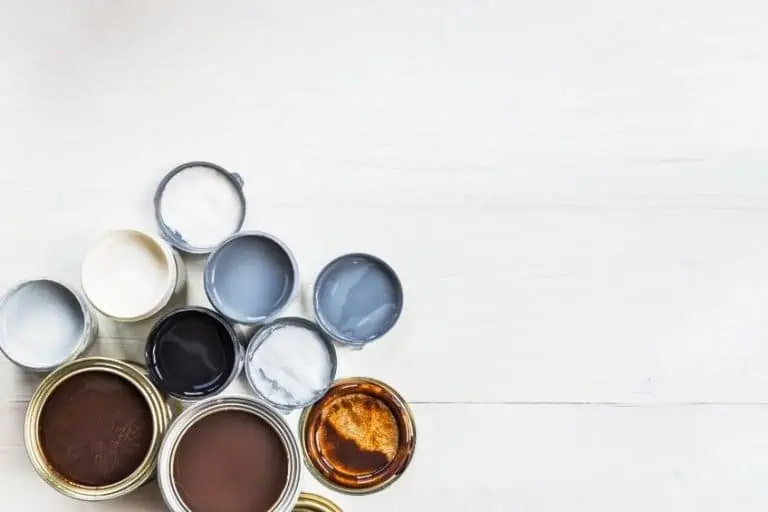
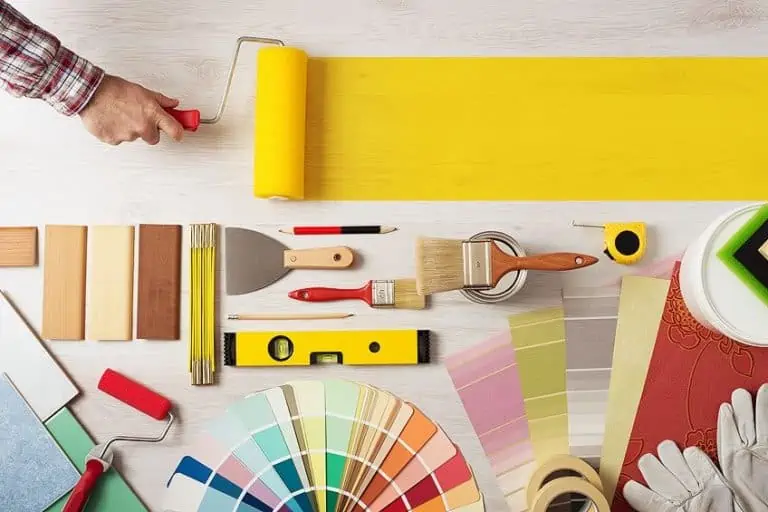
Types of Wood Paint
Now you need to decide what type of paint you want to use to complete your project. You will need to choose between a water- or oil-based paint and as well as the kind of sheen you have in mind. Wood is very versatile and will accept either of the two types and also comes in a variety of sheens.
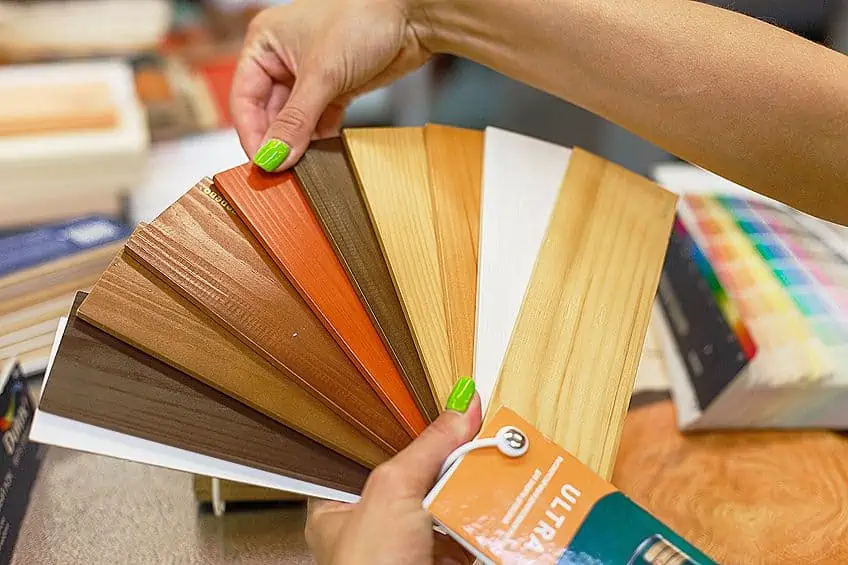
Water-based paints are also referred to as latex, chalk, or milk, while oil-based paints are also referred to as alkyd-based (made from synthetic resins) or plant-based (made from plant oil). These types of paints are also supplied in various kinds of sheens, such as:
- Flat, which gives you a non-reflective finish but is very good for hiding any imperfections.
- Matte, which is slightly reflective and easier to clean.
- Eggshell or satin, which is much more reflective but varies greatly from manufacturer to manufacturer.
- Semi-gloss, which is more reflective and its sheen is also very durable.
- High-gloss, which has the best reflective properties and highest luster.
What Wood Paint is Best to Use on What Type of Surface?
When it comes to wood surfaces, you might need different types of wood paint. Maybe you want to create a unique look or work with eco-friendly wood paint. Is the wood item outdoors or indoors? All of these surfaces may require a specific type of paint. Let us have a look at a few examples below.
Rarely-Used Furnishings
A water-based or latex paint is best for use on this type of surface, such as that of stair spindles or display tables. This is because it dries quickly and also enables you to tint it to any color you want in order to match your other furnishings.
Latex paints are also much cheaper than oil-based paints and have much lower VOC’s (volatile organic compounds). Also, they do not leave any brush marks as oil-based paints do.
The latex paints that have a flat sheen reflect less light, which means the smooth coat covers any scratches or flaws in your furniture. The less expensive sheen options can cover pieces of furniture that are not used very often.
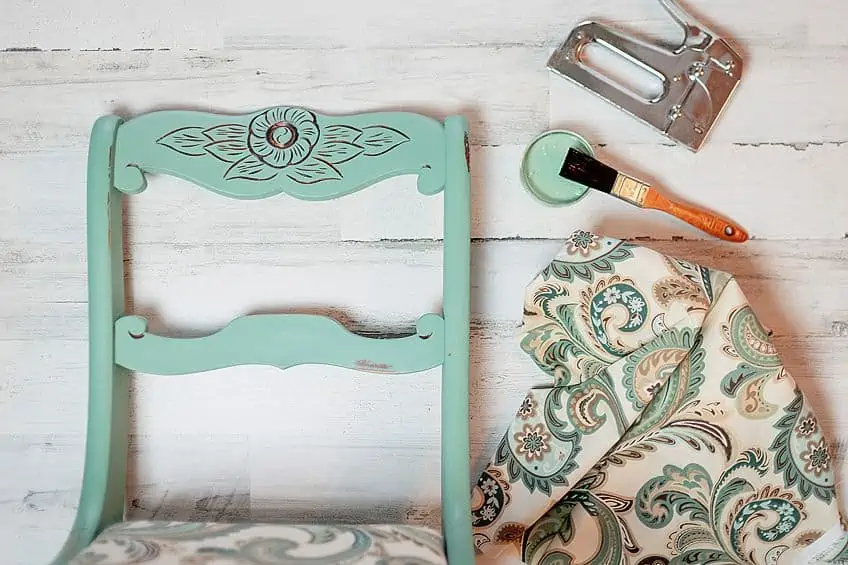
Furnishings with a Distressed Look
In this case, milk or chalk paint is the best option as these types of paint have a matte sheen, making them ideal for giving your piece of furniture a weathered or aged look.
Milk paint tends to flake and crack very easily, so it is ideal for a more noticeable weathered look on furniture like headboards, wooden hutches, chests, or storage cupboards. Chalk paint, on the other hand, is less pronounced in terms of its weathering effects, and is excellent for furnishings such as wooden coat racks or end tables.
Everyday Furnishings
For surfaces that you use on a daily basis, we suggest that you use alkyd-based oil paint. This is because it is a solid layer and will continue to get harder with time. It is also less prone to showing dents or scuff marks like a water-based paint would do.
So, it is ideal for furnishings that you use daily, such as dining room tables or wooden chairs. This type of oil-based paint dries much quicker than the plant oil-based paints, which means that you can use the furniture you painted much sooner.
It also gives to option of choosing a semi- or high-gloss sheen, which can withstand harsh cleaners and will not lose its luster too soon.
Kitchen and Bathroom Cabinets
For these types of furnishings, we suggest that you also use alkyd-based oil paint as they are exposed to a lot of moisture, steam, and water. The alkyd-based oil paint is mold-, mildew-, and water-repellent and is ideal for types of wood that will be exposed to moisture. Cabinets that are not in wet areas can be painted with ordinary latex paint, which is fairly cheap and dries quickly.
The choice of a high-gloss option is preferable on the exterior of a cabinet, as it is non-porous and is much easier to clean, and will not yellow over time. However, a satin sheen is preferred on the shelves of the cabinet.
Standard Trims
The use of alkyd-based oil paint is preferred for standard trimmings like windows, ceiling trims, and door frames as these areas are prone to dings, dents, and scuff marks.
All these trimmings around your home are noticeable features, especially when set against a white wall, so using this type of paint is ideal, for it will not yellow over time.
These trimmings will look great when painted with high-gloss paint, which is also easier to clean.
When it comes to decorative trimmings around the house, such as crown moldings, water-based paint is preferred. This is because these items have grooves that make it difficult for oil-based paints to reach as they have a thicker consistency.
Water-based paints have a much lower viscosity and can reach into those grooves and recesses. As these are low traffic areas, we suggest that a satin sheen be used, as they do not need to be cleaned regularly and the paint is also fairly cheap.
Floors
Alkyd-oil-based paint is recommended, as these areas are prone to high traffic and damage caused by high heels and furniture being moved and dragged over it. Here, you can decide between a semi- or high-gloss, as the area is much easier to keep clean.
Small Wood items
For small wooden ornaments like photo frames, jewelry boxes, or any other such surfaces, we recommend plant oil-based paint. This type of paint is fairly expensive, and after it dries the surface will still be soft.
This type of paint also allows the wood surface to contract and expand with temperature changes, and is less likely to crack or become brittle. As they are plant oil-based, they have more natural pigments and have a low VOC level. The high-gloss sheen brings out the shine and beauty of the piece.
Methods of Painting Wood
Now that have chosen the right type and sheen of paint for your project, it is time to apply the wood paint. There are three choices with regard to what you can paint wood with, being a brush, roller, or spray.
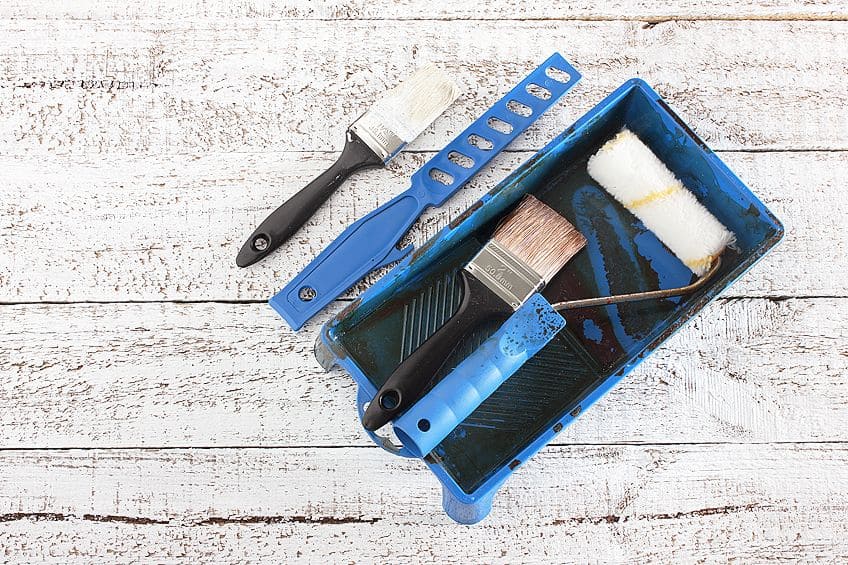
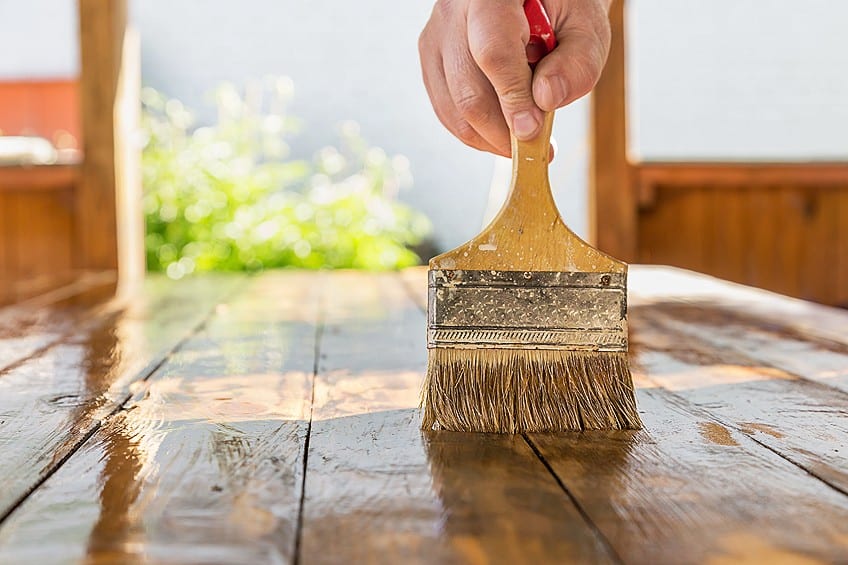
Using a Brush
Try not to load the brush with too much paint and always brush with the wood grain. Brush in one direction only and use light strokes. It pays to apply thinner coats than applying one thicker coat to save time.
Before you start painting, run the brush under some water if you are using water-based paint or wet the brush with some thinner if you are using oil-based paint. Doing this will help you when it comes time to clean the brush.
After cleaning, reshape the brush and hang it with the bristles down when drying and storing the brush.
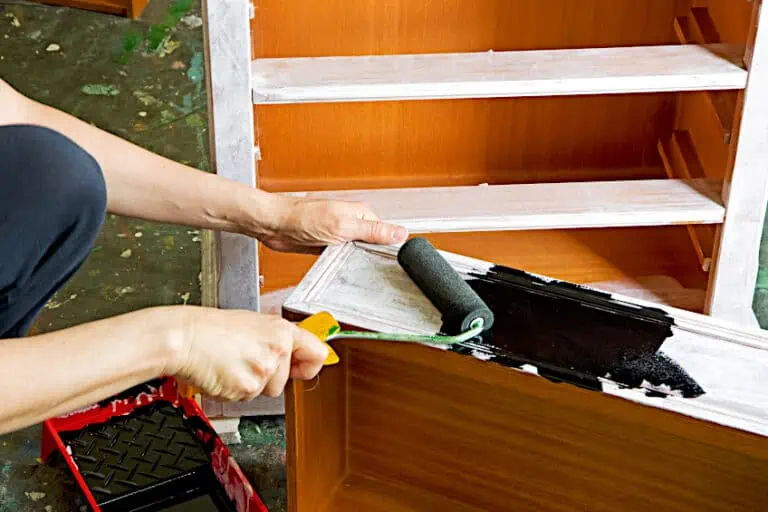
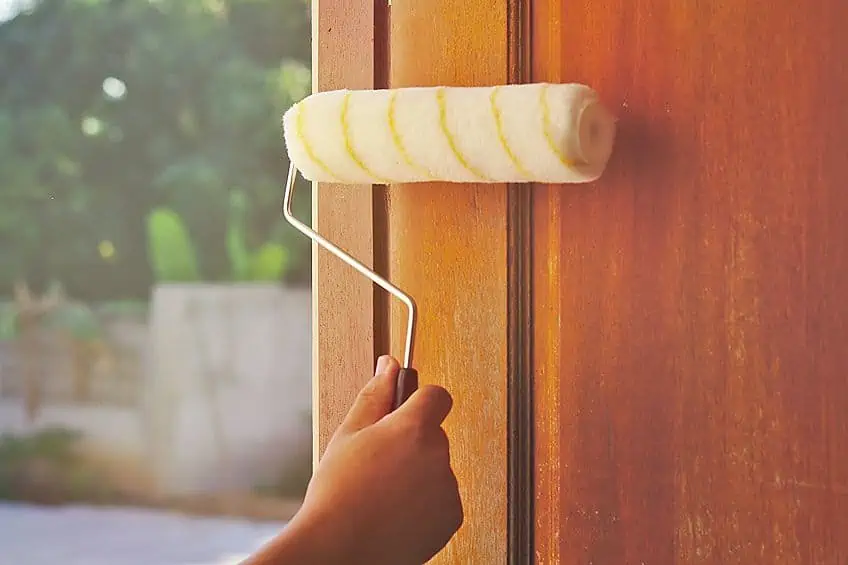
Using a Roller
A roller is another tool to use when applying paint, and they come in smaller sizes for use on furniture. When rolling the paint over the surface, try not to exert too much pressure as it may leave marks.
When the roller is almost dry of paint, run it lightly over the painted surface so as to reduce any roller marks you have created. To save you some money after you have cleaned the roller, put it into a plastic bag and seal it, and then place it in the refrigerator to keep it moist.
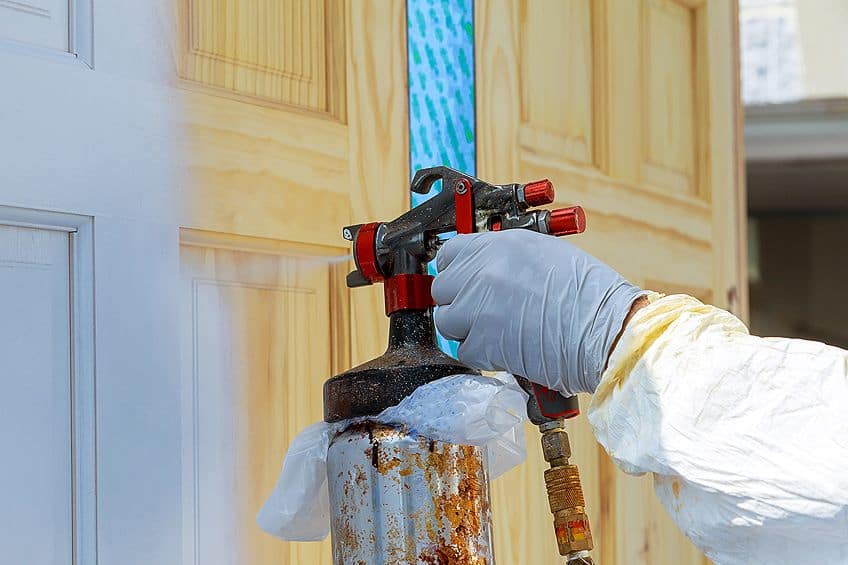
Using a Spray
You will require practice for this type of painting to be successful, but once perfected, this is the ideal method for painting wood, as no brush or roller marks are left behind. Sprays also allow you to reach the more difficult areas.
However, sprays need to be applied in a well-ventilated space. Clean-up is relatively quick and easy. Do not paint in direct sunlight or near heater vents, as it will cause the paint to thicken, which you should avoid. You can use Penetrol to thin oil-based paints and Floetrol to thin water-based paints.
Wood Sealing
After you have successfully painted the wood surface and you want it to look great for many more years to come, it is important to seal the painted surface. The sealer is usually transparent and coats the paint, leaving it smooth and clear.
Remember, the sealer is not like paint and only requires a light stir, so you do not create too many bubbles. Make your brush strokes even and smooth, attempting to avoid any dripping or bubbles.
This is the final step of the process of how to paint wood. This step may be skipped if your wooden surface is not going to be exposed to extreme weather conditions. However, if it is, then you will need to choose the right type of topcoat for your project.
Polyurethane
This type of finish can either be brushed or sprayed on. It is an oil-based product, meaning that you must use it in a well-ventilated workspace. Once it has cured, polyurethane cannot be removed easily and needs to be stripped off and physically removed.
Wax
This type of finish coat is rubbed into the surface using a clean cloth. Try not to put too thick a layer on, and after buffing the surface will become shiny. You can get this type of finish in different colors, and it will provides a soft, warm feeling to the wood. This finish should be used annually.
Polycrylic
This is a water-based, low-VOC sealer and is excellent for providing a protective coating to your children’s furniture. When using it, do not be alarmed if you notice that the color looks white, as it becomes transparent when dry.
Frequently Asked Questions
Must I Sand the Stained Wood Before I Apply the Primer?
You do not need to sand the surface if it is fairly rough, but if it is smooth, you will then need to use medium-grit sandpaper to make the surface rough enough for the primer to stick.
Is a Primer Necessary Before Painting?
Be careful about taking shortcuts. In most cases, it is recommended that you first prime before painting. For the best result, the right method to use is clean, putty (if needed), prime, paint, seal, and then apply a topcoat.
How Do I Achieve the Best Smooth Finish?
If you want a smooth and sleek finish, then spraying is the best option. If you do not have this equipment, then buy a mohair roller, as this gives you an exceptionally smooth finish.
Can I Use Any Type of Primer?
Any brush-on or spray-on primer will do fine, but try to use a stain-blocking primer in order to give you the best results.
How Long Do I Wait Between Coats Before Sanding?
It all depends on the type of paint you are using. Sometimes, you can apply the next coat within 3 to 4 hours, but to be safe, we suggest waiting 24 hours between coats.

I have been into woodworking since 2005 and woodturning since 2011. Because of my love for wood and woodworking, I started woodhappen.com to teach other enthusiasts about how to finish and seal wood, the best woodworking tools, the different types of wood, and everything else related to woodworking! Read more about me here.