Best Stain for Pine – Selecting the Best Finish for Pine Wood
Pine is one of the most popular and versatile woods out there. This is thanks to its affordability and attractive dark color that it gains over time. Whether you are using pine for flooring, furniture, or anything else, you will want to make sure that you protect it carefully. Finding the best stain for pine will help you to achieve a good layer of protection over the wood while coloring the wood beautifully. A stain can add water resistance, scratch resistance, and it will help to prolong the life of the wood. If you are looking for the best finish for pine, then follow our complete guide on pine staining below.
What Is a Pine Wood Stain?
A wood stain is a special type of paint that is designed to really enhance the natural grain of the wood. The aim of a wood stain is not just to cover the wood in a new color, but to bring out the natural colors of the wood even more. A wood stain should look natural and penetrate fairly deeply into the pores of the wood.
While a pine wood stain is mainly about achieving a certain coloring of the wood, it also adds a level of protection and durability. Wood stains do not offer as much protection as a varnish would, but they do create a layer of water-resistance and scratch resistance. This is a good way to protect the wood gently while keeping it looking natural.
Stained pine needs to be achieved with specialized products specifically designed for the wood. Pine has unique characteristics, and a pine wood stain helps to promote and enhance the natural look of the wood.
Why Use a Pine Wood Stain?
Knowing how to stain pine is important for DIY projects, as there are numerous benefits to this. Unlike regular paint or varnish, the best stain for pine will add a completely unique finish. Here are some benefits to stained pine:
- It allows you to adjust the color of the wood to suit your taste.
- You can darken the pine to make it look more antique.
- Staining colors the pine, but it still enhances and highlights the natural wood grain.
- Stains provide a layer of protection and durability over the exposed wood.
- Stains can be UV-enhanced and extra-resistant for outdoor use.
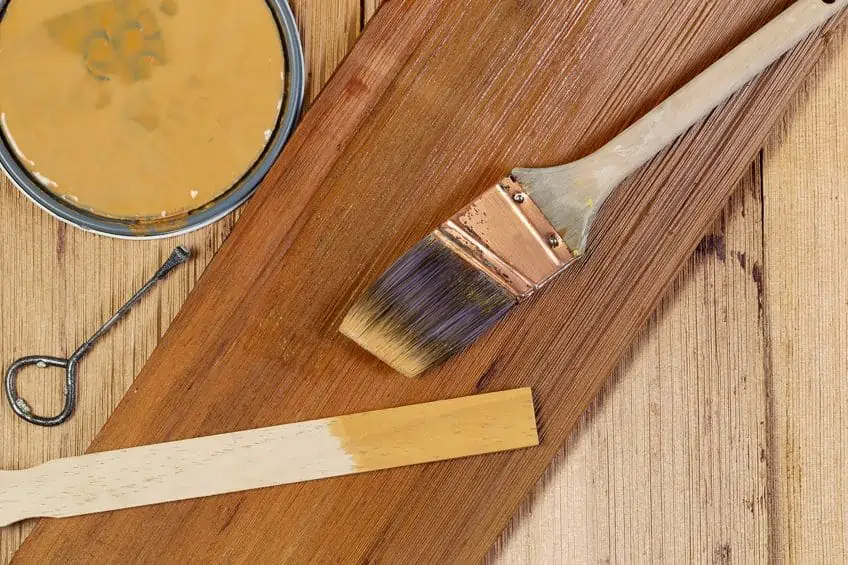
The Best Stain for Pine
There are many different products available when it comes to wood staining, so finding the best stain for pine can be a bit of a challenge. We have rounded up some of the top products available to help you to get the perfect product for your project.
Overall Best: GENERAL FINISHES New Pine Gel Stain
Pine is not always the easiest wood to stain, but General Finishes makes the process simple with this innovative gel stain. If you are after the best stain for pine, then we would strongly recommend this oil-based product. To start with, this stain applies really easily; you simply wipe it on, and your wood is stained perfectly with absolute ease.
This finish also looks amazing. It dries to a lustrous, shiny finish that is even and smooth. The coloring works perfectly for bringing out and enhancing the natural characteristics of pine. The stain is not too dark, as is the case with many other pine finishes. Although, you do have plenty of different colors to choose from for a darker finish if desired. Once dried, this gel stain provides a good level of protection over the pine surface.

- Woodworkers love the lustrous finish that shows up
- Heavy-bodied, and so does not penetrate as deeply into the wood
- Easy-to-use, as you simply wipe on with a cloth or apply with a foam brush
Pros
- Very easy to apply
- Creates no drips or runs
- Enhances the natural color and grain of pine
- Flows out evenly
- Oil-based gel formula for better protection
- No sanding between coats required
Cons
- Takes longer to dry
Best Outdoor Stain: READY SEAL Exterior Stain and Sealer
This natural pine stain and sealer by Ready Seal is one of the best options for large-scale outdoor use. This stain has been specifically designed for exterior use, so it is durable and able to hold up against the elements. It is easy to apply and requires minimal preparation for the wood surface.
This stain by Ready Seal is waterproof, UV-blocking, and mildew-resistant. This makes it a good choice for decking and all types of outdoor finishes exposed to sunlight or rain. Of course, the stain also looks great. The color is perfectly suited to match the natural grain of pine. The stain is semi-transparent, so it highlights the grain and texture of the natural wood while intensifying the color.

- Requires no primer, back brushing, or wet-line application
- This sealer can be applied using a sprayer, roller or brush
- You can apply this Ready Seal product in any temperature range
Pros
- Water- and mildew-resistant
- Offers good protection against scratches
- Has UV-blocking properties
- Easy to apply
- A large volume of stain for good value
- Provides great coverage
Cons
- Very light in consistency, similar to water
- Requires regular reapplications
Most Durable: MINWAX Penetrating Wood Stain
This oil-based penetrating stain for pine is always a popular choice for anyone working with wood. Minwax has created a formula that penetrates, stains, and seals the pine to offer a good level of protection. This stain helps to fill in the wood pores for providing a strong and long-lasting color tone. This stain has been specially formulated to provide a natural pine finish for all types of surfaces, although there is still a wide range of colors to choose from for anyone wanting to use different effects on the wood.
This oil-based stain is easy to apply, penetrates well into the wood, and greatly enhances the pine’s natural grain. If you are looking to finish pine with perfect coloring and a good level of protection, then Minwax is always a smart brand to consider. Being an indoor wood stain, this product is specially formulated for furniture, cabinets, and interior trim.
Pros
- Penetrates deeply into the wood
- Offers a natural, attractive pine finish
- A wide range of available colors
- Seals the wood effectively
- Easy to work with
Cons
- Not ideal for spraying
- Not suitable for exterior use
Best Value for Money: RUST-OLEUM Varathane Premium Wood Stain
The Rust-Oleum Varathane range offers a wide array of different stain options for various woods. This Ipswich Pine stain uses premium pigments that have been chosen to enhance the wood grain detail. The result is a long-lasting and translucent stain that provides a perfect natural look over pine. The color-rich translucent pigments penetrate deeply into the wood.
The stain should be applied by wiping it on, which offers an even coat without any blotching or the need for constant stirring. The stain dries fairly quickly and can be reapplied after two hours. If you are looking for the best stain for pine, then be sure to consider this soya oil-based formula. It offers an attractive, natural, and protective coating for all types of pine surfaces.

- Contemporary and classic colors
- Superior soya oil-based formula offers deeper penetration and truer colors
- Wiping stain applies evenly without blotching or constant stirring
Pros
- Deeply enhances the natural appearance of pine
- Oil-based formula penetrates deeply into the wood
- Wipes on easily
- Provides a long-lasting appearance
- Minimum stirring required
- Good value for money
Cons
- Stain darkens the pine quite a lot
Best Water-Based Stain: DEFY Extreme Wood Stain
This pine-staining finish is water-based and environmentally friendly. The stain complements pine by allowing the natural wood grain to really show through, while still adding a level of rich color intensity. The semi-transparent stain has a matte finish and works well over a wide range of different pine surfaces.
This stain has been fortified with zinc nano-particle technology in order to help in deflecting damaging UV rays. This provides the finished wood with a longer lifespan and helps to prevent color loss. Thanks to this addition, this is one of the best stains for pine options for outdoor and exposed use. Although it is water-based, the high-quality resins used to make this stain an extremely durable option. It is easy to maintain, long-lasting, and looks great over any type of pine finish.

- Water-based semi-transparent wood stain
- Formulated with zinc nano-particles for UV resistance
- Extremely durable and easy to maintain
Pros
- Eco-friendly water-based formula
- Provides good UV-resistance
- Easy to maintain and apply
- Extremely durable
- Offers a beautiful natural pine finish
- Large-volume
- Finish is not too dark for pine
Cons
- Long drying time
How to Stain Pine
Now that you have found the best stain for pine, it’s time to apply it. Applying a pine wood stain requires a couple of different steps in order to achieve perfect results. It is important that you do not just dive straight into staining the wood, but instead take your time doing all of the preparations properly. This will help you to achieve the best finish for pine.

Practice
Before attempting to finish pine on a large-scale project, it is best to know what you are doing first. We recommend that new users start by practicing on any small pieces of wood offcuts. This will help you to understand the wood grain, and to learn how many coats of stain on pine is best. By practicing on small wood pieces first, you will get a good understanding of how to stain pine dark brown, and how to work with the wood. This is necessary for avoiding unwanted mistakes on the real wood surface.
Fill Gaps and Knots
The first step of the stained pine process is to make sure that the wood is even and structurally sound. Start by filling in any loose knots in the wood with a clear epoxy resin or filler in order to achieve a more stable surface. Cover up any surrounding wood areas that you do not want to get epoxy on, and simply pour the clear epoxy into the knots and gaps. This will fill in any holes and provide strength.
Sanding
When the epoxy filler has dried, you are ready to start sanding the wood. This is an important step for applying the best stain for pine. As pine is a pretty soft wood, sanding is not too difficult of a process. However, you will need to be sure to do a thorough sanding job in order to get a great finish.
We recommend sanding with a block, as an orbital sander (although faster and easier) can leave swirl marks in the soft pine. Start with 100-grit sandpaper to level the surface. Then, you can move your way through the different sandpaper grits until you reach a grit of around 220. This 220-grit sandpaper produces a fine enough texture that will not show through any scratching once you stain the surface. Make sure that the entire wooden surface is completely even and smoothly sanded down before progressing to the next step.
Raising the Grain
Once you have finished sanding the entire surface, the next step is to raise the grain. This is a particularly important step if you will be using a water-based finish. Raising the grain is necessary after sanding, as there will often be a few wood fibers bent over. If you finish pine with a water-based stain, then the water will swell the bent fibers, leaving you with a rough finish. Raising the grain is achieved by dampening the entire surface, then sanding over it with a 400-grit sandpaper.
Conditioning the Wood
The wood is now prepared, and you are just about ready to apply the best stain for pine. Before you start staining pine though, you will need to make sure that the wood is not only smooth and even, but looking fresh. This can be achieved with a pre-stain wood conditioner. A conditioner will make it easier to apply the eventual stain. However, adding a conditioner does form a type of thin seal in itself.
Therefore, it is important to keep the surface wet when applying the conditioner until you wipe it. Do not seal the wood more than necessary before staining pine. Conditioner can be applied with a brush, and a foam brush is often preferred. Follow the instructions on the type of conditioner when applying it.
A good guideline is to apply two thick coats of conditioner. Keep the surface wet for each application, wait about 5 minutes, then wipe away any extra conditioner. Once both coats have dried, you should sand over the wood once again with 400-grit sandpaper. Do this very gently so as not to sand through the layer of conditioner.
Make sure that you wipe away any dust or dirt on the wood surface at this point. The wood needs to be completely clear before adding the pine staining.
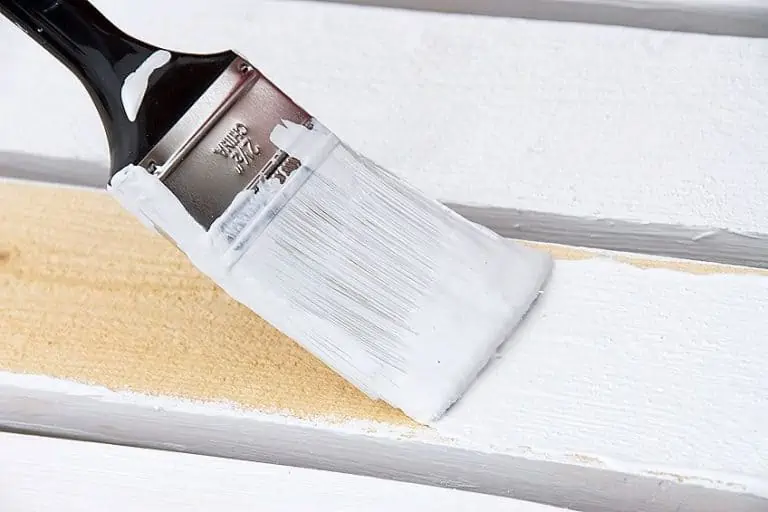
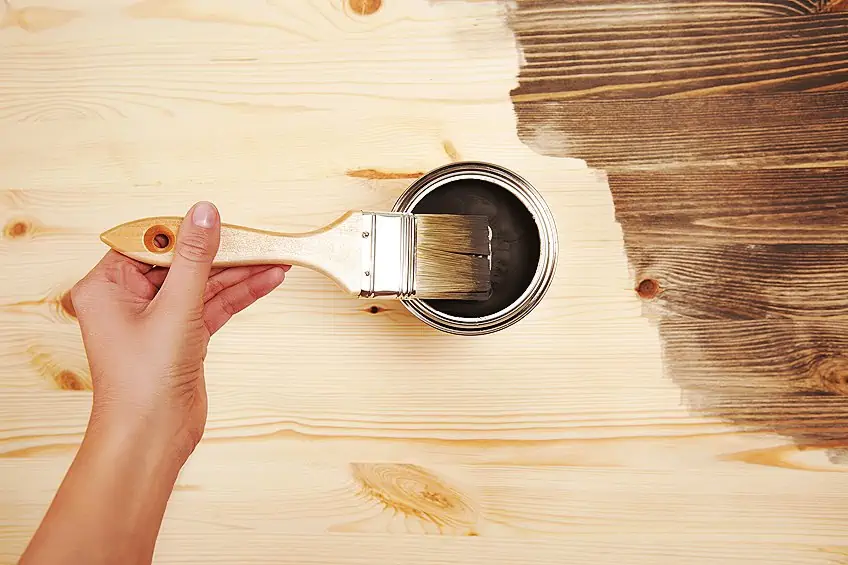
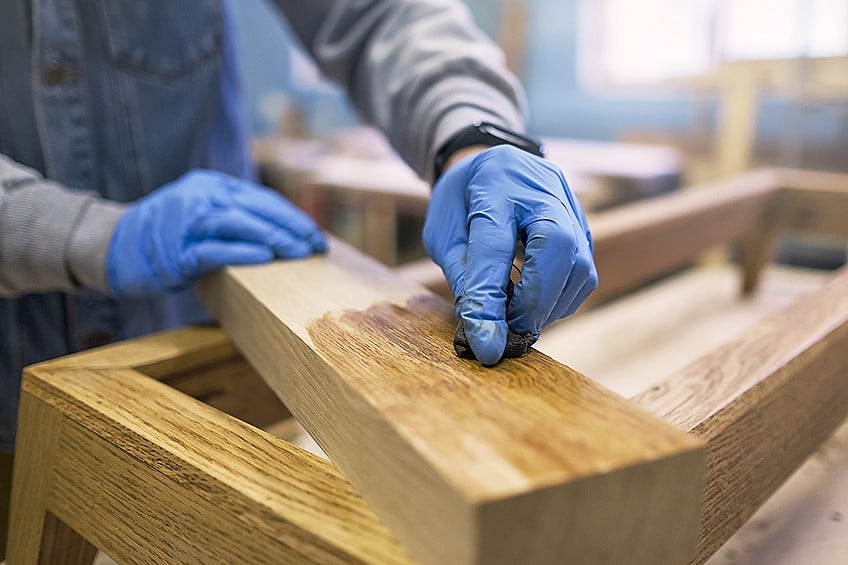
Applying the Stain
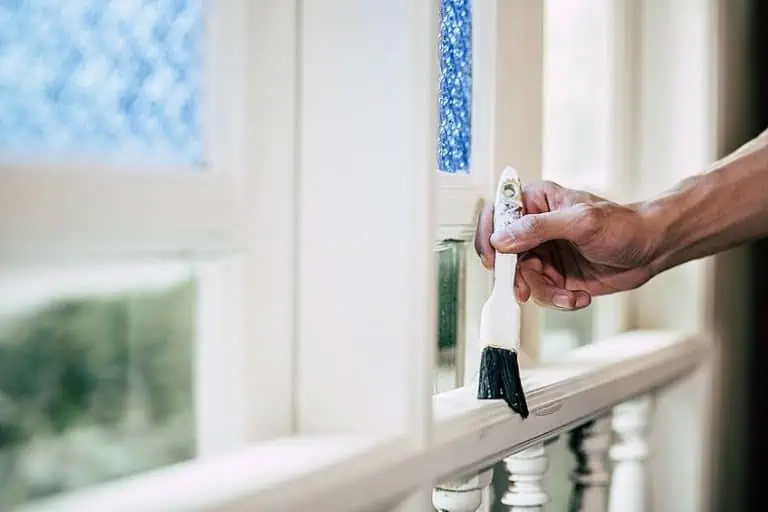
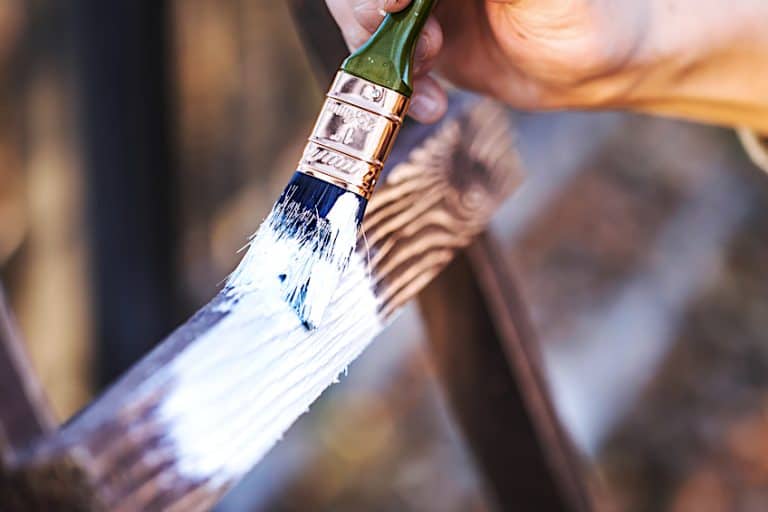
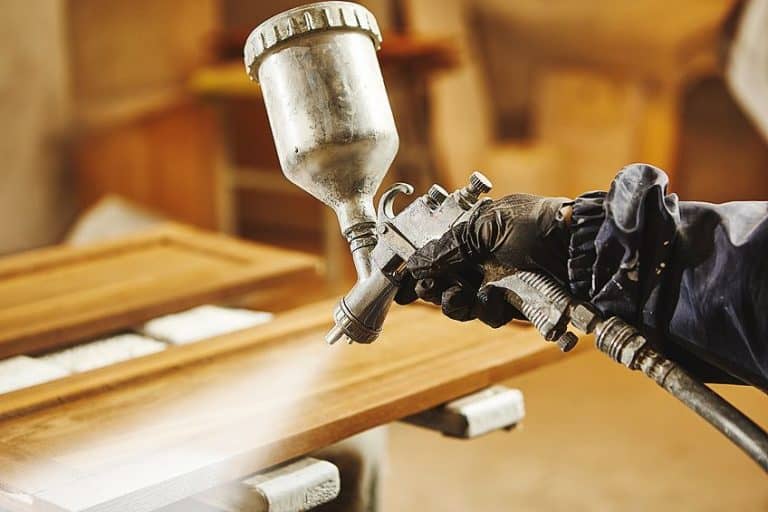
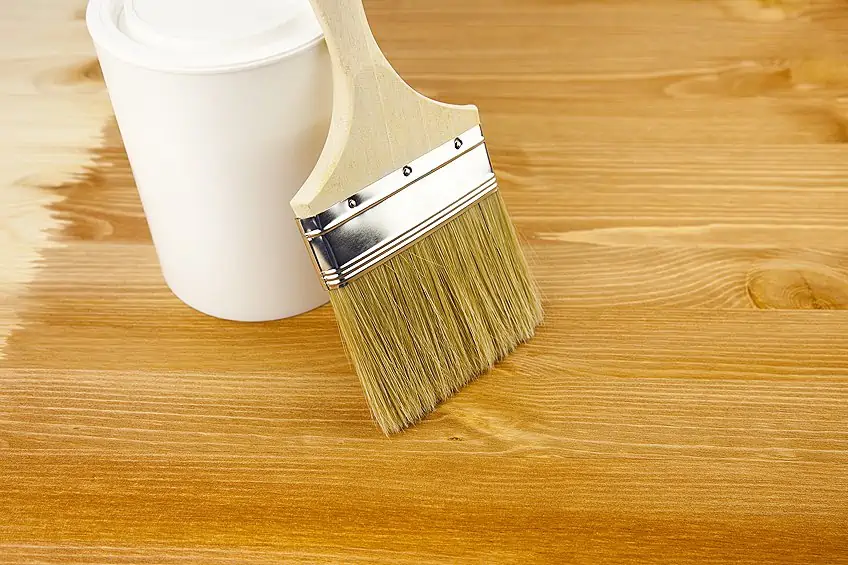
Now you are ready to start applying the best stain for pine. The wood is even, sanded, conditioned, and clean. Different wood stains require different application methods, so always check your specific product first before staining pine. You can either rub the stain on, brush it on, use a roller, or spray it on. For this example, we will go through the process of brushing on the stain.
Fill your brush up with the pine wood stain and apply it to the wood, following the wood’s natural grain. When the brush starts to drag, apply more stain and continue painting. The goal is to get a smooth and even finish over the entire surface. Using a foam brush is a good way of avoiding brush marks and bristles ending up in the finish.
Now, you can leave the stain to dry. Again, consult the guidelines included in your paint on drying times. You can then apply the next coat. This is done in the same manner and should be left to dry completely. Now you may be asking, how many coats of stain on pine is best? This depends entirely on the type of finish you are looking to achieve. Adding more coats makes the pine darker. If you want a light pine, one or two coats is good. For very dark results, you might want to add four or five coats.
Applying a Sealer
You could choose to leave the stained pine as it is depending on the wood finish and stain used. However, it is a good idea to apply an additional coat of sealer for more durability. Shellac works well with wood stains, as it helps to enhance the pine finish while providing a stronger outer coat. Simply coat the dried stained pine with shellac and leave it to dry. Add as many coats as is required. And there you go, your stained pine is ready!
Finding the best stain for pine can help you to achieve a beautiful finish for all kinds of wooden surfaces. We hope that this guide has enlightened you on how to stain pine perfectly for your project.
View our Pine Wood Stains web story here.
Frequently Asked Questions
How to Stain Pine Dark Brown?
Different wood stains come in various color options. For a dark brown stain, choose a darker color and apply more coats. Adding extra coats will increase the darkness of the color.
How Many Coats of Stain on Pine is Best?
This depends on the end-look you are going for. Adding extra coats makes the stain darker. This will also mean a more durable finish. Generally, two or three coats are preferred. However, you can apply more for a darker finish.
Do You Need to Sand Between Coats When Applying Wood Stain?
This depends on the product being used and the wood finish. Generally no, you will not need to sand between coats. Wood stain is formulated for even and smooth coats that adhere well to each other.

I have been into woodworking since 2005 and woodturning since 2011. Because of my love for wood and woodworking, I started woodhappen.com to teach other enthusiasts about how to finish and seal wood, the best woodworking tools, the different types of wood, and everything else related to woodworking! Read more about me here.