DIY Wood Stain – How to Make Homemade Wood Stain
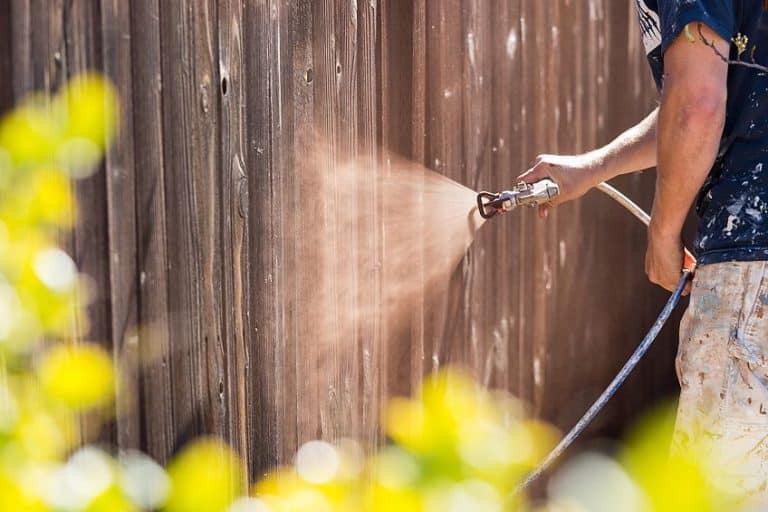
Wood stain has been one of the most popular ways to improve the look of your wooden workpiece and protect it both internally and externally. There are many different types of stains including oil-based stains, water-based stains, and even gel-based stains. These stains are used to achieve different finishes on different wood types and interact with wood fibers in different ways, and while they work well, they aren’t your only options. You could make your own wood stain, and there are many advantages to doing so. That’s why we’ve prepared a short tutorial showing you how to create DIY wood stains and some of the advantages of doing so!
What Is DIY Wood Stain Compared to Store-Bought Wood Stain?
Before we get into how to make your own DIY wood stain it’s a good idea to understand what conventional wood stain is. Wood stain is effectively a wood treatment substance that alters the color of your wood by seeping into the wood’s pores and binding with the wood fibers. That being said, wood stain consists of a few primary elements.
Store Bought Wood Stain
What elements, you ask? The three most common are dyes, pigments, binders, and solvents. Wood stains that contain dyes seep into the pores of the wood and bind with the wood fibers as we mentioned previously.
Wood stains that contain pigment simply have their solvents dissolve over time and sit on top of the board’s surface.
The binders are what hold those dye agents together. That being said, any wood stain you come across will have some combination of the aforementioned elements in its composition, which should give you a pretty good idea of what you’ll be working with when attempting to make your very own homemade wood stain.
DIY Wood Stain
DIY wood stain can be challenging to make if you’ve never worked with certain substances before, but it has an amazing effect on wood when applied. There are many ways to make your own wood stain, but by far the best way is to use vinegar and iron. Why does this work? Basically, the iron and vinegar interact with one another in a way that produces a permanent change in the wood’s color.

Iron essentially dissolves in the vinegar solution, forming a new substance called iron acetate. Once this substance is applied to a wooden workpiece it will interact with the tannins (chemicals in wood sap) of the wood, eventually creating various natural shades of brown, black, grey, and even pink once it sets in and cures.
What Is a Natural Wood Stain Compared to a Homemade Wood Stain?
You might have heard the term natural wood stain before, but if store-bought wood stain is a combination of binders and dyes, and DIY wood stain is a combination of iron and vinegar, what is the natural wood stain?
Natural wood stain is essential for any substance that does not use a chemical reaction to alter the natural state of wood.
What commonly used substances fall into this category? There are many things that can be used to naturally stain wood, one of them being teabags, coffee, and even beat juice. Any naturally occurring substance that can be spilled or rubbed onto wood in order to alter its color can be characterized as a natural wood stain.
What Do You Need to Make Your Own Wood Stain?
Depending on what type of wood stain you’re trying to make, you could need any number of things. However, since one of the most commonly used and most effective types of wood stain is iron acetate, we’ll be telling you what you need to make this type of wood stain. Keep in mind that there are various substances and objects you can use to create different DIY wood stain colors.
- A measuring cup/beaker
- A clear jar or container
- White vinegar/balsamic vinegar/apple cider vinegar
- Nails/steel wool
- A mixing stick
- A set of gloves
- A clean cloth
Depending on the type of metal and vinegar you use the color of your workpiece can vary considerably. This is due to how different metals and vinegar interact with the tannins in the wood’s fibers. As you can imagine, you can change out the metals and the type of vinegar you use to achieve a different effect.

Making DIY wood stain colors can be a trial and error process. Even though there are a ton of recipes to follow it can be more than a little bit tricky to find a combination that creates the type of color you’re looking for. Whether your first few attempts are too light or too dark, keep experimenting until you find a tone that works for you.
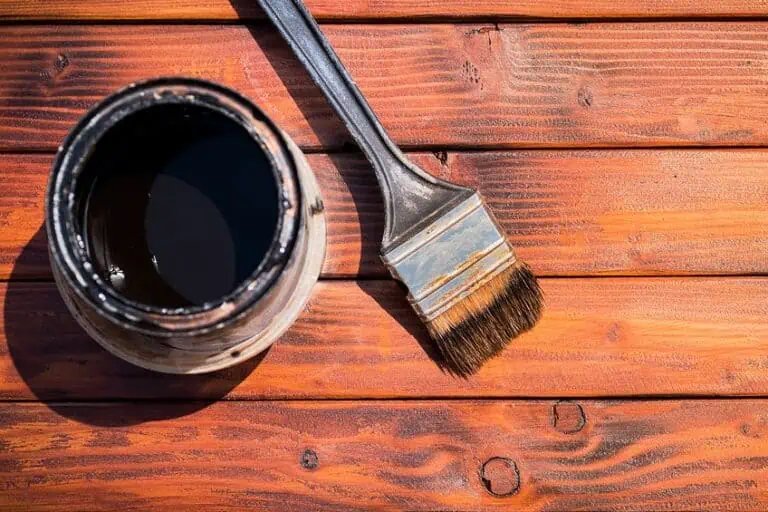
How to Make Wood Stain
Now for the moment, you’ve been waiting for. Making wood stain can be a time-consuming process, especially due to the time it takes for the reaction between the vinegar and metal to take place. That being said, if you intend to use DIY wood stain you should plan and create it a day or two in advance, just in case it needs to be a bit darker or lighter.
Without further ado, here’s how to make your own wood stain!
Place Your Metal in the Jar
As we mentioned previously, you can use virtually any metal object to make wood stain, given that it can fit inside the jar. Put on your gloves and grab your metal object, whether it be a set of rusty nails or some fine steel wool, and place it in the jar. Keep in mind that the color of the metal, whether it be rusted or not, will affect the color of your wood stain.

Pour Your Vinegar into the Jar
Once your metal object is nicely positioned inside the jar it’s time to pour in some of your vinegar. This can be apple cider vinegar, regular white vinegar, or any other type of vinegar you’d like to try. Some vinegar will react faster based on the brand and quality of the product.
Also note, the color of the vinegar will also affect the color of your wood stain. Pour the vinegar until your metal object has been entirely submerged.
Allow the Reaction to Take Place
This is probably the easiest and simultaneously the most frustrating part of the process. The vinegar needs time to react with the metal in the jar, and depending on the quantity you’re making this can happen either really quickly or it can take a few hours. Once the vinegar has been poured into the jar grab the lid and place it on the opening, but do not close it completely.
The mixture still needs oxygen for the reaction to take place, and depriving it of oxygen could result in a failed or half-baked reaction. How long does it take exactly? We recommend giving the mixture a full 12 hours to brew before moving on to the next step in the process. However, if you feel the color is good beforehand, feel free to stop the process by opening the jar and removing the metal.
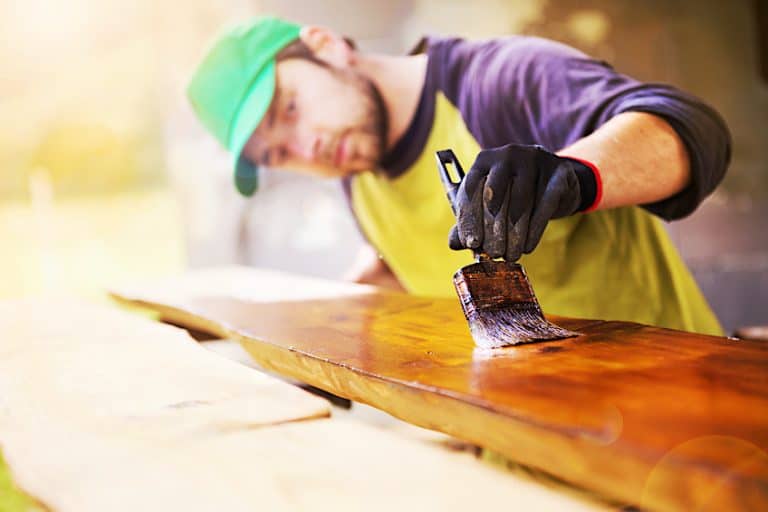
How to Apply Your Wood Stain
Now that you know how to make your own wood stain from scratch we thought we’d show you how to apply it effectively. While the application method is identical to applying a water-based stain, there are a few things you can do to ensure that you get the absolute most out of your homemade wood stain recipe. Here are a few of the things you’ll need:
- Your wood stain
- A set of gloves
- A brush and/or some clean cloths
- Some water
- Some sandpaper/a power sander
Clean the Surface of Your Workpiece
Any good wood staining tutorial will tell you that cleaning the surface of your wood is the key to ensuring that the rest of your preparation and application process goes smoothly. Cleaning your workpiece should be super easy, all that you need is a cloth, some water, and some good old-fashion elbow grease and you’ll be done in no time.
Using a clean cloth that’s been dipped in some water, clean the surface of your workpiece that you intend to stain.

This should remove any surface grime that has built up on the wood over time, and any dust particles that might have built up while you were creating your wood stain. Once you’re happy with the job you’ve done, allow your workpiece to dry completely before moving on to the next step in the process.
Sand the Surface of Your Workpiece
Now that the surface of your workpiece is clean and dry, it’s time to ensure that it’s ready to receive your wood stain. Sanding the surface will remove that layer of conditioned wood on the surface, exposing fresh wood grain that will provide you with maximum stain absorption. We recommend starting out with a sandpaper of either 120 or 140-grit. Sand the surface of your workpiece, starting at one end and working your way to the other. If your workpiece is circular or irregularly shaped, you can start at the center and work your way out toward the edges, or vice versa.
Ensure that you sand evenly and thoroughly so that the stain is evenly absorbed and doesn’t produce a blotchy result. When you’re done, use a clean cloth to get rid of any wood dust on the freshly sanded surface.
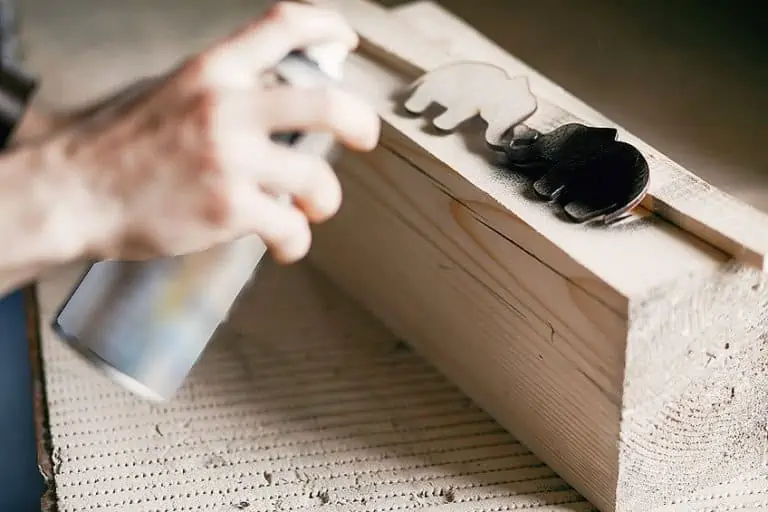
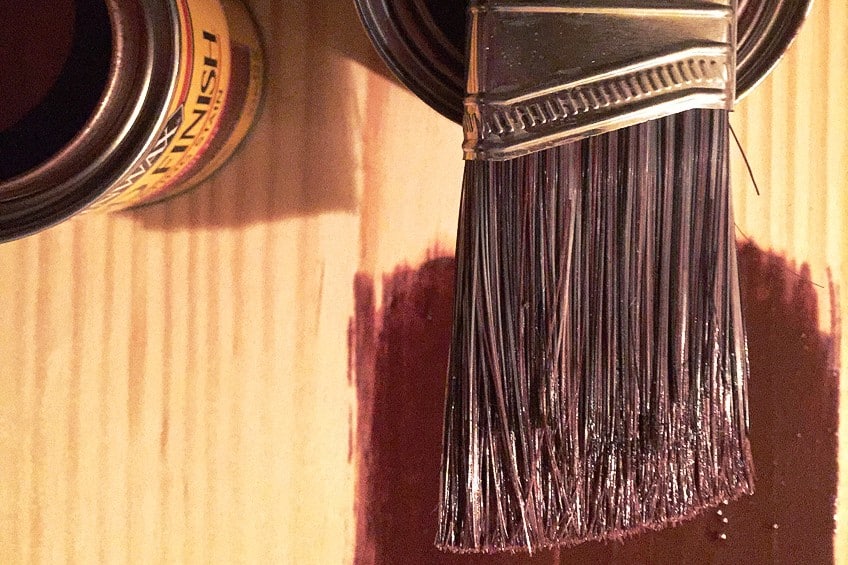
Apply Your Wood Stain
Once your board is ready, your wood stain. If it has been standing for a while you can give it a good sake or use a mixing stick to stir the mixture up a bit. There are two ways that you can go about applying your wood stain to the surface of your board, either using a clean cloth or by using a paintbrush. Either way is fine, so choose whichever method you’re most comfortable with.
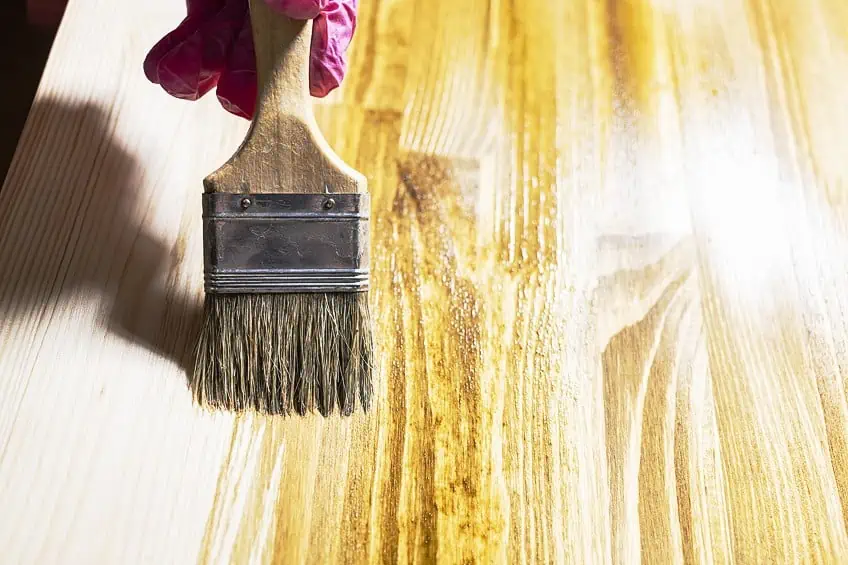
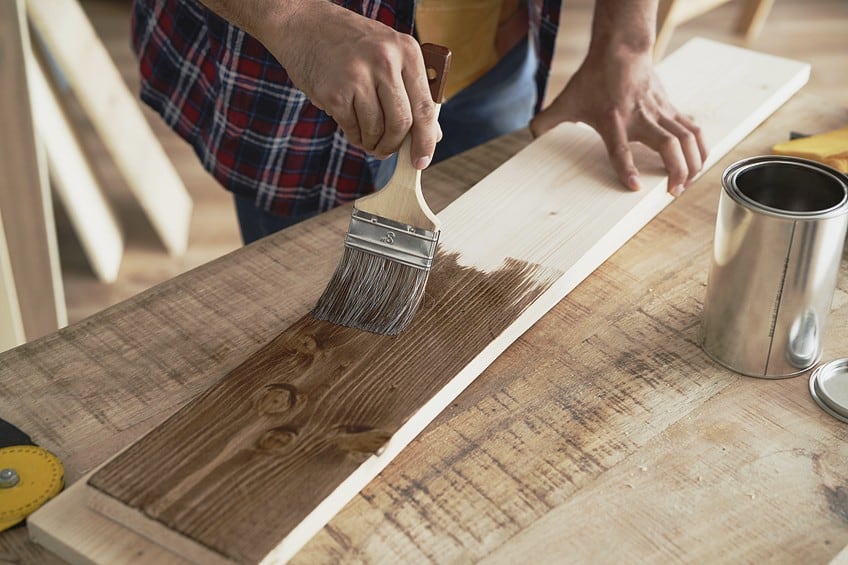
Using a Brush
When using a brush to apply your stain, you can either pour some stain directly onto the surface of your wood or you can dip your brush in the stain and apply it that way. Using your brush, apply your wood stain along the length of the board from one end to the other.
If your board is particularly long, try applying your stain in sections instead of working the entire length.
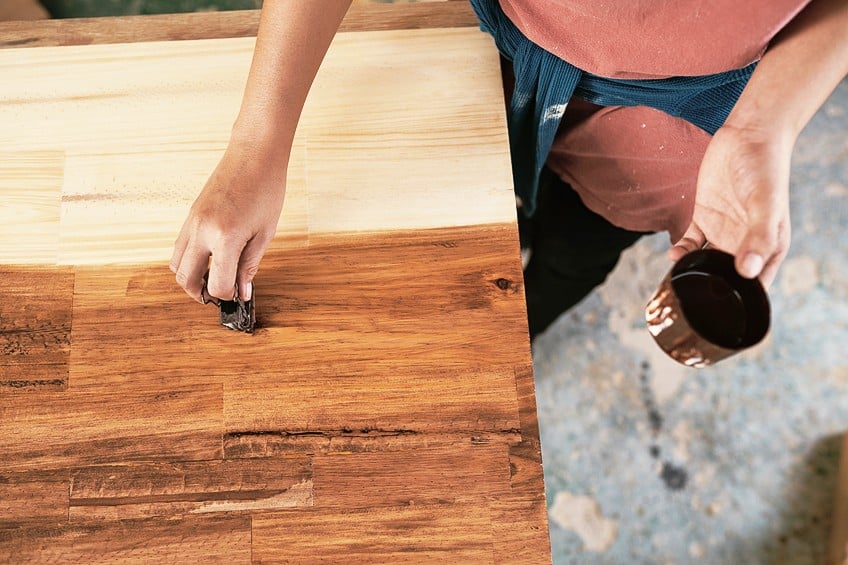
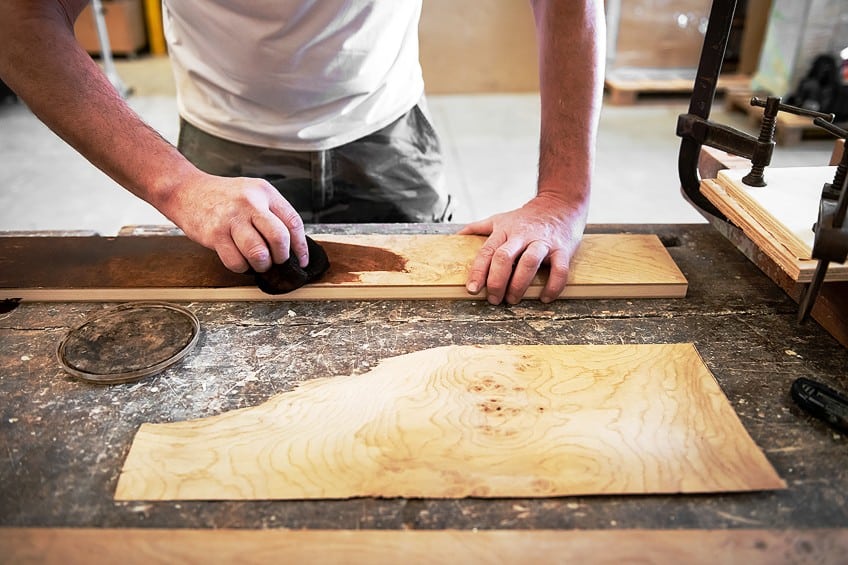
Using a Cloth
If you’re applying stain using a cloth it can be quite a different experience, but it seems to be the preferred method of many experienced woodworkers. Again, all that you need to do is either pour some stain out on your workpiece or dip your cloth into the stain and rub it into your workpiece. Rub the stain into the surface in consistent, circular motions, applying even pressure throughout the process. Again, work from one end of the board to the other.
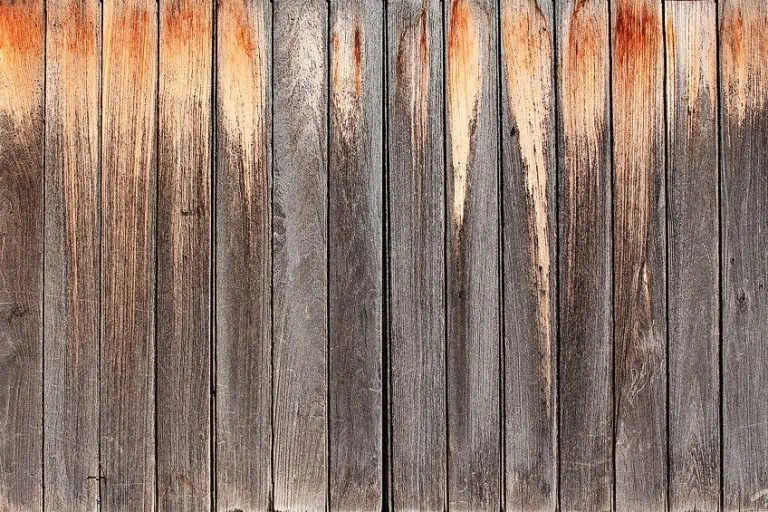
Achieving an Even Finish
Once your stain has been applied to the surface of your board allow it to set in for a few hours. You’ll notice that the stain works quite quickly as your board will likely be a shade or two darker. If you’d like the board to be a bit darker than it already is, simply repeat the application process or make another batch of stain with your desired changes.
Remember that, unlike paint, wood stain (especially the homemade variety) seeps into the wood’s pores and saturates the wood’s fibers in order to change its color tone. Because of its thin consistency, it’s easy to accidentally overapply your stain. We recommend applying the stain to your cloth first to avoid blotchy areas from cropping up.
Drying and Finishing
As you may have noticed when working with wood stain, it is far less predictable compared to the over-the-counter wood stain. It is very much a trial-and-error process that requires some practice before it can be executed reliably, but for a lot of crafters, the pros definitely outweigh the cons when it comes to DIY wood stains.
Because of the unpredictable nature of DIY wood stain, achieving a consistent finish on your first couple of attempts can be tough.
There is a way around this though, simply create a lighter or darker stain variation and apply another coat once your initial coat has dried completely. Target the affected areas and repeat until you have your desired color tone.

One of the main complaints about over-the-counter wood stains is how long they take to dry and cure. If you’re trying out homemade wood stain because you think it will be a bit quicker, you’re going to be a bit disappointed. Homemade wood stain takes 12 to 24 hours to dry completely, virtually the same amount of time as an over-the-counter stain.
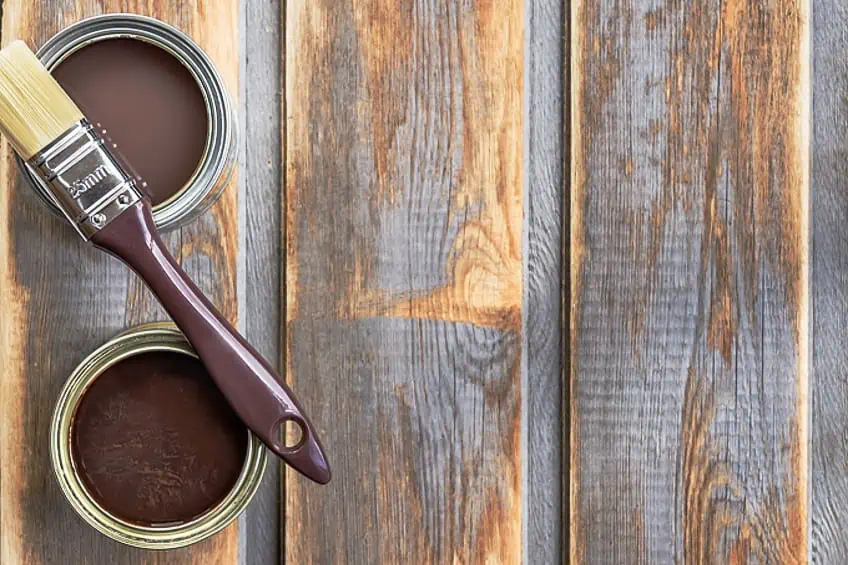
Other Types of Homemade Wood Stain Recipes
Besides the vinegar and metal method, there are many other ways you can go about making your own wood stain. While we won’t be including a tutorial on how to apply each individual stain, we will be showing you how to make them if you’d like to experiment with them on your own. Here are a few other types of homemade wood stain recipes for you to explore.
- Steel wool and white vinegar: rich brown color
- Steel wool and balsamic vinegar: warm gray color
- Rusty nails and white vinegar: light brown color
- Steel wool and apple cider vinegar: Silver/gray color
- Metal mixed with coffee and vinegar: Near black color
- Steel wood used with half water and half white vinegar: light gray color
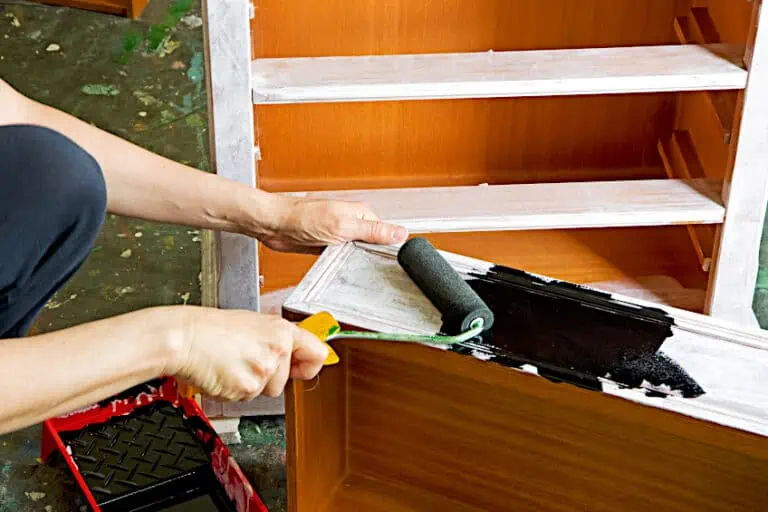
There are a number of other options for you to consider, namely, adding color to your wood stain. How do you add color to your wood stain you ask? Well, it isn’t really wood stain in the conventional sense, it’s more of a color wash. You can make this solution by mixing water and acrylic paint in a 1:1 ratio and rubbing the resulting solution on the surface of your wood board.
That being said, it does provide the desired effect. Wood stain is generally used instead of paint due to the fact that it doesn’t obscure the wood grain and/or the texture of your wood. This is because the watered-down paint seeps into the wood’s pores and bonds with the fibers the same way that wood stain would. The cool part about using this method is that you can stain your wooden surface any color you’d like, instead of the usual wood tones that are associated with the stain. That being said, both homemade wood stains and acrylic paint washes do not provide wood with the same level of protection that over-the-counter wood stains do.
Now that you know how to make wood stain and how to apply it to your workpiece once you’ve made it, it’s time for you to get out there and put your newfound knowledge to the test! Remember to always ensure that you have the right tools for the job and to practice on some spare pieces of wood before attempting to use homemade wood stain on your actual workpiece.
Frequently Asked Questions
Can You Stain Wood Naturally?
Wondering how to naturally stain wood? The best way to go about this is to use things like strongly brewed tea bag water or coffee. These substances can be applied directly to the surface of your workpiece and will stain well. This is due to them interacting with the tannins of the wood.
Can You Make Wood Darker Without Stain?
Yes, if you’re wondering how to stain wood naturally without the use of tea or coffee, but you don’t want to use conventional stain either, you could try varnish or natural oils. Varnish, tung oil, and linseed oil can all be used to improve the color of your wood, and they don’t really function the same as wood stain.
What Household Items Can Stain Wood?
If making your own stain from scratch is a bit too much effort or too time-consuming for you, there are many items in and around your home that can be used to stain wood. Things like coffee, tea, turmeric, red wine, and even cocoa can be used to stain wood effectively.

I have been into woodworking since 2005 and woodturning since 2011. Because of my love for wood and woodworking, I started woodhappen.com to teach other enthusiasts about how to finish and seal wood, the best woodworking tools, the different types of wood, and everything else related to woodworking! Read more about me here.