How Many Coats of Polyurethane Do I Need? – How to Apply Polyurethane
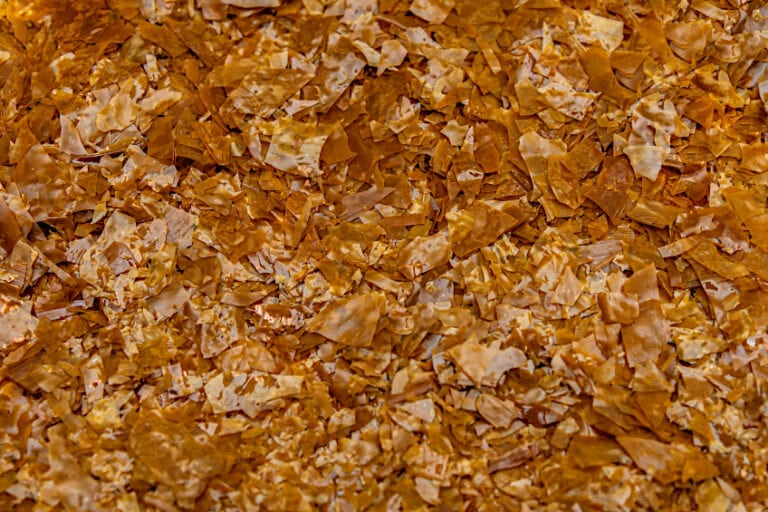
Polyurethane is a clear coating that is often used to protect wooden surfaces such as floors, countertops, and tables. This varnish is so durable as a result of the microscopic resin molecules that bond together as the polyurethane dries. Thus, this coating is highly resistant to abrasions, water, solvents, impact, and other forms of damage. Adding polyurethane to your surfaces will enhance their appearance and will help them to last much longer.
What is Polyurethane?
You can get both oil- and water-based polyurethanes, although the latter was only developed relatively recently. Oil-based polyurethane is a type of alkyd varnish that has been combined with polyurethane resin.
Almost all kinds of varnishes and oil-based paints possess the resin known as alkyd, and the addition of polyurethane resin improves on the alkyd varnish’s durability. Thus, a polyurethane varnish’s heat-, scratch-, and water-resistance can be attributed to the presence of the polyurethane resin.
The introduction of water-based polyurethane involves the combination of polyurethane with an acrylic resin instead. Thus, these varnishes are not as durable as ones that have an oil base.
Alternatively, you can use a water-based polyurethane that has been oil-modified. This means that it possesses the durability and warmth of oil-based polyurethanes in addition to the quick-drying, low-VOC, low-odor, and easy-to-clean properties of a water-based polyurethane.
There are a number of advantages and disadvantages to using either oil- or water-based polyurethanes, and the question of how many coats of polyurethane you need will vary depending on the type of polyurethane you use. The choice of which will depend on your preferences and the needs of your particular project.

Oil-Based Polyurethane
Oil-based polyurethane varnishes are of a thick consistency and are extremely durable when cured. This type of polyurethane can be difficult to acquire due to the high level of volatile organic compounds (VOCs) it produces.
There is the question of is one coat of polyurethane enough when it comes to an oil-based product, the answer to which is that you will require between three and four coats of this varnish for the best results. This type of polyurethane takes a long time to dry, however, which means that you will have to wait longer in-between coats.
The varnish will leave an amber hue over the surface, which is especially apparent in lighter woods such as oak or birch, adding warmth to the color of the wood. You can clean up any excess polyurethane varnish with mineral spirits.
Water-Based Polyurethane
Water-based polyurethane is much better for you and for the environment due to a low emittance of VOCs. This type of polyurethane dries quickly and will level itself automatically. While this polyurethane is great to work with due to a minimal odor, you should be careful as the water base can cause the grain of the wood to lift.
The effect that water-based polyurethane has on a wooden surface may lead one to wonder how many coats of polyurethane they will need. Is one coat of polyurethane enough to protect the wood? Water-based polyurethanes require a few coats due to the raised wood grain, meaning that you need additional coats to smooth the surface. The thin, watery consistency of this polyurethane also adds to the need for more coats.
We suggest applying between four and five coats of water-based polyurethane to your wooden surface.
This polyurethane may appear milky-white at first, but once dry it will be as clear as crystal, making it ideal for preserving a wooden surface’s natural tone. This polyurethane is also less likely to become yellow over time. You can clean this polyurethane up with soap and water, ensuring that you avoid ammonia-based cleaners once the polyurethane has cured.
How Many Coats of Polyurethane Should I Use?
Many people ask the question, “Is one coat of polyurethane enough?” More often than not, you will require multiple coats of polyurethane to protect your wooden surface sufficiently. Usually, you will need more coats of water-based polyurethane than you would with an oil-based product.
Water-based polyurethanes are thinner liquids, which means that they will require four to five coats. Oil-based polyurethanes are thicker, and will need between three and four coats.
The total number of coats will depend on the amount of traffic and use received by that particular surface.
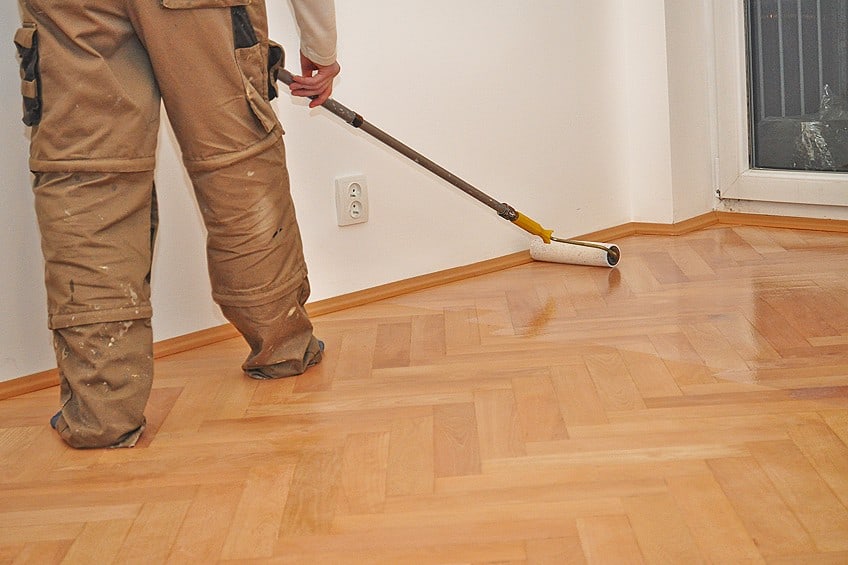
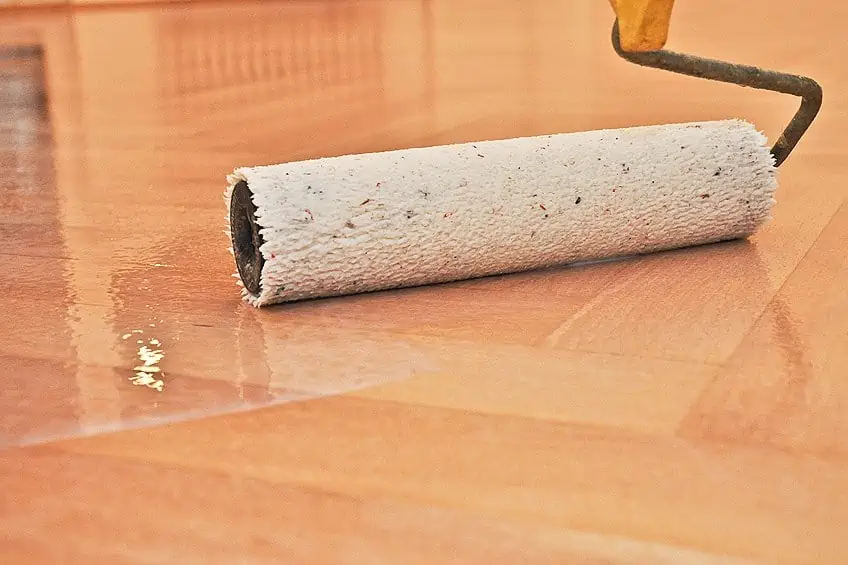
How to Apply Polyurethane
Polyurethane can be applied by using a brush, wiping it on, or with a spray. While the spray is the most common application technique, those sensitive to fumes and VOCs should avoid using a spray polyurethane.
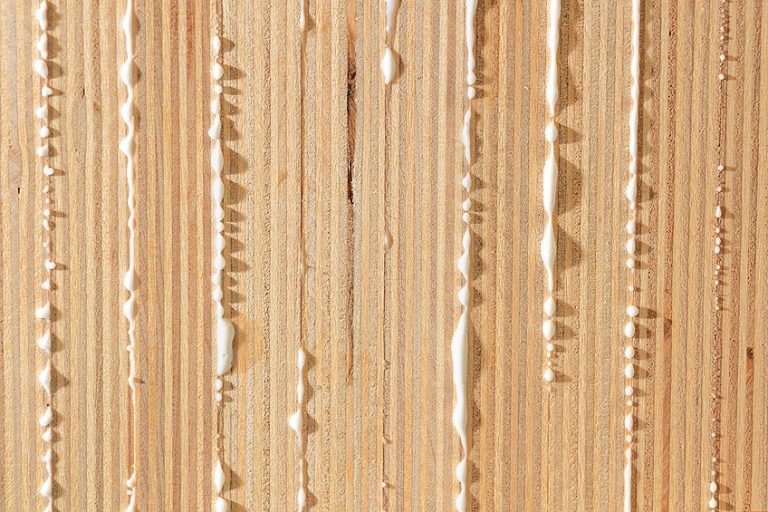
Spray polyurethanes are ideal for applications on difficult or awkward surfaces, as they work similarly to a spray paint. Spray polyurethanes will require between five and six coats due to their thin consistency. You will need to work on your application technique, however, as this type of applicator tends to leave drips.
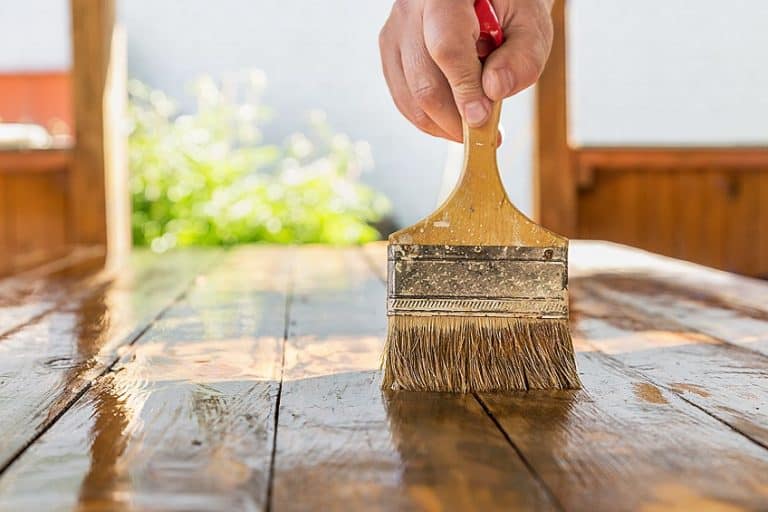
Brush-on polyurethanes are ideal for flatter surfaces where you need a thick layer of durable polyurethane. You can cover a large surface area due to the fact that brushes hold a lot of the substance. You can also use a foam brush to minimize sticking.
You can use a wipe-on polyurethane for uneven, contoured surfaces such as crown moldings and stair bannisters. These are places where brushing may leave drips. You will require several coats of this polyurethane, as it is of a thinner consistency than brush-on products.
Step-by-step Instructions for Applying Polyurethane
Applying polyurethane to a wooden surface can seem complicated if you are not sure as to what you are doing. We have highlighted the most important steps so that you can apply your polyurethane varnish like a professional.
Workspace
- Regardless of the VOC levels of your polyurethane, always ensure that you are working in a well-ventilated space with good air circulation.
- Work indoors so as to avoid any dust, bugs, and other contaminants from landing on your drying polyurethane surface.
- Always wear the appropriate protective gear. This includes a respiratory mask and goggles.
- Work on a flat surface so that your polyurethane is able to level itself automatically with a lower chance of drippage.
- Keep a bright light at hand. This will allow you to see any imperfections, brush marks, and the like before the polyurethane dries, giving you time to fix it.
Preparation
- Before you can apply your polyurethane, you will need to prepare your wooden surface. Begin by making sure that it is completely clear of any obstructions.
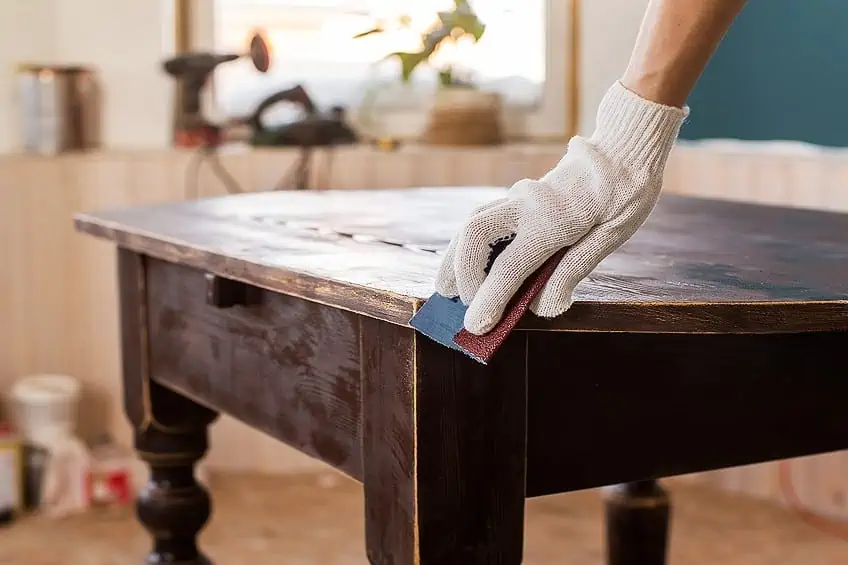
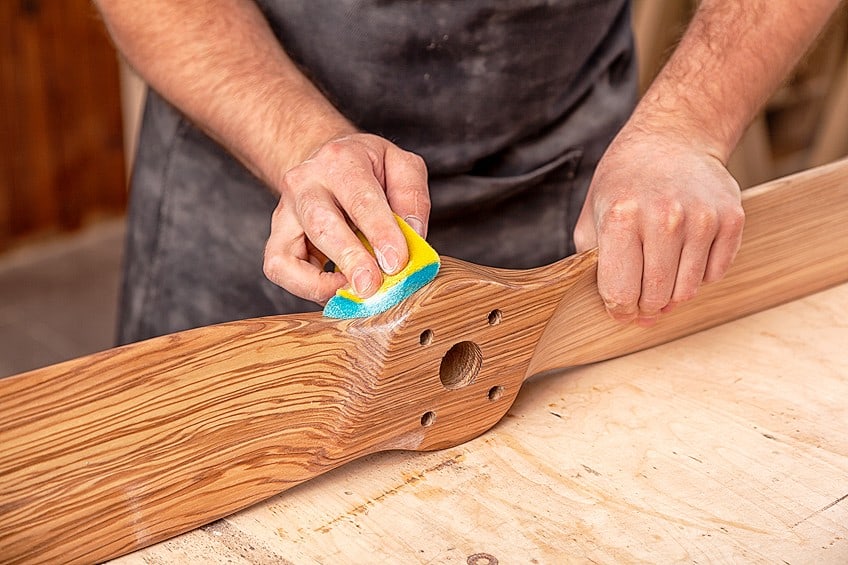
- Sand the surface of the wood until it is even. Begin with a coarser grain of 100-grit and move slowly towards a finer grain of 220-grit.
Finer grits of sandpaper help to remove the deep scratches left behind by the coarser sandpaper.
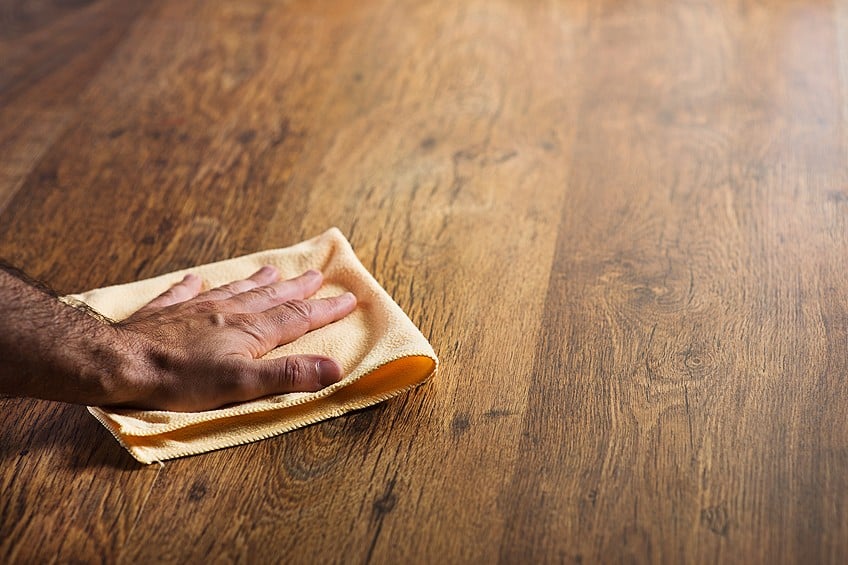
- Remove any leftover dust and dirt by using a vacuum with a soft brush attachment. Wipe the surface down to remove any excess oils or residues.
- If you plan on working with a water-based polyurethane, first wet the wooden surface to raise the grain. You can then go over the surface with a 220-grit piece of sandpaper to smooth it out. This will be especially useful later down the line, as water-based polyurethanes tend to raise the grain of the wood.
Sealing the Surface
- When working with porous surfaces such as wood, it is important to apply a sealant layer so as to prevent bubbles from forming. To do this, you will need to thin your polyurethane so that it can be used as a sealant layer.
- Thinning polyurethane is easy: Simply take 2 parts of oil-based polyurethane to one part of mineral spirits and mix them together in a jar with a flat stirring stick. Water-based polyurethanes can be diluted with water.
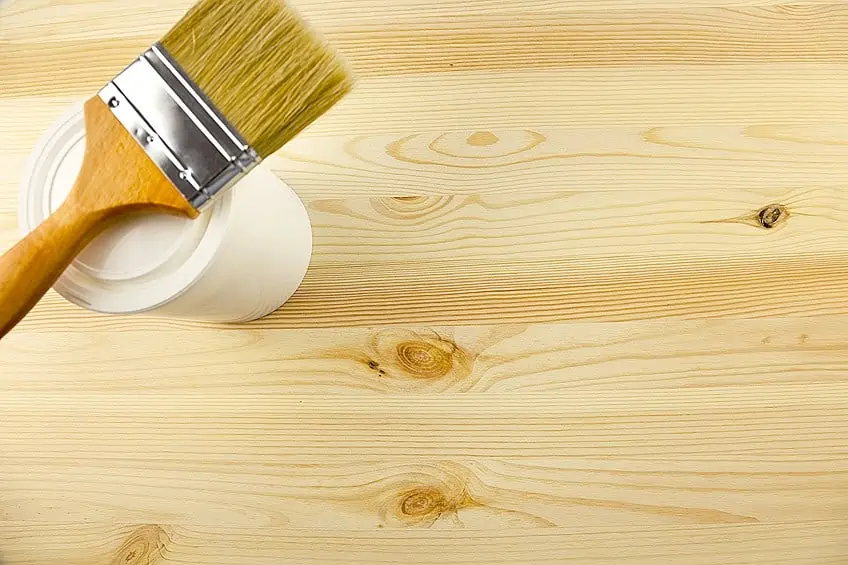
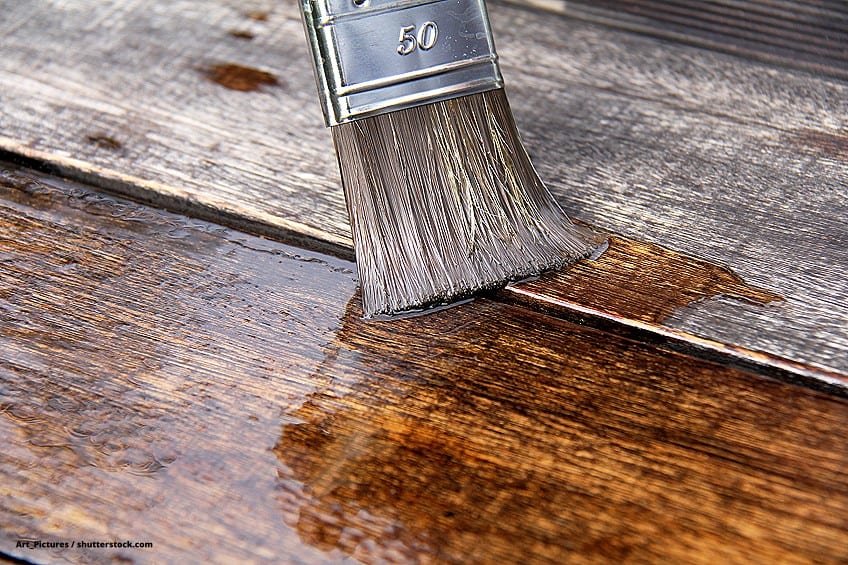
- Use a brush to apply the sealer in long, even strokes. Use a brush with natural bristles for this and dip it approximately an inch into the mixture. Be careful to catch any drips and to smooth them back onto the surface.
- If you are planning on applying a water-based polyurethane onto an oil-based stain, you will need to prepare the surface further to allow for proper adhesion. Use some steel wool to roughen up the surface so as to maximize the bonding process.
Apply the First Coat
- You can apply the first coat of polyurethane 24 hours after having applied the sealant. The sealant layer should be completely dry.
- Never thin this initial coat, as doing so will affect the adhesive process.
- The application process for applying oil-based polyurethane differs slightly from that of water-based polyurethane, so we have outlined both processes for you.
- Get an even coating by overlapping your brush strokes. Be sure to catch any drips.
Applying an Oil-Based Polyurethane Coat
- You will need a brush with soft, natural bristles, otherwise you can use a foam brush. Avoid using cheap bristled brushes, as this will result in brush strokes and streaks. Foam brushes are ideal for flat surfaces, whereas bristle brushes are best for adding finer detail.
When using a bristle brush, you can dip it directly into the can. However, do not wipe it on the edge of the can, as this can cause bubbles. Rather tap the brush over the center of the can to remove any excess.
- Apply an even coat that is almost thick, but not too thin either. Brush in long, straight, and even strokes from the top down to the bottom. Any bubbles remaining on the surface should burst by themselves.
- You will require a minimum of two to three coats for maximum protection. You will need to sand the surface between each coat.
Applying a Water-Based Polyurethane Coat
- Apply a thin coat of water-based polyurethane by using a foam brush or cloth. Do not apply too much polyurethane in one coat, as this can result in the wood grain rising to the surface.
- You will not need to sand the surface between coats of water-based polyurethane, but it is always best to do it anyway.
- You will need at least three coats for a surface that is lightly used. Use a minimum of four coats on surfaces with heavier traffic.
Wet Sand the First Coat
- Once your first coat of polyurethane has dried for a period of 24 hours, you can remove small bumps and blemishes by wet sanding the surface. Use a fine, 400-grit piece of sandpaper with a sanding block.
- Frequently dip the sandpaper in water and move in circular strokes. Ensure that you use enough water so as to properly saturate the sandpaper, as this will prevent it from damaging the polyurethane finish. You want to sand the surface just enough to remove the unevenness.
- Keep sanding polyurethane until it feels smooth. You can then wipe the surface with a damp cloth and dry it thoroughly with a clean, lint-free cloth.
Apply Your Subsequent Coats
- Only apply any subsequent coats after a polyurethane dry time of 24 to 48 hours have passed since applying the first coat.
- Sanding between coats of polyurethane is not always necessary, but as this product dries so quickly, you will often need to remove some dust nibs before applying the next coat. This will ensure an even, level surface.
- Do not sand final polyurethane coat. You will polish the final coat so as to give it an attractive shine.
When applying polyurethane, always brush in the same direction of the grain and spread the substance as thinly as possible.
Sanding Between Coats of Polyurethane
- If you are sanding between polyurethane coats, always ensure that you use sandpaper of a very fine grit. Allow for a minimum polyurethane dry time of 24 to 48 hours before applying the next coat.
- You will need a more thorough sanding for glossy finishes than with semi-gloss or satin finishes. This is because even the smallest flaws are noticeable in a glossy finish, while flatter finishes tend to hide these imperfections. Also, glossy finishes do not adhere as well due to their sleekness, and therefore require a rougher surface in order to bond to the next coat.
- Be careful when sanding polyurethane with a sanding block. While this is helpful for flat surfaces, the block can cause the sandpaper to clog and cause “corns”, thus creating deeper scratches on the surface that may not be hidden by the next coat.
- You can also use steel wool or a synthetic abrasive pad instead of sanding paper, but these will not perform nearly as well. Steel wool also tends to leave behind unnoticeable traces of steel that only become apparent once they begin to rust.
Polish the Surface
- You will need to polish the final coat of your polyurethane surface, particularly if you wet-sanded the second coating. Allow for a polyurethane dry time of 48 hours before attempting to polish the surface.
- Choose a polishing paste or compound of a good quality. You will want a product that has a fine enough abrasive quality that it will remove any remaining scratches left behind by the sanding paper, thus restoring the original shine of the polyurethane.
- Take a clean cloth made out of cotton and dampen it with some water. Apply it to the polishing paste and rub it over the surface in circular movements.
- Allow the surface to dry fully and then use a clean and dry cloth to buff the finish. If the finish of the surface remains somewhat cloudy, simply apply more of the polishing compound, followed by a buffing of the surface. Keep doing this until you have reached the desired luster.
Tips & Tricks for Working with Polyurethane
- Never shake your can of polyurethane, as this will give rise to bubbles. Instead, give the mixture a gentle stir.
- Always use a good-quality natural bristle brush for applying oil-based polyurethane. Synthetic bristle brushes are more likely to cause air bubbles to develop.
- Use synthetic filament brushes for water-based polyurethanes. These brushes include those made out of polyester, nylon, or a mixture of the two. Using rollers or foam brushes will cause bubbles.
- Thinning polyurethane will allow for a faster drying time.
- Never thin the first coat of polyurethane. You can thin the base coat and all future coats, but the first coat must never be thinned, as this will affect the adhesion of the polyurethane to the surface.
- Dampen your brush with a solvent during use. You can make your brush easier to clean by dipping it in mineral spirits or water, depending on whether you are using an oil- or water-based polyurethane, respectively.
- Never wipe your brush against the edge of the polyurethane can. This will cause bubbles. Instead, tap the brush over the container to remove any excess mixture.
- Always brush or wipe in the same direction as the grain of the wood. Try to work the polyurethane into the pores of the wood as much as possible to ensure an even finish.
- You can minimize drippage by applying thinner coatings. It is easiest to create a thin coat by wiping or spraying on the polyurethane. If all else fails, you can use a razor to remove any runs or drips.
Frequently Asked Questions
What Polyurethane Dry Time Should I Expect?
Most oil-based polyurethanes require a minimum of 24 hours to dry. Water-based polyurethanes dry more quickly due to their thinner consistency, and will be dry to the touch within as little as six hours. Your polyurethane dry time will be prolonged by low temperatures, high levels of humidity, low ventilation, and thick coats.
What is the Best Temperature for Polyurethane to Dry?
The best temperature for an optimal polyurethane dry time is that of 77 degrees Fahrenheit. This drying time is dependent on ventilation and humidity, however, and requires humidity levels to be at 50% in relation to the temperature.
How Can I Remove Bubbles?
Bubbles in a polyurethane finish will very rarely disappear on their own. You have two options for dealing with these unwanted bubbles: The first is to wipe the bubble-ridden coat with a rag that has been dipped in mineral spirits or turpentine. Go over the surface for 15 to 30 minutes to remove the bubbles without damaging the polyurethane surface. Wipe away the excess, after which you will be left with a smooth and bubble-free finish.
Alternatively, you can allow the finish the dry completely and then sand out the bubbles until the surface is level and even. Apply a new coat of polyurethane, ensuring that you thin it with mineral spirits or water so as to allow for the bubbles to remove themselves more easily.
How Can I Get Rid of Brush Marks?
To remove brush marks left behind by applying your polyurethane, you will need to sand the surface down lightly with a fine-grit piece of sandpaper. Apply an even amount of pressure to each area. You can then use a soft cloth to remove any sand and dust that has been produced as a result of sanding polyurethane.
Once your surface has been cleaned properly, you can apply a new coat of polyurethane to the surface while using as few brush strokes as possible. It is better to apply several thin coats than fewer thick coats, as you will encounter fewer problems this way.

I have been into woodworking since 2005 and woodturning since 2011. Because of my love for wood and woodworking, I started woodhappen.com to teach other enthusiasts about how to finish and seal wood, the best woodworking tools, the different types of wood, and everything else related to woodworking! Read more about me here.