How to Glue Hardwood Floors – Step-by-Step Guide
You might have decided that it is time to update your floors, and wish to install stunning hardwood floors. The next step is to select what type and wood finish you desire, and you need to determine if you will be tackling the job yourself. The final decision is how you plan to secure it to your existing floor. This article will assist you in understanding how you can install your hardwood flooring and which is the best glue to buy for your hardwood floors.
Consider the Following Before You Begin
Before laying down your new flooring you will have to consider many aspects. These aspects include the form of the substrate onto which you will be laying down the flooring, the size and shape of the pieces of wood and finish of the wooden boards, the form of flooring you will be using, and the pattern of the wood grain.
Forms of Substrate
Aside from the hardwood flooring options and methods of installation, the substrate also plays a role. The substrate is the structure or material that you will be laying your flooring onto. This is imperative as it will dictate the type of adhesive you will require and the method of installation that will be necessary to use. The three methods for installation are as follows; gluing, nailing, and a combination of both gluing and nailing.
Let’s look more into the different substrates and see how they each impact the installation process.
Concrete Slab or Ceramic Tile Substrate
With this form of substrate, you, unfortunately, are not able to use the nail-down method of installation, you will have to glue your floor down. Gluing down is considered a superior method of installation as it recognizes the wooden board’s natural movement, allowing the wood to contract and expand to stop any noisy boards or failure. The durability of your floor will also be enhanced thanks to it creating a strong bond between the substrate and the wooden boards.
Existing or Old Wooden Substrate
Should your substrate be wood, then you can use either a combination of nailing and glue or simply nailing the flooring down. The cheapest method is the nail-down method and it is also the least labor-intensive option. That being said there is a high risk of forming joint gaps between the floorboards, which will cause squeaky and noisy floors. However, the combination method of both using floorboard glue and nailing them down is the perfect option and provides better longevity than just using the nail-down method alone.
It is important that no matter what installation method you choose, that the floorboards you have selected are of good quality as they will significantly impact the final results of your project.
How to Install Your Hardwood Flooring
We have addressed the three methods for adhering wood flooring to a substrate. We have put together the steps to deal with the glue-down method to a concrete substrate.
- To begin with, you will need to examine the substrate, as this is the surface where you will utilize the adhesive to glue the boards down.
- You need to ensure your substrate is completely flat before you begin the installation, so you will have to fill in any low spots and sand down any high spots. You want to avoid any more than 3/16 of an inch difference over a diameter area of 10-foot.
- Concrete substrate requires humidity and moisture readings to be done, as this will impact how the wood contracts and expands. If the humidity and moisture levels are significantly high you will have to purchase hardwood floor glues that offer a vapor barrier to provide protection for the wood. It is also imperative that your substrate is totally dry and clean.
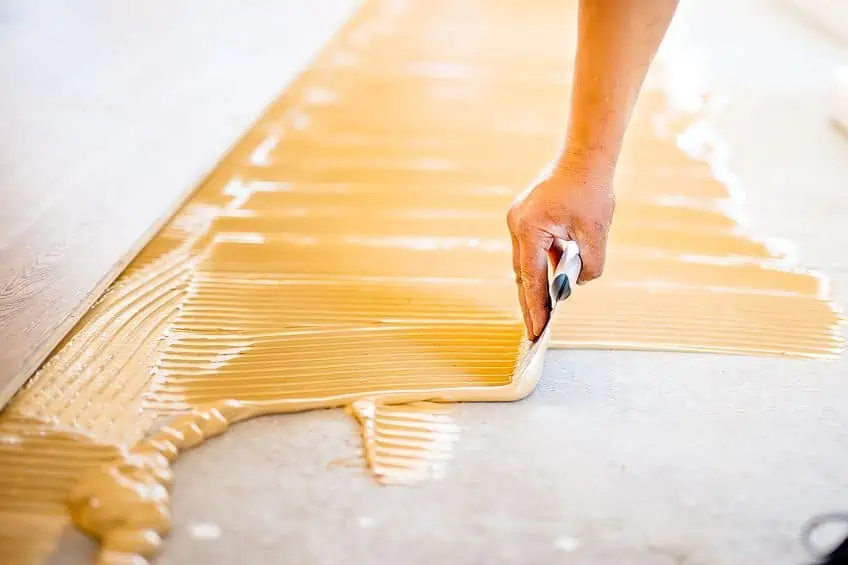
- Distribute the glue evenly over the substrate, do not cover the whole floor at once. Use the correct trowel and do a small portion at a time.
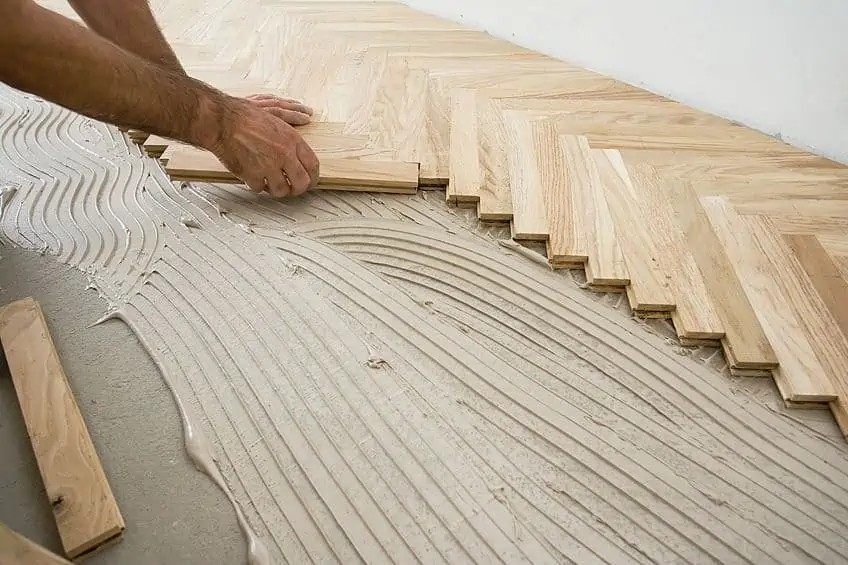
- Now it is time to start the installation of your hardwood floors. Ensure that you leave an expansion gap of roughly a quarter of an inch when laying the flooring, from the wall. This should allow enough room for the wood to expand and contract. This will be where the initial row begins. We recommend planning out the installation pattern prior to installation, by laying the boards down as you want them before applying the glue.
- Use a trowel to apply the wood floor adhesive to the substrate, make sure that the space that you are working in is well-ventilated. In the first row install the straightest and longest of the boards and press them down, ensure that they stick sufficiently to the floor. When putting down the second row, ensure that the initial board is roughly six inches longer or shorter than the board in the initial row, which will provide a staggered effect to the flooring.
- Carry on like this for the remainder of the floor and utilize some blue printer tape to ensure the boards are tightly held together. When you have finished laying down the hardwood flooring, you need to leave it for a day to allow time for the glue to cure completely before you can move furniture over it or walk on it. When you have finished you will have stunning wooden floors that will last for many years.
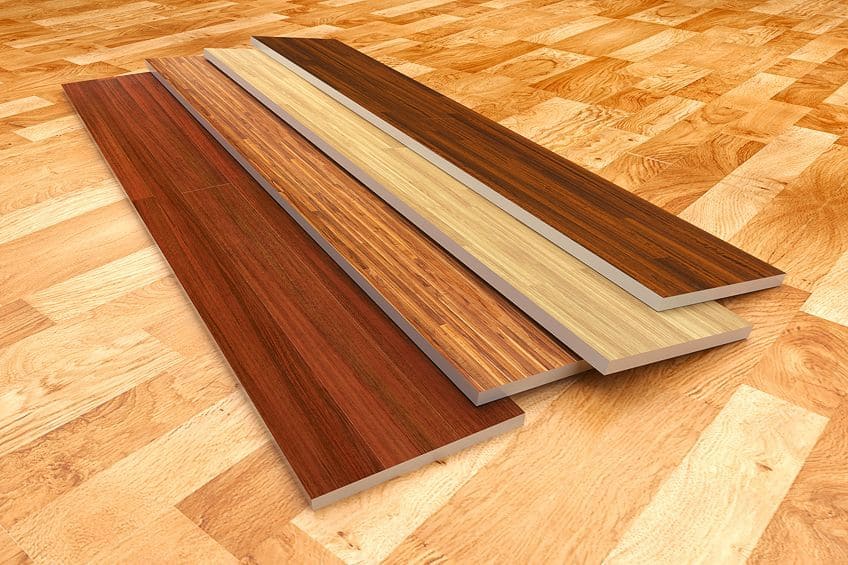
Types of Wood Flooring
Which wood flooring you choose is an important decision, as it will provide you will a stunning natural wooden floor that can enhance any room in your home. The different options of wooden flooring are varied and include Parquet, laminate, engineered, solid, and many more. In this article, we will look at three types, and gives focus on hardwood floors. When selecting your hardwood flooring, there are a few elements you will need to consider, and we will assist you through the steps to ensure you select the best type for your particular application.
Hardwood Wood Flooring
Hardwood or solid wood flooring boards are one solid piece of wood, with no joins, which is normally 13/16 to 3/4 of an inch thick, and are available in a tongue-and-groove system of installation. All wood flooring has its own ‘hardness score’ which defines the strength of the wood, so for example Brazilian walnut is the hardest, while chestnut wood boards are the softest. The hardness score provides you with the details of whether the wood boards can be easily worn or damaged, and indicate where you can lay them. For example, which type of wooden boards should you use in a living room, or a playroom.
This type of flooring is perfect for use in playrooms, hallways, and living areas, which all experience a lot of traffic. You can sand down solid wood boards to remove any scuff marks or damage, but take care not to sand the surface too much. Wooden boards tend to amplify sound, so if you are laying wooden board flooring upstairs it is good to also lay down a carpet.
PROS
- Long-lasting and durable wood
- Gives the room a classic and pleasing look
- You can restore it to its original finish as it can be sanded many times over
- Very attractive
CONS
- Can be hard to install as the shape alters once it has been manufactured
- A lot pricier than other wooden floorings
- In dry conditions, it is inclined to shrink and swell in damp conditions
Laminate Flooring
Laminate flooring is made from compressed fiberboard which has been covered with an image of a particular type of wood and will often feature elements such as knots. These aspects provide the flooring with a look that is more natural, finally, the flooring is finished with a protective overlay. This kind of flooring is perfect for spaces that receive high traffic such as studies, playrooms, or living rooms. Certain versions of laminate flooring are designed with a waterproof core that makes them ideal for bathrooms or kitchens as well.
PROS
- Available in a large range of natural materials
- Relatively cheap
- Easy to install
- Durable
CONS
- Difficult to repair
- Does not look or feel like real hardwood flooring
- Swelling can result due to moisture
- Over time joints may wear
Engineered Wood Floor
Engineered wooden floorboards are made of three or four layers of wood that have been glued together which results in a board that is roughly ½-inch thick. The top layer is roughly 1/8 of an inch thick. This means that you can sand the surface should it become damaged, scuffed, or worn and restore it to its original finish. However, you are only able to sand the surface once in the lifetime of the flooring.
Certain flooring options are available in a click-and-lock installation type, that does not require any glue to install. Another option is a tongue-and-groove installation that to hold into place one will require glue. This form of flooring is perfect for bedrooms, dining rooms, kitchens, and living room areas. Unlike solid wood flooring, it is more resistant to warping, though it is best to avoid areas with high humidity like your bathroom. These can be quite time-consuming to install, so we recommend not using them on corners like pedestals and stairs.
PROS
- Looks very similar to real wood and has a more attractive finish than the likes of laminate flooring
- Provides more stability than solid hardwood flooring
- Costs a lot less than the likes of solid hardwood flooring
- Not prone to damage from humidity as solid hardwood flooring
CONS
- Costs more than laminate flooring
- It takes more time and can be quite difficult to install the tongue-and-groove type in comparison to the click-and-lock type
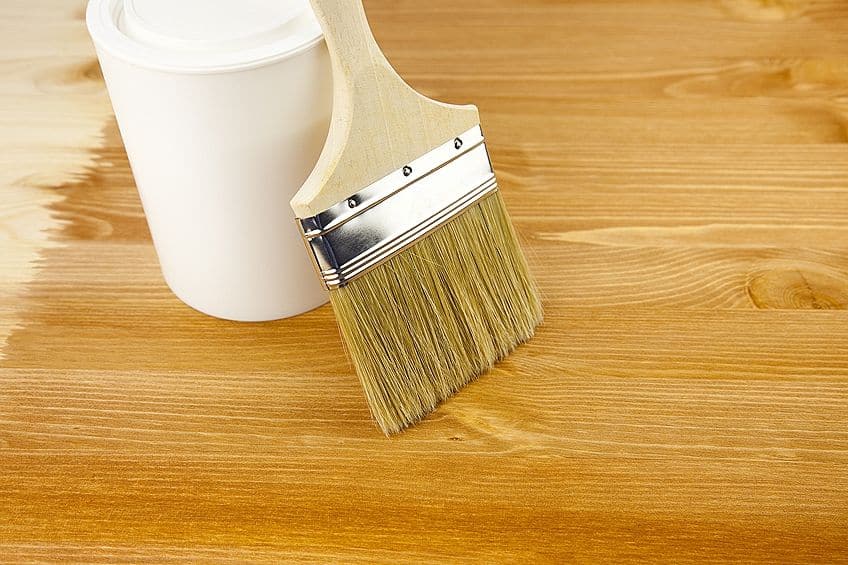
Is the Finish of the Wood Board Important?
You will also need to decide if you should install unfinished or prefinished hardwood boards? In terms of the beauty and quality of the flooring, there is no actual difference between the two, but each offers its unique characteristics. What follows are the two materials in more detail, to help you have a better understanding of each type.
Prefinished Wood Flooring Boards
These hardwood boards have been finished at the factory. This means that they have already been coated, sanded, and coated with a polyurethane finish, which means they are ready for installation. The boards have an acrylic finish which is hard and has been oven-baked, and each board has a beveled edge on the side of the board. Thanks to the edges, when installed there will be a groove between each board, so the floor will not be completely flat, moisture is then able to enter through the grooves.
They can be installed with ease, and once installed you do not have to wait to be able to walk on the flooring. There will also be no dust or harmful fumes to deal with.
Unfinished Wood Floor Boards
These flooring boards require on-site finishing and sanding and are raw wood. There is no grove between the boards, and no beveled edges, when sanded you will be left with a completely flat and smooth floor that offers no way for moisture to enter. This is the perfect option if you are looking to match the existing color scheme or décor of the room. Thanks to the boards being completely sealed they are ideal to use in a kitchen where there is always moisture present.
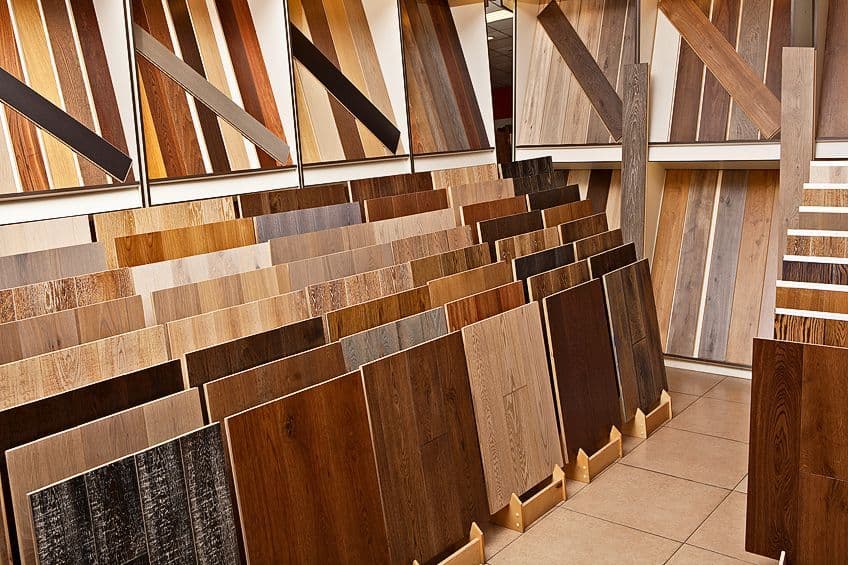
Different Wood Species
The species of wood is an important aspect of your hardwood flooring options, your overall room will be enhanced thanks to the wood finish you choose to go with. When you have to decide which wood species to use for your hardwood flooring there is an assortment of options available, you will need to consider the following.
- Hickory offers a stunning grain pattern and is beautiful and strong. It is challenging to cut and is available in colors from red-brown to medium tan
- Oak is one of the most common options, thanks to its durability, wide grain, and selection of stains such as red oak or white oak
- Pine is available in many types; you will have to be specific when selecting to use it
- Walnut is a rich, warm option and is a lot darker than oak
- Teak is durable and is ideal for use outdoors, keep in mind though that it is very expensive
- Maple is unfortunately quite susceptible to rot and has a much finer grain pattern
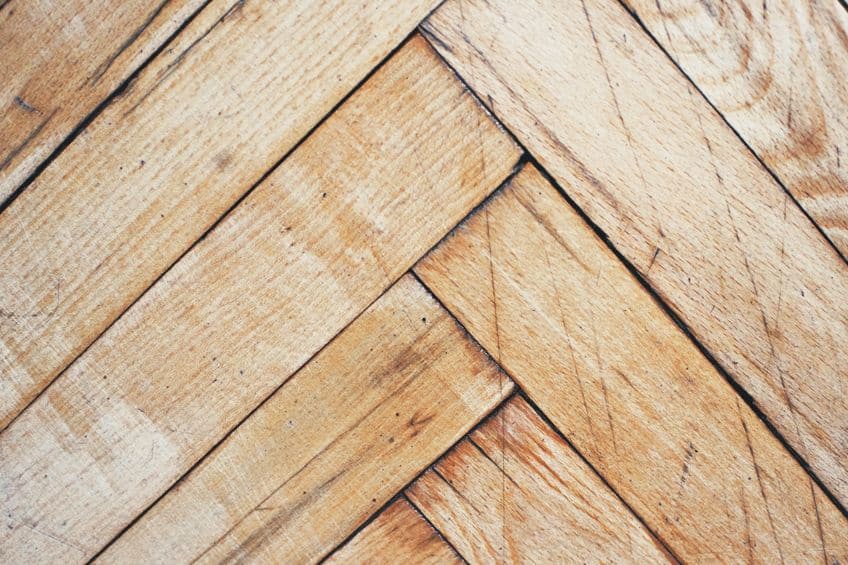
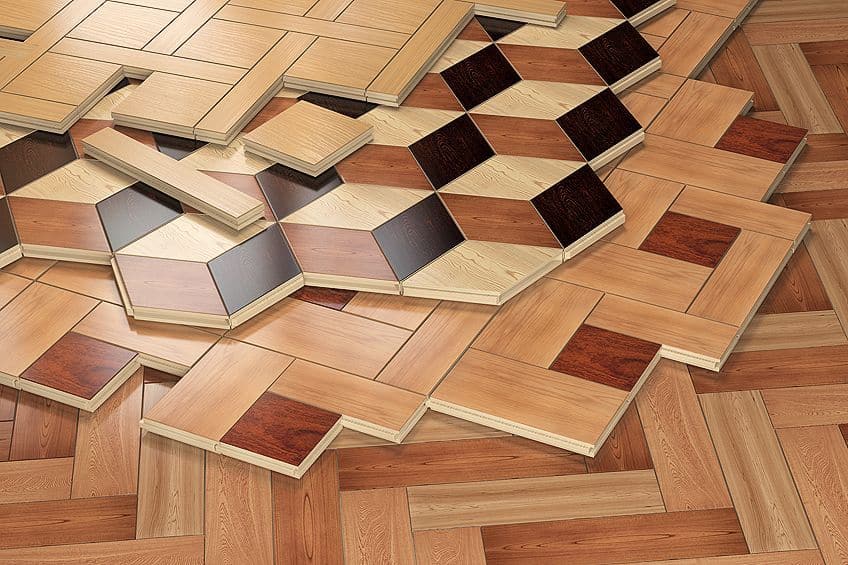
Different Hardwood Patterns
Once you have decided which hardwood product you wish to use, you can now choose which pattern to utilize when installing your hardwood flooring. There are many patterns available, what follows is a list of the patterns which are most commonly utilized.
- Basketweave Pattern: if you are working with oak or maple boards this is your go-to pattern, whereby they are installed parallel or diagonally to the walls in the room.
- Parquet Pattern: also known as the ‘brick’ pattern, square boards that are layer alternate in different directions, or can be used as an intricate inlay border.
- Random Pattern: this pattern is created when different width boards or installed in a straight or diagonal pattern, using this pattern creates the illusion that the room is larger.
- Straight Pattern: created when long pieces of board are installed end-to-end.
Now that you know everything that you need to consider about the wood, let us look at the different types of hardwood glue available.
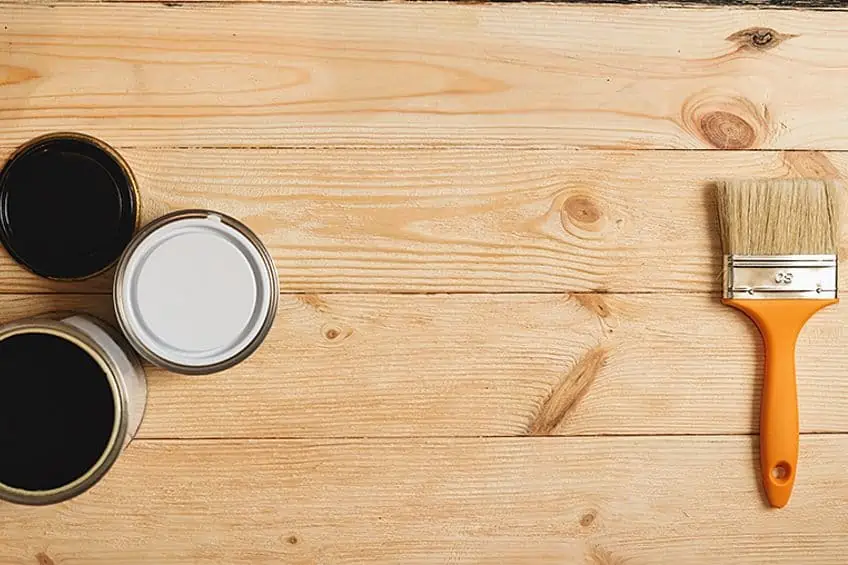
Types of Hardwood Flooring Adhesives
Now that you have selected which hardwood flooring option to use, and which pattern you wish to install it in, you will now have to make arguably the most important decision being; which is the best hardwood flooring adhesives for hardwood floors? There are so many options of hardwood flooring glue available that this decision can seem a little daunting. In addition, different types of glue should be used for different flooring types.
Which is the right hardwood flooring adhesives to use, is mainly dependent on the type of hardwood you have selected. So should you have chosen a solid hardwood, you need to be aware of its sensitivity to environmental impacts and that it will expand and contract more easily. So, you will have to select a glue that offers more flexibility to stop your wood from cracking. However, should you have selected engineered hardwood, you should look at purchasing less elastic glue. You can also purchase a multi-functional wood floor adhesive that can be used on several different hardwood types.
In summary, there are two types of hardwood floor glues that you need to select from for bonding your hardwood flooring.
Urethane Wood Floor Glue
This is the go-to out of all the wooden floor adhesives when installing hardwood flooring. Urethane glue has been formulated to be extremely flexible when dry. You will need to use it when installing a solid hardwood floor, or should you be installing a floor that needs to carry a lot of weight. In these situations, you will require more flexibility in the floor so that it is able to move when it is walked over.
This form of out of all the wooden floor adhesives offers an extremely strong bond, providing you with a hardwood floor that will last for many years. the glue dries very quickly and offers a waterproof finish, which is important for your floor surface. An added benefit is that urethane glue is eco-friendly.
Water-Based Wood Floor Glue
This is a water-based glue which means it does not provide waterproofing or resistance to moisture, even once it has completely cured. This means when wet the glue may become undone as it might lose its bond. Due to this, water-based glue is not a great option for adhering to your hardwood flooring.
One great positive is that this glue responds well to the ‘banana effect’ when installing engineered hardwood floors. This effect happens when your wooden boards are not correctly bonded to the substrate. All that is required to fix this is to place a heavyweight over that particular section and allow it time to dry. You will then see that the bond is more solid. When this effect happens, you will have to use urethane glue, there are no measures you can take to correct this problem.
In summary, when you require movement of the floorboards and flexibility you should use urethane glue. You can use water-based glue thanks to it being easy to clean up and the VOC (volatile organic compound) content is particularly low.
To assist you we have put together a table that illustrates the types of installation you can utilize for different types of substrates.
| Existing Substrate Type | Hardwood Flooring Type | |
| Solid Wood Flooring | Engineered Wood Flooring | |
| Concrete | Glue | Float or Glue |
| Solid Wood or Plywood | Screw or Nail | Float, Nail, or Screw |
| Chipboard | Glue | Float or Glue |
Best Glue for Hardwood Floors
Now you can look at the best glue for hardwood floors which will offer you the best results for bonding the floor to the substrate. Sadly, there are no shortcuts you will experience many problems if you choose to use cheap glue. That being said you do not have to purchase one of the most expensive hardwood glues available either. We have put together a few recommendations that we hope will assist you to select the best option for your requirements.
Best Option for Overall Glue Choice: BOSTIK GreenForce Adhesive
This glue is a urethane glue and is the best option on the market to use to bond your hardwood floors, particularly when used on concrete substrate. A significant advantage is the glue offers amazing moisture control, which means it can stop moisture from coming through the substrate and reaching the hardwood, thereby protecting the flooring.
This glue cures quite fast, but not too quickly that you run out of time to work with it. When dried, it creates a bond that is very strong between the wooden floor and the substrate, a bond that is practically impossible to break. Once dry the floorboard glue is extremely flexible, ensuring when weight is applied to the floorboards no cracking occurs. Additionally, this glue does not contain any VOS’s so it does not give any strong fumes, making it safe to use in spaces with limited ventilation.
PROS
- Dries very fast
- Extremely flexible
- It is moisture resistant thanks to built-in moisture control
- Does not contain any VOC’s
CONS
- Can be sticky and create a mess
Best Option for Solvent-Free Glue: ROBERTS Multipurpose Flooring Adhesive
This adhesive is solvent-free and is perfect for bonding an assortment of flooring materials to either wood or concrete substrates. This includes vinyl tiles, hardwood flooring, engineered flooring, and so much more. The moisture is stopped from coming through the substrate into the hardwood flooring and thereby protecting the wood, thanks to a moisture control feature.
This product is simple to use and offers a strong, aggressive bond once it has been completely cured. Thanks to the lack of solvents, it has a low odor, and once cured it is also water-resistant. You will have to use it within 20 minutes of opening the tin. Once you have applied the product you have roughly 30 minutes to work with it and then it requires one to two days to cure completely.
PROS
- Extremely strong bonding properties
- Built-in moisture control
- Can be utilized on a variety of wood flooring and substrates
- Provides a permanent tack
CONS
- Take a long time to cure completely
- Can cause a lot of mess
Best Option for Floating Floor Glue: CAL-FLOR Floating Floor Glue
This product has been designed for floating engineered wood flooring, but that is not all it can do. You will be able to use it to install solid hardwood floors. The adhesive has also been specifically designed for grove, and click and tongue flooring, but can be utilized for other types as well.
The product also offers moisture control and a strong barrier, meaning moisture will not be able to leak through the substrate and harm the wood. This feature makes it perfect for use in kitchen and bathroom areas. Once dried it also provides you with an extremely strong bond that is particularly flexible which is perfect for weight and pressure resistance.
PROS
- Temperature resistance
- Provides an amazingly strong bond
- Once dried it is extremely flexible
- Offers a moisture barrier
- Perfect for an assortment of wood flooring
CONS
- Will only work on wood
- Produces a foul odor
We hope this article will assist you in not only selecting the best type of wood flooring for your requirements but should you choose to use hardwood flooring, we hope to have provided you with the insight to select the best glue for hardwood floors.
Frequently Asked Questions
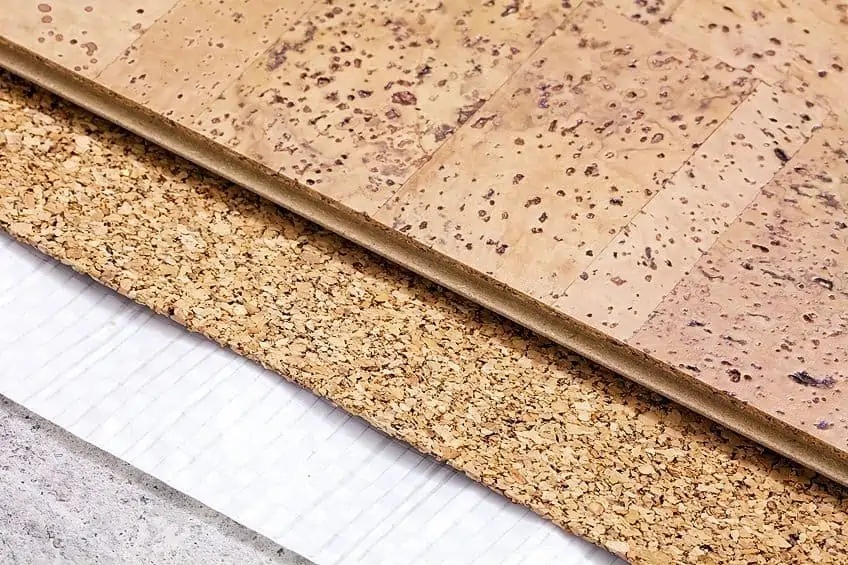
Do You Need Anything Underneath Hardwood Flooring?
It is not a must to put something down, although many users prefer putting materials down between the substrate and the floorboards. The material could be foam, cork, rubber, or felt. The additional layer provides you with added strength for your flooring and also decreases the likelihood of your floors squeaking when walking over them.
Can Hardwood Flooring Be Glued?
If you have a concrete substrate then we recommend you glue down the wooden flooring. On the other hand, should your substrate be wood, you can choose to nail it down or use hardwood glues when laying down the wood flooring.
Do You Require a Vapor Barrier Between Concrete and Wooden Floors?
We recommend you install a vapor barrier for your hardwood flooring. A vapor barrier offers protection and stops any mildew or moisture from reaching your wood. There are specially formulated glues available to use as a vapor barrier.
How Much Time Does Wood Floor Glue Require to Dry?
The majority of glues will take between 12 and 20 hours to dry, this is significantly impacted by the humidity levels of where you are installing. However, just to be on the safe side, allow one day for the wood floor glue to dry before you move furniture over it or walk on it.

I have been into woodworking since 2005 and woodturning since 2011. Because of my love for wood and woodworking, I started woodhappen.com to teach other enthusiasts about how to finish and seal wood, the best woodworking tools, the different types of wood, and everything else related to woodworking! Read more about me here.