How to Fix a Hole in a Wood Door – Patch Wood Doors
Doors are something we use so often but don’t really think about until we walk into them, or until someone accidentally closes one on our fingers. It’s also at least partially due to them not needing much tending to, at least not very often. This does beg the question though, what happens when a door does need to be repaired? This can happen when moving furniture, or when a kid’s game gets out of hand. So, let’s have a look at the different kinds of doors, how they can be damaged, and how you would go about repairing each of these door types respectively.
What Are the Different Types of Wooden Doors?
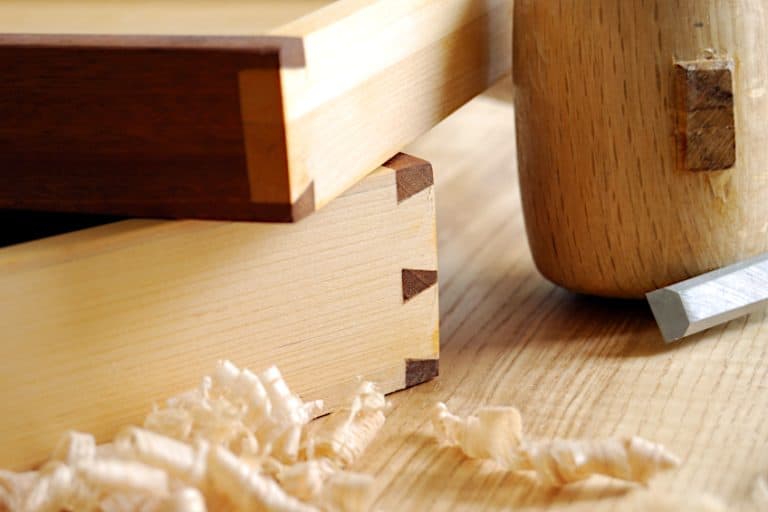
Doors serve a relatively simple function: to provide privacy and security in our homes. Rarely do we stop to think about just how different doors can be, some can be made of solid pieces of wood, and others can be hollow on the inside. These are often chosen based on what you’re willing to spend and/or where the door will be situated, so let’s have a look at these two different door types and how repairing them can be either easy or challenging.
What Are Hollow Wood Doors?
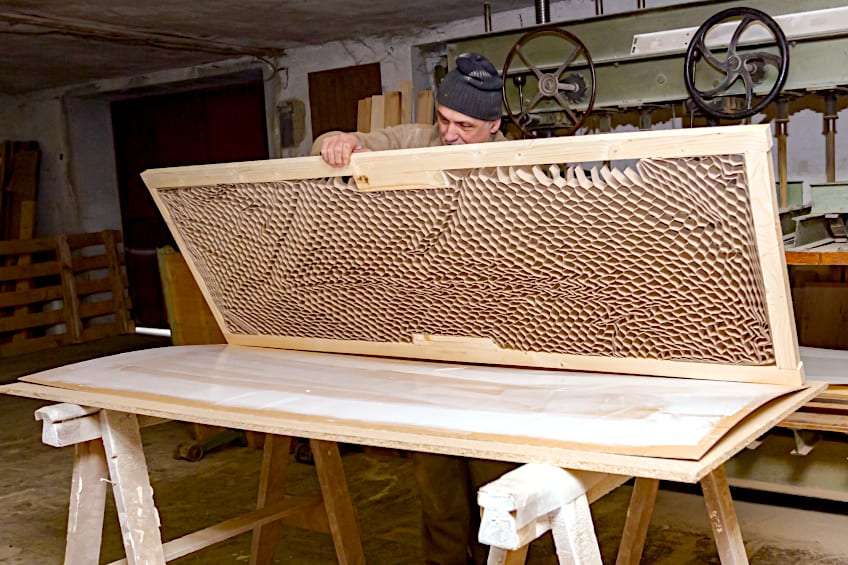
Hollow wood doors are a relatively new concept. They first rose to popularity around the 1950s and have since become something of a staple in modern homes. As the name suggests, these doors have a cavernous center that makes them lighter, cheaper, easier to install, and faster to manufacture compared to solid wood doors.
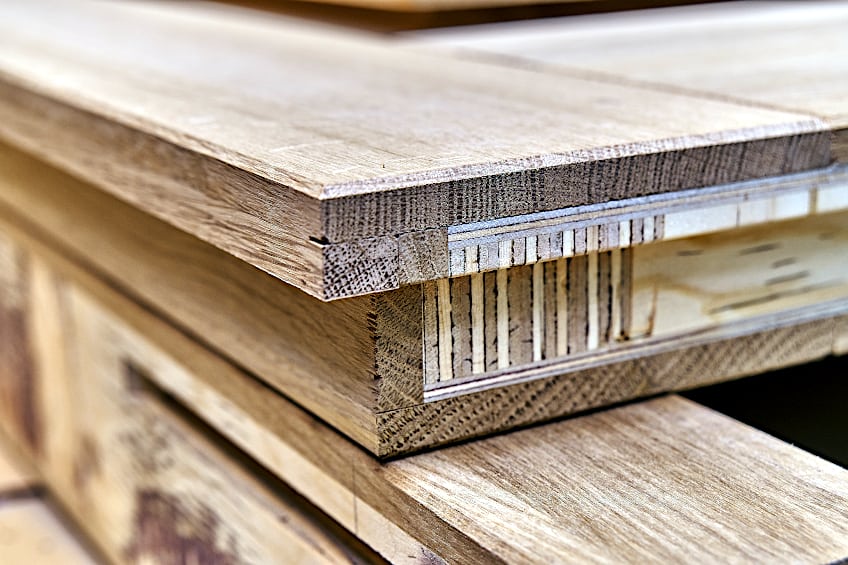
These doors are commonly used on the interior of homes and are pretty easy to replace if they are damaged or simply become weathered over time, which make them pretty popular in a time where when thing break, they are often replaced rather than repaired. These doors are made of layers of materials that are superimposed on one another to form what appears to be a solid door.
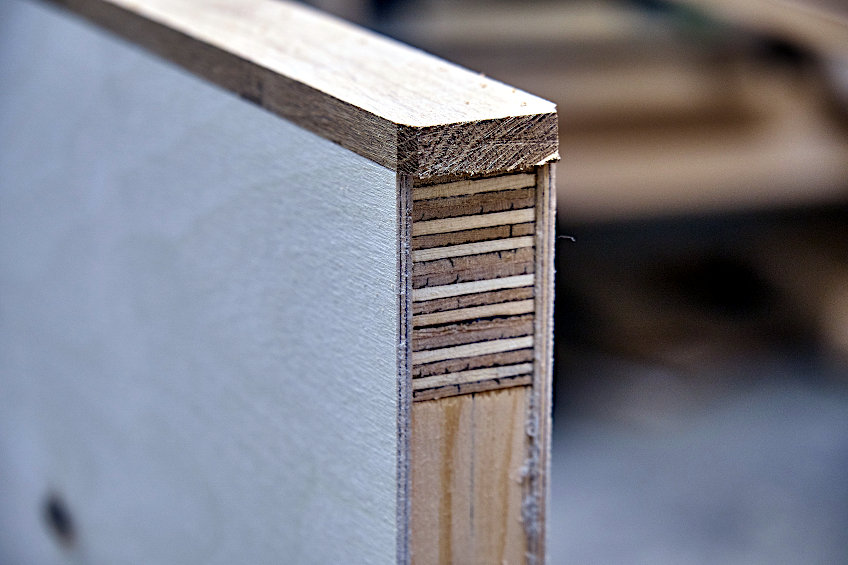
What materials are these types of doors made out of? Hollow core doors are essentially a combination of veneer and wooden framing which are joined together at strategic places to ensure maximum structural integrity without compromising on the weight or functionality that we have all come to expect from our interior doors.
The wooden form is constructed first and then the veneer or plywood exterior is added to create the surface of the door itself. This is really cool for a couple of reasons, mainly because it allows you to choose the finish and overall aesthetic of your door at the fraction of the cost of a solid wood door. These doors are also much less taxing on your door hinges and frames thanks to their reduced weight.
You don’t have to choose a veneer either, once your frame is ready you can have any composite material available shaped and adhered to the frame. This is great if you live in an area where the climate can change from hot to cold often, and thanks to the core of these doors being hollow materials can be added to the interior to add soundproofing or insulation if need be.
What Are Solid Wood Doors?
Solid wood doors are kind of old hat. They’ve been around in one form or another since we discovered how to build permanent structures, and they’ve been particularly useful when it came to protecting entrances and exits. Why? Solid wood is inherently denser and therefore does a better job of insulting doorways, blocking out unwanted noise, and is generally more robust compared to hollow core doors.

Although they are subjectively great doors to have, they aren’t always the most practical choice when choosing a door for your home’s interiors. Why aren’t they the best choice you ask? Well, solid core doors are really heavy so if you intend on installing them yourself it will be significantly more difficult to lug them around your home, especially if you live in a two-story home.

They might be a bit challenging to manage but there is a certain air of elegance and class that comes with having sold wood doors in your home, this is why much older brick and mortar homes have these types of doors installed in them as standard. They are also quite expensive compared to their hollow core counterparts.
Solid core wooden doors are either made of one piece of solid wood that has been fashioned into a door (which is a crude but highly effective production technique) or out of a mixture of wood chips and composite materials that make up both the entire of the door’s interior and the base of the surface. If the door is made of solid wood, is it often planed, sanded, and then either treated or painted.
If the solid wood is made of composite materials, then a veneer will be adhered to the current surface of the door for a decorative finish, much in the same way that a hollow core door would be finished. As you can imagine, this isn’t the most environmentally friendly way to go about supplying the world with doors in their homes, which is why hollow core doors have become more popular, and solid core doors are so pricey.
Another reason that it could cost you a pretty penny to get solid wood doors in your home is simply that they cost more to make. This is because they consist of more raw material than hollow core doors do, therefore their cost price and mark up can be quite high. Sold core doors do require some more elbow grease to maintain too and can be a challenge to repair if they become waterlogged.

Solid wood doors are often used in large entryways and are a common site in luxurious homes. They are often adorned with intricate carvings such as animals or depictions of historic scenes, accents which can make these doors all the more expensive. They also require specially reinforced hinges to install, so they’re definitely a luxury purchase in most communities in the US and around the world.
How to Repair Wooden Doors
Finding a hole in a wooden door is never a great thing, and it can be pretty stressful when trying to figure out how to repair them. That’s why we’ve prepared a short tutorial showing you how to effectively repair both hollow core and solid core wooden doors without needing the call a professional, which can not only be expensive, but it can take a lot longer than doing it on your own.
How to Repair Hollow Core Doors
Wondering how to fix a hole in a wooden door? There is more than one you can go about this, but it does depend on which type of door you’re trying to repair. Attempting to repair hollow core door units can be a bit trickier than repairing solid wood ones, this is why we’ve prepared a short tutorial showing you how to repair any holes you might find in hollow wood doors. Before we begin, remember to work carefully and to always ensure that your hands and eyes are protected when working with any wooden workpiece. Here are a few things you will need:
- A knife
- Aerosol insulation foam
- Spackle putty
- Paint
- A tarp or sheet
- A plastic applicator or putty knife
- Autobody filler
- 120 grit sanding paper
- A brush or roller set
Prepare Your Workspace
Before showing you how to fix a hole in a wooden door, we should mention that you do not need to remove the door from its hinges. Honestly, it’s best that you leave the door attached to its hinges for this repair process. Now that we’ve got that covered, why not cover your floor and any other surfaces that could be damaged with some tarp or old newspaper? Not only does this make the clean-up process a lot easier, but it also ensures that your flooring won’t be scratched too. If you’re working in a tight space or somewhere that is highly trafficked, why not go ahead and secure your tarp or newspaper with some painter’s tape to prevent any wood pieces from slipping underneath them?
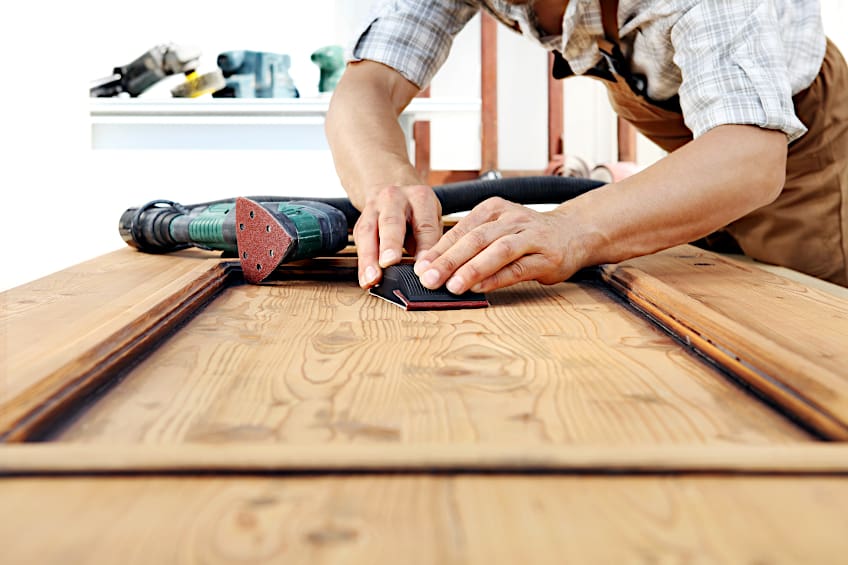
Once your flooring and surrounding areas have been protected, ensure that your hands and eyes are properly guarded against splinters and other stray wood particles by wearing a pair of gloves and some goggles graded for use with woodwork. Once you have that sorted ensure that your workspace is well ventilated and that you have adequate lighting for the task at hand.
Prepare the Hole
Before we get into how to patch a hole in a door you should know how to prepare the surface for the repair process. This is pretty straightforward in theory, but it can take some time since you’ll likely be working at an angle that could be a bit awkward. You need to dress the hole in the door by removing any sharp edges that appear on its surface. How do you do this?
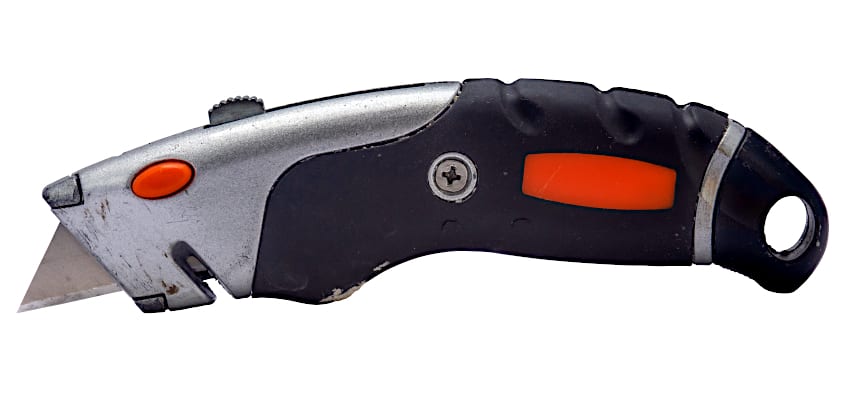
Get your hands on a sharp knife; this can be a woodworking tool or an NT cutter, depending on your preference or what you have laying around. These little bits have the potential to hurt your fingers, or worse, your wrist, so it’s best to get them all out of the way before you get to repair the hole. Your goal here is to cut the edges of the hole until it looks tapered inward. The best way to go about this is to cut in a sawing motion and to do so at an angle that is as flush to the surface of the door as you can manage. This should result in a countersink or tapered angle once all of the sharp edges have been removed from the surface of the hole. Feel free to use sanding paper on the finer bits of the hole if you can’t manage to get all of it with the knife.
This next bit is crucial. Grab some newspaper and insert it into the hole in the door. The goal here isn’t to plug the hole itself, but rather to plug the area inside the door surrounding the hole, essentially isolating this area from the rest of the interior of the hole. Make sure that the newspaper is secure and won’t be moved easily.

Fill the Hole
Ready? Here’s how to patch a hole in a door. Get your can of expansion foam and spray it into the hole. You should do this as slowly as possible, as adding too much can cause the expanding foam to breach not only the newspaper you inserted in the recesses around the hole but also the surface of the door itself. If the foam comes out of the nozzle of the spray can as a liquid, don’t worry, you don’t have a defective product on your hands.
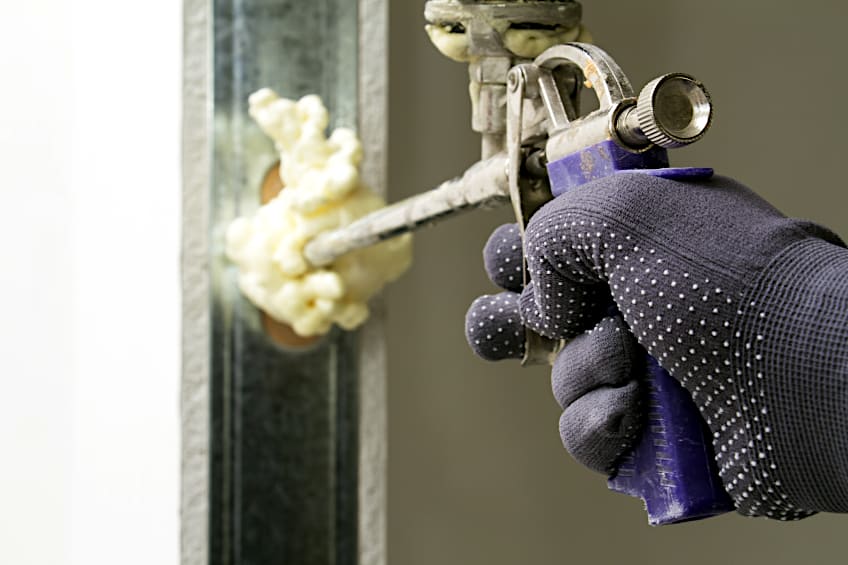
In fact, it should come out of the can as a liquid and expand into the foam after a couple of seconds. Once you’re sure that the hole has been filled adequately, allow the foam to set between 10 to 30 minutes, depending on what the manufacturer recommends. Once this period has elapsed, touch the foam and if it isn’t sticky to the touch, you should be good to go.

Despite what we mentioned previously, it’s nearly impossible to get a perfect application with insulation foam, so it’s highly likely that there’s a lump of foam protruding out of the hole you just filled. Not to worry though, just grab your woodworking knife or NT cutter and remove the excess foam from the surface of your door until you have a perfectly flush surface.
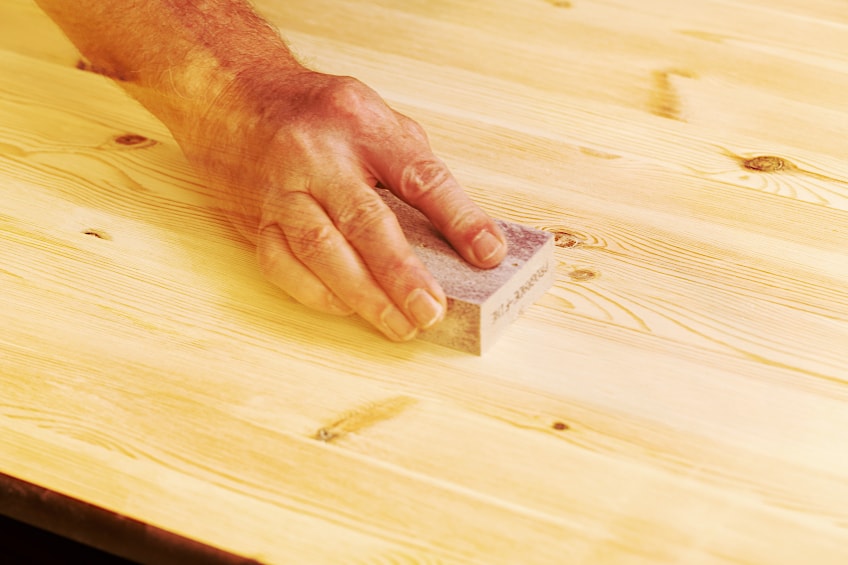
If you’re not having quite as much success as you envisioned with your knife alone, there is no need to panic. Expansion foam can be sanded once it has fully set, so if your foam is relatively hard to the touch and you have allowed it to harden for the manufacturer’s recommended time period, you can use some fine-grit sandpaper to ensure that the surface of your door is completely flush.
Seal and Cover the Hole
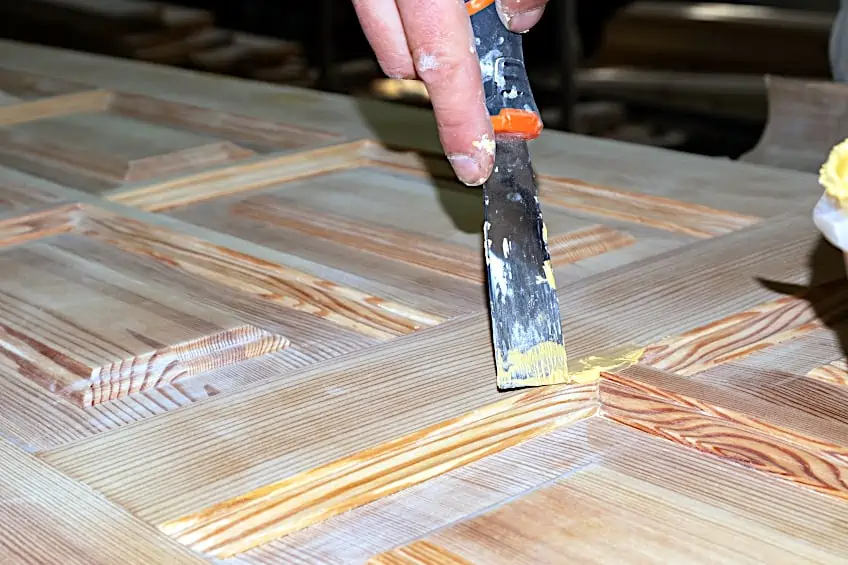
Now that your hole has been filled successfully it’s time for you to address the aesthetics of your newly repaired door. This is relatively easy and won’t take much time at all, just get your hands on some autobody filler and you’re good to go. Depending on the product you’re using you might need to mix the filler in a separate container as some of them are sold in two-part variations.
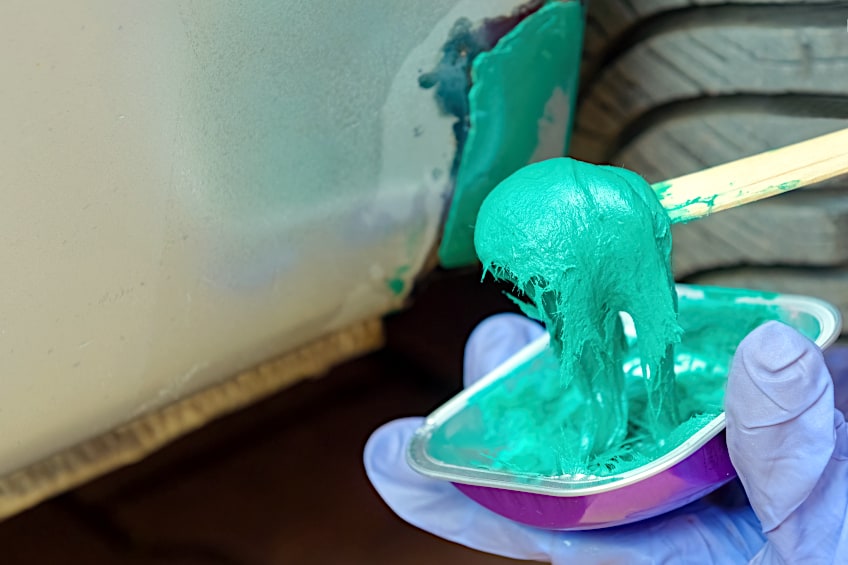
Once you have your filler mixed, use a putting knife to smear it over the surface of the hole, feel free to spread it liberally and well beyond the perimeter of the hole in question. Once it’s been spread evenly, allow the putty to dry for the manufacturer’s recommended time period before attempting to touch it or removing any excess from the surface of your door.
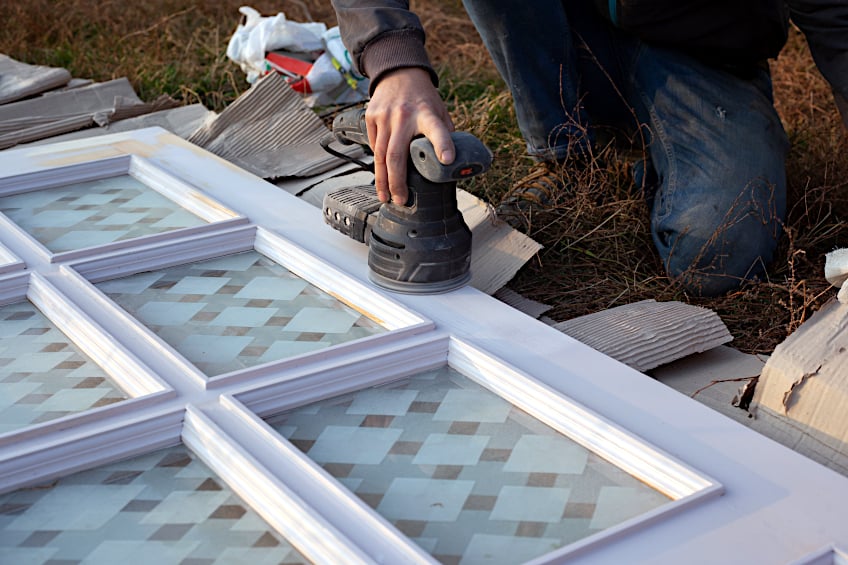
Now that the majority of the actual repair has been done it’s time to neaten it up. Use some medium grit sandpaper (preferably 120 grit) to smoothen the surface where the autobody filler has been applied. Once it’s been smoothed out get some spackle and apply it to the surface of your workpiece where the autobody filler was applied.
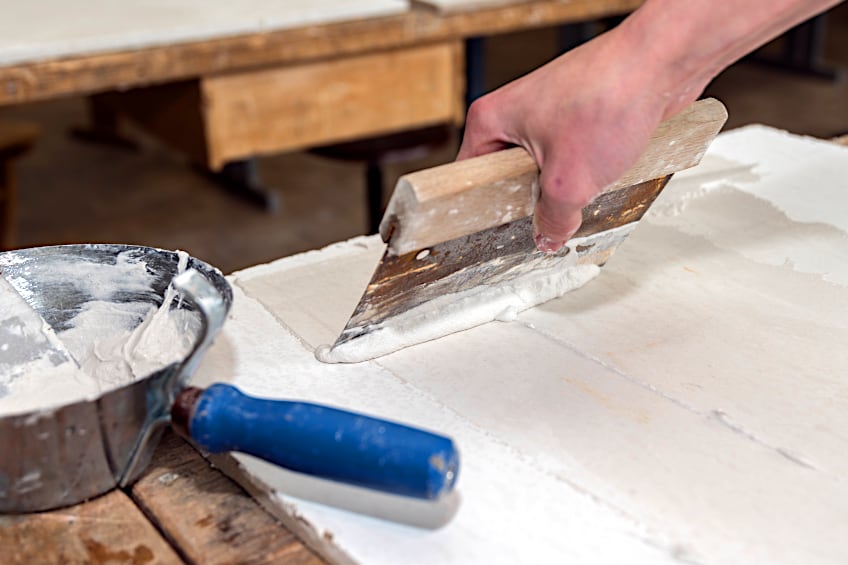
Spread the spackle with the putty knife you used to apply the autobody filler earlier and allow it to dry for the manufacturer’s recommended time period as you did with the filler. Once the spackle has dried, use the same sandpaper you used to smooth out your filler to make the surface as flush as possible with the rest of the door.
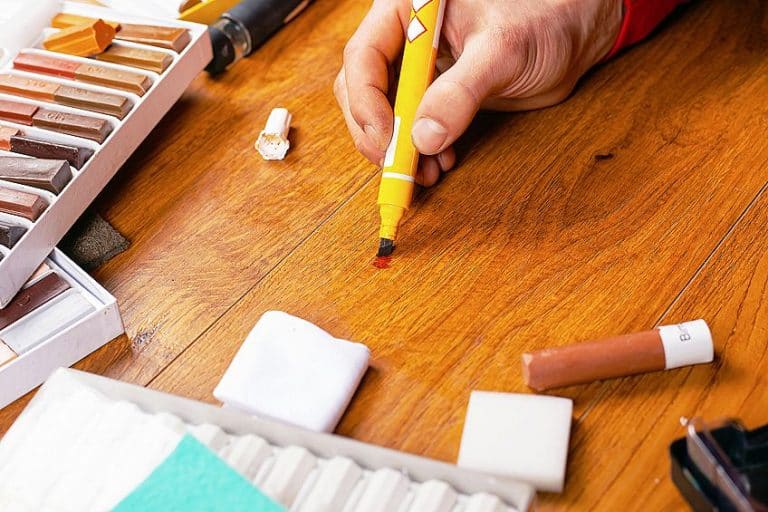
Your repair is finally complete! Now you have a choice to make. You can either get some paint and perform some color matching on the surface of your door, or you could go ahead and repaint the entire door. In either case, make sure that you apply two coats to ensure that the repaired area doesn’t show through your paint. Allow the paint to dry completely between coats before applying the next one.
How to Repair Solid Core Doors
Wondering how to repair a hole in a solid wood door? We’ve got your back. The process can be quite similar to repairing hollow core doors, but with some key differences. Attempting to repair a hole in a solid wood door will require a bit more elbow grease as you are working with a lot more weight and placing strain on your hinges might result in your whole door coming off its hinges. This being said, here are a few things you will need to get started:
- Sandpaper
- Wood filler
- Carpenter’s glue
- A hacksaw or wood saw
- A wooden dowel
- Wood primer
- Some paint
- A brush or roller set
- Screwdriver or cordless drill
- A plastic putty knife
- A tarp, drop cloth, or old newspaper
- A rubber mallet
Prepare Your Workspace
By now it should go without saying that preparing your workspace is one of the most important steps in repairing anything. This is especially important when you’re repairing a solid core door since you will need a lot more space than you would if you were repairing a hollow core one. Get your workbench ready with all of the tools you will need and place them on the side of your dominant hand.

Next, lay down some tarp or your drop cloth on the floor of your work area. Why? Working wood and filler putty can turn into a messy business pretty quickly so it’s best to ensure that both you and your workspace is adequately prepared for that. Once your workspace has been prepared make sure that you gear up with all of the appropriate personal protective gear including some goggles to protect your eyes, and some gloves to protect your hands from splinters.

Finally, ensure that your workspace is well-ventilated and that your immediate workspace is well lit for the task ahead. Once you feel that your workspace has been prepared grab your screwdriver and/or cordless drill before moving on to the next step in the process.
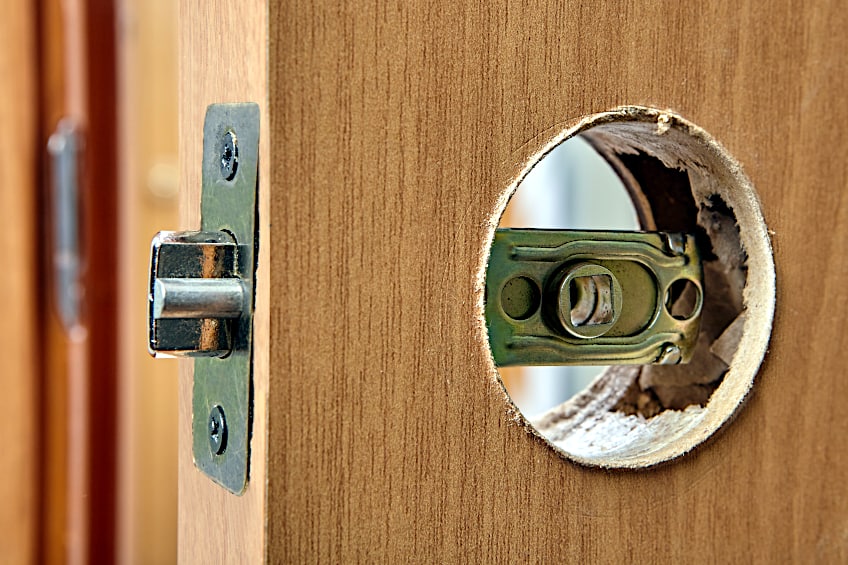
Remove the Door and Prepare the Hole
Unlike your encounter with the hollow-core door, this one will require you to remove your door from its hinges for the repair to work. If you’re unable to do this the repair is still possible in theory, but the technique you’ll be using works better if the door is removed from the frame and is laid down on its side. Remove the door from its hinges and grab your knife.

Use the knife to remove any rough edges from the edges of your workpiece. As you did with the hollow-core door, use a sawing motion to remove these edges while at an angle. The goal here is to make the edges of the hole as flush as possible with the surface of the door which should make filling and sealing the hold in the door a lot easier.
Ensure that the surface that you have placed your door on is stable and that your door will not tip off the edge of your workbench if you haven’t chosen to work on the floor. You can do this with some C-clamps or simply by ensuring the door is adequately supported by whichever surface it’s resting on while you work.

Fill the Hole Using Your Dowel
Now that your door has been removed and your hole has been prepared it’s time to get down to some actual repair work. This part can be challenging especially if you don’t work with wood often, but the end result is great and is a lot cheaper than going out and getting yourself a whole new door. For this next step, it’s time for you to get out your wooden dowel.

The dowel should be roughly the same diameter as the hold in the door. What you want to do is use your saw to cut the length of the dowel so that it matches the width of the door, as you’ll essentially be using it as a filler for the now (presumably) missing piece of the door. Coat the edges and back end of the dowel in carpenters glue and use a rubber mallet to gently wedge it into the hole in your solid wood door.
Remember to be as gentle as possible as the last thing that you want at this stage in the repair process is to cause even more damage to your door. At this stage, you should see why it’s easier to work with the door laid down than with its still on its hinges. Once the hole has been filled allow the carpenter’s glue to dry for the manufacturer’s recommended time period.
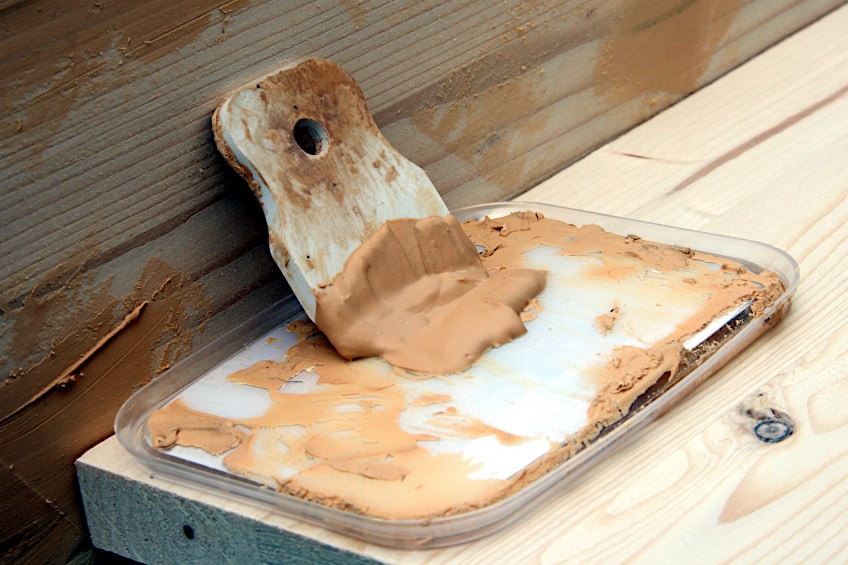
Once your dowel has had a chance to set it in its time to get your hands on the wood filler. Use your carpenter’s knife or plastic putty knife to spread the wood filler over the area of the door that has been filled with the dowel and allow it to set for as long as is needed before moving on to the next step in the process.
Prime and Paint Your Door
As you would repair hollow core door units, it’s time for you to make your door look as good as new. Once your wood filler has had a chance to dry and set it’s time to move on to aesthetic repairs. Make sure that the wood filler is dry to the touch, and if it is, grab some of your fine-grit sandpaper and make the repaired area as flush as possible with the rest of the door’s surface.
Once your surface has been sanded down and you’re sure it’s flush with the rest of your door it’s time to prime the area for painting. Ensure that you give your primer a good mix before using your brush or roller to apply it to the affected area of your workpiece. Once applied, allow it to set in for as long as the manufacturer recommends before applying the touch-up paint.
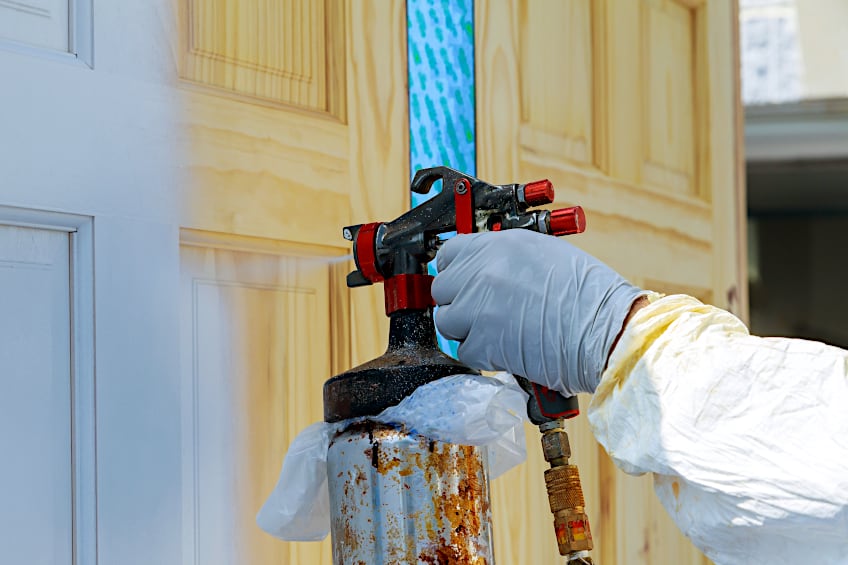
When it comes to touch-up paint you might need to apply more than one coat, or the repair could show through. In this instance, allow each coat to dry for the manufacturer’s recommended time period before applying the next one, which should allow the first one to act as a base coat for your new finish.
Now that you know what a hollow core door is, what a solid core door is, what some of the key differences are between the two, and how to repair a hole in each respectively, it’s time for you to get out there and put your newfound knowledge to the test. Remember to always wear the appropriate personal protective gear and to work patiently when dealing with these types of repairs.
View our How to Fix a Hole in a Wood Door web story here.
Frequently Asked Questions
What Is a Good Wood Filler for Doors?
Looking for a good wood filler for doors? There are many options out there for all types of wood and for exposure to different environments, although one of the most tried and true brands on the market is Elmer’s wood filler.
Can Holes in Doors Be Fixed?
While it might seem like a massive task, it’s actually pretty easy and relatively quick to fix a hole in a door. It does however depend on whether you have a solid core or hollow-core door, in both instances the holes can be refilled and the surface of the door refinished, but the methods will differ.
How Much Is It to Fix a Hole in a Door?
While there are many variables to consider, repairing the hole in your door is relatively inexpensive if you’re going to be doing it yourself and if you have some of the tools you will need on hand. A professional can charge anywhere between $250 and $500 depending on the extent of the damage.

I have been into woodworking since 2005 and woodturning since 2011. Because of my love for wood and woodworking, I started woodhappen.com to teach other enthusiasts about how to finish and seal wood, the best woodworking tools, the different types of wood, and everything else related to woodworking! Read more about me here.