How to Apply Polyurethane to Floors – Achieve Perfect Floor Finish
The most important aspects when refurbishing or finishing your floors is the type of finish you are using and the overall quality. Your go-to product is polyurethane. In the following article, we will advise on what the best oil-based and water-based polyurethanes are for floors and give you the guidelines on how to refurbish your floors using polyurethanes.
Should You Use Oil-Based or Water-Based Polyurethanes
You will first have to decide if you would like to use a water-based or oil-based product. Either option will do a good job of protecting your floors, regardless of whether you have engineered hardwood or traditional floors, but there are differences between the water-based and oil-based products.
The water-based forms of polyurethane are clear and therefore do not change the color of the wood when applied. As it is thinner than other solutions, it dries very quickly. Within 8 to 12 hours of application, it is completely dry and you can walk on the floor.
Using a water-based product will not give off any fumes or odorous smells. They are also a less flammable option and do not contain any VOC’s (which are harmful). You will only have to use soap and water to clean up water-based products.
Water-based products are the most expensive option and are the least durable. You will be required to apply several coats to achieve the required maximum protection, as these particular urethanes are made up of fewer solids. Should you choose to seal your wood with a water-based option you will be required to reseal every 2 years.
When to Use Water-Based Polyurethane:
- When the timing is right
- When you are looking to achieve a more natural and lighter look
- If you are using a greige blend, gray stain, or whitewash
- If the smell is a big concern
- If you are refinishing maple and are looking to go natural
When to Use Oil-Based Polyurethane:
- When you are working with a dark species of wood
- If you want to achieve an intense, dark stain
How to Apply Polyurethane to Wooden Flooring:
There are several steps involved in applying polyurethane to your wooden floor. We suggest reading through this helpful guide to help you get started.
What Materials Do You Need?
While you will require a fair amount of materials, at least they are all relatively inexpensive.
You will first have to determine which polyurethane you will be using; you may have to do a little brand research before making this decision. Look out for a brand that gives you all the details in terms of storage requirements and what chemicals are included. Try selecting a product whose manufacturers offer telephonic assistance in case you require it.
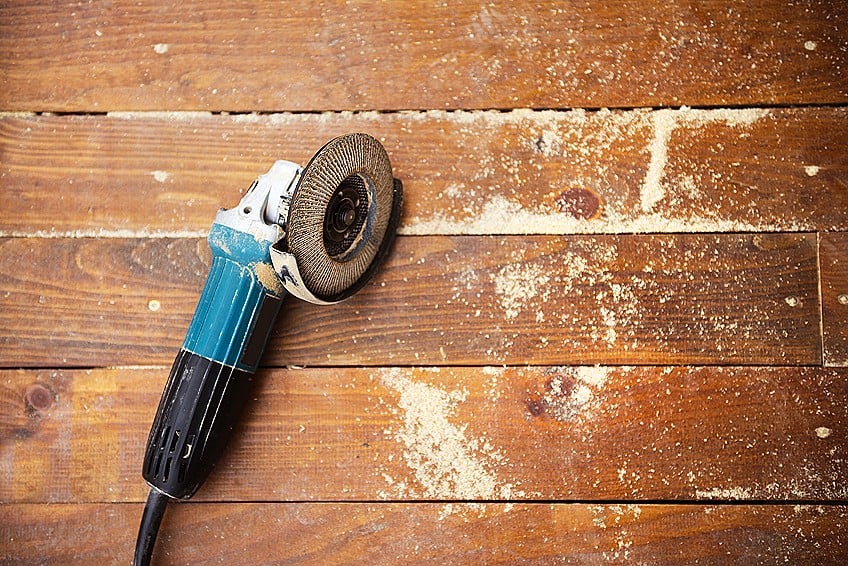
You will require an orbital sander – if you do not own one you should be able to rent one from your local improvement store. You will also require varying levels of sandpaper, we recommend 120, 60, and 36-grit as a good starting point.
You will also require 220-grit sandpaper to use between coats as well as a pole sander. If you do not already own a pole sander and aren’t eager to purchase one, you can make one using a broom handle and a sanding block.
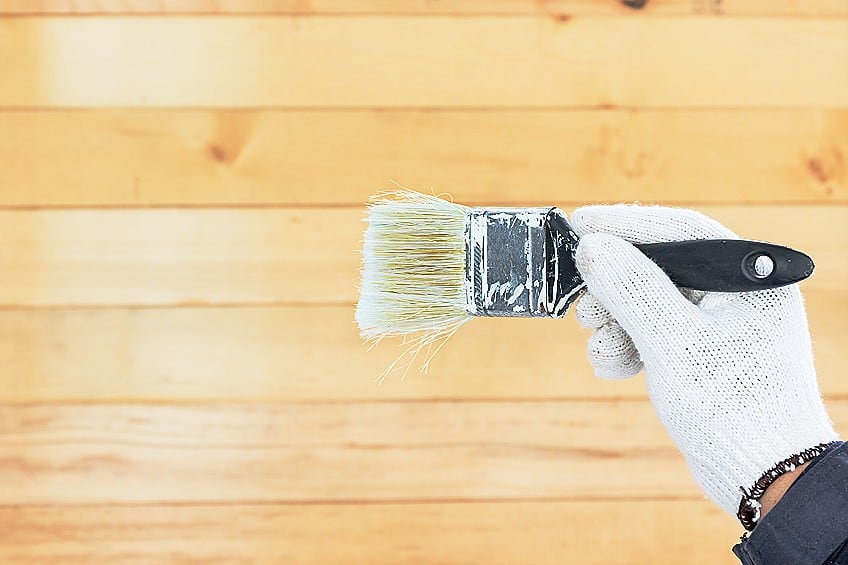
You will also require lambswool or another synthetic applicator, and urethane-rated brushes. To get into the corners and doorjambs you can use a T-bar. If you are using a T-bar, we suggest a water-based formula as this works best, alternatively we suggest purchasing a roller instead.
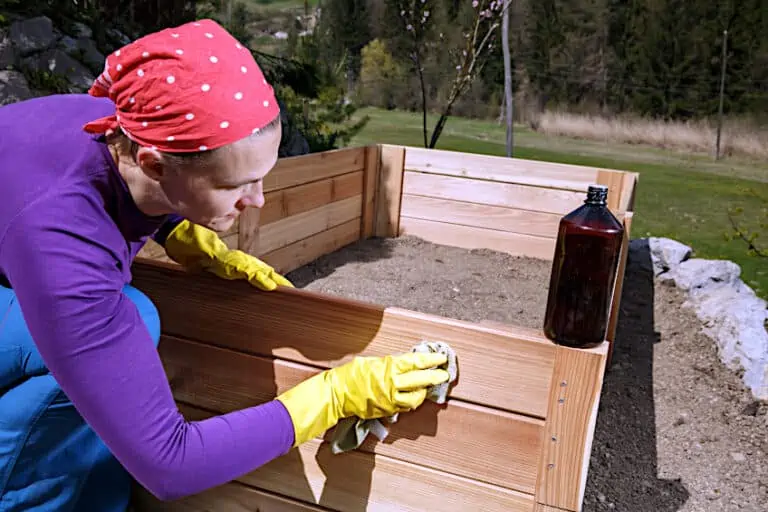
Prepare the Wooden Floor
Once you have gathered the relevant materials, your next step is to prepare your workspace. This may be a very tedious step, but it is very important to ensure you achieve the results you require.
You want to begin by cleaning the surface: start by vacuuming the hardwood floors. Clear out any cobwebs and dust from the corners. Once you have finished this step, allow the room to air out.
Next, sand off the existing finish. If you are unfamiliar with operating a sander, we suggest you familiarize yourself with the process, by watching some online tutorials. Always begin sanding with the roughest sandpaper and work your way up to the finer options.
Be careful not to sand too long in the same spot, as you can run the risk of potentially scoring the wood. When you have finished sanding, double-check the surface for any dents or splinters.
Finally, once again vacuum the floor to collect the dust created by sanding and use a lint-free cloth and some mineral spirits to wipe down the boards.
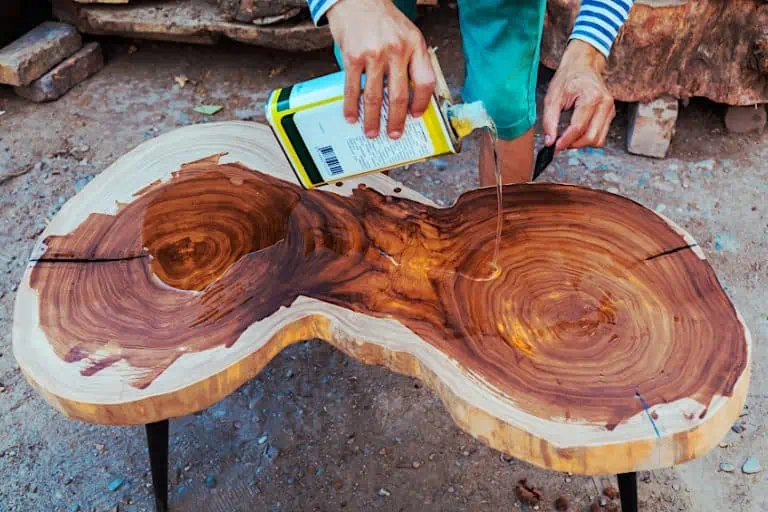
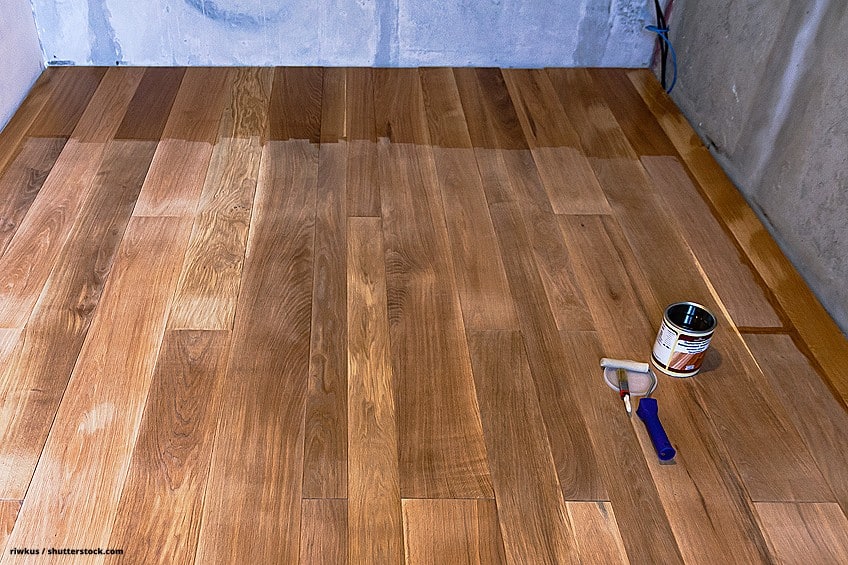
Apply the Polyurethane to the Prepared Floor
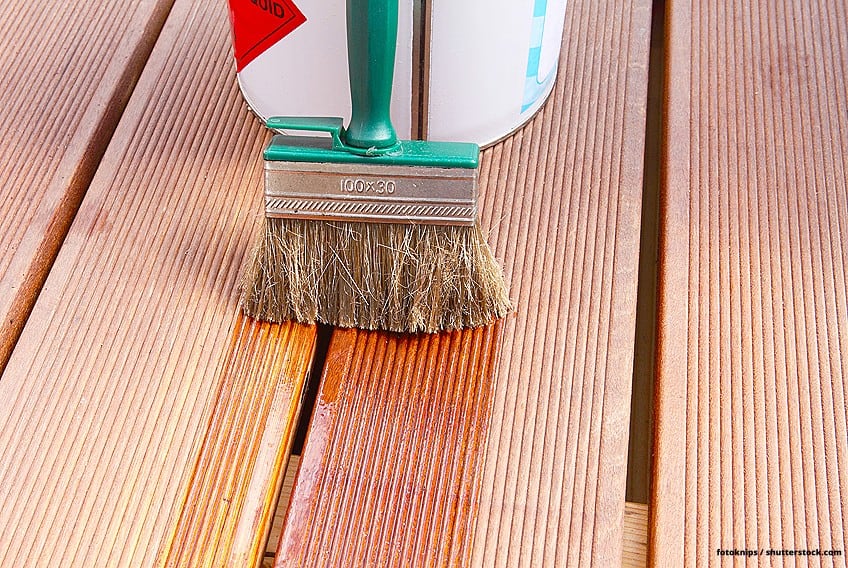
When you are ready to begin, you will need to use a paint stick to stir the polyurethane. If you want to avoid air bubbles, be sure to never shake a can of polyurethane.
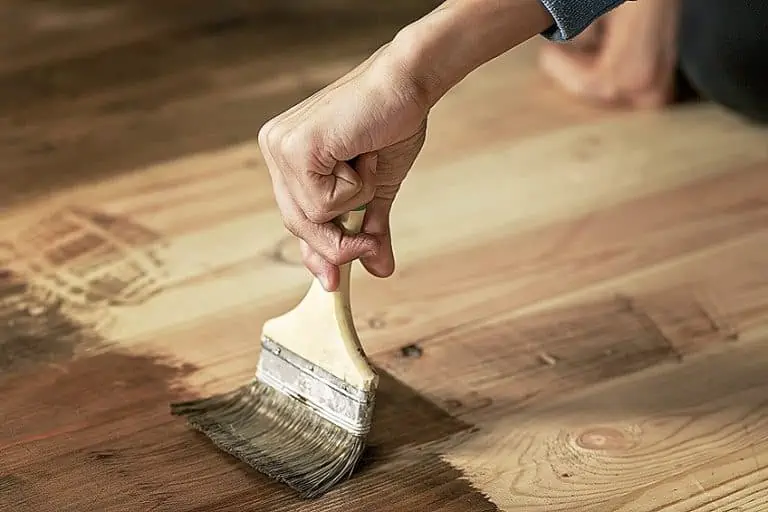
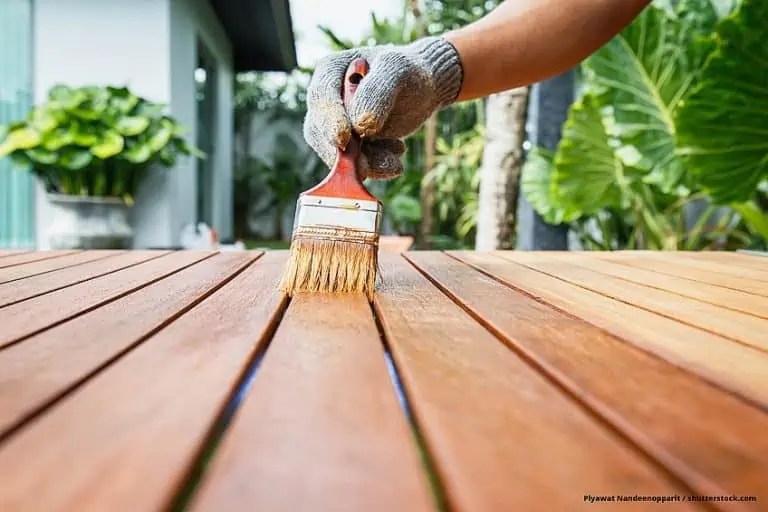
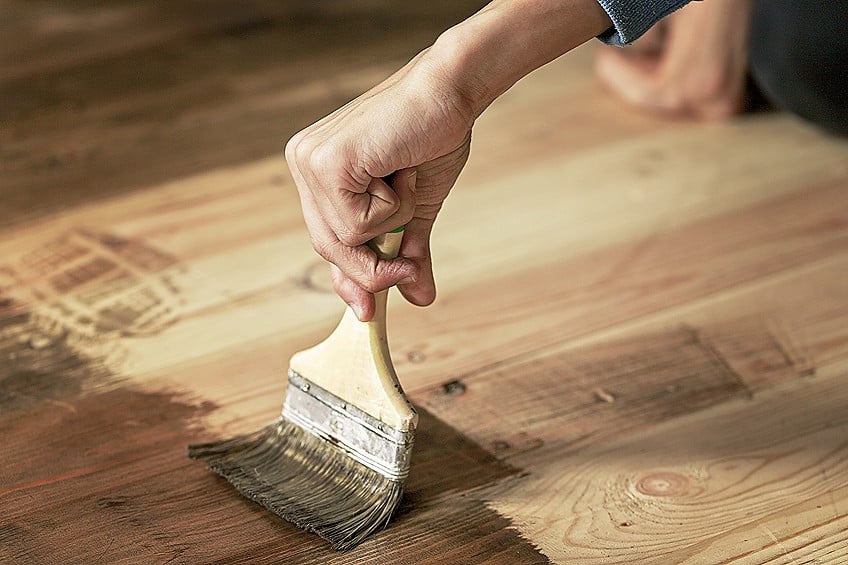
Load up your applicator or brush with polyurethane and be sure to tap off any extra. Select a corner and start working from roughly a foot out, and be sure to apply in the direction that the grain runs. To ensure you achieve an even coat, apply long, overlapping strokes.
Keep an eye out for drippings and be sure to correct these before they dry. Once you have completed applying the initial coat, allow yourself a few minutes to double-check that there are no places you may have missed or any other blemishes which need to be corrected. You will then be able to apply the polyurethane to the corners, where you must be sure to work it so that it blends into the boards sufficiently.
Ensure the initial coat has dried completely before beginning the process again with the second coat. We suggest you consult the manufacturer’s guidelines, which will provide you with the ideal drying time required. When the surface is completely dry you can wipe the surface dry to remove any imperfections or drip marks.
If needed you can repeat the process, although you must ensure that the floor is completely dry between each coat. The majority of floors will require two to three coats, but once again it is always best to consult the manufacture’s instructions for the specific brand you have chosen to use.
Remember that while it isn’t difficult to use polyurethane to finish your floors it is a lot of hard work. You will need to use your knowledge and ability to apply the coats and achieve the outcome you require.
Best Tips for Applying Polyurethane on Floors
Read through these handy tips and tricks for applying polyurethane to your wooden floors so as to achieve the perfect finish.
Check Again Before It Dries
As soon as you have finished applying a coat you will need to ensure you have sufficient lighting to check the floor for any imperfections such as lumps, bubbles, or marks. Make sure you crouch down and double-check that the coat hasn’t been applied too thinly, or too thickly, and double-check there is nothing you may have missed.
Don’t Shake, Rather Stir
You must never shake the can of polyurethane before use, as this will create bubbles and foam in the mixture which will negatively impact your end product and the overall finish. Rather stir the product with a paint stick before beginning each coat.
Ensure Your Coats Are Even to Avoid Drips
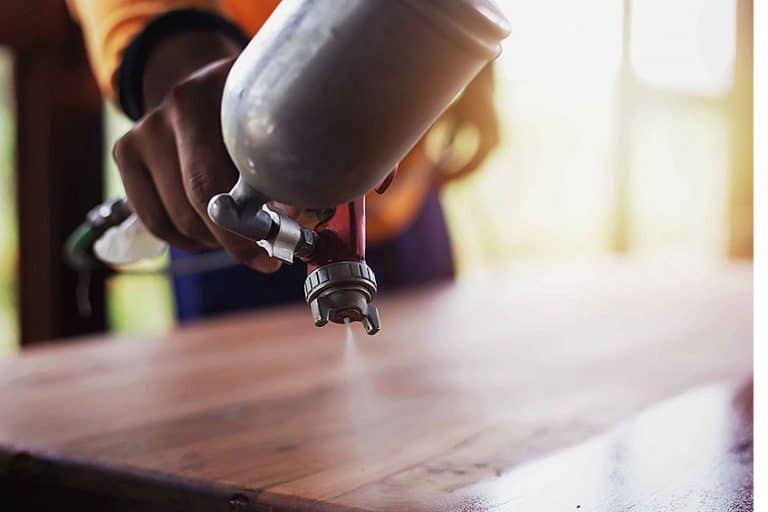
Rather apply thinner coats as opposed to thicker coats. This will assist in achieving a flat surface finish. The thinner coats also assist in decreasing the change of drips, which if they do happen impact the overall finish. If you do end up with drips, first allow that layer to dry, you can then remove the drips using a sharp blade and clean off with a fine cloth. You can use a spray-finish or wipe-on brush to achieve even coats and avoid drips.
Ensure Good Environment
If you are working in a non-ventilated and dusty area, this can result in imperfections to your finish. If your area is dusty and not clean, the dirt and dust will settle on the floor and impact your end result, water-based polyurethane requires hours to dry . If you are working with a brand that has a strong odor, please ensure you are working in a well-ventilated space.
What to Consider When Buying Polyurethane for Floors
You can use polyurethanes to protect your flooring from damage as a coating. Using three layers of a polyurethane finish is what is required to provide longevity of protection to the floor. How long your coating will last is directly linked to the brand and the type of coating you have chosen to use for your floors.
What brand you select to use is impacted by the type of wood that has been used on your floor, your overall budget, and the color choice you are looking to achieve.
Water-Based or Oil-Based
Depending on what type of finish you are looking to achieve dictates whether you select oil-based or water-based polyurethane. If you choose to go with the water-based option you will have less odor given off when applying, and have clear results by reducing the drying time. Previously, oil-based polyurethane was the option that was normally selected, but lately more people have chosen to select water-based polyurethane.
Contrary to popular belief, water-based polyurethane is a very durable product and, in many cases, can be more durable than an oil-based polyurethane. This is due to the fact that research centers and manufacturers are continually working on testing and improving the formula of combining these finishes, in particular those of water-based polyurethane. This has resulted in better-formulated water-based polyurethanes being developed, thus offering greater advantages, which should make you more open to using water-based poly’s for your flooring needs.
When selecting your polyurethane you ideally would like your water-based polyurethane to be less expensive than the oil-based option, but still ensure the product is long-lasting, smells less, can cure with ease, and gives good looking results. There are a number of factors to take into consideration when purchasing a water-based polyurethane, such as:
Required Curing Time:
The advantage of water-based polyurethane is its fast-drying time, which allows one to be able to use your furniture after only waiting a few days after application. If you are tackling heavily used furniture or high-traffic floors then it is a good idea to consider a faster-drying polyurethane.
Durability:
Look at using a polyurethane which has been specifically formulated with an advanced formula, for example Deft exterior/interior polyurethane, as these formulations assist in preventing damage to the wood, including any weather-related damage.
Ease of Cleaning:
If your surface requires regular cleaning, it is best to apply a polyurethane that is easy to clean.
Smell:
If the smell is an important concern for you, or if you are someone with breathing problems, then the smell will be high on your list of concerns. You should look at a brand that complies fully with VOC and all relevant environmental standards. Do not forget to take the amount of ventilation in the area you are working in into consideration.
Look:
If you are working on a tabletop or any other project which requires an exterior coating of polyurethane, you should select a product that is guaranteed to have a no-yellowing effect.
Cost:
Bona Mega polyurethane is your go-to if you are working with a tight budget. It is an effective product that is also very affordable.
Frequently Asked Questions
Am I Able to Apply Polyurethane Using a Roller?
While the applicator of choice is a paintbrush, you can also use a roller to apply the poly-coating. Using a roller means that you will not be leaving behind any form of brush marks. If you have selected to use a roller, you will need to dampen your roller using some mineral spirits before you begin using it.
Using a roller makes it a lot easier to achieve a uniform and smooth stroke, but they work best when used for a larger surface, while a roller can be cumbersome when tackling a small job. A roller is also not the best option should you be working on a non-flat surface. When recoating floors, a roller is a great way to save time during application.
Which is Best for Flooring: Oil-Based or Water-Based Polyurethane?
The majority of the time a water-based polyurethane is the ideal choice, but not necessarily for every project. Water-based polyurethane will help you achieve the same results as an oil-based polyurethane but in less time. The oil-based option tends to be more expensive, particularly as they are often made up of organic oils that have been processed from a variety of different plants. Water is of course going to be cheaper than an oil option.
The draw of an oil-based polyurethane is that it is going to be shinier, slicker, and smoother than the water-based poly. These features aren’t really necessary for a floor surface, as they can lead to the floor being slippery and hazardous. This is something to take into consideration, particularly if the area is trafficked by the public, as a slippery floor is a liability. We would therefore suggest you rather stick with a water-based option.
How Regularly Will I Need to Refinish My Wooden Flooring?
With time your polyurethane coating will become damaged, and will require refinishing once again. It will be necessary to replace the finish, or simply do touch-ups, from time to time. Realistically you will only need to redo the floors once every 7 to 10 years, and depending on the volume of traffic using the floors, it may not even be that often.
How often you will need to refinish your floors is directly linked to how regularly the floors are used. Heavily-used floors are of course going to require reapplication sooner than floors which receive only a little traffic. Keep in mind that floors that get wet more often, like the area of flooring close to an entrance door, are also going to require more frequent recoating.
Is Water-Based Polyurethane Good for Floors?
You can extend the lifespan of any wooden item by coating it with a water-based polyurethane. You are also able to coat non-wooden flooring with polyurethane. Your go-to option for flooring are water-based polyurethanes. The main reasons are as follows:
- The drying time required for water-based polyurethane is much less to that than of oil-based polyurethane. When waiting for the floors to dry, it can be a real inconvenience, as one is not allowed to walk over the surface until they have completely dried. Therefore, a faster drying substance is preferable.
- Using a polyurethane coating only gives the surface a lighter appearance and will not alter the original coloring of the wood grain.
Between Applications of Water-Based Polyurethane on Your Floors, Will You Need to Sand?
It is recommended by most brands that you sand the polyurethane between each coat that is applied, but make sure the coat has completely dried before taking any sandpaper to it. Give the surface a light sanding using a fine grit sandpaper. The sanding creates traction that assists the following layer to adhere.
Remember to only lightly sand, as you do not want to remove more product than necessary. One coat of polyurethane isn’t very thick, and if you are not careful you could easily over sand and go through to the bare wood. This is of the most concern when you are sanding the first coat. We suggest you use fine sandpaper and light strokes to make sure you do not go too far.
How Long Does It Take For Water-Based Polyurethane to Dry on Hardwood Floors?
If you are refinishing your wooden floors using polyurethane, keep in mind you will require roughly 24 hours for the whole process to be complete – this includes drying. Keep in mind that the environmental conditions will impact your overall drying times, and ensure you do not use the floors too soon as you don’t want to ruin your hard work.
It is best to check the instructions of the polyurethane product you have selected to use for more detailed information in terms of drying times. You will notice that the drying times vary from product to product. On average you can expect a drying time of 24 hours or more.
It might seem cumbersome that you will not be able to use your floors for 24 hours, but luckily a lot of the clear-coat products are dry to the touch in about 4-6 hours, even though they may not have completely cured yet. After this short period of time you will be able to touch the floors, but they will not be dry enough to walk on. We would therefore suggest you do not allow bare feet, animal paws, or shoes on the surface until completely hardened.

I have been into woodworking since 2005 and woodturning since 2011. Because of my love for wood and woodworking, I started woodhappen.com to teach other enthusiasts about how to finish and seal wood, the best woodworking tools, the different types of wood, and everything else related to woodworking! Read more about me here.