How to Keep Wood Filler from Drying Out – Seal and Save!
Welcome to the world of woodworking wizardry, where even the smallest details can make a big difference! If you’ve ever battled the dreaded dry-out of wood filler, fear not, for we have the magical tips and tricks to keep your filler fresh and ready for action. Whether you’re a seasoned woodworking sorcerer or a budding apprentice, mastering the art of keeping wood filler from drying out is a skill that will have your projects looking flawless. So grab your wand—I mean, tools—and let’s dive into this enchanting journey!
Key Takeaways
- Proper storage is essential for preventing wood filler from drying out.
- Use plastic wrap under the lid to retain moisture in wood filler.
- Revive dried wood filler by incorporating water or wood glue.
Understanding Wood Fillers
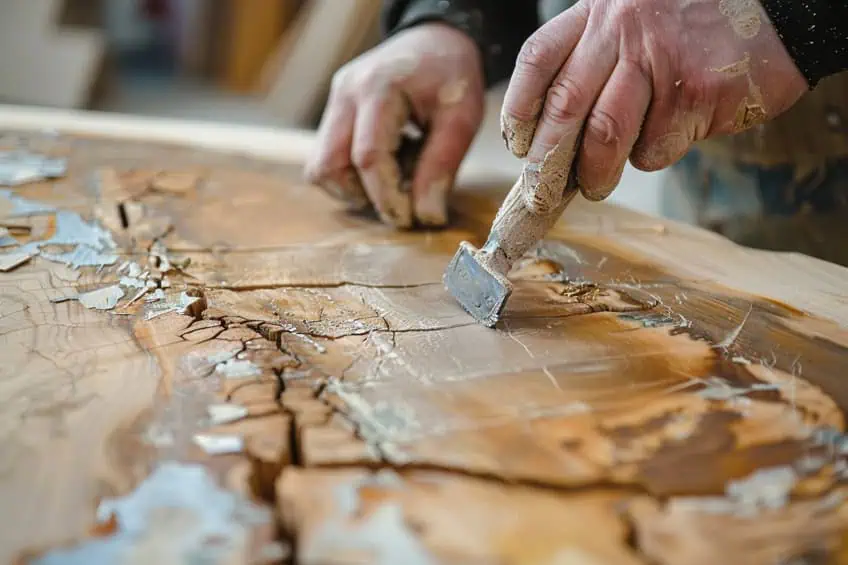
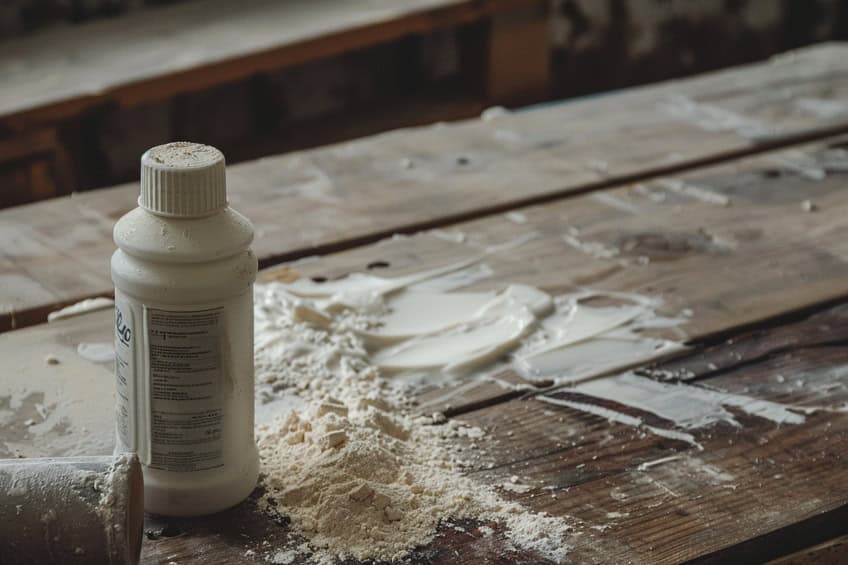
Maintaining the longevity of wood filler is crucial for anyone engaged in woodworking or home repairs. Wood filler is an essential tool for repairing cracks, holes, and blemishes in wooden surfaces, but its effectiveness hinges on its pliability and moisture content. If a wood filler dries out, it becomes difficult to work with and less effective at filling imperfections. Therefore, understanding how to prevent wood filler from drying out can save time, money, and ensure a high-quality finish on woodwork projects.
Proper storage and aftercare are key to preventing wood filler from drying. Sealing the container tightly after each use can immensely extend the life of the product.
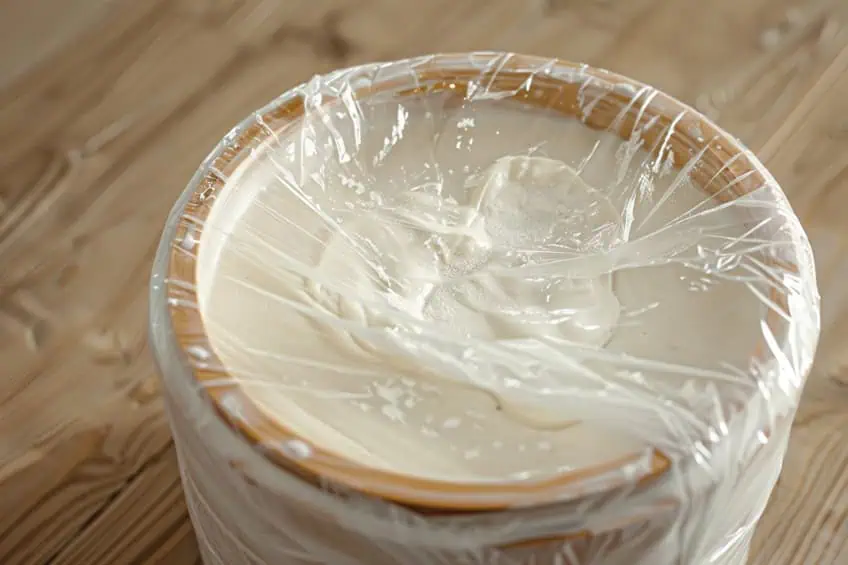
Additionally, some woodworkers place a piece of plastic wrap under the lid of the container to trap moisture and keep the filler from drying. When preparing for application, only the necessary amount should be removed, as exposed wood filler dries quickly. In case the wood filler does dry out, rehydrating techniques such as adding a bit of water or wood glue can revive the product’s consistency for further use.
Types of Wood Filler
Water-based wood fillers are the most commonly used fillers for indoor applications due to their ease of use and quick drying times. They can dry within 15 minutes to an hour, but times may vary by brand and environmental factors.
- Pros: Easy to clean up with water, non-flammable, and tend to have less odor.
- Cons: May not be as durable as oil-based fillers for outdoor use.
Oil-based wood fillers are ideal for exterior wood repairs, oil-based fillers are known for their strength and resistance to shrinking and cracking.
- Pros: Excellent for heavy-duty repairs and provide a longer working time.
- Cons: Require solvents for cleanup and have a longer drying time.

Solvent-based wood fillers are a less common option, these fillers often combine the durability of oil-based products with a faster drying time.
- Pros: Strong bond and quicker drying than oil-based fillers.
- Cons: Solvent cleanup is necessary and may have strong odors.
Key Properties
- Adhesion: Wood fillers should adhere well to the wood surface without cracking or separating.
- Flexibility: They must be flexible enough to accommodate wood’s expansion and contraction.
- Resistance to shrinkage: High-quality fillers resist shrinking as they dry.
- Durability: The filler should maintain its integrity over time, resisting wear and tear.
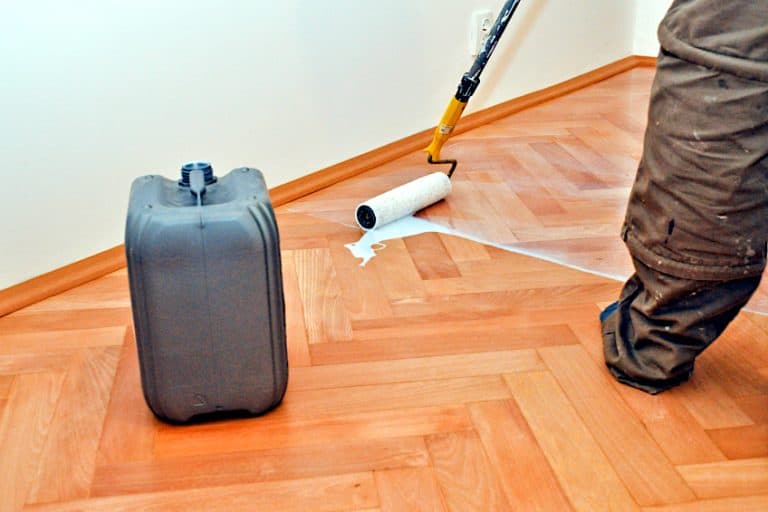
For best results, the user should ensure the wood surface is clean and dry before application, and if necessary, use a sealant to protect the repair from moisture.
Preventing Wood Filler from Drying Out
To ensure the longevity and usability of wood filler, it is essential to focus on how it is stored and handled during use. Proper techniques will mitigate the risk of the filler drying out.
Proper Storage
The storage of wood filler is crucial in preventing it from drying out. An airtight container is the best way to maintain the moisture content within the filler. If the original container is not airtight, one can transfer the filler to a container that can be sealed tightly. Below is a summary of key storage tips:
- Seal tightly: After each use, ensure the lid of the wood filler container is sealed tightly to prevent air from entering.
- Control humidity: Store the container in an environment where the humidity is stable and not exceedingly high or low.
- Utilize plastic wrap: For added protection, one can place plastic wrap directly over the wood filler before sealing the container.
- Keep cool: Store the container in a cool area, away from direct sunlight and heat sources, which can cause the wood filler to dry out faster.
Maintenance During Use
While in use, wood filler is susceptible to drying, but a few preventive measures can help maintain its malleable state.
- Cap immediately: Always replace the cap immediately after dispensing the needed amount of filler to minimize exposure to air.
- Work with small batches: Only dispense a small amount that can be used in a short time to avoid leaving the filler out for extended periods.
- Moist damp cloth: To prevent skinning over or drying during application sessions, keep a damp cloth over the container or the exposed filler.
- Regular stirring: Stir the wood filler periodically to maintain a consistent texture and avoid the surface from drying out.
By adhering to these storage and maintenance practices, one can significantly extend the shelf life of wood filler, ensuring it remains in a workable state for future projects.
Application Techniques for Longevity
Proper application techniques are critical in ensuring the longevity of wood filler in repairing cracks, holes, and gaps. This section details the methods for preparing wood surfaces and applying wood filler effectively.
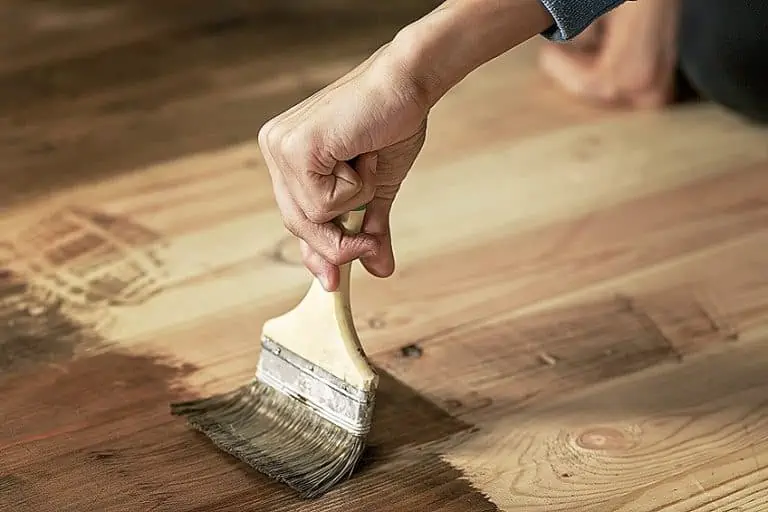
Preparing Wood Surfaces
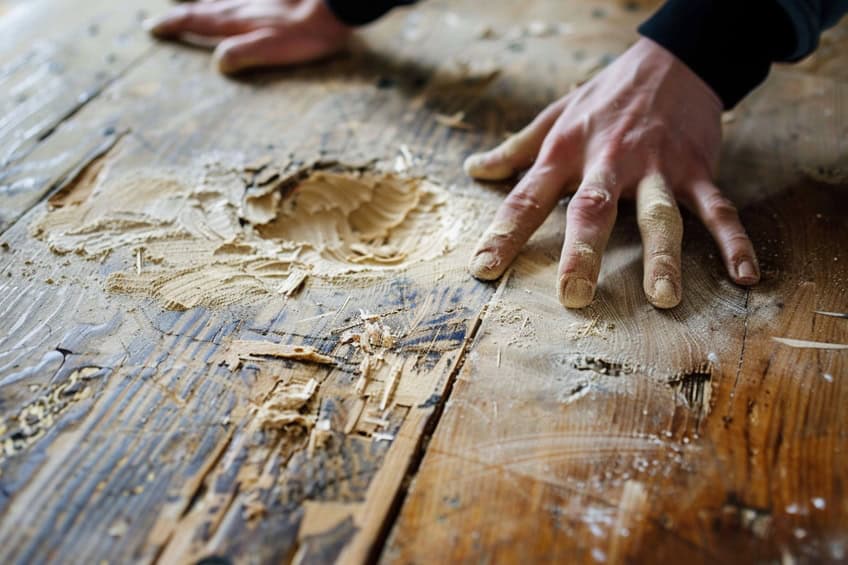
- Cleanliness: Ensure the surface around the hole or crack is clean and dry. Any debris can interfere with the adhesion of the filler.
- Dry conditions: Repair works should ideally be performed in a warm and dry environment, as moisture negatively impacts the filler’s drying time and consistency.

Applying Wood Filler Effectively
- Layering for large gaps: When filling large gaps or holes, apply the wood filler in thin layers rather than one thick layer to expedite drying time and reduce shrinkage.
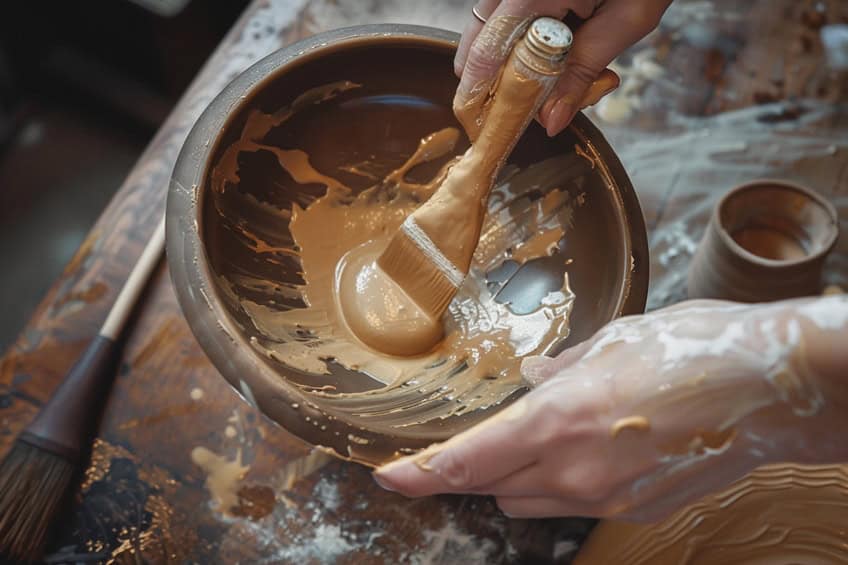
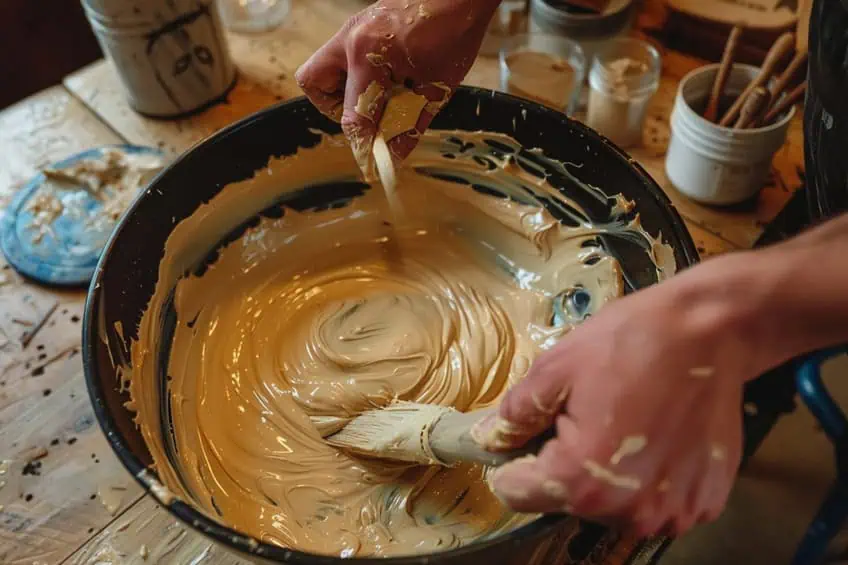
- Consistency: The filler should have a pasty consistency for optimal application; if it’s too thick or too runny, adjust the consistency using the manufacturer’s recommended solvent if necessary.
- Even application: Use a putty knife to apply the filler smoothly, ensuring that it penetrates completely into the gaps or cracks.
- Minimizing sanding: Overfill the repair area slightly to account for shrinkage, aiming to minimize the amount of sanding required once the filler is dry.
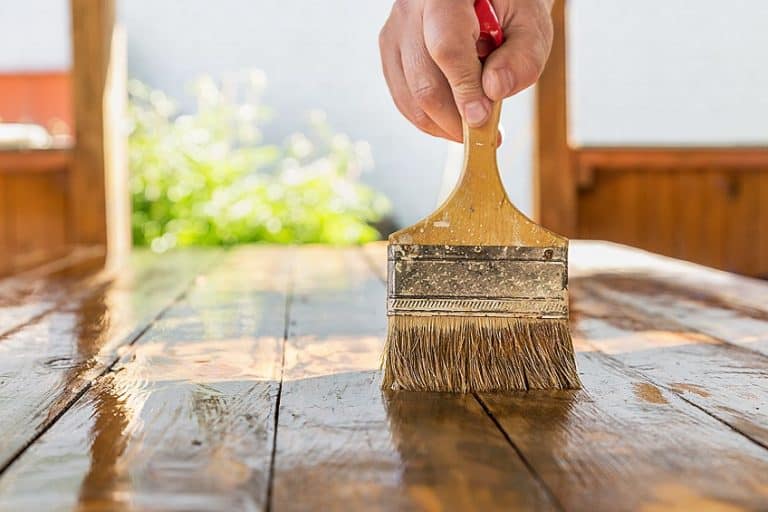
- Curing period: Allow the filler to dry thoroughly before sanding to create a smooth finish, which can then be painted or sealed as desired.
- Temperature considerations: Perform the work in a space with a stable temperature to ensure predictable drying and curing times.
Aftercare and Repair
Maintaining the optimal moisture content in wood filler is crucial to prevent it from drying out, and knowing how to repair dried wood filler can save both time and materials. Proper aftercare ensures longevity, while techniques for fixing dried filler can restore its utility.
Post-Application Maintenance
After applying wood filler to repair imperfections, dents, or nail holes in wood, one should not only consider the drying time but also the conditions in which the filler cures. To maintain the filler’s moisture content, one could:
- Cover exposed filler: After application and smoothing use plastic wrap to cover the filler, reducing exposure to air.
- Control environment: Use a fan to gently circulate air in the room without directly blowing onto the filler to avoid rapid moisture loss.
- Scheduled check: Regularly check on the filler during the drying process, making slight adjustments to the room’s humidity if necessary.
Fixing Dried Wood Filler
If wood filler dries out in the container before it is used, there are restoration techniques that can reconstitute the product. These methods include:
- Water addition: For water-based wood fillers such as cellulose or plastic wood, one can add a few drops of water and mix thoroughly to refresh the product.
- Stir in hardener: For two-part epoxy wood fillers, adding a proportionate amount of hardener to the dried filler can return it to a workable state.
- Use wood glue: In some instances, a small amount of wood glue mixed into the dried wood putty can restore its pliability.
Using the correct repair method based on the type of wood filler (e.g., water-based, epoxy resin) is critical for effective restoration.
And there you have it, fellow woodworking wizards! With these tricks up your sleeve, you’ll never have to worry about dried-out wood filler casting a spell of frustration on your projects. Remember, a little bit of wizardry goes a long way in the workshop. Now go forth, work your magic, and may your woodworking adventures be filled with smooth finishes and flawless repairs!
Frequently Asked Questions
What Is the Best Way to Store Wood Filler to Prevent It from Drying Out?
Wood filler should be stored in a sealed container and kept in a cool, dry place. It’s crucial to ensure the lid is tightly closed after each use to prevent air from drying out the product.
Can You Revive Dried-Out Wood Filler?
Reviving dried-out wood filler is possible for water-based products. One can add a few drops of water and mix until the desired consistency is achieved. However, for solvent-based fillers, a solvent like acetone may be used sparingly to rejuvenate the filler.
Are There Any Additives That Can Extend the Shelf Life of Wood Filler Once Opened?
There are no specific additives recommended to extend the shelf life of wood filler. The best practice is to prevent it from drying out by securely sealing the container after each use.
How Can You Tell If Wood Filler Has Gone Bad?
Wood filler that has gone bad may exhibit a hardened texture, an inability to mix to a workable consistency, or a separation of components. It might also develop an off smell, indicating that the product should no longer be used.

I have been into woodworking since 2005 and woodturning since 2011. Because of my love for wood and woodworking, I started woodhappen.com to teach other enthusiasts about how to finish and seal wood, the best woodworking tools, the different types of wood, and everything else related to woodworking! Read more about me here.