How to Prep Wood for Stain – Learn to Prep like a Pro
As aesthetic tastes change, so do the means by which we decorate and protect our furnishings. Lately, wood stain has skyrocketed in popularity as a viable alternative to paint, with more and more people trying their hand at it. However, as simple as staining wood is, if the wood is not prepared correctly, the results can be rather disappointing. For this reason, we’ve prepared a short guide detailing how to correctly prepare wood for stain, why it is important to know how to prepare wood for stain, and how stain can benefit your workpiece in the long run.
Why Is Preparing Your Wood So Important?
Preparing wood before applying virtually any surface coating is important. Wood is naturally exposed to external forces, and as a result it develops a layer of protection that does not allow surface coatings and wood treatment oils inside Therefore, this conditioned layer needs to be removed and the surface needs to be thoroughly prepared.
If the surface is not prepared correctly the wood could reject the stain completely, or it could be absorbed unevenly leaving you with an awful-looking finish.
Wood also needs to be prepared based on the type of wood and type of stain you intend to use. Some wood species are denser and less porous, so they need more preparation in order to accept the stain. Some wood types are inherently less receptive to wood stain. Characteristics that can cause this aversion to stain are tightly positioned grained wood types with low porosity, and wood types that contain high concentrations of resin. Some of these characteristics can be altered during the preparation process to ensure your stain is able to soak in and bond with the wood fibers.
Therefore, when dealing with most wood species you will need to ensure that the board is properly cleaned and sanded before stain can be applied. Failing to do so can result in the wood rejecting the stain, and an overall blotchy-looking finish.
Alternatively, if you do not have the time and/or means of preparing your wood at home, you can purchase your wood pre-prepared from retailers and lumber yards.
How to Prepare Wood for Stain
Wood species can differ considerably in their ability to accept wood stain. Therefore, you will need to assess and prepare your wood correctly to ensure that the wood absorbs the stain adequately. Here are a few steps you can follow to ensure that your wood of choice is able to accept wood stain and present a good-looking finish.
Identify the Type of Wood You Are Working With
As we mentioned previously, wood species are all fairly unique. After all, they all possess unique densities, wood grains, grain patterns, pores, and resin content. Due to this, you will have to assess your wood stain to ensure that it is capable of accepting the wood stain you have chosen (keep in mind that there are different types of wood stain too). This means that you will have to familiarize yourself with the wood species you have chosen to work with. There are few commonly used wood species that many crafters use precisely because they easily accept stain with minimal preparation.
If you haven’t yet chosen a wood for your project, here are a few easy-to-work-with wood types that tend to accept stain well.
Oak Wood
Oak is widely accepted to be a good wood for staining. If you’ve been woodworking and/or crafting for a while, then you’re probably aware that oak is used to create high-end furnishings, flooring, wall paneling, and even bed frames. Oak’s color can be easily manipulated using stain due to its grain pattern, density, and overall porosity.
Chestnut Wood
Another wood that is commonly used for interior furnishings and is always a good option when it comes to staining is chestnut wood. This wood species might not be super porous, but its grain pattern and density make it an excellent candidate for wood stain.
This combined with its naturally uniform texture makes chestnut a crowd favorite for staining.
Hickory Wood
Hickory wood is more of a workhorse than a show pony. It is incredibly durable and robust, which means it’s also quite dense. Usually, dense woods don’t do very well when exposed to wood stain, but if sanded correctly hickory can make an excellent subject for wood stain, providing a unique texture and color palette the darker it gets.
Ash Wood
Another excellent option for wood staining projects is ash wood. The grain of ash wood is coarse and porous, allowing wood stain to easily seep in and bond with wood fibers. Ash naturally has a beige and light brown color, which tends to get darker and lustrous when wood stain is applied.
This makes ash a top-shelf pick for desks and dinner tables when stained.
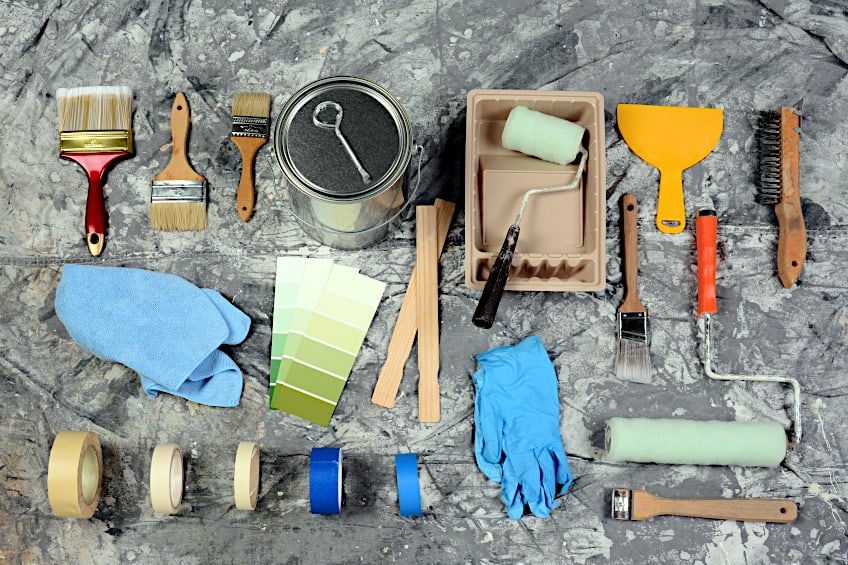
Gather the Tools You Will Need
Knowing which species are good candidates for your staining project is the first step to success. The next would be knowing what you need to ensure that your wood is prepared correctly. There are a few ways you can go about applying stain, but in the interest of simplicity, we’ve noted all the things you’ll need to prepare and stain your wood the old-fashioned way.
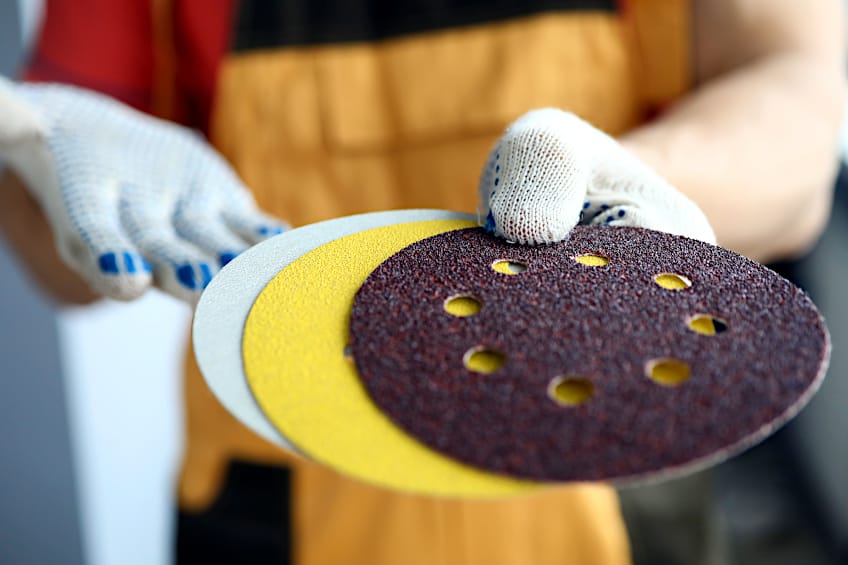
Sandpaper
Sandpaper is an essential tool for ensuring that your wood is prepared correctly. Sanding is done to ensure fresh wood fibers and pores are exposed, which should allow your wood stain to seep in and bond with the fibers of your workpiece.
We recommend working with a combination of rough grit sandpaper (60-80 grit) and fine grit sandpaper (90-120 grit) to ensure the best results.
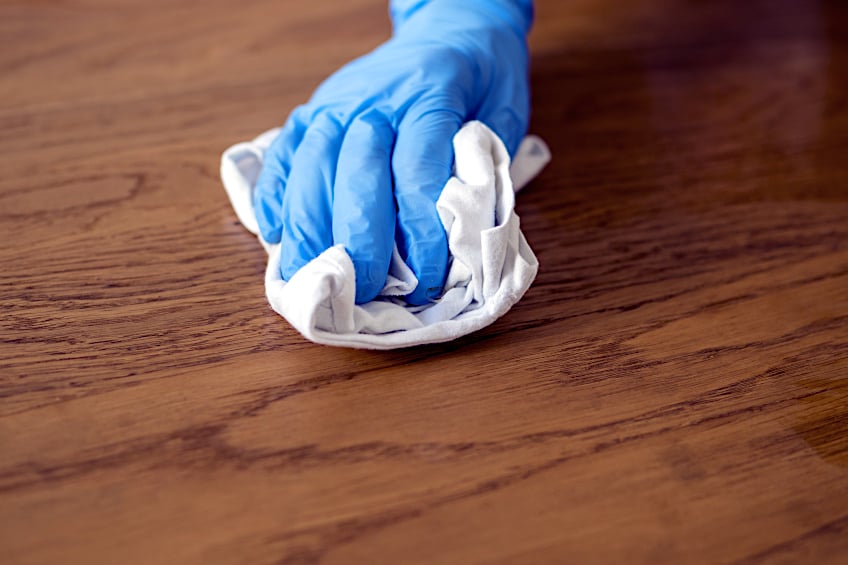
A Set of Clean Cloths
One of the most overlooked tools in the staining process is often the clothes. Whether you are wiping away excess stains or cleaning up wood particles after sanding, a set of clean cloths is indispensable when staining wood. If you have the means and want to be thorough, microfibre cloths are far better than plain old ones.
Wood Conditioner
Wood conditioner is a substance that has been designed to assist with staining. When applied to the surface of the wood board it ensures that stain does not streak or become blotchy once applied, allowing you to create a smooth and even finish.
Wood conditioner is usually used with softwood species that are highly porous to ensure an even application of stain.
A Tarp or Old Newspaper
You will need to cover the area you’re working in with something, and if you don’t have access to a tarp, you can use some old newspaper secured with painter’s tape to protect your flooring and surrounding workspace. Don’t forget to cover up any other objects or furnishings that could potentially get stains on them.

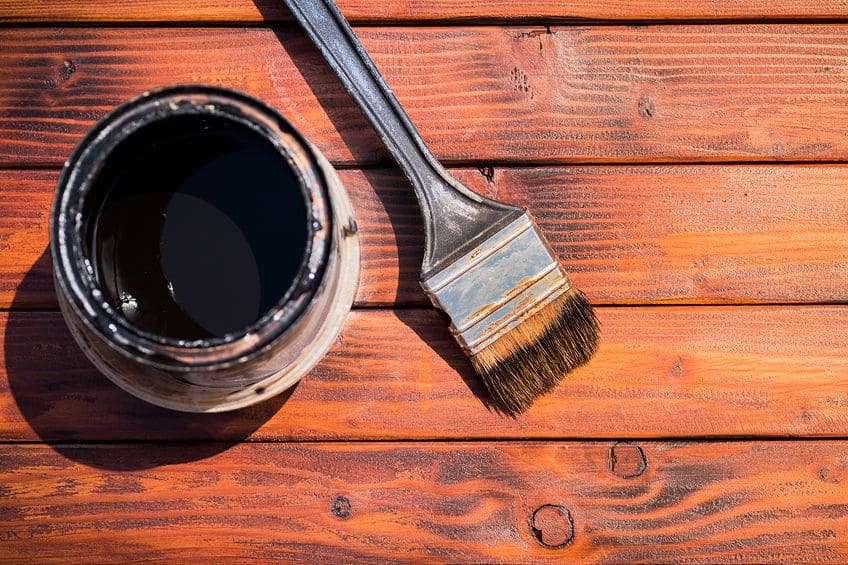
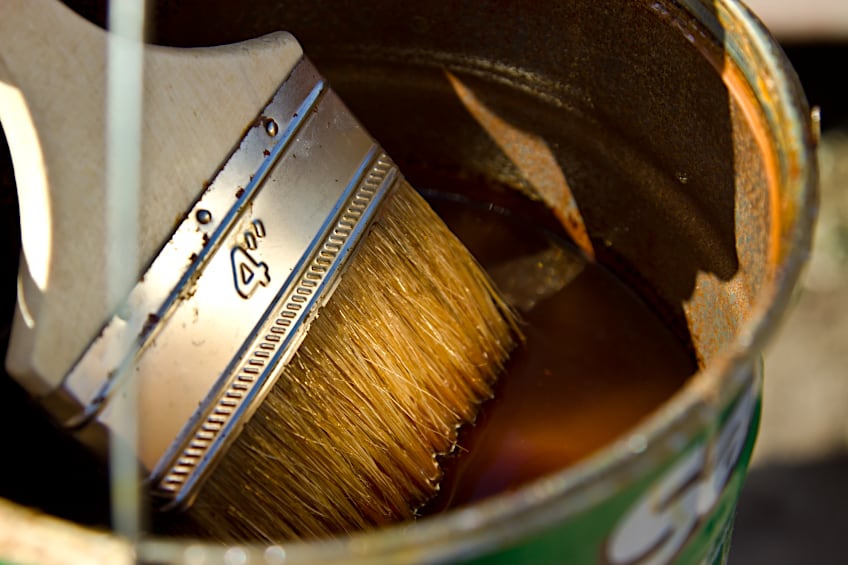
Brushes
There are a couple of ways to apply wood stain, but arguably the most effective way is to use a brush. This allows the stain to set into the wood at its own pace instead of it being forced into the wood fibers.
This should ensure an even distribution of stain especially if you are using a conditioner in addition to your stain.
Gloves and a Face Mask
Wood stains, especially oil-based ones, tend to give off some hazardous fumes. Therefore, it’s always recommended that you wear a face mask and gloves graded for use with stain. You should also always ensure that your immediate area is well-ventilated and that it has a consistent airflow both in and out of space.

Sand the Surface of Your Wood
When preparing wood for stain you need to ensure that the surface has been properly sanded. Sanding the surface exposes fresh wood fibers that are more receptive to wood stain and conditioner, but if the surface isn’t sanded correctly it could result in a poor finish.
Below are some steps you can follow to ensure that your surface is sanded correctly.
Sand Your Wood Progressively
One of the biggest mistakes you can make when preparing wood for stain is to start off with really fine sandpaper. Unfinished wood needs to be sanded with progressively finer sandpaper to ensure that you achieve an even finish, and so that the wood conditioner is able to work into the pores of the wood board. How do you go about this? We recommend starting off with medium grit sandpaper to remove the conditioned wood on the surface of the board. This should expose all the fresh wood fibers hidden underneath the surface, and once these fibers have been exposed you can move on to a fine grit sandpaper to smooth out the surface and ensure even absorption.

How to Sand Wood for Stain
Sanding wood for stain is pretty simple. All you need to do is work from one end of your board to the next and ensure that you are sanding evenly. If your workpiece is particularly large feel free to sand the wood in sections, but remember to blend these sections in with one another so there is no visible discrepancy between them once the stain is applied.
Start off with your medium-grit sandpaper (120-150-grit) and sand all the surfaces you intend to sand.
Once you are done with rough sand, clear the surface of wood particles using a clean cloth and start sanding with your fine grit sandpaper (1150-220-grit). Sand in the same direction at the wood grain and repeat the process until the entire surface is flush. Be careful not to over-sand the surface with your fine-grit sandpaper as it could seal the pores you’ve worked so hard to expose. However, on the end grain of the wood you could over sand a little bit to ensure that the stain doesn’t saturate these areas. Once you are satisfied with your newly sanded surface, use a clean cloth or some compressed air to clear the surface of any wood particles.
If you have a large workpiece and wish to use an orbital sander the same process may be applied. Simply use medium-grit and fine-grit sanding pads, and always ensure that you aren’t putting too much pressure on the sander as you work the surface.
If you are having trouble reaching smaller areas simply use some sandpaper to smooth them down.
Clean the Surface of Your Board
Once you have sanded the surface of your workpiece you will have to ensure it is clean before the wood conditioner can be applied. There are a few ways you can go about cleaning the wood particles off the surface of your wood and we’ve detailed a few of them below so you can choose which one suits your needs best.
Use a Track Cloth
Using a track cloth to clean off the surface of your workpiece is an easy and inexpensive way to remove stubborn wood fibers from your surface. Simply wipe along the surface and watch as it picks up all of those stray wood particles and splinters. That being said, always be careful not to get nicked while you’re busy wiping down the surface.

Use Some Compressed Air
If you have access to a compressor and/or a turbine, you could cut your cleaning time in half. If you do, be sure to always spray away from yourself toward the opposite end of your workpiece, and if you have pieces of wood on your clothing, never attempt to clean them off using compressed air.
As you can see, this method of cleaning your wood.
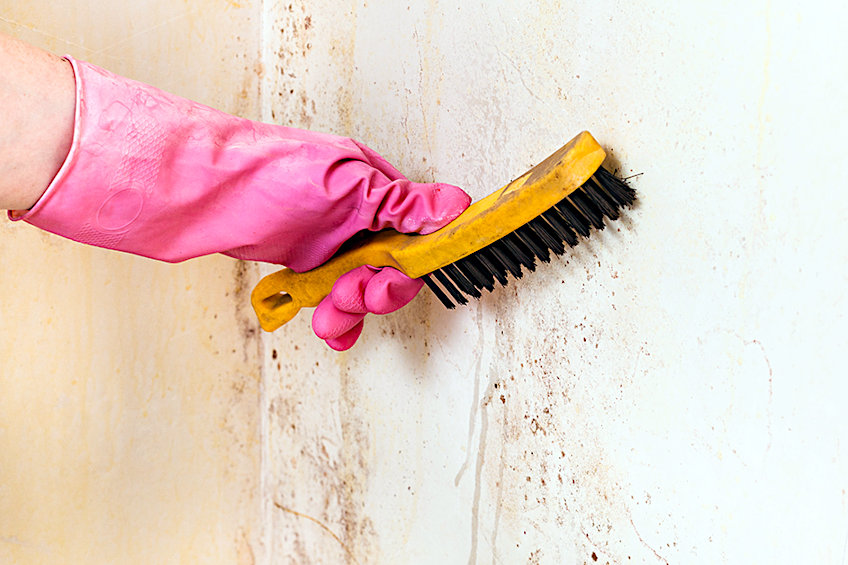
Use a Brush
This tends to be most crafters’ go-to option when it comes to cleaning wood particles. A brush is a quick and effective means of cleaning a flat surface thanks to its many bristles that bunch up and push all those tiny bits of wood and wood dust to a single spot. Be sure to use a finely bristled brush when cleaning up your workpiece as this will ensure even the finest bits of wood are collected.
Use a Vacuum Cleaner
Another go-to for those fortunate enough to have one is the vacuum cleaner. Why bother sweeping the wood particles to one end of your board using a brush or cloth, or blowing them all over your workspace when using a compressor?
Simply suck all of them up nicely with a vacuum cleaner and go about your business once you’re done.
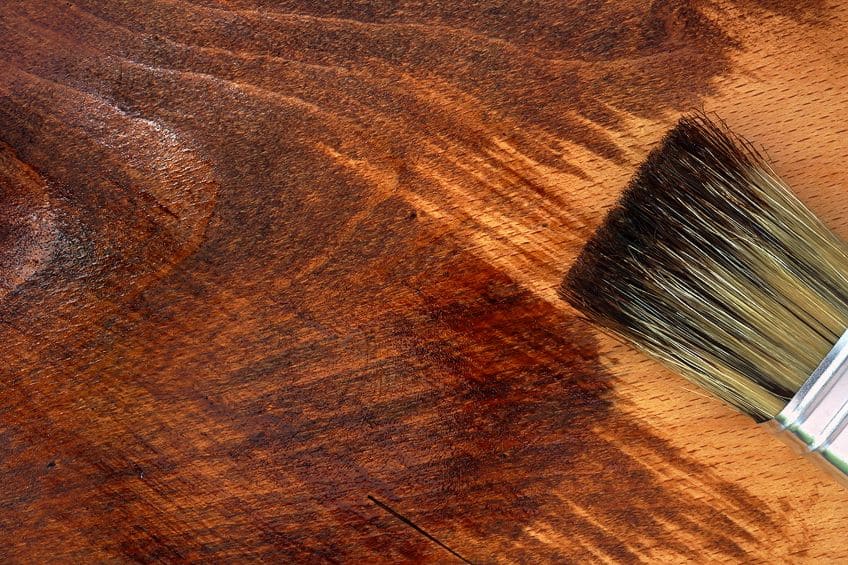
Apply Your Wood Conditioner
While sanding wood before staining is important, applying conditioner to the surface of your wood is equally as important as sanding wood before staining. Conditioner ensures that the surface of your wood is evenly stained and that that stain has an easier time bonding with the wood fibers. Here is how to use your wood conditioner effectively.

Prepare Your Conditioner
Just like wood stain and paint, it might help to give your conditioner a good shake before you open the container. Once you’ve shaken it up, pour some out into a separate container and give it a good stir.
This will ensure that any particles that might have separated during its time on the shelf are reintroduced into the formula.
Apply Your Conditioner
Once the conditioner has been prepared, dip your brush about halfway into the container. Start applying your conditioner the same way you would with paint. Pick an end to start at and then work your way to the next, and if your workpiece is especially large be sure to apply your conditioner in sections. If you are having trouble reaching smaller areas of the workpiece you could try using a smaller brush.
Allow Your Conditioner to Set
Unlike stain and paint, conditioner doesn’t usually require additional coats to produce a good finish. Once the conditioner has been applied simply allow it to set in as recommended on the packaging by the manufacturer. Give the wood a light sanding in the direction of the wood grain and clear off any wood dust using any of the methods we mentioned above.
Don’t forget to always wear the appropriate gear when working with potentially hazardous substances.
Apply Your Stain
There are many methods one can use to apply wood stain. Arguably the most common method is to use a brush, but this might not always be the best way to go about things if your workpiece is very large or irregularly shaped. For this reason, we have provided three short tutorials detailing different ways you can go about applying wood stain to your workpiece.
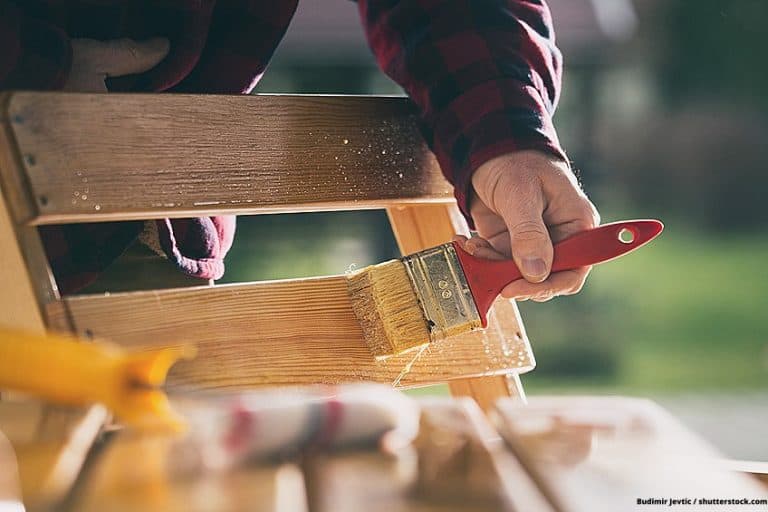
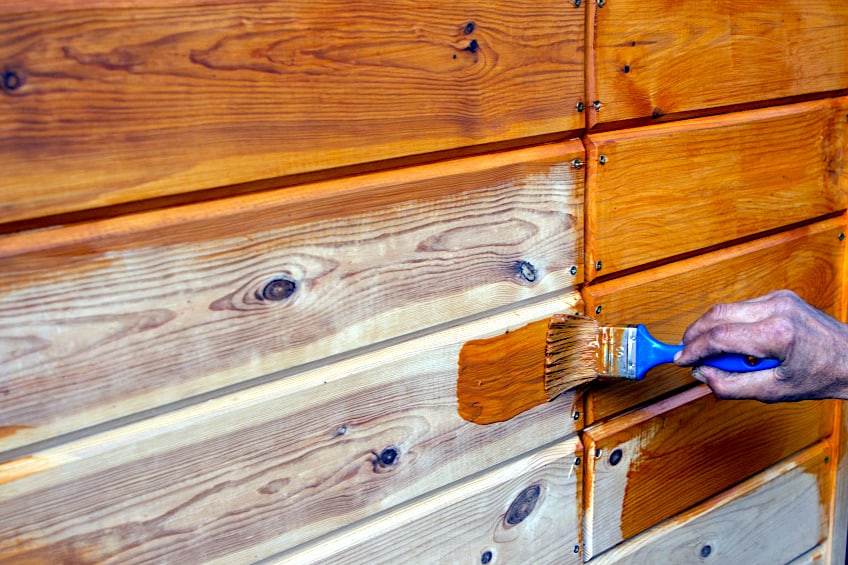
Using a Brush
Using a brush to apply wood stain is easy. Pour some stain into a separate container and give it a stir. Dip the bristles of your brush halfway into your stain, remove the brush, and rest it on the edge of your container while the excess stain drips off. Next, place your brush into contact with your workpiece and begin applying your stain. Spread your stain across the surface of your workpiece starting at one end and eventually working your way to the other.
Follow the direction of the wood grain and work in sections if your workpiece is a large one. Try and work slowly to ensure that the stain is evenly applied, and once you are done allow the stain to set in for the period recommended by the manufacturer.
As you can see, stain is pretty easy to apply. Once your initial coat has been applied and allowed to dry for a bit, additional coats can be applied. Simply give the surface a light sanding using some fine-grit sandpaper, remove any remaining wood particles, and then repeat the application process mentioned above. This applies to all methods mentioned in this text.
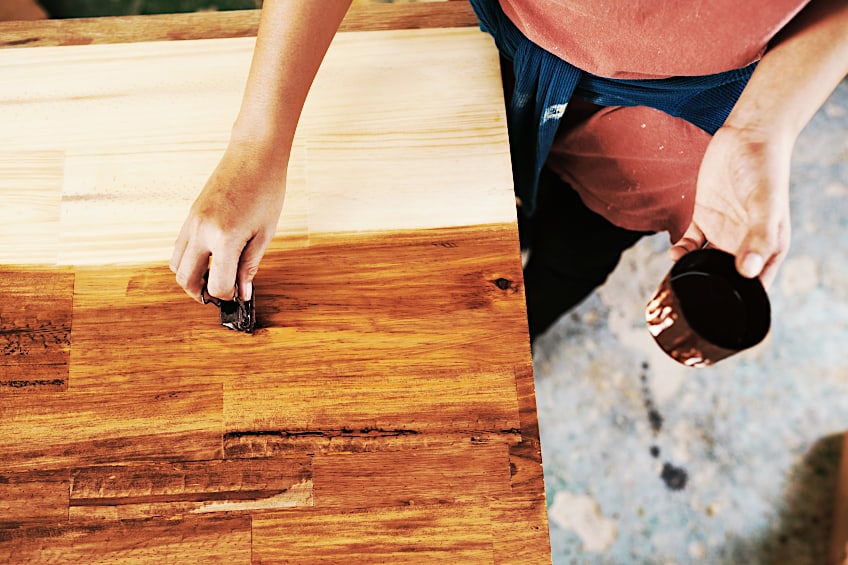
Using a Cloth
Using a cloth to apply wood stain is even easier than using a brush, although the results can vary depending on the type of wood you are working with and your skill level. Start by pouring some stain out into a separate container and give it a good stir. Once the stain is ready, ball up the end of a cloth and dip it into the stain, allowing the cloth to absorb some stain.
Remove the cloth and dangle it over the container until the excess stain has dripped off.
Next, apply your stain to the board by rubbing the cloth in even circular motions across the surface of your board. You can choose to start at one end and work your way to the next or you can begin in the center and work your way to the edges. This purely depends on your preference and/or the configuration of your workpiece.

The best approach is to evenly distribute your stain in circular motions, periodically replenishing your cloth with stain as you work. This method has a lot more to do with “feel” as you’ll be able to monitor the wood’s rate of absorption and see the areas that need more attention. When you are done check the guidelines on the packaging and allow the stain to settle for the recommended period.
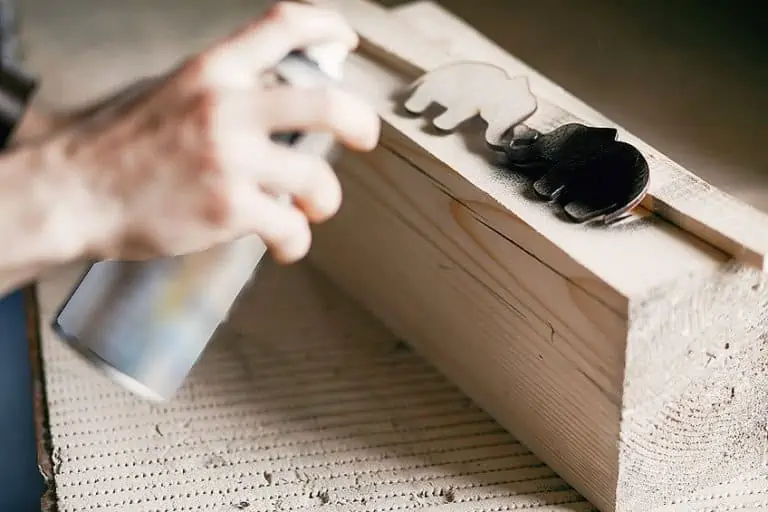
Using a Sprayer
If you are looking for a fast and efficient means of applying your wood stain look no further than a sprayer. As always, give your stain a good stir once opened, and pour some out into your sprayer’s hopper or container. Test your spray tip and trigger a response by spraying on some spare material before you begin spraying your actual workpiece.
Once you are happy with the calibration of your sprayer you may begin spraying your workpiece.
Begin a bit off the workpiece with as little pressure on the trigger as possible and then slide your wrist and sprayer in one smooth motion across the surface of your workpiece, slowly increasing the pressure on the trigger and then tapering off once you have reached the end of the workpiece.
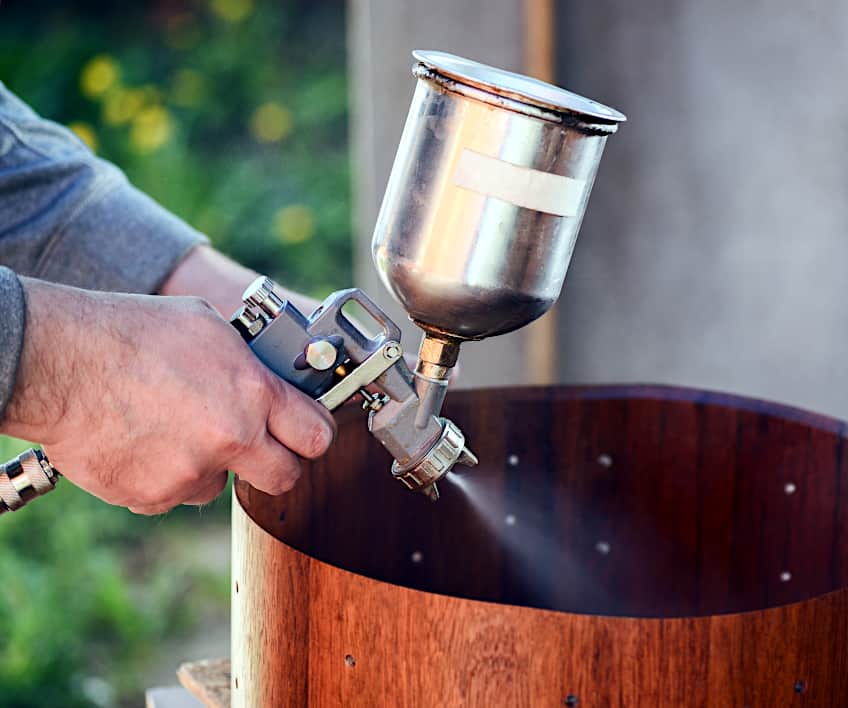
This process can be repeated until the entire workpiece has been stained, and it shouldn’t take too long either. Sprayers are ideal for large or irregularly shaped workpieces, especially if your project is time sensitive. As with the other methods, additional coats can be applied once the initial one has been allowed to set and dry.
This should be all you need to know to get you started with staining your wooden workpiece. There are many other stain types out there for you to try, each with its own pros and cons. Remember to familiarize yourself with the wood species you intend to stain, always wear a mask and a set of gloves, and to ensure that your workspace is well-ventilated at all times.
Frequently Asked Questions
Should You Wet Wood Before Staining?
If you are not using a wood conditioner, it’s always advised to wet wood before staining with a spray bottle before you begin applying stain. Why, though? Wetting wood raises the grain and exposes the pores and wood fibers needed to absorb the stain.
How Do You Prepare Wood for Stain After Sanding?
The best way to prepare wood for stain after sanding is to either wet the grain or apply some wood conditioner. Additional sanding can be done after the conditioner is applied with some fine-grit sandpaper to ensure an even distribution of stain within the grain of the wood.
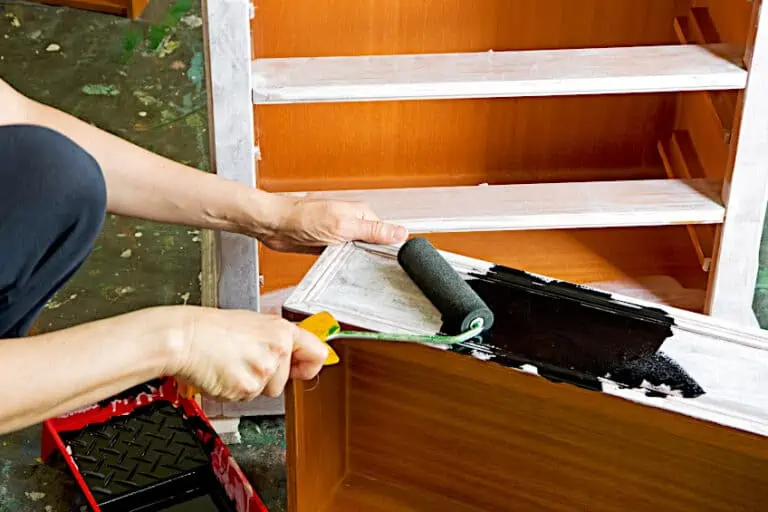
Is Wood Stain the Same As Paint?
No, wood stain and paint are very different. Paint is what can be described as a surface coating, as it primarily sits on the surface of the wood as a solid layer once dried. Wood stain seeps into the pores of the wood and bonds with the wood fibers, making it more akin to a wood treatment oil.

I have been into woodworking since 2005 and woodturning since 2011. Because of my love for wood and woodworking, I started woodhappen.com to teach other enthusiasts about how to finish and seal wood, the best woodworking tools, the different types of wood, and everything else related to woodworking! Read more about me here.