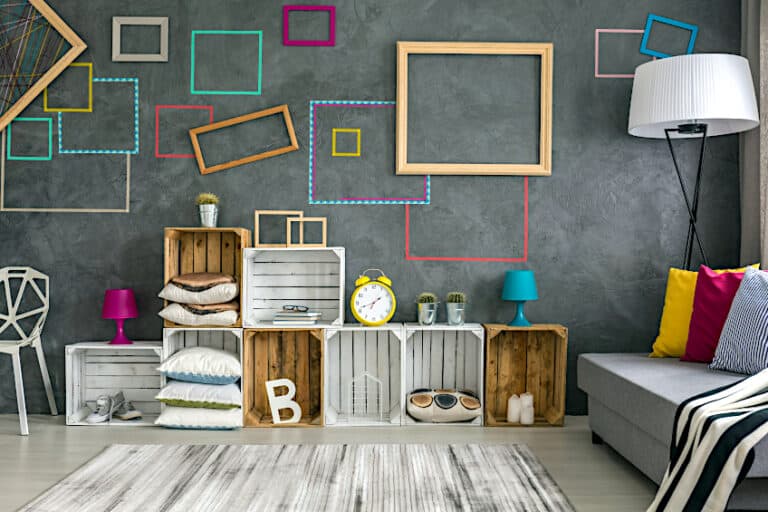
How to Paint Particle Board – Laminate Furniture Refinishing Tips
Learning how to paint particle board surfaces is a great way to change the look of outdated furniture. While particle board is cheap, it can quickly become expensive if you are constantly buying new furniture. Below, we will take a closer look at the process of painting particle board and how you can do the best job possible. So, let’s learn how to do it!
What Is Particle Board?
Before we can tackle the important question, “can you paint particle board?”, we need to understand what it is. Particle board panels are created by combining wood byproducts. This is typically sawdust, blended with plastic resin glues that had been pressed into big sheets.
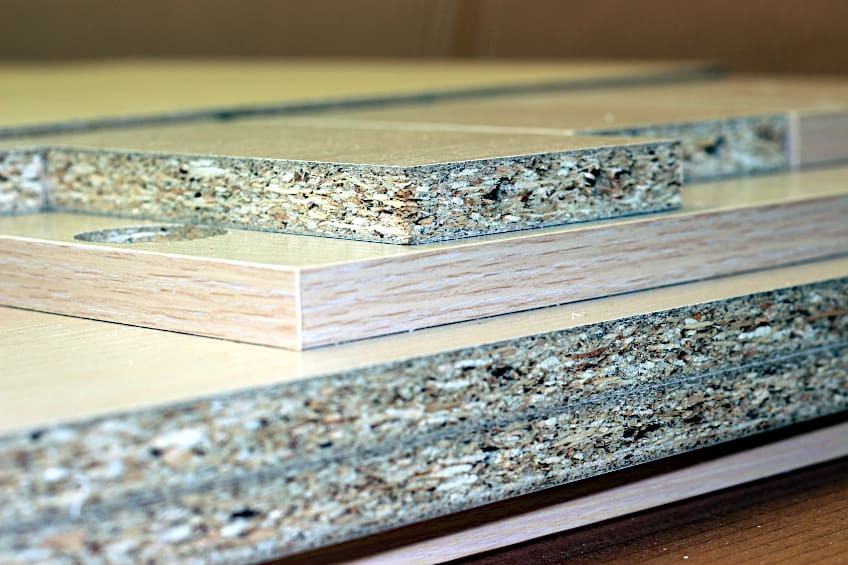
These panels are typically covered with sheets of plastic veneer when used for furniture. Plastic veneers are susceptible to being damaged, cracked, or scuffed with persistent stains as time passes or with excessive use. Moisture is another enemy of this cheap material as it can also cause swelling.
Particle board is incredibly convenient for mass-producing different types of cheap furniture. But instead of buying new furniture every season, it would be a great way to save money by learning how to paint particle board.
Different Types of Particle Board
There are different types of particle board available, each one presenting different characteristics resulting in different uses. Fortunately, regardless of the type of board used, the process of how to paint particle board furniture does not change.
- Single-layer particle board: This includes wood particles of identical sizes that are pushed together. It is a thick, yet flat particle board that can either be wood veneered or plastic laminated. This particle board is water-resistant; however, it is not waterproof.
- Three-layer particle board: A thick layer of huge wood particles sits between a couple of layers of very tiny and packed wood particles. The exterior layer contains more resin compared to the inner layer.
- Graded-density particle board: The material is made up of a layer of rough wood particles wedged between two layers of small wood particles. This is generally used to manufacture closets and other wooden furniture.
- Melamine particle board: This is created by applying melamine-infused décor paper on the top layer of the particle board under extreme pressure and heat. Melamine particle board wood particles are bound together with melamine-urea formaldehyde resin as well as wax emulsion.
- Cement-bonded particle board: Here the bonding agent is Portland cement or magnesium-based cement. The cement percentage is 60%, with the remaining 20% made up of hardwood particles such as sawdust, wood shavings, and wood chips. Water makes up the remaining 20%. Because of the cement content, this particle board is impervious to water, decay, termites, and fire.
- Veneered particle board: This has the appearance of a genuine timber board. Additionally, veneered particle board is less susceptible to warping than standard particle board.
- Laminated particle board: The exterior of a basic particle board is covered with a thin laminate sheet. A laminate covering not only enhances the particle board’s appearance but also its longevity.
How to Paint Particle Board Furniture
So, can you paint particle board? Of course, you can! But before you can start with this project, you will need to ensure that you set aside at least two days for the paint to dry. The project should cost around $30 and the total time working on it should be four hours. You will need to ensure that you possess the following painting materials and tools to ensure that you can get the best results.
- Roller cover
- Paint
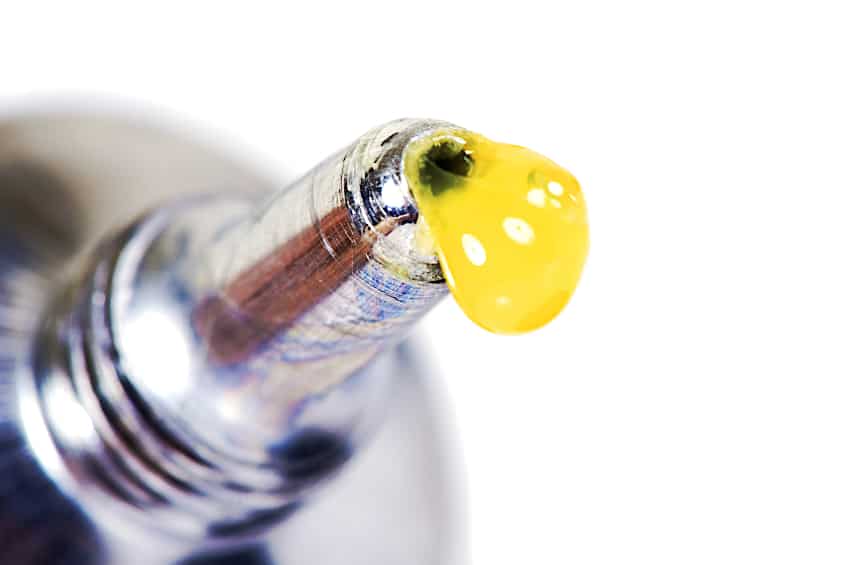
- Primer
- Lint-free cloths
- Contact cement
- Putty or wood filler
- Paint tray
- Paint roller
- Paintbrush
- Wood block or veneer roller
- Fine-grit sandpaper
- Putty knife
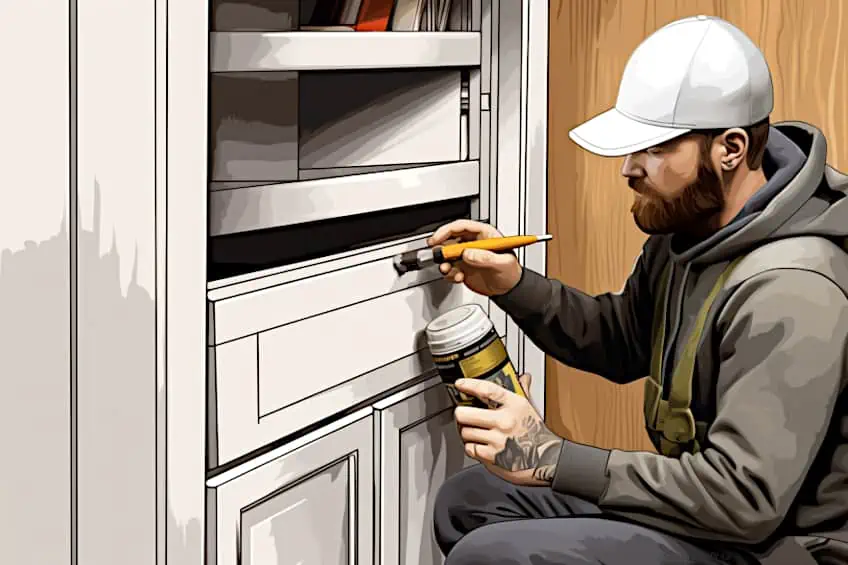
Step One: Repair Any Damage
To ensure that you get the best results when painting or learning how to paint raw particle board, it is a good idea to repair any damage. There are different types of damage such as chips, scratches, and water damage. Fortunately, some wood filler can work wonders. Below, we have provided tips to repair the most common types of damage.
Repairing Water Damage
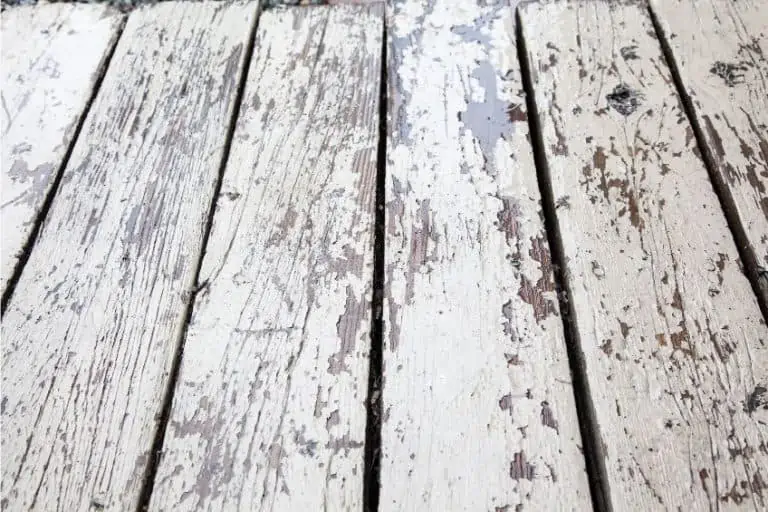
Most particle board furniture is already painted rather than laminate-faced. Extended exposure to moisture can cause blisters and permanent marks on the surface of these components. The particle board may even weaken and start to deteriorate.
To repair water-damaged pieces of particle board furniture, use a razor blade to remove the affected material, fill the void with wood filler then sand smooth.
If the damage is substantial, remove the affected portions and replace them with fresh particle board. If the item is not very valuable, you may want to weigh the expense of repairing it against the cost of acquiring new furniture.
Repairing Damaged Veneer
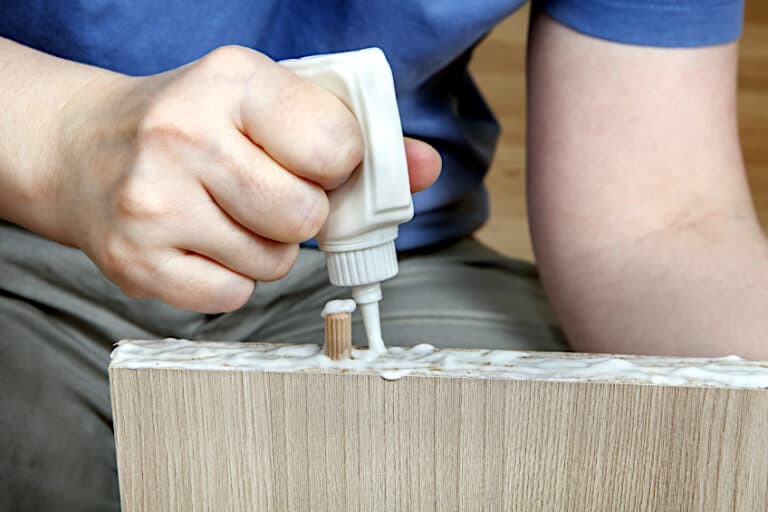
The adhesives that stick the plastic veneer to its particle board core frequently loosen with time, particularly around the edges. Contact cement can be used to remedy this. Gently pry up the loose veneer and remove as much loose, hardened adhesive as possible using a putty knife.
Add a minimal amount of contact cement to the surfaces of the particle board as well as the bottom of the veneer’s surface. Hold the surfaces apart with a tiny stick or a pencil for about 15 minutes, or until the adhesive is no longer glossy.
To ensure that the veneer sticks to the surface, use a roller or a piece of wood, and press the plastic veneer into the particle board core.
Repairing Scratches and Chips
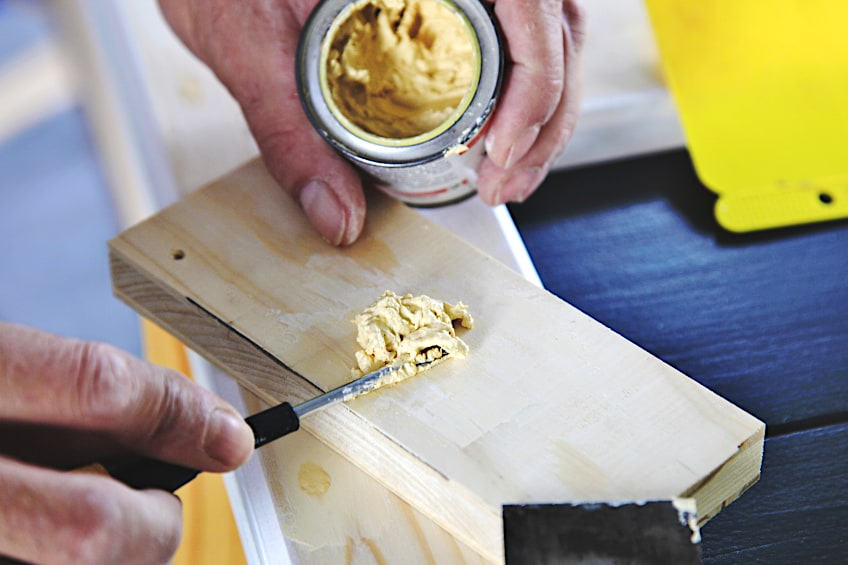
Particle board furniture can easily be chipped, scratched, or cracked. If you see this type of damage, use a putty knife to repair the damaged spot with putty or wood filler. Once the filler has been applied, carefully smooth the fixed section to ensure that it matches the rest of the board.
It is essential to allow the filler or putty to cure overnight.
After it fully cures, sand the mended area lightly with fine-grit sandpaper until the repaired outer layer is entirely smooth. There is quite a bit of sanding that has to be done, so this should answer the question, “can you sand particle board?”.
Repairing Warped Particle Board
Warped particle board can be saved and corrected. If the wood has warped due to dampness, set it on a level surface and let it dry. You might have to put pressure on top of the surface to ensure that it dries flat. Sand any leftover bubbles or elevated areas once the particle board has fully dried.
It is recommended to replace warped shelves with new shelving as it is much easier and it is a low-cost piece.
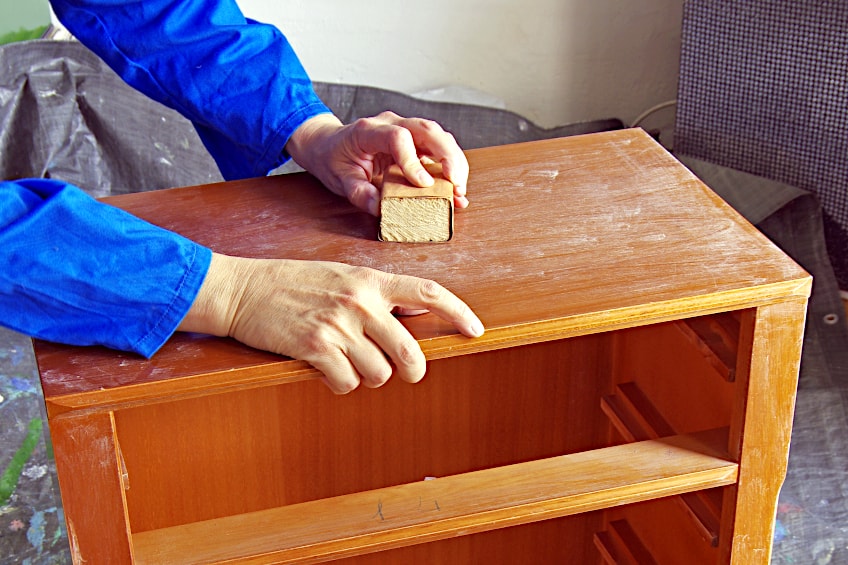
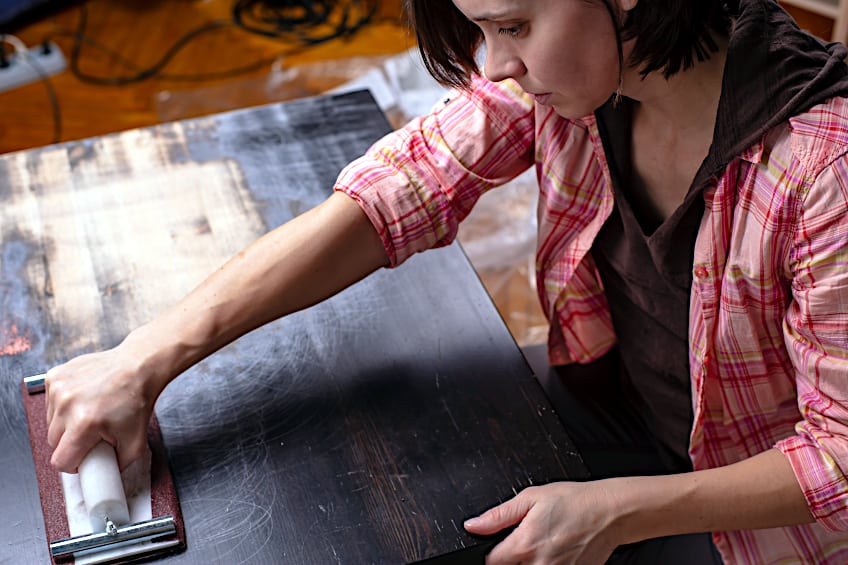
Step Two: Sanding
After all of the exterior damage has been fixed, it is time to sand. Because particle board furniture with laminate faces has a glossy sheen, it is difficult for paint to adhere to the surface. If you neglect this step, your fresh layer of paint may peel off in a couple of days. So, if you are asking, “can you sand particle board?”, yes, you can and you should.
Before you apply any paint particle board furniture you must lightly sand it using fine-grit sandpaper.
The idea is not to sand away the plastic veneer, but rather to scrape the surface to give it a “tooth”, which essentially makes the surface more adherent, as it helps in the adhesion of the paint. If you sand too hard on the edges, you risk breaking away the top coating of the laminate.
Step Three: Add the Primer
This is essentially two steps in one as you will also need to prepare the primer. Keep in mind that you will need to use white primer if you are painting using light colors and gray primer for darker shades. You can also get away with using paint to tint the primer which will give you a more suitable color for painting black particle board.
Apply a coat of primer to the surface after sanding. It is tempting to start painting right away, particularly if you have access to chalk paint. However, resist the desire and apply a layer of primer first. This procedure increases the likelihood that the fresh paint will last.
While you may apply the primer with a roller, a thin layer applied with a paintbrush will ensure that the primer reaches every part of the surface. Allow the primer to dry fully before adding any paint. Allow a full 24 hours until applying the top layer of paint.
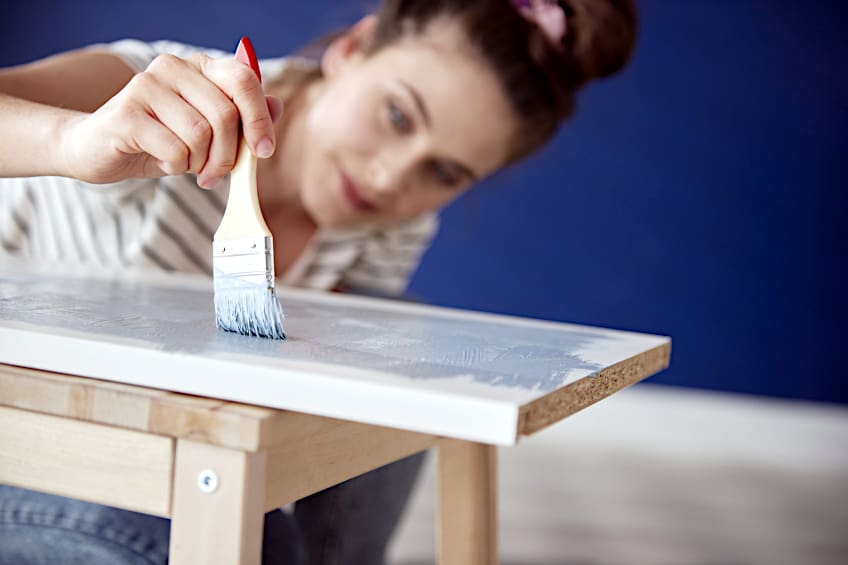
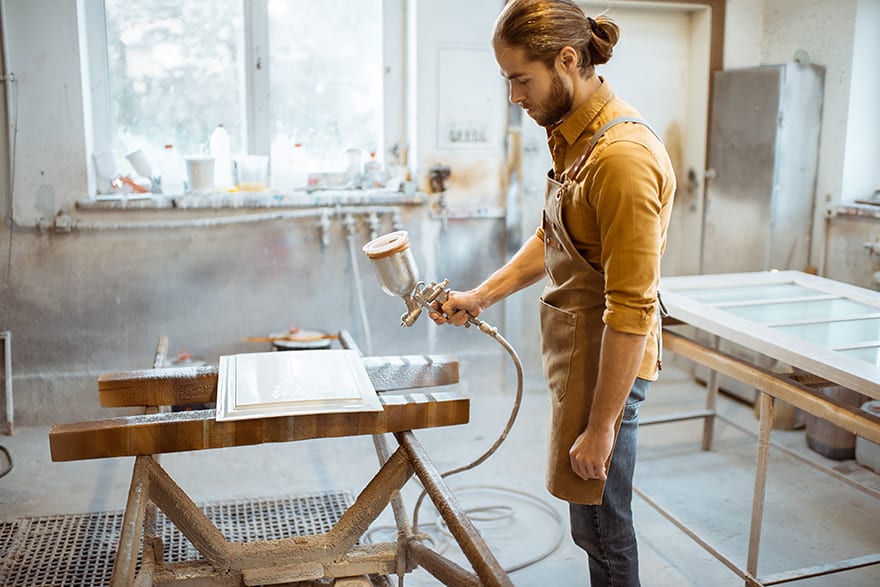
Step Four: Painting
Sand the priming layer gently before applying paint. This ensures that the outer coat applies smoothly and adheres properly. Clean any dust using a lint-free cloth after sanding. If feasible, paint particle board furniture using a fine finish roller. This tool ensures that the finished surface is smooth and free of visible brush strokes.
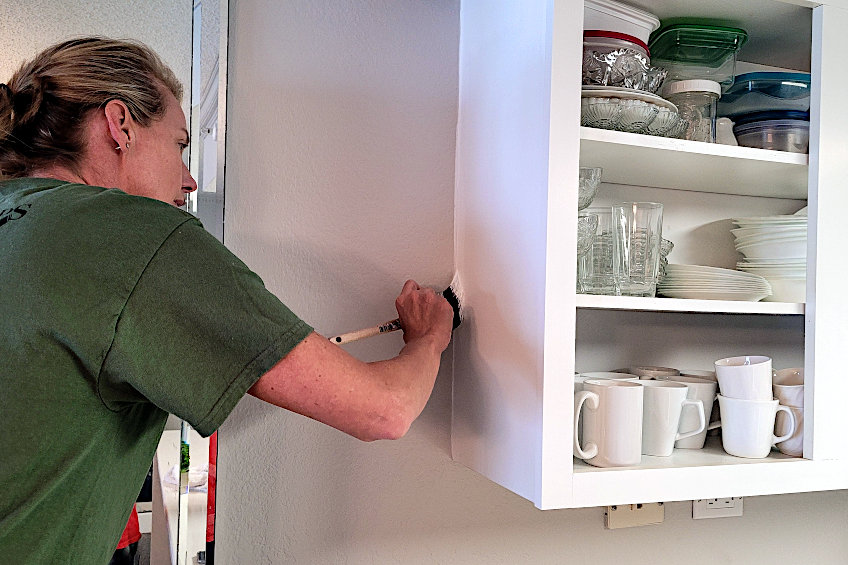
Watch out for paint drips when painting and wipe them up with a paintbrush before the paint manages to dry. Depending on the type of paint used, just one coat may be enough to completely cover the entire surface.
The best effects; however, are often produced through applying up to three coats of paint in thin, uniform applications.
Common Mistakes When Painting Particle Board
While it can be simple enough to figure out how to paint raw particle board, there are a few standard errors that should be avoided. One of the most important things to do is to never skip the priming process. Neglecting priming will prevent the paint from adequately attaching to the exterior, resulting in a poor finish.
Another mistake most people make is skipping the sanding process. Neglecting sanding will result in an uneven finish that looks terrible. A good rule of thumb is to sand after each finish, sure, this will take longer, but you will be left with an incredibly smooth finish.
Using low-quality materials to apply paint to a particle board surface is another common mistake, typically by novice DIYers. These tools leave behind ugly streaks, brush marks, or lint, which results in a poor finish. This is typically done in tandem by slapping on a coat of paint that is way too thick. Instead, it is best to apply multiple thin coats for the ideal finish.
Tips for Painting Particle Board
There are a variety of useful tips that can be used when painting particle board surfaces. There are quite a few things to keep in mind, so we have provided a comprehensive guide that you can always refer to once you start your painting project. While these are not always necessary, they are great habits to form while learning how to paint particle board surfaces.
Cleaning Should Never Be Skipped
It is critical to properly clean a particle board before beginning the painting process. This guarantees that any dirt, filth, or oil on the surface is eliminated. Using a mild cleanser and lukewarm water is an easy method to do this. Allow it to completely dry before moving on to the next step.
It is important not to soak the surface in water as there is always the possibility of water being absorbed into the particle board and damaging it.
Sanding Is Crucial for a Good Finish
As previously stated, particle board is made as a byproduct of various manufacturing operations. This implies it has an irregular texture and a porous surface by nature. Sand the surface carefully with fine-grit sandpaper to smooth out imperfections and render it more paint-adherent.
Use a High-Quality Primer
Most people underestimate how important a high-quality primer is when painting particle board surfaces. Always use a high-quality wood primer made exclusively for particle board furniture. Using a primer improves the adhesion of the paint while also preventing the particle board from absorbing too much paint.
Choose the Correct Paint
While painting particle board surfaces, it is highly recommended that you use water-based latex or acrylic paints. This is due to the fact that they complement and function well with particle board furniture. They also offer advantages such as being more flexible and adaptable than oil-based paints and being able to dry faster.
Water-based paints also release fewer volatile organic compounds (VOCs), protecting you from health risks.
This does not mean that you cannot use oil-based paint, as this is the ideal option if you are wondering, “can you spray paint particle board surfaces?”. It is also crucial to note that when painting a particle board, it is best to use numerous thin coats of paint instead of a single heavy coating. Thin coatings dry more cohesively and uniformly, providing the particle board with an equal layer of paint.
This improves the finish and draws attention to the particle board. Additionally, this reduces the likelihood of the paint dripping or bubbling, which might spoil the outcome. However, always let every coat fully dry before applying the next one.
Additionally, glossy paint will have the best effect on particle board surfaces as it is easy to clean and scratch-resistant.
Use a Sealer
Apply a clear sealer once the paint covering has dried to preserve the paint while giving the particle board a beautiful appearance. This coat will also increase the durability of your furniture by making the paint less susceptible to cracking or dulling when subjected to everyday use.
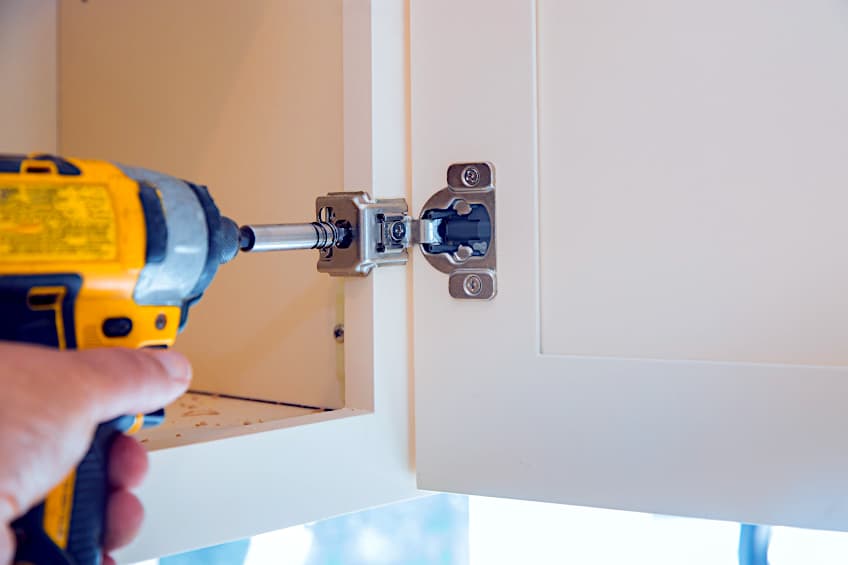
Take the Piece Apart If Necessary
Most particle board furniture will need to be assembled by the person who bought it. So, if there are a lot of intricate pieces then it would be better to take the entire thing apart. It can be difficult to get into tight spots and since you assembled it, you should have no trouble putting it back together.
Refinishing Veneered Furniture
Veneered furniture is made of particle board with a thin coating of ornamental wood on the outside surface. Because of wear and use, this veneer may get scuffed and damaged and might require refinishing.
Veneered furniture, like other wood furniture, may be restored provided that the wood veneer is not too delicate and you are careful not to get rid of too much of the wood veneer when stripping the old finish. Below are some of the steps that are needed to ensure that you get the best results.
- Apply a coat of chemical stripper, and allow it to sit for the period specified by the supplier. The longer you allow it to remain on the surface, the more effective it would be and you would end up using less of the product.
- Carefully scrape the old finish from the veneered furniture. To prevent gouging the wood, work slowly and do not use anything that could potentially slip from your hand and damage the wood.
- Remove ingrained finish with steel wool. To get rid of the stripper and fragments of finish from the veneered furniture, wipe it clean with a moist towel.
- Sand the wood veneered furniture lightly with 120-grit sandpaper, taking care to not to get rid of too much material.
- Give the surface a final sand with 220-grit sandpaper, then use a tack cloth to clean it once you have finished sanding.
- Apply a thick layer of sanding sealer and let it sit for the period specified by the supplier. Allow to dry after wiping away excess with a towel. Always ensure that all of the excess sealer has been wiped away as this could interfere with the progress of the next step.
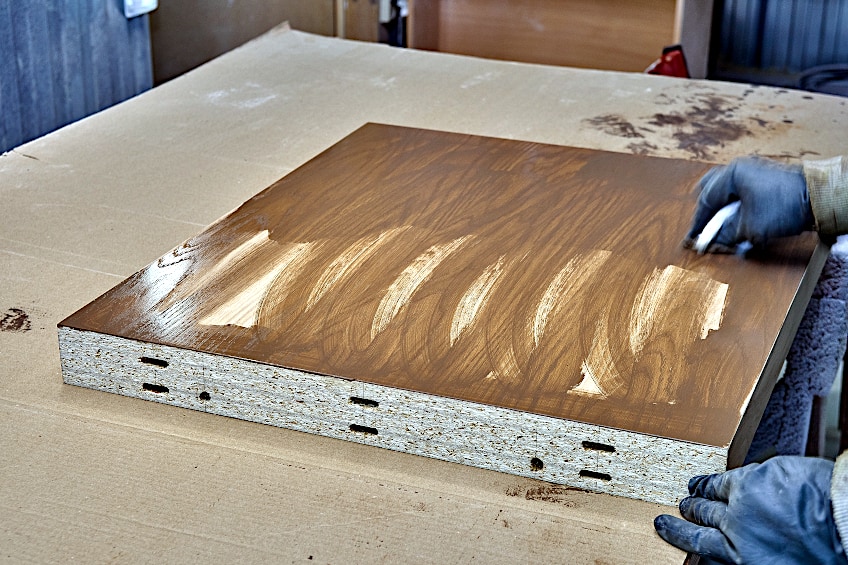
- Stain the veneered furniture using a paintbrush. Allow the stain to seep into the wood for several minutes before wiping away the excess with a clean cloth. Let the stain coat fully dry before moving on.
- Apply multiple thin coatings of polyurethane, sanding between applications using 220-grit sandpaper. To prevent bubbles in the finish, the best technique is to brush in long, uniform strokes.
- Once the polyurethane has dried, lightly sand it with 220-grit sandpaper, and then wipe it clean. You could also move to 240-grit sandpaper for a smoother finish, but 220-grit is just fine.
Learning how to paint particle board is a great way to breathe new life into aging furniture. While it can be seen as a waste of time to some, as this type of furniture is quite cheap, it is a great starter project for novice DIY enthusiasts. Additionally, the costs involved in this project are so low that it would not hurt to give it a shot. Ultimately, we hope that this comprehensive guide serves you well with your next particle board project. Good luck!
Frequently Asked Questions
What Is the Most Important Step Before Painting Particle Board?
Before you decide to start painting particle board, it is crucial that you prepare the surface. This is done by conducting the necessary repairs, sanding the surface smooth, and finally priming it. The primer is needed to ensure that the paint you are using adheres to the surface.
Can You Spray Paint Particle Board Instead of Painting It?
If you are trying to figure out how to paint particle board furniture as evenly as possible, using spray paint is a good option. However, it is important to ensure that you are able to work in a well-ventilated area. If you choose to go this route, it would be best to use lacquer or oil-based paint. You will also be able to use water-based paint if you apply an oil-based primer beforehand.
What Is Considered to Be the Best Paint for Particle Board?
If you are looking for the best paint for particle board surfaces, we would suggest using latex-based paint. Additionally, the method that you use to apply the paint is just as important as the paint itself. For the best finish when learning how to paint particle board, we highly recommend using a fine-finish paint roller, as it results in a smooth finish.

I have been into woodworking since 2005 and woodturning since 2011. Because of my love for wood and woodworking, I started woodhappen.com to teach other enthusiasts about how to finish and seal wood, the best woodworking tools, the different types of wood, and everything else related to woodworking! Read more about me here.