How to Fix Nail Pops – Easy Fixes for Flawless Walls
Understanding how to fix nail pops is one of the most valuable skills you can add to your DIY arsenal to ensure you can achieve a uniform-looking wall. However, you should also have a clear understanding of what causes nail pops and how different types of nail pops need to be addressed. Join us as we take you through the process of fixing nail pops while teaching you everything that you will need to know about it below.
Definition of Nail Pops
If you are wondering, “what are nail pops?”, the answer is very simple. Nail pops are visual flaws that can appear in drywall interior walls and ceilings that have been secured with nails. Nail pops seldom have an effect on the construction of your wall, yet in large enough numbers, your wall may lose a chunk of drywall.
This is why it is better to learn how to fix the problem instead of hoping that it does not get worse over time.
Explanation of How Nail Pops Occur
Drywall screws are often used in the installation of modern drywall systems. Drywall screws can break off now and again, but they are unlikely to pop out. On the contrary, nail pops in the walls and ceilings are produced by small drywall nails that have become loose from the 2×4 studs. Repairing nail pops are quite common in older houses as the use of drywall nails was very popular.
The problem begins with the wood studs, as they will dry out over time and this leads to the wood fibers being unable to hold the smooth drywall nails in place. The nails will start sticking out, frequently carrying with them drywall compound filler and paint. Pounding the nails back into place is typically futile since the wood will no longer hold the shank of the nail.
Importance of Fixing Nail Pops
You could ask yourself if learning how to fix drywall nail pops is worth the effort, and it is not if you are once again planning to use drywall nails. The idea behind repairing nail pops is to use drywall screws on each side of the nail pop, one above and one below the nail, such that the screws touch the stud. The screws basically take the role of the nail.
Hammering in the nail after installing the screws is simply an aesthetic choice. The nail that was holding the drywall firmly in place is no longer there.
Hammering the nail in is less difficult and less destructive to the surface of the wall than digging it out. Since your repairs are unsettling the drywall and causing it to shift, expect additional nail pops along the stud you are working on or those close to it. It also helps to have a powerful light source directed at a lower angle over the wall to help you immediately locate nail pops.
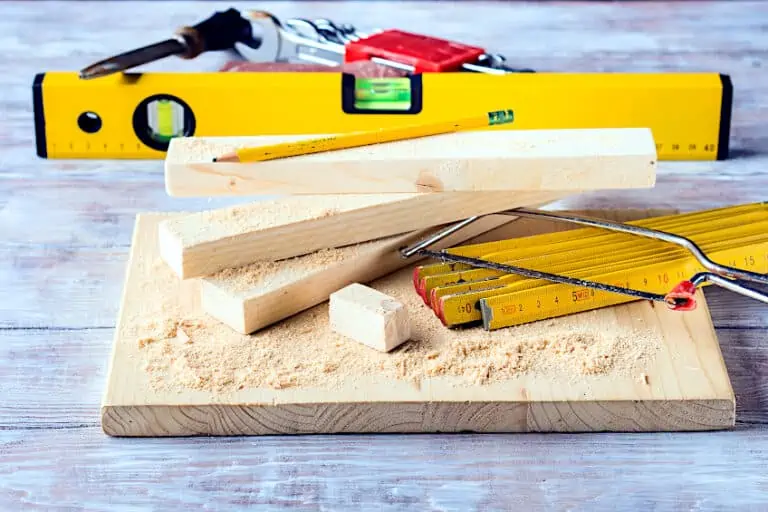
Tools Needed
Each of the tools that are listed below will play an important role when learning how to fix nail pops. As far as materials go, you will not need much apart from drywall screws and multipurpose joint compound. Take a look at the list of tools that are needed below and ensure that you have all of them before you get started.
- Smooth-head hammer
- Drywall screws
- Nail set
- Drywall taping knife
- Multipurpose joint compound
- Fine-grit sandpaper
- Safety glasses
- Gloves
- Cordless drill
- Paint and brush (optional)
How to Fix Nail Pops
When it comes to learning how to fix nail pops in drywall surfaces, it can be a potentially challenging task if you have chosen to tackle it blindly. However, we have provided all of the steps that are needed to ensure that you can do a flawless job when it comes to fixing drywall nail pops.
To ensure that you get the best results, take a closer look at the steps that we have listed below.
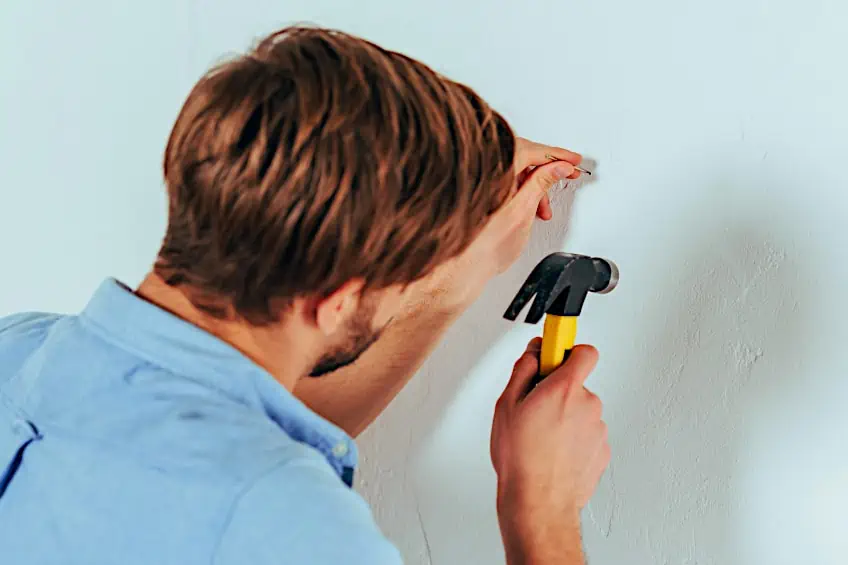
Step 1: Locate the Nail Pops
The first step is to locate the nail pops by using a light that is directed at an angle. This will cast a shadow on the nail pops, making them very easy to spot. This is a much easier way to find the nail pops instead of trying to feel your way around the wall or by looking at the surface at a flat angle.

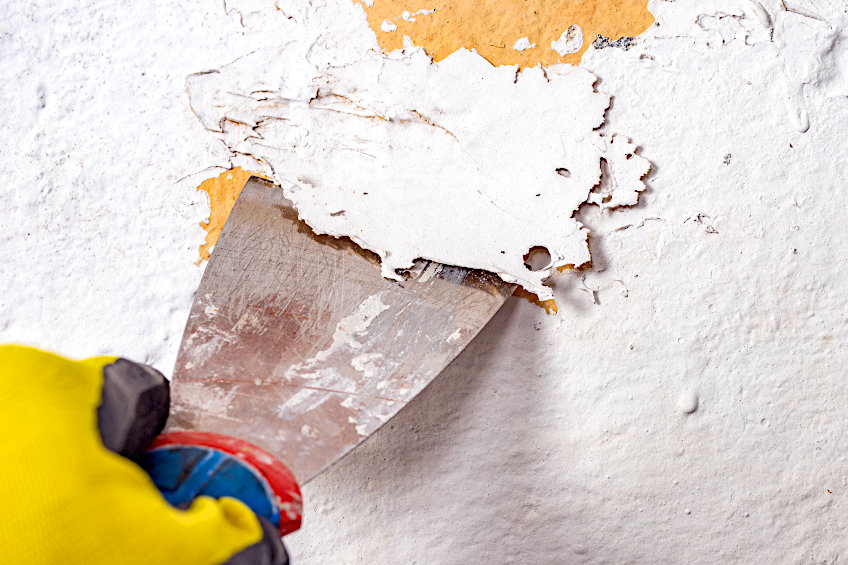
Step 2: Remove Any Loose Debris or Paint
By removing loose debris or paint, you will have easy access to the nail. Scrape the extra drywall from the nail using the scraping tool. This is necessary so we can get to it and easily deal with it.
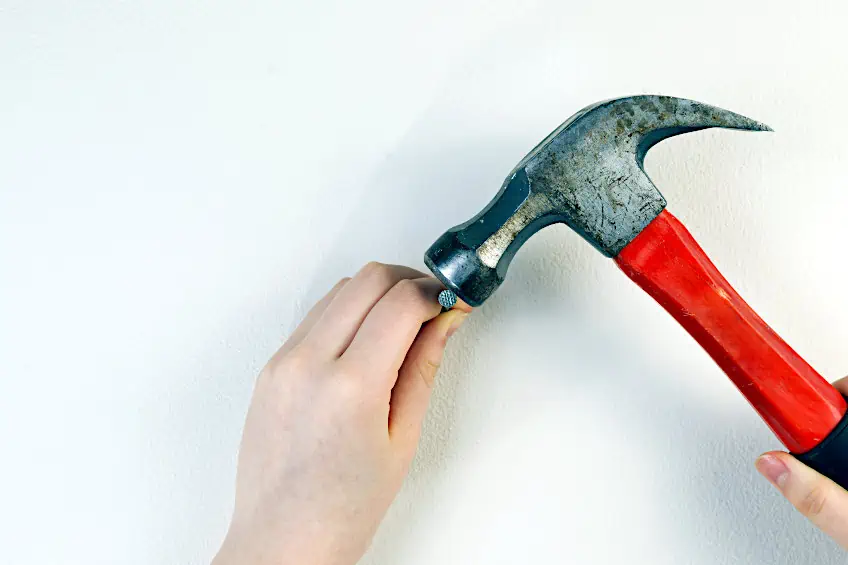
Step 3: Hammer the Nail Back In
This might seem counterproductive, but when it comes to learning how to fix nail pops, this is an important part of the process. While wearing safety glasses, push the projecting nail back into the drywall with the hammer, being cautious not to break too much of the drywall surrounding it. Use a smooth-headed hammer rather than a hammer with a grid or waffle-head.
As a consequence, the wall will have a tiny, circular depression.
Step 4: Use the Nail Set to Sink the Nail Below the Surface
The nail set will be used to recess the nail into the drywall. Then, just either above or below the nail, drive a drywall screw so that the screw head partially covers the nail head. This will prevent the nail from popping back out.
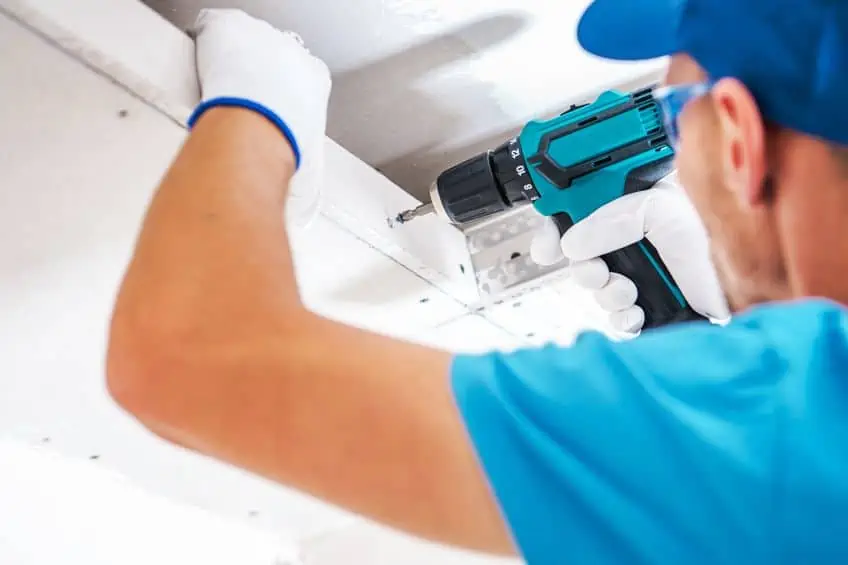
Step 5: Secure the Drywall
Using two drywall screws, fasten the drywall onto the wooden studs. One screw should be right above the nail while the other should be below it. Drill the drywall screws into the wallboard with a driver bit, striking the stud beneath it until the screw heads wrinkle the drywall paper. Take caution not to push so hard that you damage the paper.
If this occurs, simply add another screw. Screws should be 1 to 2 inches away from the nail.
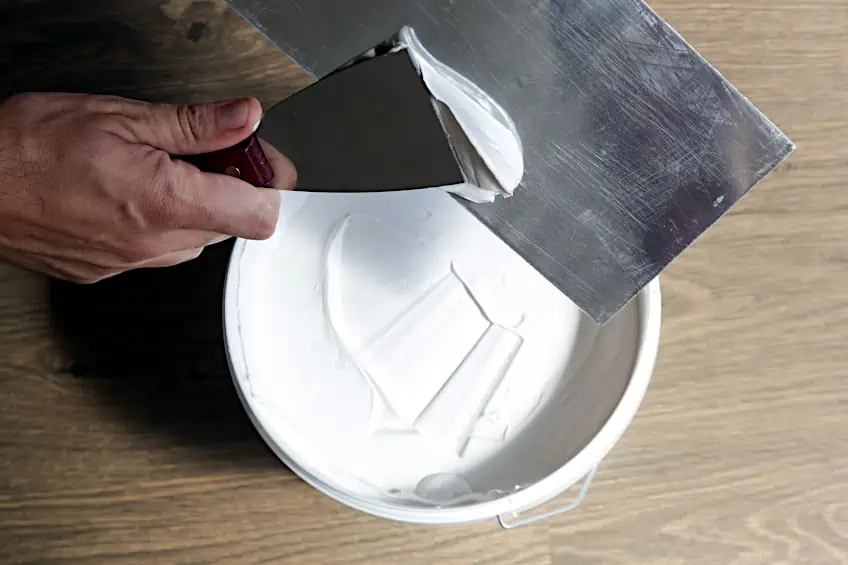
Step 6: Apply Spackle or Joint Compound to the Area
Apply a small coating of the joint compound across the holes using the drywall taping knife. With the knife, smooth the excess so that it is flat with the wall. Do not be concerned if the marks are still evident at this stage. Wait two to four hours for the joint compound to fully dry. Maintaining a warm temperature in the room and using a fan will aid in the process of drying.
A second application of joint compound should be applied. If the patch does not match the rest of the wall, use a wide feathering knife to create a wide coat further out on the wall. The reality is that this is the most difficult part of the job as you need to wait for the joint compound to dry. You may be tempted to poke at it or run your finger across it, but it is best to find something else to do in the meantime.
Step 7: Sand the Area Smooth
Assess the repaired section of the wall to ensure that the area has been completely covered. Because joint compound shrinks while it dries, a third application may be required. Sand the area lightly with fine-grit sandpaper, but ensure that you maintain even pressure to ensure that you achieve a uniform finish.
Step 8: Paint the Area (Optional)
Painting the area is completely optional, but for the best results, we recommend that you do it. Before you can paint the wall, it is important to add a coat of primer to allow the paint to adhere to the surface.
Once this is done, use the same color to finish the job, but only start painting once the primer has completely dried.
Tips for Preventing Nail Pops in the Future
So, are nail pops normal? It would appear that this is the case in older buildings; however, you will not need to put up with them for much longer. While there is the prospect of structural damage being a contributing factor to nail pops, there are a few things that you can do to ensure that you do not experience them again.
Use Longer Nails or Screws
Small screws that just penetrate the stud behind the drywall sheet may eventually come free, resulting in more pops across the wall surface. The industry standard is to use screws that puncture the stud by at least 3/4 inches. For instance, a screw at least 1.1/4 inches long is required for 1/2-inch thick drywall.
In fact, we would suggest using screws instead of nails, as they are more likely to be locked in place.
Avoid Overdriving Nails
Overdriving a nail might seem like a good idea, but it does much more harm than good. An over-driven nail will end up breaking the surface membrane of the drywall, which will allow the surrounding siding or the nail itself to be damaged. This means that you will have to deal with moisture build-up, which cannot be fixed with caulking. Instead, aim to get the nail flush with the surface without damaging the drywall. The same philosophy can be applied to screws, as you will need to avoid tightening them too much.
Use Adhesive Along with Nails or Screws
The most avoidable reason for screw and nail pops is failing to press the drywall against the wall when securing it to the studs. This creates a void, which could result in the fastener bursting later. The best way to prevent this from happening would be to use a strong adhesive that will not soak into the drywall.
This will allow the drywall to remain in place and prevent any nail popping.
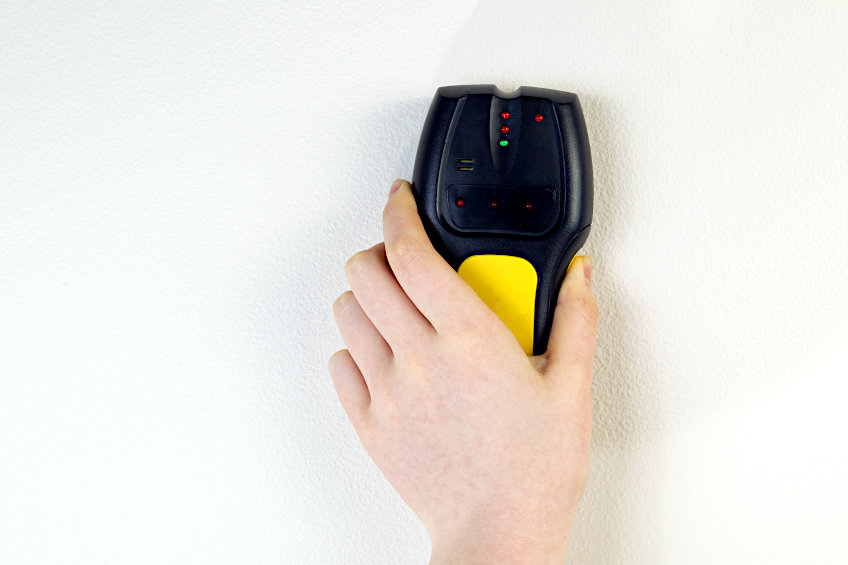
Use a Stud Finder to Locate Framing Members
Finding studs in drywall is a necessary step in many home repair jobs, and this includes fixing nail pops. While certain objects may be mounted using drywall-attached hollow wall anchors, suspending big items requires driving mounting screws securely into framework elements. You will be able to find the framing members with a stud finder. The normal screw or nail spacing is 16 inches, with a single fastener in every corner and two across the field. Do not try to position screws closer to one another in the hopes of tightening the drywall’s hold. In fact, this increases the risk of pops simply because there are more nails or screws.
Now that you understand what goes into fixing nail pops, we recommend that you try it for yourself. This is a job that anyone can do, irrespective of their skill level, and this will also allow you to learn more about the state of your drywall too. Before you get started, remember the goal, which is to ensure that the surface is as even as it can possibly be. Well, that is all there is to it, so we wish you the best of luck!
Frequently Asked Questions
What Are Nail Pops?
Nail pops are a cosmetic flaw that occurs when the nails gradually loosen and pop from the surface of the drywall. This results in a minor crack or bump that has no serious repercussions, but it does not look good and it can be a bit of a headache to fix if you do not know how to fix nail pops.
What Is the Most Effective Method to Learn How to Fix Drywall Nail Pops?
The best method when it comes to fixing drywall pops depends on the surface but in the majority of cases, you will be working with drywall. We have extensively covered this section in the guide above, so take a look at that section to learn how to fix nail pops in drywall.
What Causes Nail Pops In Drywall?
You are likely wondering if nail pops are normal, and the answer depends on how many you are seeing. Having one or two of them is fine, but you will need to keep a close eye on the wall to ensure that you catch more of them popping up.

I have been into woodworking since 2005 and woodturning since 2011. Because of my love for wood and woodworking, I started woodhappen.com to teach other enthusiasts about how to finish and seal wood, the best woodworking tools, the different types of wood, and everything else related to woodworking! Read more about me here.