How to Engrave Wood – Carving Creativity
Welcome to the delightful world of wood engraving, where creativity meets craftsmanship! Picture yourself wielding fine tools, carving intricate designs, and breathing life into humble pieces of timber. Wood engraving is more than just a skill—it’s an art form that connects us to tradition while allowing for boundless innovation. In this article, we’ll embark on a journey through the basics of wood engraving, uncovering tips, tricks, and techniques to help you carve out your own masterpiece. So, grab your chisels, sharpen your imagination, and let’s explore the wonders of engraving wood together!
Key Takeaways
- Wood engraving enhances wood products with personalized designs.
- Choice of tools and wood type are crucial for engraving quality.
- The engraving process involves several careful steps for best results.
What Is Wood Engraving?
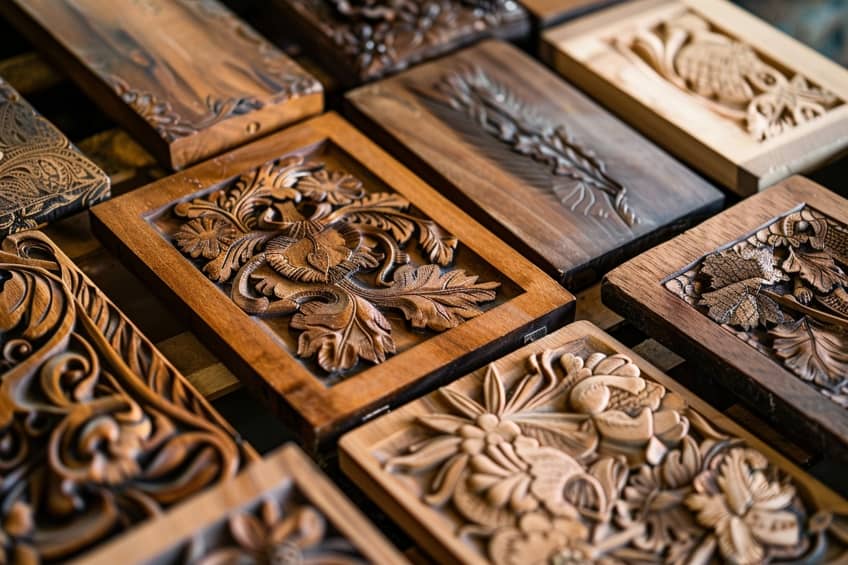
Engraving wood is a form of art that allows individuals to personalize and enhance the natural beauty of wood with intricate designs and lettering. The process of wood engraving can be applied to various projects, from decorative art pieces to functional objects like signs and furniture.
The choice of wood, tools, and techniques all play a significant role in the quality and style of the final engraved product.
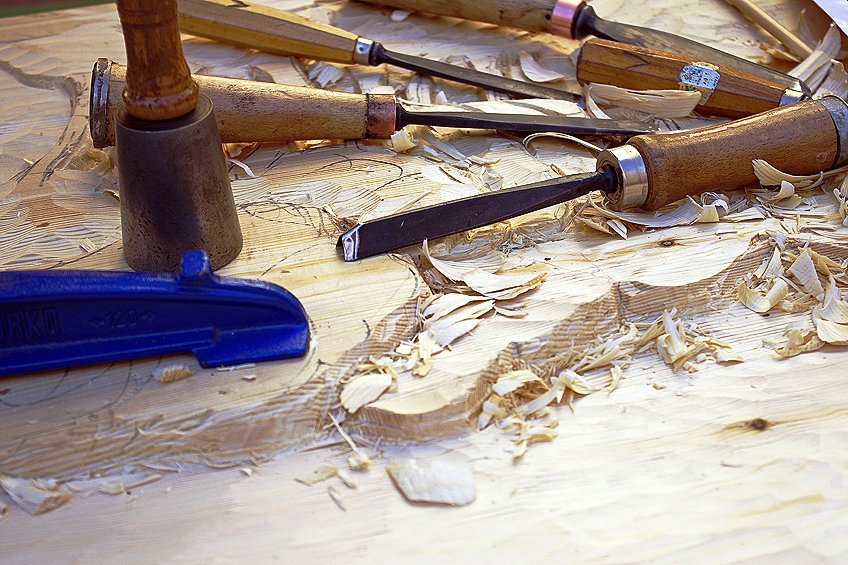
Understanding Wood Engraving Tools and Materials
Understanding the tools and materials necessary for wood engraving is fundamental. Various tools such as chisels, gouges, routers, and lasers cater to different engraving styles and levels of detail. Moreover, selecting the suitable type of wood, considering its grain and hardness, is critical as it affects the ease of engraving and the clarity of the design. Executing the engraving process requires practice and precision.
Sanding the wood surface, transferring the design, carving with steady hands, and sealing the engraving are all part of the meticulous process. Prior to beginning the engraving process, understanding the different tools and materials available, as well as their proper use and safety considerations, is essential for achieving high-quality results in wood engraving.
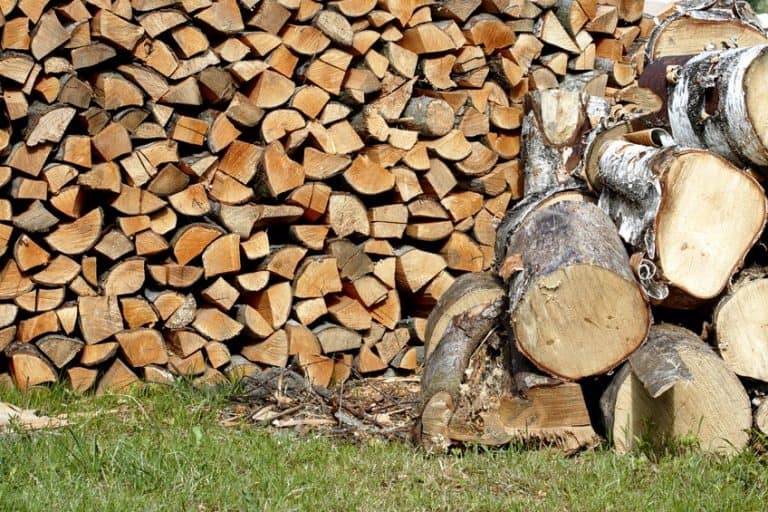
Choosing the Right Wood
Different wood species have varying grain patterns, densities, and reactions to the engraving process. Softwoods like balsa are easier to carve but can lack detail, while hardwoods such as maple, walnut, and oak offer a sturdier surface for detailed work.
Always opt for wood with a smooth surface and clear grain pattern to ensure precision and contrast upon engraving.
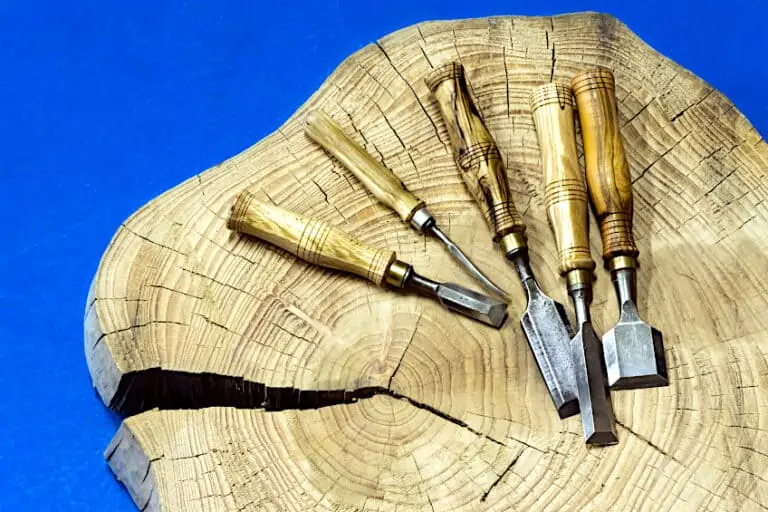
Engraving Tools Selection
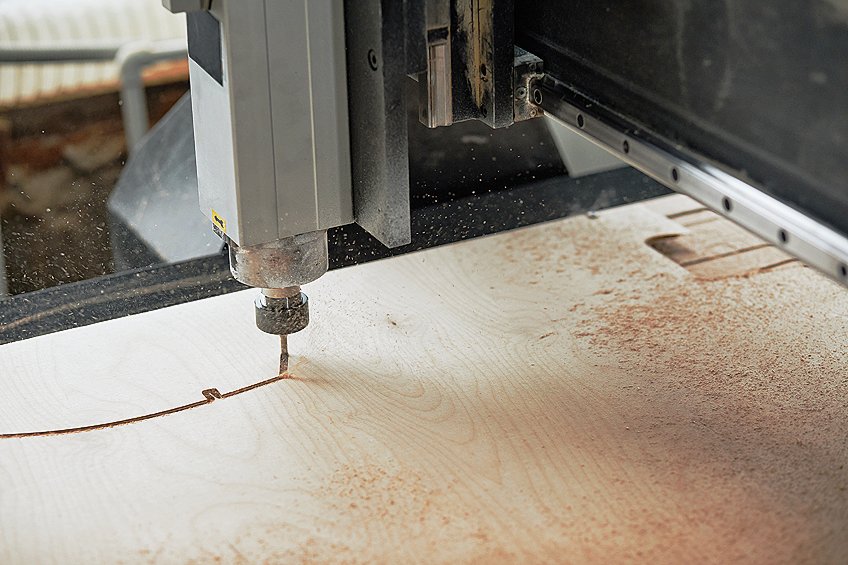
Tools range from traditional hand tools like chisels and gouges to modern power tools like Dremels (rotary tools), laser engraver machines, CNC routers, and Cricut makers. Each tool requires its own set of skills and affects the material differently. Hand engraving offers a unique touch, while machines can produce precise and repetitive designs.
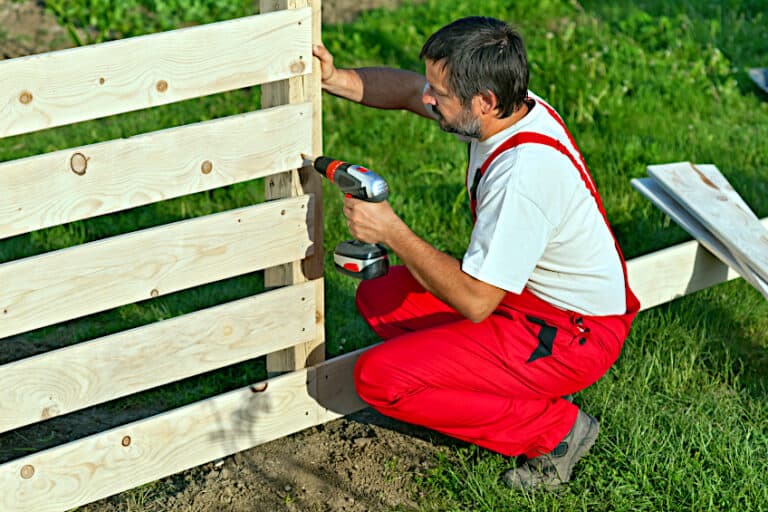
Preparing for Engraving
Preparation includes sanding the wooden surface to a smooth finish, using tape to secure the wood or a stencil if needed, and transferring the design using a pencil, carbon paper, or an adhesive stencil. Ensure that the wood is firmly clamped and that the workspace has a flat surface for stability.
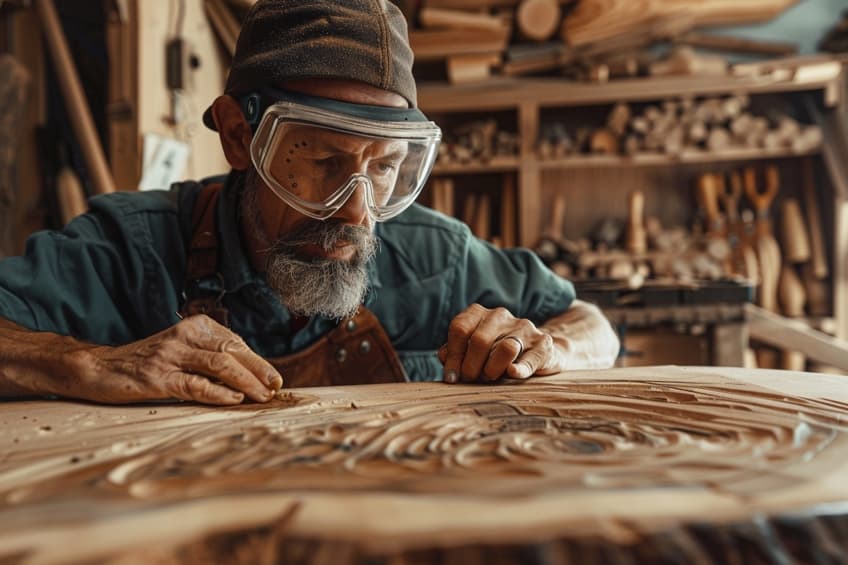
Safety Precautions
Always wear safety gear including goggles and a dust mask to protect yourself from sawdust and debris. Ensure proper ventilation when using laser engravers, as burning wood can emit toxic fumes. Read through safety manuals of the engraving equipment and adhere to all safety measures.
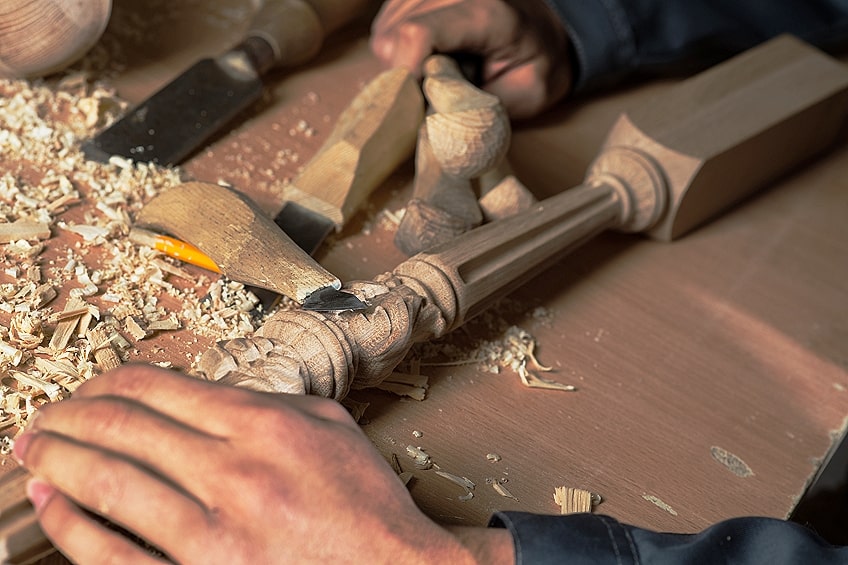
Engraving Techniques
Different engraving techniques are suitable for various designs and levels of detail. With hand tools, use a chisel to carve along the grain of the wood, while for laser engraving machines, it’s important to adjust the settings for power and speed according to the wood’s hardness and desired depth of the engrave.
Patience and steady, controlled movements are key to a precise and clean engraving process.
Finishing Touches
Post-engraving, sanding the wood can remove any rough edges, and applying a finish such as varnish, lacquer, or paint can enhance the contrast and protect the engraving. The right finishing touch will depend on the intended use of the engraved piece and the aesthetic requirements of the design.
Executing the Engraving Process
Executing the engraving process on wood involves meticulous steps to ensure precision and quality. From transferring the design to applying the final finish, each stage must be carefully tackled using the right tools and techniques.
Transferring the Design
To begin, the chosen design must be accurately transferred to the wooden surface. This often involves outlining the design on carbon paper, and then taping it securely to the wood. Tape plays a crucial role in holding the design steady during tracing. A pencil is used to trace the design, creating an adhesive stencil that ensures sharp tool movements follow the accurate design without slips.
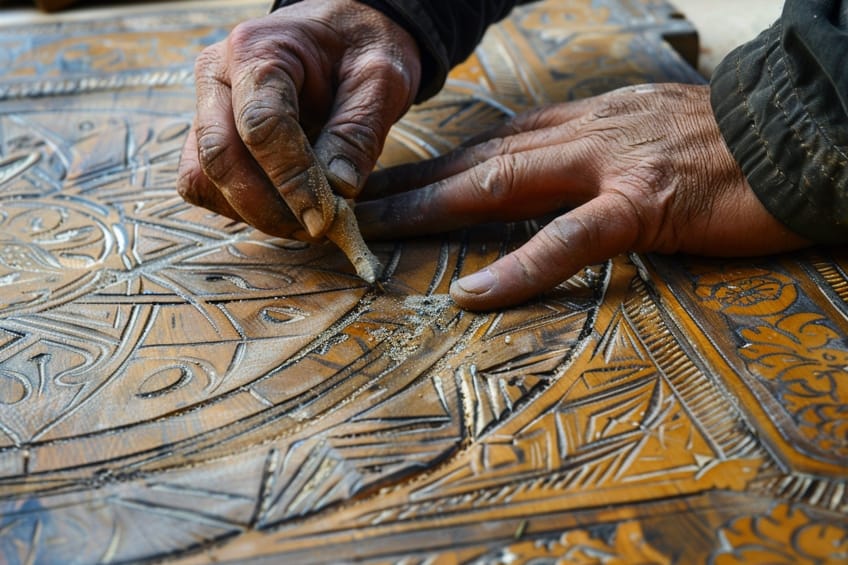
Engraving Techniques
There are several techniques to engrave wood by hand:
- Hand engraving: Using chisels and gouges, artists can carve straight lines, symbols, and phrases into the wood, creating delicate grooves.
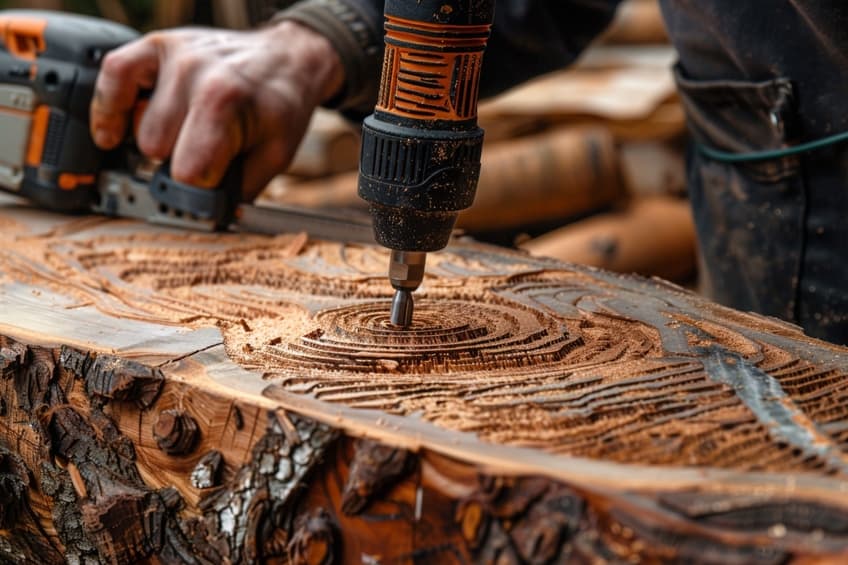
- Power tools: Rotary tools such as a Dremel can be used with an engraving bit for faster, power-assisted carving.
- Laser engravers: These computer-controlled machines offer the ability to create complex 3D designs with extreme precision.
For hobbyists, hand engraving with carving knives or chisels provides a sense of traditional craftsmanship, whereas power tools like a rotary tool or router can expedite the process. Laser engraving machines offer the most precision for those seeking professional results.
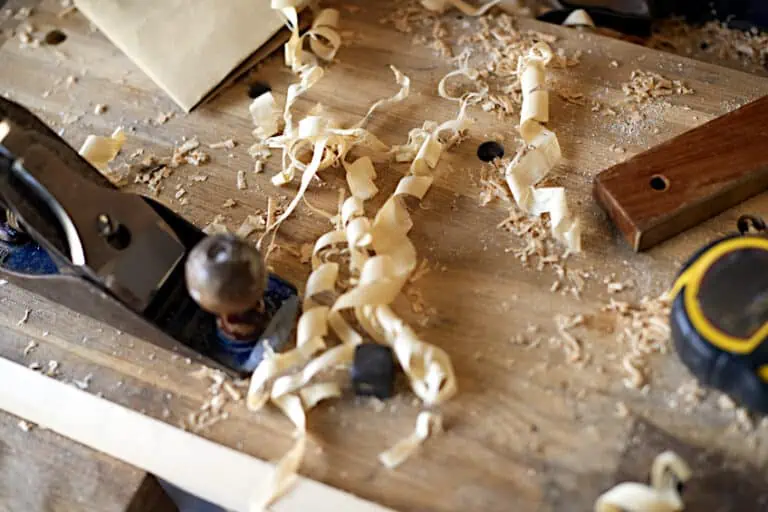
Refining and Detailing
Once the basic engraving is complete, fine sanding is necessary to smooth any rough edges and enhance the contrast for visual appeal. Sanding is best done incrementally, starting with coarse grits and moving to finer grits for a smooth surface. Detail work can be done with smaller chisels, gouges, or gravers to refine the design.
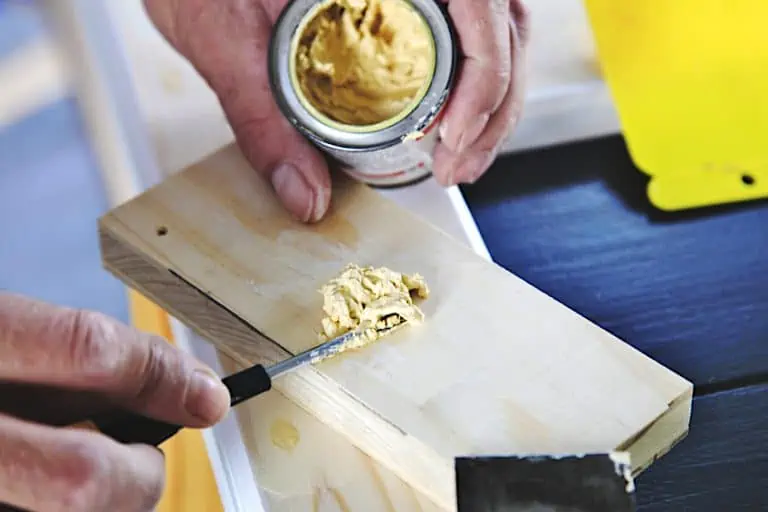
Cleaning and Finishing
The last step is cleaning and applying finish to the engraved wood. All sawdust and burn marks should be removed, which might necessitate light sanding or a soft brush. Safety gear like a dust mask is important during this stage. The final look is achieved by applying finish such as varnish, lacquer, or paint, which also helps to protect the engraved piece.
A smooth surface not only adds to the visual appeal but also ensures the longevity of the engraving.
Different Types of Engraving
There are two primary methods to engraving wood, each with its own tools and techniques. These methods cater to different preferences and skill levels.
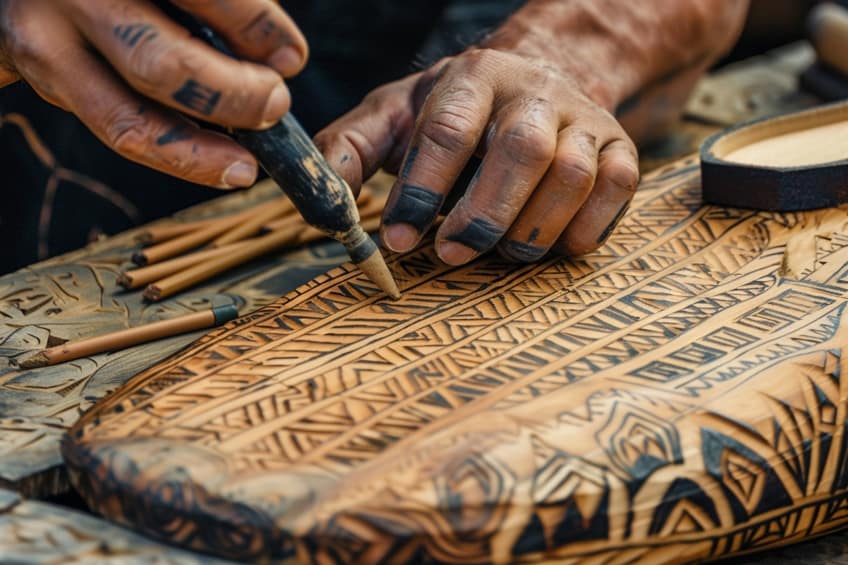
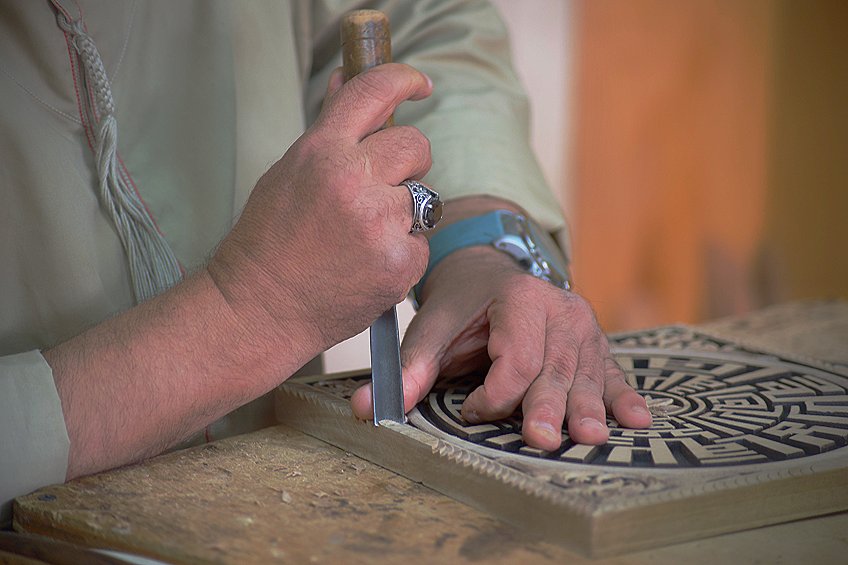
Engrave Wood by Hand
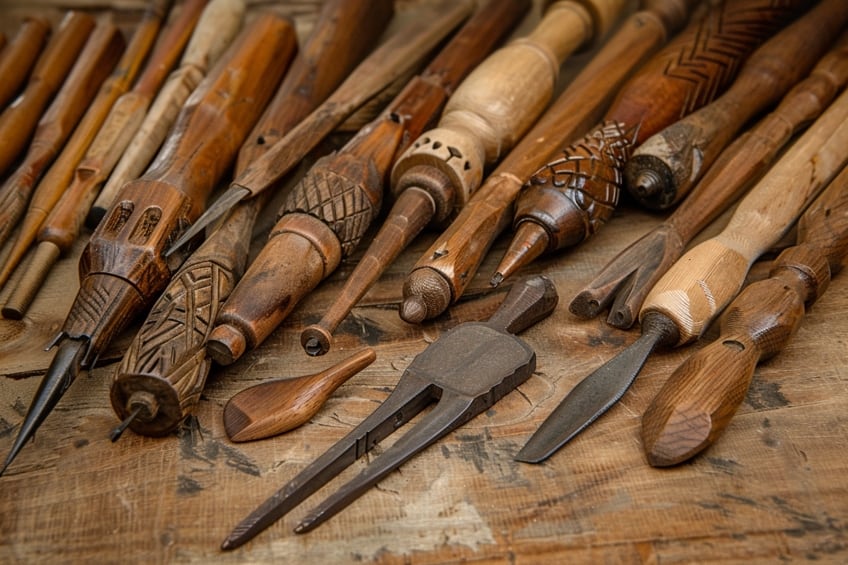
Hand engraving is the traditional approach, involving manual tools such as chisels, gouges, and knives. It requires significant skill and practice to control the depth and detail of the design. The tools needed to engrave by hand include chisels, gouges, and carving knives. The techniques are as follows:
- Relief carving: Removing wood around the design to make it stand out
- Intaglio carving: Creating a recessed image by carving into the surface
Engrave by Power Tools
Power tools expedite the engraving process and can provide a consistent depth and precision that can be challenging to achieve by hand. The tools that are commonly used are rotary tools, CNC machines, and laser engravers. The techniques are as follows:
- Rotary tool engraving: Utilizes various bits for different effects
- Laser engraving: A non-contact method that can create intricate designs with precision
- CNC engraving: Utilizes computer-aided design for repeatable and accurate engravings
As you put down your chisel and admire the intricate patterns you’ve created, remember that wood engraving is not just about the end product—it’s about the joy of the process. From the scent of freshly carved wood to the satisfaction of seeing your vision come to life, engraving wood is a journey filled with discovery and delight. As you continue to hone your skills, remember to experiment, embrace imperfections, and let your creativity flourish. Whether you’re crafting heirloom pieces or whimsical creations, may your woodworking adventures be as rich and rewarding as the grains of the wood itself. Happy engraving, and may your creations leave a lasting impression for generations to come!
Frequently Asked Questions
What Are the Essential Tools Needed for Wood Engraving?
For traditional wood engraving, one needs engraving tools such as burins, gravers, and scorper to carve the wood. Laser engravers and CNC routers are popular for precise, automated engraving. Hand engravers will also require a sturdy bench hook to hold the wood in place during the process.
How Do I Use a Router to Engrave on Wood?
To use a router for engraving wood, the user must first select the appropriate bit for the design details. It’s essential to clamp the wood securely to the work surface. The user guides the router manually, following a template or freehand design, and needs to control the depth and speed to achieve clean lines.
Which Type of Wood Is the Easiest to Engrave for Beginners?
Softwoods like pine, cedar, and redwood are often recommended for beginners due to their softer composition, making it easier to carve without requiring excessive force. Additionally, basswood is a favorable choice for its fine grain and consistency, allowing novice engravers to practice with less likelihood of wood splitting or grain interference.

I have been into woodworking since 2005 and woodturning since 2011. Because of my love for wood and woodworking, I started woodhappen.com to teach other enthusiasts about how to finish and seal wood, the best woodworking tools, the different types of wood, and everything else related to woodworking! Read more about me here.