How to Drill Screws into Wood – Tips to Keep Wood from Splitting
It might seem like a fairly straightforward task to drill a screw into wood, but it can go horribly wrong pretty quickly. Knowing the characteristics of the type of wood you’re working with, in addition to what type of screws work best with it, is important. For this reason, we’ve created a short tutorial detailing how to drill screws into wood, how to avoid splitting your wood, and how to select the right drill and screws for your project.
How to Choose the Right Drill and Screws
Before we get into how to drill screws into wood, it’s a good idea to understand the tools you’ll be using. Having the right screws for the job and the right drill to drive them can save you a lot of time and money, especially if you’d prefer not to split your workpiece. That being said, let’s have a look at some of the best choices for drills and screws for wood crafting.
What Type of Drill Is Best for Wood?
Even with all the skills in the world, if you don’t have the right tools for the job, you’re likely to fall short. When it comes to wood crafting it’s important to have the right drill for driving screws, especially if the wood you’re using is expensive. What is the right type of drill woodworking then? Well, you could actually use any corded or cordless drill or even an electric screwdriver when driving screws into wood.
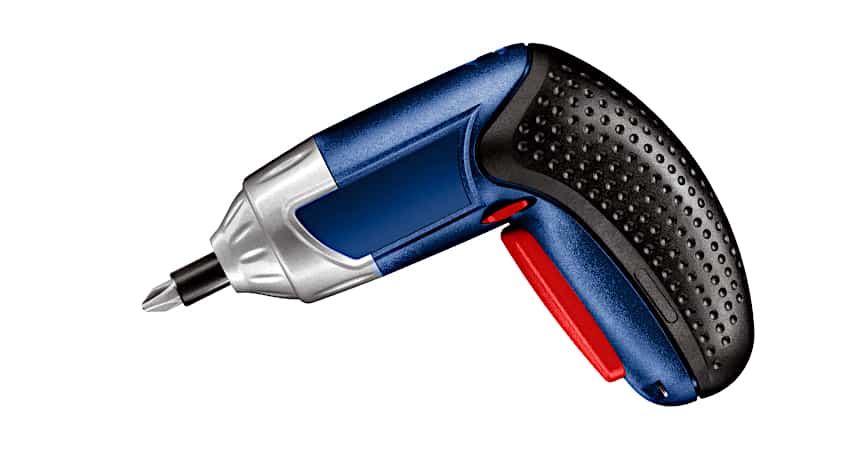
There is a catch though. If your wood isn’t particularly dense you should avoid drills with a hammer function, and if it does have a hammer function, ensure that it has been turned off. Activating the hammer function when attempting to penetrate lighter wood species can result in the wood splitting and potential damage to your workbench.
This doesn’t mean that you should grab the first drill you see though. While most drills can be used for wood crafting, some are meant for more robust applications like drilling through masonry or metal. Purchasing one of these would be overkill for wood crafting, and will cost you significantly more. That being said, we recommend shopping around and choosing a reasonably priced and adequately equipped unit.

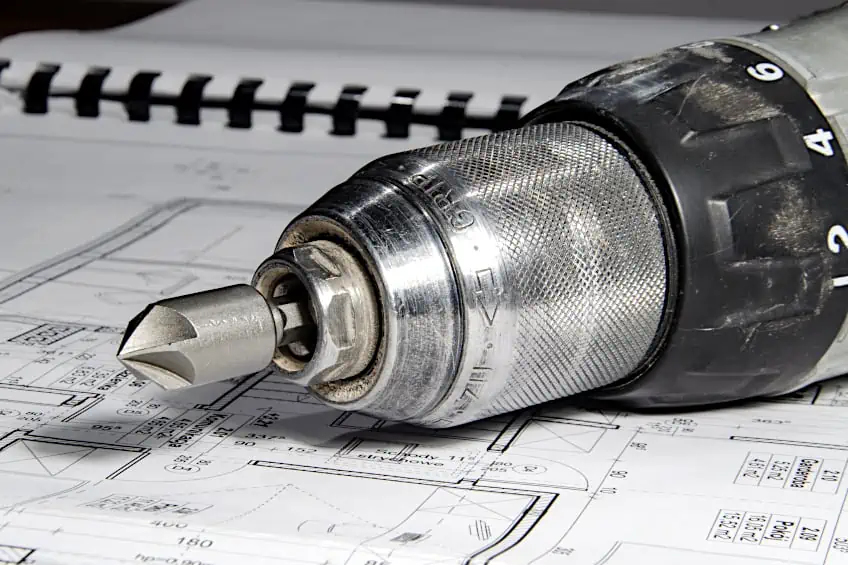
Ideally, you’d also like a drill with multiple speed settings and an adjustable chuck. While adjustable chucks are commonplace these days, ensuring that your drill has sufficient rotating speeds to penetrate the wood you’ll be working with is important. Thankfully, this information is usually advertised quite boldly on drill packaging.
What Type of Screws Work for Wood?
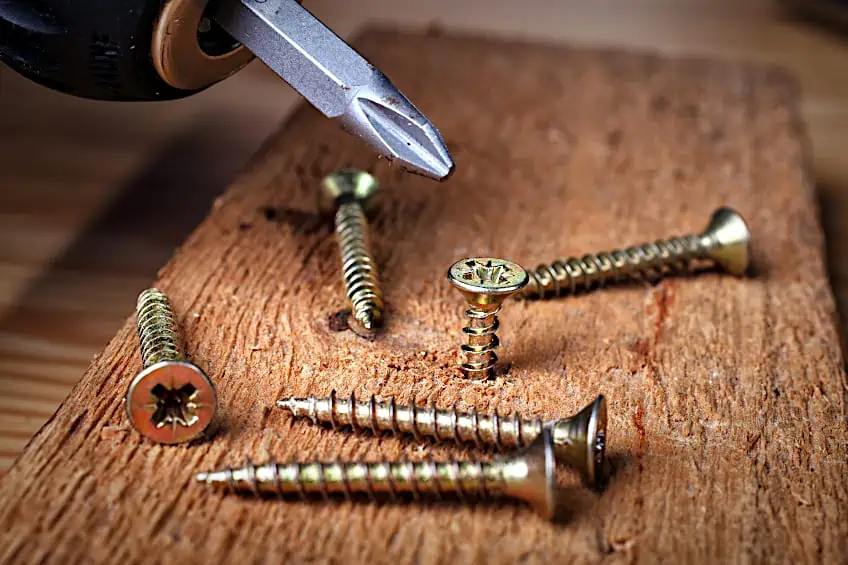
This is a pretty broad question considering that there are many types of wood, and many types of screws out there. Denser wood species require stronger screws with a different thread compared to regular ones. When working with lighter wood species, you’ll be able to get away with using conventional steel screws, especially if your workpiece will be situated indoors.
Selecting a drive configuration can be tricky too. For really knotty wood species, you could opt for a more intricate drive configuration to ensure your bit doesn’t cam out when driving the screw in. On the other hand, if you need to remove the screw later by hand, you will need a special tool if your drill isn’t available. On the plus side, intricate drive configurations like the star drive can deter theft and tampering.
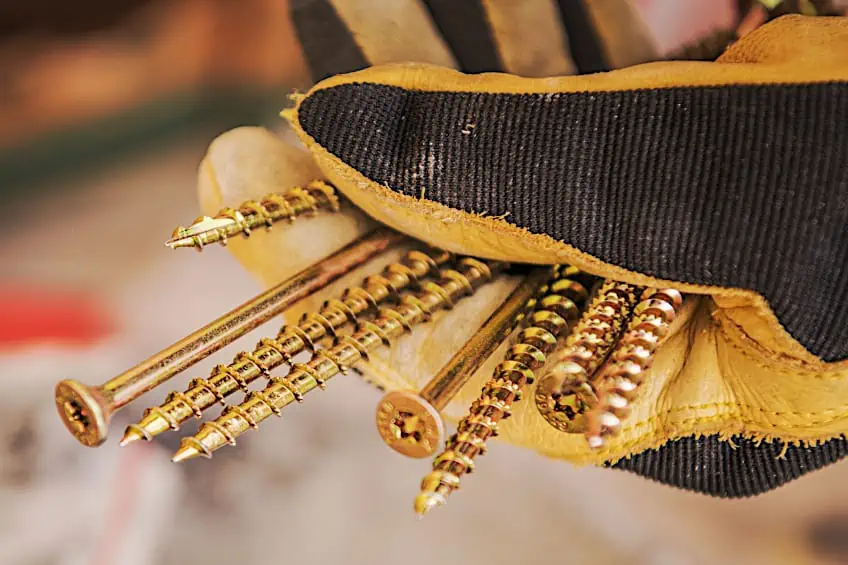
When choosing a screw for your workpiece you should also consider what application it will be used for. If your workpiece will be under load constantly, hardened steel would be the best option. If your workpiece will be situated outdoors, a coated steel screw will be able to withstand changing temperatures and oxidization.
Something to keep in mind is that most wood screws are “self-tapping”. Even more malleable wood screws like brass and aluminum screws can be hand tapped without much effort, so pretty much any screw with this characteristic can be used for wood crafting. However, understanding your intended application and the physical limitations of each screw’s material is extremely important.
How to Prepare Your Wood for Drilling
Before you get to drilling it’s important to prepare your wood to receive the screw. Not only will this ensure that the screw is positioned correctly but it will also help guide the screw and reduce the effort needed to drill it in. That being said, here’s how to prepare your wooden surface to receive a screw.
Mark the Intended Location
This is a handy trick for ensuring that your screw goes exactly where intended. After all, you’ll likely be moving your workpiece around, placing it in a chuck, and preparing your drill. That being said, all that you need to do is use a ruler (or any straight object) and mark where you intend to drill the hole with a pencil. Ensure that the marking is clearly visible and easily identifiable.
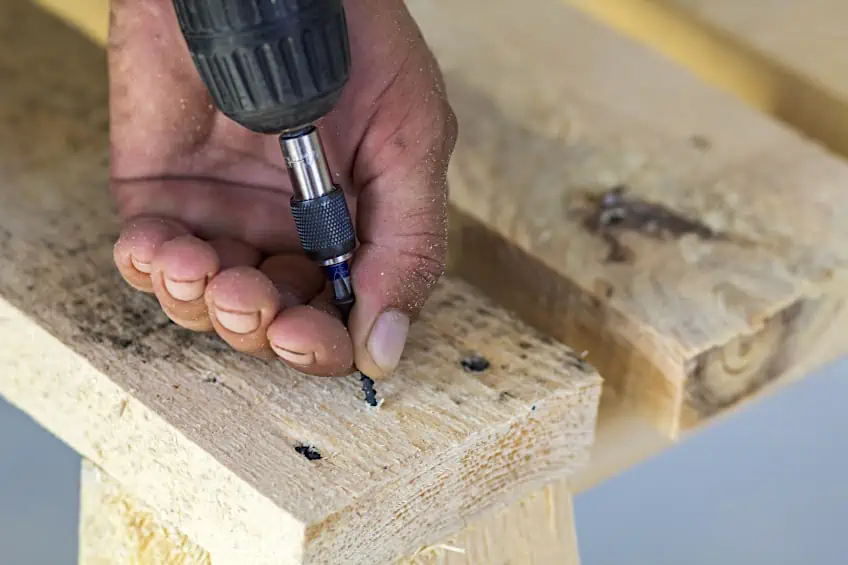
Drill a Pilot Hole
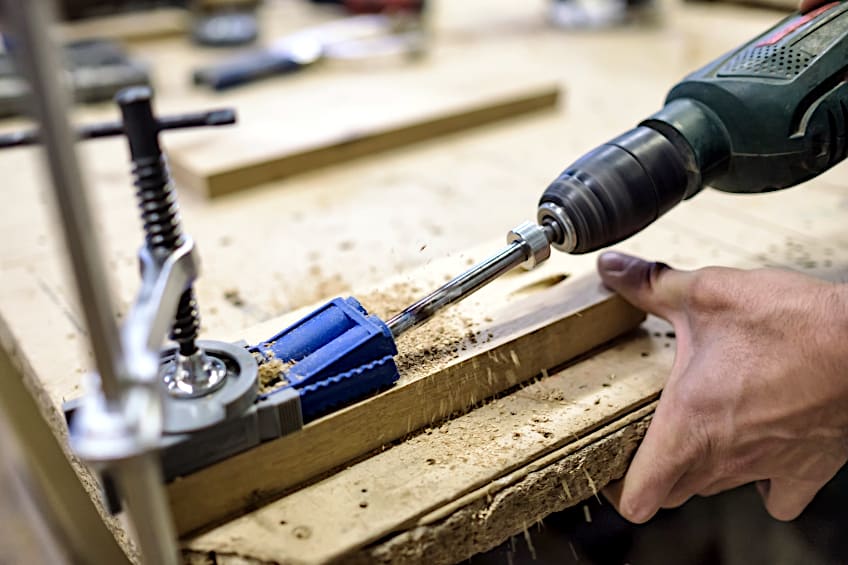
A pilot hole is a shallow indent created to ensure your screw follows its intended path. To drill a pilot hole, choose a drill bit that is smaller than the diameter of your screw’s shaft and insert it into your drill. Next, secure the drill bit into the chuck of your drill with a chuck key and check for any play. Next, drill your pilot hole into the marking you created previously, either all the way down or as a partial intent.
Set the Drill Chuck’s Clutch
If you’re not sure what a chuck clutch is, it’s essentially a mechanism that prevents you from stripping the drive configuration of your screw’s head. This can be adjusted so that once your screw bottoms out, the drill will disengage. The clutch functions on resistance, so adjusting the resistance needed to engage the clutch will ensure that your drill does not shut off too early or too late.
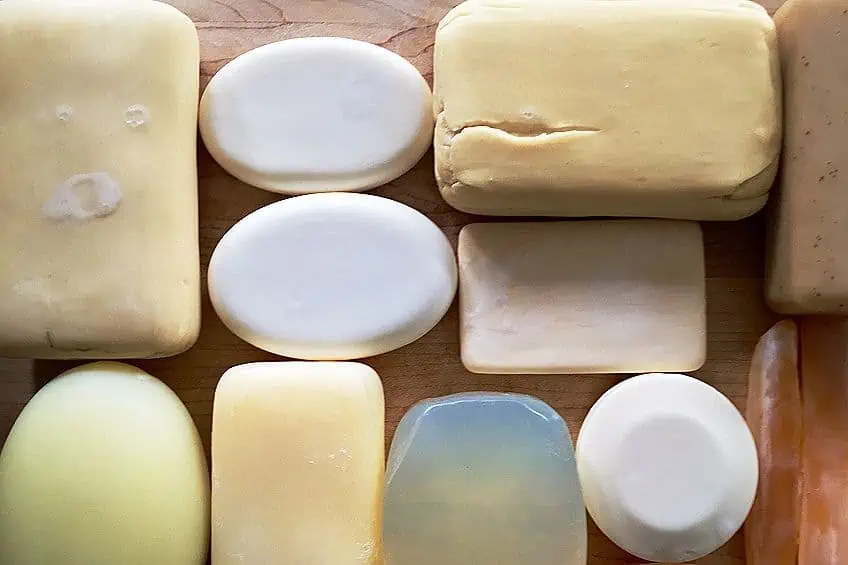
Ensure Your Screws Are Lubricated
Knowing how to drill into wood is all well and good, but it’s pretty useless if your screws aren’t prepared correctly. Lubricating your screws is easy, all that you need to do is draw your screw across a bar of soap or something like a wax candle. This process ensures that the screws will not bite into the wood while drilling, which is useful when drilling into particularly dense wood species.
How to Drill a Screw into Wood
Now for the part you’ve been waiting for. Drilling a screw into wood can seem pretty straightforward, but you’d be surprised as to how easy it is to split wood board simply by using the incorrect technique. That being said, here’s a short guide showcasing how to drill into the wood without bottoming out or splitting your wood board.
Position Your Screw in the Pilot Hole
People tend to scoff when one drills a pilot hole. After all, if the screw is self-tapping, why would you even need one? Put simply, self-tapping screws are designed to create their own recess, but this doesn’t take the composition of the wood into account. If wood is light and brittle, the screw will force the wood apart and inevitably split it.
By drilling the pilot hole, you are not forcing the wood apart. Instead, you are allowing the screw to oscillate its way through the walls of the wood fiber, all while connecting to the board’s interior. The pilot hole also ensures that the screw will stay true as it positions itself inside the wood board, ensuring that it is not positioned at an angle.
All that you need to do for this step is position your screw firmly inside the pilot hole and ensure that there is no play. While you can hold the screw in place with one hand while you drill with another, this leaves for injury, even if you’re wearing gloves. Therefore, we recommend ensuring that the screw is secure in the pilot hole before moving on to the next step in the process.
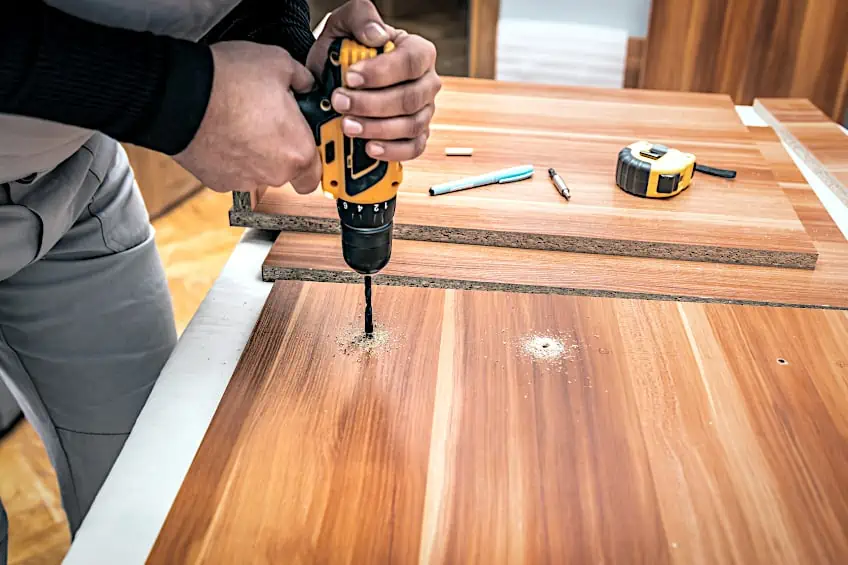
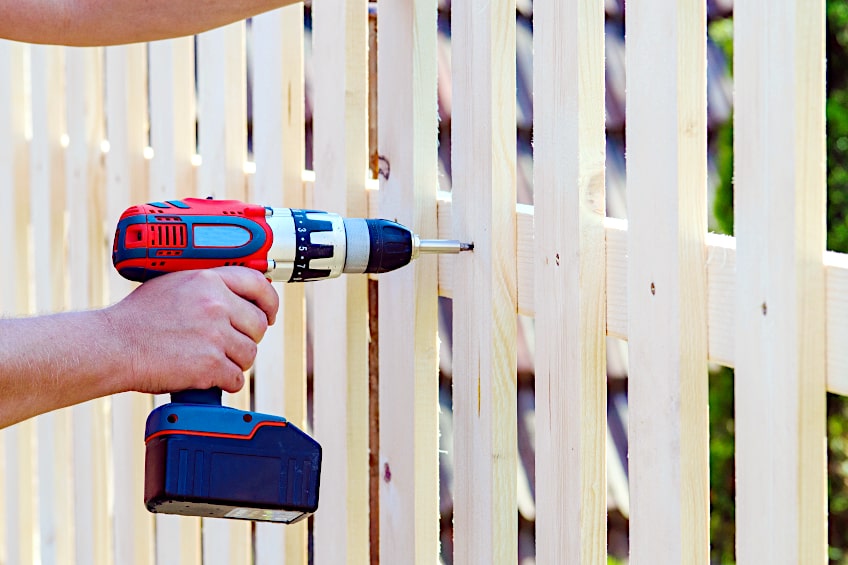
Drill the Screw into Place
Now for the easy part. Remember that the pilot hole has been drilled for a reason and that you shouldn’t really be applying that much pressure to your drill as you operate it. Force the drill into contact with the drive configuration on the head of the screw. Apply enough pressure to ensure that the bit will not slip out of the drive configuration. Once you have enough pressure, engage the drill trigger and allow the screw to sink into the wood board. If you are joining two pieces of wood, ensure that the two pieces are secure throughout the joining process and aren’t moving around. Once the screw is firmly in place, the drill’s chuck should engage, indicating that the screw has bottomed out.
If you are joining two pieces of wood together (or any other material) then it’s a good idea to ensure that the two parts of your workpiece are clamped together firmly. This will prevent the screw from wondering, especially if you’re joining two particularly knotty wood species, or if your wood of choice is particularly dense.
Should the screw bottom out beforehand, simply adjust the clutch on your drill and continue. If your screw has bottomed out and your drill has not disengaged its clutch, simply stop drilling and make the appropriate adjustments. Regardless, once your screw is in place your workpiece should be joined tightly, even once the clamps have been released.
What to Do If You Encounter a Problem
While the aforementioned should go off without a hitch, there are always variables to consider. Whether it be a bad screw or a particularly nasty piece of wood, there is a chance that your screw could go off center, so that the screw had penetrated the material you are trying to join your wood to incorrectly. If this happens, there are a few things you can do. If your screw is taking but seems a bit loose, you could have drilled the pilot hole a bit larger than you should have. In this instance, simply remove the screw, mark another area on your board, drill your pilot hole, line it up with the material you intend to join it with, and drill in your screw.
If you notice a gap between the two pieces you are trying to join, it could mean that you have drilled your pilot hole a bit too small. This is easily corrected, as all that you need to do is remove the screw from the hole, enlarge the pilot hole with a larger drill bit, and drill your screw into place once more. Don’t forget to reattach your clamps though!
The idea of screwing into wood is to allow said screw to pull the two pieces of wood toward one another and secure them. If the board you’re drilling into isn’t being pulled toward the other workpiece, the chances are that you’ve either made a small mistake or that the screw you’ve chosen just isn’t cutting it. If this is the case, simply swap it out for a more suitable one. An uncommon but probable issue you could encounter when screwing into wood is your wood screws stripping. This can happen if the screw’s material is very malleable if the wood is particularly dense (or knotty) or a combination of both! Here are a few things that you can do to ensure that your wood screws do not strip while being drilled:
- Always use the correct size drill bit for your screw.
- Always apply the right amount of pressure and ensure you are consistent.
- Ensure that your bit is firmly secured inside your drill’s chuck.
- Do not use drill bits with worn drive configurations.
- Always create a pilot hole to ensure that your screw doesn’t stray from its path or split wood.
- Always use a drill bit holder.
- Always ensure that your screws are properly lubricated.
How to Apply Finishing Touches
Now that you know how to keep wood from splitting when drilling and how to ensure that your screw stays true throughout the drilling process, we thought we’d give you a few ideas for finishing touches. After all, drilling into wood can create a rough, unfinished texture around the hole, so if you’re looking for a clean finished look, here are a few tips you can follow.
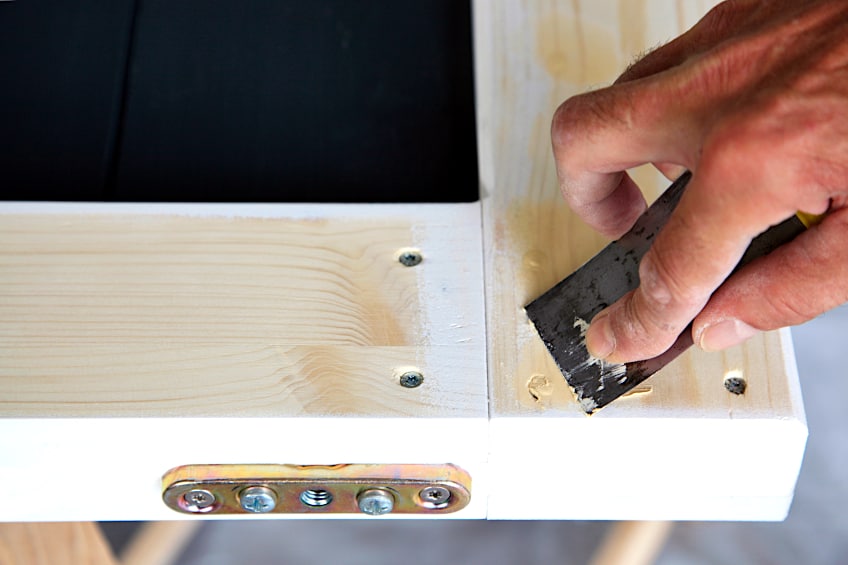
Sand the Area Around the Screw
When drilling a hole into wood, quite a bit of wood dust can be kicked up by the bit during the drilling process. Not only this but the area around the hole you have drilled can be raised thanks to the drill’s penetration of the wood fibers. If you’re wondering how to correct this, all that you need is some sandpaper or a power sander.
All that you need to do is sand the area around the hole, or you could take it a step further and sand the entire surface of the board. This is great for uniformity, and it saves you some time if you intend to stain or paint your wooden workpiece. If your workpiece is relatively small you can use some 120-grit sandpaper, and if it’s large you could use a power sander to save yourself some elbow grease.
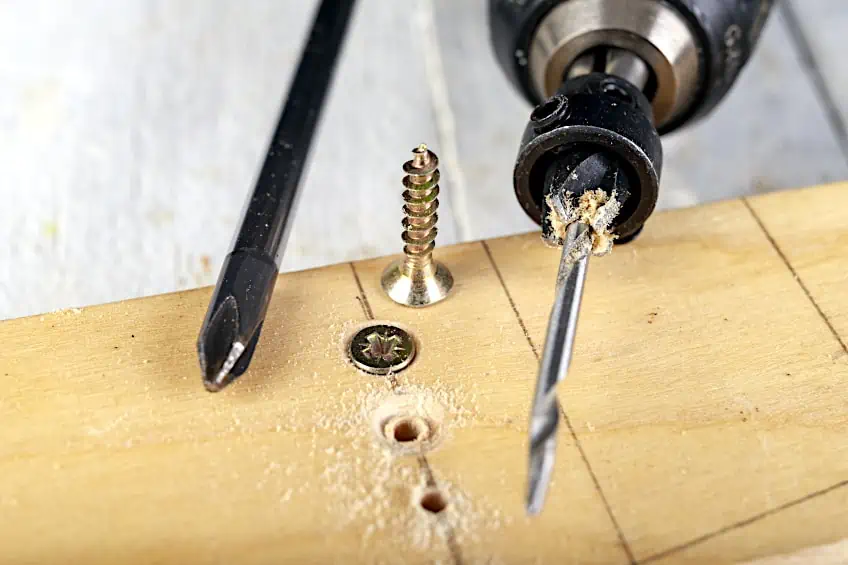
Use a Countersunk Screw
If you want a surface that is completely flush, we recommend using a countersunk screw. Don’t know what a countersunk screw is? Essentially these crews have heads that are completely flat aside from the drive configuration. The neck of the screw is tapered, or “countersunk”, ensuring the strength of the screw shaft and a neat fit with the wood’s interior.
How do you install a countersunk screw, you ask? Well, all that you need to do is drill a pilot hole with a countersunk bit and you’re pretty much good to go. Ensure that the bit is one size smaller than the shaft of the screw as you would with a conventional screw. Once the hole has been drilled the screw can be drilled into place, at which point it should be completely flush with the wood’s surface once it bottoms out.
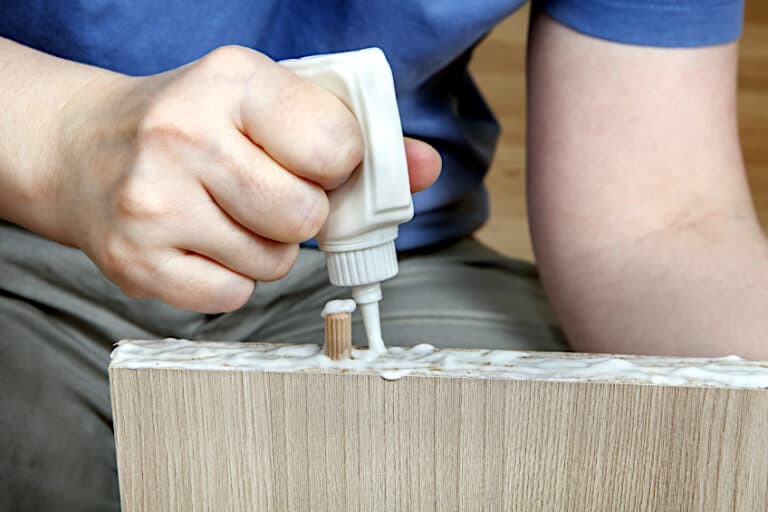
Use Wood Filler or Plugs to Hide Your Screw Heads
Once again, if a sleek and consistent look is what you’re after, you could dry hiding the heads of your screws. In most instances, people tend to simply paint over the heads of their screws, but depending on the type of paint you’re using, this might not be a lasting solution. What you can do to mitigate this is simply add some wood filler to the drive configuration of your screw.
All that you need to do is apply wood filler to the affected area of your wood, allow it to dry for the manufacturer’s recommended time period, and then sand the surface until smooth. Now the surface can be painted or stained! Alternatively, you could use specially made plugs that are designed to hide the heads of screws, but these can be challenging to find, especially in a particular color.
Now that you know how to keep wood from splitting when drilling, how to prepare your wood for receiving a screw, how to prepare your drill, how to prepare your screws, and ultimately how to drill screws into wood correctly, it’s time for you to get out there and put your newfound knowledge to the test. Remember to always wear the appropriate personal protective gear when working with wood and power tools!
Frequently Asked Questions
Can You Screw into Wood Without Drilling?
If you don’t have access to power tools but need to secure wood, you might be thinking about throwing in the towel. Can you screw into wood without drilling though? Yes! You can screw into wood using self-tapping or cutting screws both by hand and/or without creating a pilot hole. But take care, in woods that are highly prone to splitting, inserting screws without pilot holes should be done with care.
Can You Countersink a Screw With No Bit?
Wondering how to countersink screws without a bit? Well, it can be a bit tricky but here’s how to countersink screws without a bit. Drill a pilot hole and once you’re done, use a Phillips head screwdriver to create a tapered recess inside the pilot hole. Sand the hole lightly, and then insert your countersunk screw.
How Do You Drill a Hole for a Screw?
A predrilled hole for a screw is called a pilot hole. Wondering how to drill a hole for a screw? Well, you’ll need a bit that is at least one size smaller than the shaft of your screw. If you have one of those, here’s how to drill a hole for a screw correctly. Simply mark the area on your workpiece with a pencil, and drill to your desired depth while holding the drill as straight as possible.

I have been into woodworking since 2005 and woodturning since 2011. Because of my love for wood and woodworking, I started woodhappen.com to teach other enthusiasts about how to finish and seal wood, the best woodworking tools, the different types of wood, and everything else related to woodworking! Read more about me here.