How to Buff a Hardwood Floor – Easy Tips and Tricks to Buff Floors
Hardwood floors are generally seen as a high-end addition to any home. They’re often coveted by homeowners, and homes that come prefinished with hardwood floors can sell at a premium. However, if hardwood floors aren’t maintained correctly, they can quickly become a breeding ground for cracks, mold, insect infestation, and overall decay. Buffing your hardwood floors regularly not only ensures that they look good, but it also ensures that the surface is sealed and protected against external forces. If you’ve never buffed hardwood flooring before, here are some steps you can follow to ensure that you achieve the best possible results!
Why Is It Important to Buff Hardwood Flooring?
Hardwood flooring can take a beating over time. As damage accumulates on the surface, its important to treat it as quickly as possible, as even though hardwood flooring is designed to take a beating it does have physical limits.
Here are a few reasons as to why buffing your hardwood floors relatively often is a good idea.
It Improves Worn Areas
Most hardwood floors are sealed to ensure that the wood fibers aren’t in direct contact with foot traffic. Over time, this sealant will wear away leaving some areas more vulnerable than others, which is when buffing is needed to restore these areas. Buffing essentially fills in these “gaps” and ensures that your protective layer is restored.
It Restores Luster
If you have ever seen a freshly buffed hardwood floor then you know exactly how important a buff can be to the overall aesthetic of wooden flooring. A freshly buffed floor tends to have a sort of sheen to it that fades over time, which can leave your flooring looking quite dull.
Buffing and polishing instantly restores this look to the surface of your flooring.
It Protects the Wood Fibers
If you have never buffed your wood flooring before you might have noticed that some areas have begun to soften and indent. While buffing in no way increases the rigidity of wood board it does prevent direct contact with the surface, mitigating the effectiveness of impact and abrasion over time. Essentially, it adds a protective layer to the wood fibers.

It Prevents Buildup Over Time
It’s no secret that hardwood flooring tends to accumulate a lot of grime and scuffs over time. Dirty builds up in the grooves between the wood grain, which can make for a nasty surface. Regularly buffing the surface of your floor every two to three months ensures that all this dirt and grime buildup is removed without scratching the surface of your floor.
How to Buff a Hardwood Floor
As you can see, regularly buffing the surface of your hardwood floor is important to its longevity and aesthetics. That’s why we’ve prepared a short tutorial detailing how to buff a hardwood floor, how to prepare the surface, and what you will need to ensure the job is done properly.
Buffing hardwood floors isn’t as difficult as it might seem, so don’t be too nervous if you’ve never done it before.
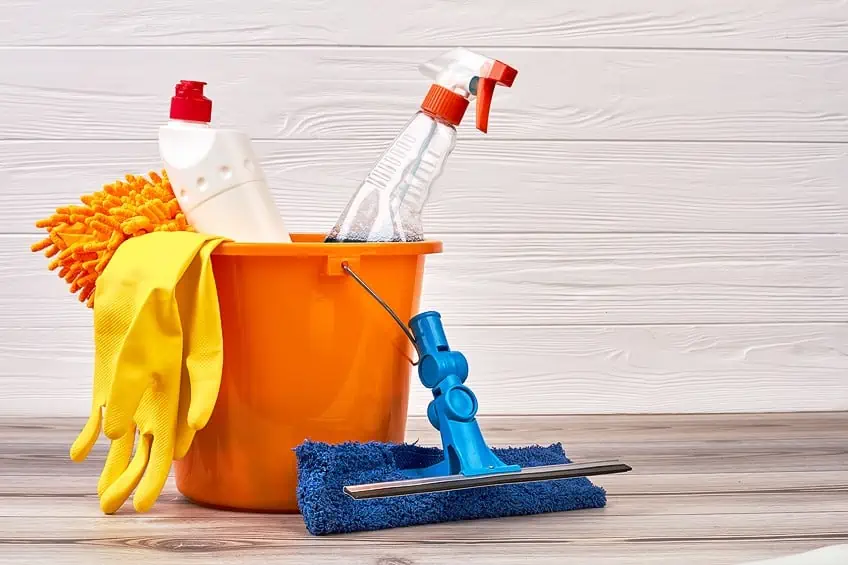
Gather Your Materials
When buffing hardwood floors, you will need some tools that you might otherwise not have laying around your home. To ensure that you have everything you need to resurface your flooring correctly we have prepared a short list for you. Be sure to shop around if some items are out of your budget, and don’t be afraid to check out product reviews online either.
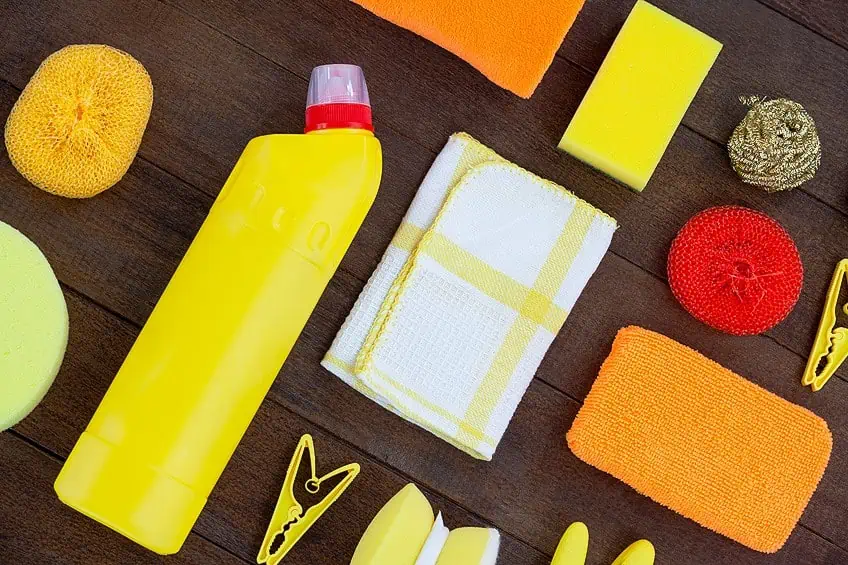
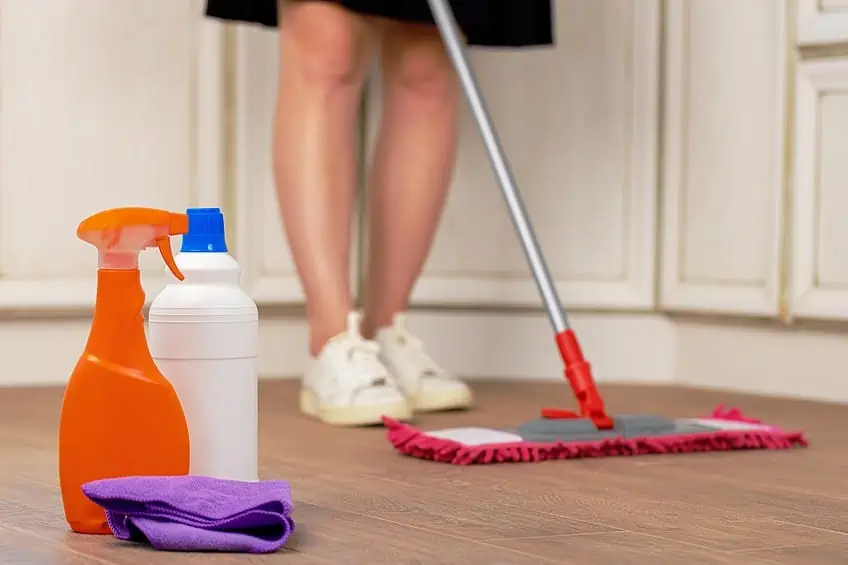
Liquid Polish
You will need to get your hands on some liquid polish. This is what forms the layer of protection on the surface of your hardwood flooring and will ensure that your surface looks nice and shiny once it has been polished.
Be sure to purchase polish for wooden flooring and not tiling or linoleum, as these will not work on wooden flooring.
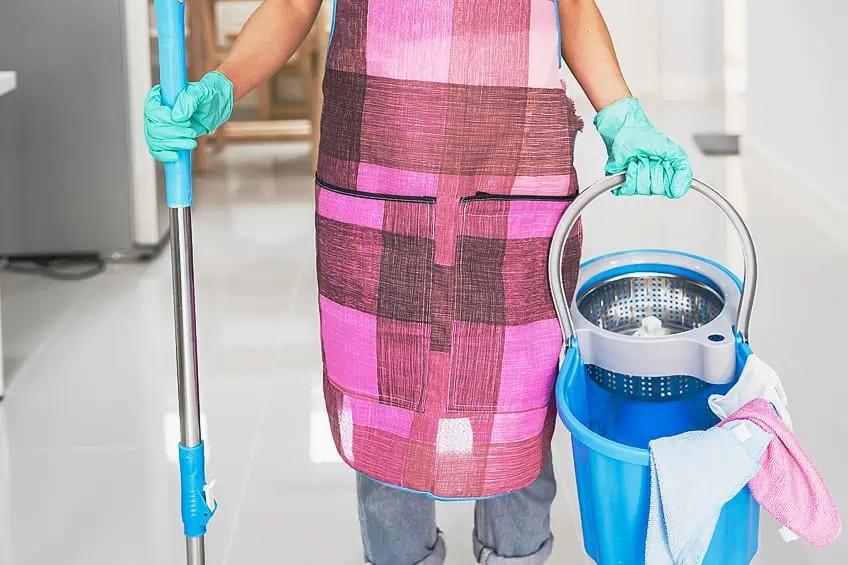
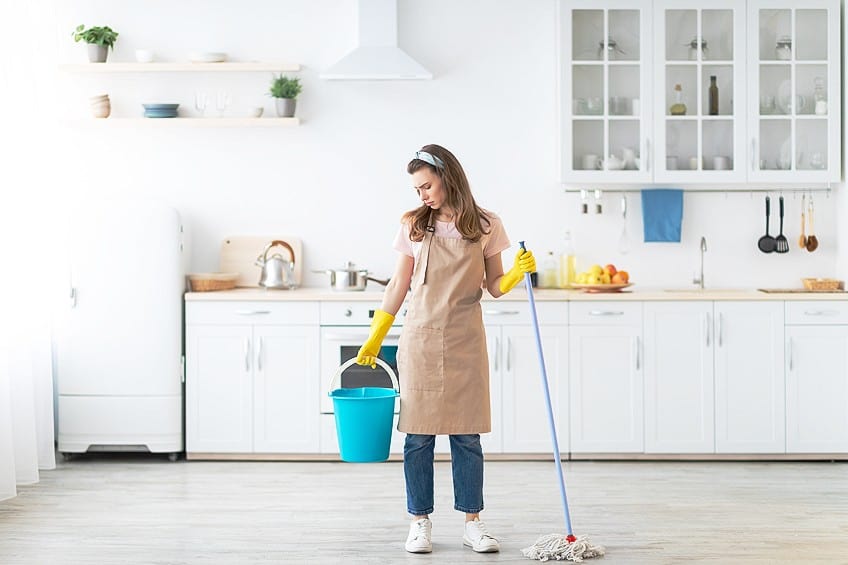
A Mop and Bucket
Before you begin polishing hardwood floors you will need to ensure that the surface is clean. Polish cannot be applied to a surface full of dirt and grime, so you will need a good old-fashioned bucket, mop, and some wood floor cleaner to ensure your surface is as clean as possible before polish is applied.
Polishing Pads
When polishing hardwood floors, you will need multiple polishing pads. This applied even if the area you intended to polish is relatively small. Why? Like polishing the exterior of a car, it will take multiple coats of polish and buffing to ensure the surface looks its best.
So be sure to purchase a few polishing pads before you begin buffing the surface.
A Buffing Machine
You will of course need a stand-up buffing machine to apply your polish. You could purchase one outright, or you could simply rent one for the day or two you’ll be polishing the floor. Keep in mind that if you do purchase one you will also need to store and maintain it, so be sure you have space and time needed beforehand.

A Spray Bottle
While this item is completely optional for the buffing process it can make the task easier. Polish can be poured in little sections across the floor as needed, but being able to spray your polish using one of these bottles can save you some time and money down the line.
Spray bottles tend to be more efficient in their distribution of polish, but as we mentioned previously, they are not a must.
Personal Protective Gear
Always keep in mind that wood floor polish can be hazardous to your health if inhaled or if it comes into contact with your skin. For this reason, we highly recommend that you always wear a set of gloves, eye goggles, and a face mask when working with these chemicals. Additionally, you should always ensure that your workspace is well-ventilated and has a consistent airflow in and out of the area.
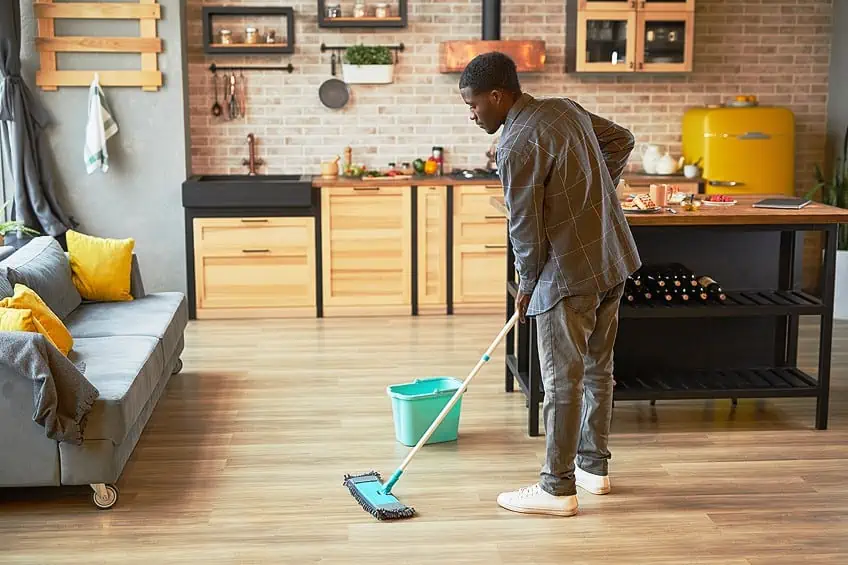
Prepare the Floors
Before we show you how to buff hardwood floors yourself, it’s important that the area you intend to buff is prepared correctly. The first step to ensuring your area is prepared for the buffing process is to remove any furniture and/or any other objects that might obstruct your polishing. Couches, cupboards, entertainment units, display cases, coffee tables, rugs, and free-standing light fixtures will need to be moved.
Once the room is clear, you will need to thoroughly clean the surface of your wood flooring.
Clean the Surface of Your Floor
Fill your bucket with some water and wood floor cleaner. Get your mop and begin cleaning the surface of your floor thoroughly. The best technique is often to work from one end of your space to the other, and if your space is large try working in sections to ensure that you do a thorough job. Keep in mind that your polish won’t work correctly if the floor is not properly cleaned.
The goal is to remove any dirt and grim present on the surface.
Be sure to ring out your mop between sections (or as often as necessary) to ensure that you aren’t just moving dirt around. Focus on any little recesses like cracks and slits along the floor as this is where the majority of the dirt would have gathered over time.
Once the floor has been thoroughly cleaned you need to ensure that it dries as much as possible. Whether it means opening a door or two to get some airflow in the area or using a dry cloth to tackle areas that simply won’t dry on their own.
Once your floor has dried, inspect it one more time before you begin the polishing process.
Ensure That You Are Wearing Your Protective Gear
Wearing your gear is important. Fumes produced by polish can be powerful and cause a wide range of reactions, so ensure that you are wearing a set of gloves graded for use with polish, a face mask or respirator mask, and some eye protection to ensure that stray particles of polish don’t accidentally hit you in the eye. Once you are ready, move on to the next step.
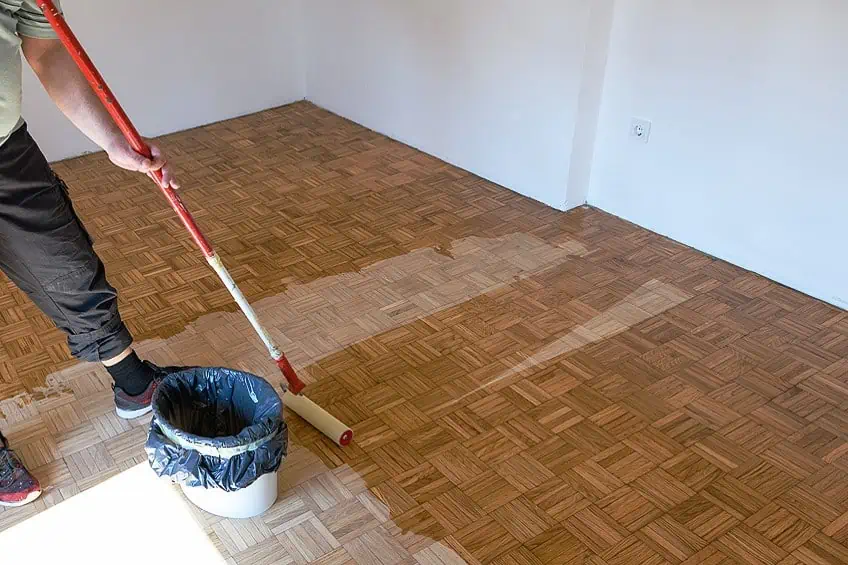
Apply Your Polish/Buffing Solution to the Floor
A lot like polishing metal surfaces, wood flooring requires that the polish be applied directly before the polishing process can begin. This means that you have two options, you can either attach a clean mop head (or clean your existing one) and apply the polish this way, or you can use a spray applicator designed for use with polish.
Here’s how to use both of these tools to apply your polish.
Using a Mop
Using a mop to apply polish to your floor is the way that most DIY enthusiasts tend to go about it. All you need to do is pour a moderate amount of polish at the end of the area you intend to polish and work away from this spot. You can apply it the same way you cleaned the floor or use circular motions to ensure an even distribution of polish.
Be careful not to apply too much polish as it will take a while to work it away using the buffing machine. If the shape of the space you are working in is a bit awkward to work in, try working from the edges toward the entrance, or apply polish to hard-to-reach areas by hand using a clean cloth to rub it in.
Using a Spray Bottle
Using a spray bottle to apply polish to your floor is far more efficient than using a mop, but it isn’t always necessary. It is quite simple though, simply pop the cap of your spray bottle, fill the container with wood floor polish, pop the cap back on, and begin spraying.
The strategy is the same as using a mop, starting at the furthest corner of your space and working your way back.
Spray as much polish as you need, but do watch out for any polish mist lingering in the air as it will get stuck on your clothing. Work in sections if your space is large to ensure even distribution and take breaks if you need to wait for the polish to settle. As when working with the mop, work your way toward the entrance of the room or you could find yourself trapped.
Buff Your Wooden Floor
Now that your floor has been prepared, it’s time to learn how to buff hardwood floors yourself. Buffing the surface of your wooden floor is simple and can be done in a day or less depending on how many rooms and how much square footage you have to cover. Start by attaching a buffing pad to your buffing machine and plugging it into an outlet.
The strategy when buffing the floor is the opposite of when you apply your polish.
Instead of working your way toward the exit you should work from the entrance toward the various corners of the room. This can take some time, so we recommend exercising patience to ensure that the floor is properly buffed, even if it is frustrating at times. The best technique when buffing a wood floor is to ensure that your buffer is moving all the time. As you move forward, ensure that it’s moving from side to side a little bit to work in the polish. You can start at one end of the room and work your way to the other, ensuring each section is equally polished before moving on to the next.
Do not stay on one spot for too long as it could lead to the buffer leaving burn-like marks on the surface of your floor. You should only apply moderate pressure when working with the buffer so as not to force the pads into the surface of the wood which could reduce its effectiveness. You should also ensure that you get the corners of the space. When working toward corners you should keep in mind that baseboards can be damaged if you get too close to them, especially if you are using an older model buffing machine that does not have guards in the edges.
Finally, try not to work yourself into a corner by establishing a clear path beforehand.
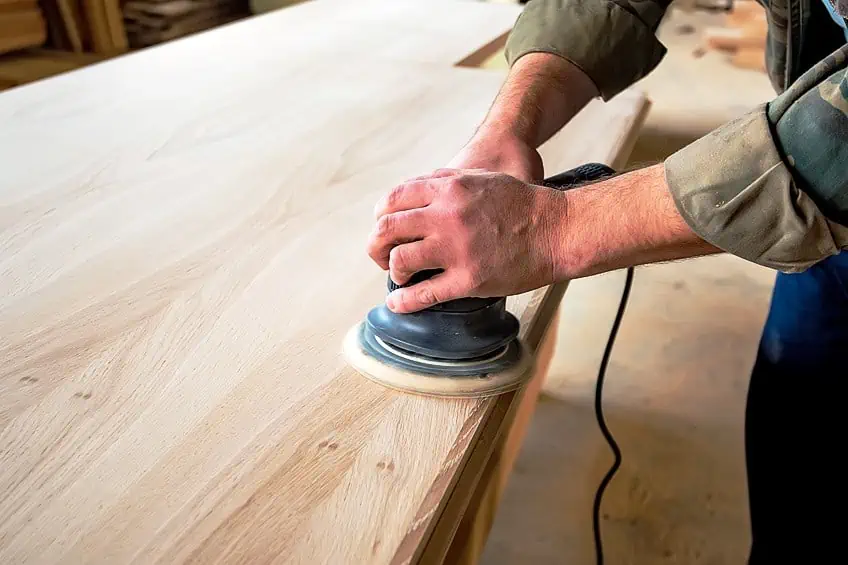
Changing Buffing Pads
Changing buffing pads is also an important aspect of using your buffing machine. Buffing pads are a lot like sanding pads that have different grits. They are available in different colors to indicate their levels of aggression toward the wooden surface, and knowing when and where to use them can make the difference between a good finish and a bad finish. For example, white pads are very delicate and can only be used for polishing.
Red pads are ideal for touch-ups removing light scratches, and general cleaning applications.
Pads that are blue, green or gray are known as burnishing pads which are quite rough and should only be used with high-speed buffing machines. When resurfacing a wooden floor, you should use a dark gray pad with a high-speed buffing machine. These are used to strip away an existing finish. If you don’t want to remove the existing finish but you do want to clean up scratches and gouges you should use a light gray pad known as a scrubbing pad (because they “clean” the surface”).
The last pad you’ll come across is the stripping pad. Completely black in color, these pads are used to completely remove the existing finish, any wax that has been applied to the surface, scuff marks, scratches, raised areas, any anything else that could have affected the wood over time.
These should only be used with low-speed buffing machines to avoid damaging your flooring.
Cleaning and Maintaining Your Floor After Buffing
Once you have finished buffing your floor and allowed the polish to set in for a bit you could use a white polishing pad on your buffing machine to give the flooring a nice shine. The same approach applies, and if you would like a glossy look on your surface then be sure to use a spray bottle with a little while you polish up the flooring.

As far as maintenance goes, it really does depend on the amount of foot traffic that you are up against. Most wooden flooring needs to be touched up around once every three months but depending on the durability of the finish and the amount of foot traffic it endures this could be extended to once or twice a year if it’s not really used.
Now you know why it’s a good idea to buff your flooring every once in a while! Remember that wooden flooring is a treat to have but unless you are willing to maintain and repair it as needed, it can quickly become an eyesore. Ensure that you use the correct polish, pads, and speed setting with your buffing machine, and don’t forget to wear your eye protection, gloves, and face mask when working with wood floor polish.
Frequently Asked Questions
Can You Buff Wood Floors?
There are many advertisements for tile polishing products, but can you buff wood floors? Yes, you absolutely can! Wood floors can be buffed, and there exists a whole range of products and tools that you can use to ensure your wood flooring is nice and shiny.
Is It Difficult to Polish Hardwood Floors?
If you have hardwood floors, you could be hesitant to polish them yourself. However, it is not too difficult to polish hardwood floors, with the only big learning curve involving the use of a buffing machine. Buffing a wood floor can be done by beginners in a day or two with fairly good results.
Should You Seal a Hardwood Floor?
DIY enthusiasts and professional floorers will both recommend that you seal hardwood flooring as soon as it is installed. Wood can warp, splinter, crack, expand, contact, scratch, and dent. Sealing your flooring will prevent all of these potential issues and prolong the lifespan of your floors.

I have been into woodworking since 2005 and woodturning since 2011. Because of my love for wood and woodworking, I started woodhappen.com to teach other enthusiasts about how to finish and seal wood, the best woodworking tools, the different types of wood, and everything else related to woodworking! Read more about me here.