Can You Paint Pressure-Treated Wood – Painting Treated Wood Easily
Painting wood can be a tedious process to the uninitiated, not to mention that there are several other factors to consider besides whether you have the right paint for the job. When woods are treated either chemically or via heat treatment, certain things need to be done before they can be treated. One of the processes that require some care before painting is pressure treatment for wood. Can you paint pressure-treated wood? What is pressure treatment? Let’s unpack these questions and explore the best way to go about painting pressure-treated wood.
Why Is Wood Pressure Treated?
There are several processes that wood can go through before it is sold to the public. One of these processes is known as pressure treatment. This process exists to facilitate the introduction of chemicals into the fibers of a given board of wood, these chemicals allow the board to develop an innate resistance to things like mold, insects, and moisture.
Essentially what happens is that moisture is extracted from the core of the wood and then reintroduced with these chemicals attached, allowing said chemicals to absorb into the core and surface fibers of the wood more effectively. This process also increases the longevity of a given board of wood and creates increased resistance to both hot and cold weather.
What Happens in the Pressure Treating Process?
The pressure treatment process is simple. Before wood can be treated it needs to be free of bark and other obstructions which could hinder the process, therefore boards selected for this process are debarked and punctured slightly to assist with the introduction of the chemicals. Once the board has been debarked and punctured along its primary surfaces, it will be placed into a large cylindrical pressure chamber in large numbers.
The cylinder has the ability to increase and reduce localized atmospheric pressure, therefore the process involves the chamber being flooded with wood treatment chemicals and the pressure chamber facilitates the absorption of the chemicals into the wood fibers.
Why Should Wood Be Pressure Treated?
There are several ways to protect the wood from damage that stems from moisture and corrosion. A common way people go about protecting their wood is by simply applying a coat of lacquer, treating it with wood varnish, or applying what’s known as epoxy resin.
These substances go a long way in ensuring that the wood’s core and the surface are protected from things like moisture, heat, termites, rot, and mold. It is important to note that these treatments provide additional protection from the aforementioned afflictions, however, pressure treatment is often the primary means of ensuring your board is insulated.
Pressure-treated wood can be slightly more expensive than untreated board, but it does provide you with peace of mind particularly if your workpiece will be exposed to the elements or experience dramatic temperature changes.
Can Pressure-Treated Wood Be Painted?
Can you paint pressure-treated wood? Absolutely! Painting wood that has been pressure treated can be a bit tedious as we mentioned previously and will require you to dig deep into your well of patience to get the job done. The most prominent problem you will face when attempting to paint pressure-treated wood is that it is often transported to suppliers in its “wet” state and then sold as such.
Now, you might be thinking that you will simply wait for the wood to dry and proceed to go at it with your primer and paint as you normally would with any other type of board, and you would be correct, except that it could be a bit more complicated than that. Unlike conventional untreated wood which can be kiln dried and painted, painting pressure treated wood requires it to be completely dry and this process can take anywhere from a few weeks to a few months to complete. Then why not stick it in a kiln or equally warm environment to speed up the drying process you might ask?
Well, there’s a fine art to speeding up the drying process for pressure-treated wood, and we use the term art because there does not seem to be an exact science to creating an environment conducive to this process (the kiln does work though).
Too hot? The wood will split and crack open. Too cool? The moisture will rise to the surface and the board will never become dry enough to paint. Painting pressure-treated wood requires patience, and more importantly lots and lots of forethought.
Can Pressure-Treated Wood Be Stained?
Whether staining or painting treated wood is better has been up for debate among both enthusiasts and experts for a long time. The good news is that you will be able to do both, and luckily for you (if you do decide to stain your treated wood) staining wood is way easier than painting it. There are a few things you should be aware of before you get your hands dirty though. Staining treated wood is a lot easier than painting it, but the wood needs to be significantly drier than if you were to paint it.
Therefore, if you intend to stain your treated wood you should look for a board that has KDAT stamped on it, this means that the wood has been kiln-dried to an extent so most of the moisture has been removed. These boards will dry much quicker and the probability of your stain being rejected due to moisture decreases considerably. Should you want to know how to prepare pressure-treated wood for wood staining, here are a few steps you can follow.
- Check that your wood is dry. Sprinkle some water on the surface of the board and monitor how much time it takes for it to seep in. If it takes far too long or does not seep in at all the wood is not ready.
- Ensure that your board is clean. You can use a wood cleaner and apply it directly to any dirt on the surface of your wood and allow it to dissolve. Wipe off any residual cleaner or dirt and ensure there is nothing but wood fiber present on the surface of the board.
- Ensure that your wood stain has been mixed on well before you begin applying it to your workpiece. In order for the density of the color to be consistent, ensure that the residue at the bottom of the can is mixed well with the content on the surface.
- You can then rinse the wood off with a garden hose or tap depending on the size of your workpiece. Make sure not to get the wood soaked, the goal is simply to clean the surfaces you will be applying your wood stain to.
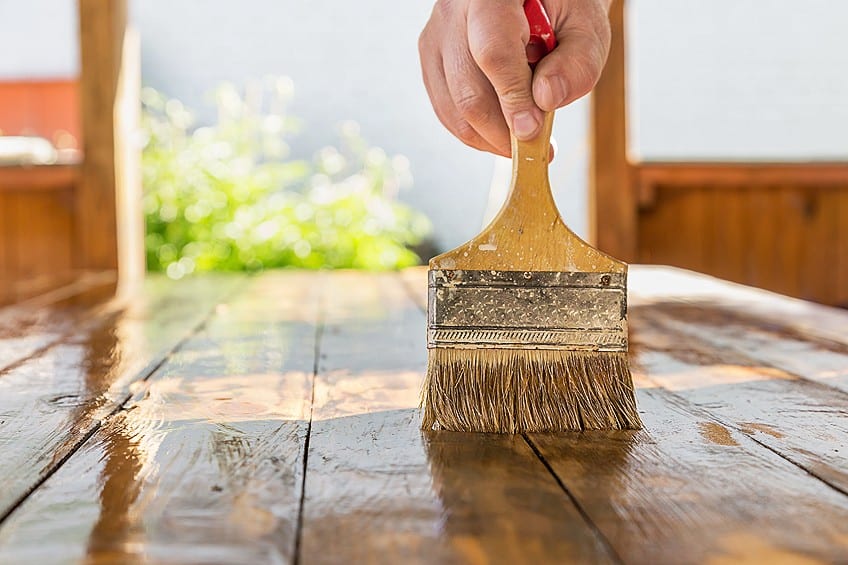
- You may begin applying your wood stain. Depending on the position of your workpiece (outdoor deck, outdoor furniture, dog houses) choose an application technique that won’t have stretching all over your workpiece. Brushes work for tight spaces and grooves, whereas painting pads work for level surfaces.
What Should You Know Before Painting Pressure-Treated Wood?
There are several things you should keep in mind and be aware of before pressure-treated wood can be painted effectively. If wood is not prepared correctly or not dried adequately before the paint is applied your paint could end up peeling off the wood. The last thing anyone wants is for their hard work to go down the drain thanks to a silly mistake, so here are a few things you can keep in mind to ensure your paint or wood stain stays firmly adhered to your pressure-treated wood throughout your project’s lifetime.
Check What Grade of Treatment It Has Received
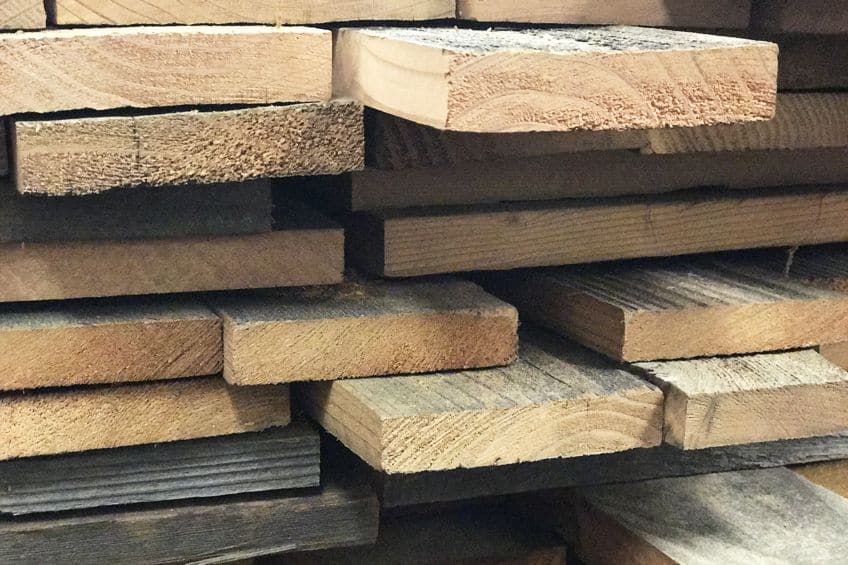
There are basically two types of pressure-treated wood you can buy. These types are known as above-ground pressure treated wood and ground contact pressure-treated wood. As can be deduced from their names, above-ground pressure-treated wood is graded for use where the material will definitely be in contact with or submerged in soil and/or similar surfaces, whereas ground pressure treated wood has been graded for applications where it will not be in direct contact with aforementioned surfaces and/or suspend entirely.
These types of boards are distinct from one another in that ground contact pressure treated wood undergoes a more rigorous chemical pressure treatment than above-ground pressure treated wood and therefore might take a bit longer to dry.
Above-Ground Pressure-Treated Wood
- Receives regular pressure treatment
- Dries from pressure treatment relatively quickly
- Is graded for use above ground or suspended entirely
Ground Contact Pressure-Treated Wood
- Receives prolonged pressure treatment
- Takes much longer to dry from pressure treatment
- Is graded to be submerged in soil or below the congregate surface
Ensure Your Wood Is Dry
As we have mentioned a couple of times before it is of utmost importance that your wood is dry before you attempt to paint or stain it. Treated wood takes a long time to dry, therefore if you are buying this type of board you should ask your supplier how long it’s been allowed to cure and more importantly inspect it personally before it gets loaded up.
Do a “sprinkle test” and see if the water absorbs into the wood at a reasonable rate, and lastly check the wood for the marking KDAT for the peace of mind that at the very least it has been kiln-dried after pressure treatment.
How to Paint Pressure Treated Wood
There are a few steps you should follow when painting pressure-treated wood. If you already know how to paint pressure-treated wood you might learn a thing or two, and if this is your first time learning how to paint pressure-treated wood it will provide you with some insight you might only learn through experience, which could make your learning curve much shorter.
Ensure Your Surfaces Are Clean
When painting any surface, although especially when painting treated wood, it is of utmost importance that you ensure that the surfaces you will be painting are as clean as possible. Most guides will advise that you clean your board with soapy water, which is good practice, however, if you allow the soap to soak into the wood you will have to wait for it to dry before you can take the next step. A clever way to get around this is to fill a shallow container with a small amount of soapy water and dip a brush into the solution. Simply brush the wood with the soapy solution while being as conservative as possible.
When you are satisfied with the state of your painting surfaces, wipe them down with a dry cloth and allow a few minutes for the board to dry before taking your next step.
Allow for Drying Time
If you noticed that the water and/or soap you used to clean the wood began to bead when you applied it, it could mean that your wood has not dried out properly. Ensure that the soapy water you used earlier has dried completely and has not beaded or run down the surface you will be painting. If the water has not been absorbed into the wood and evaporated you will have to wait for the drying process to be completed, this can take anywhere between a week or two to a month depending on the moisture content of the wood and local atmospheric conditions.

Is this a drag? Unfortunately, yes, but this is the price you might have to pay for having a wood that has been pressure treated, and if you stay the course the longevity of this material will undoubtedly pay for itself in the future.
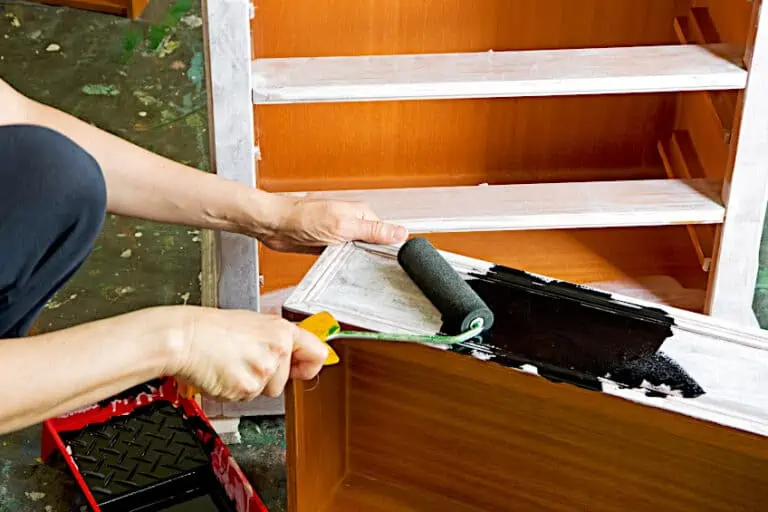
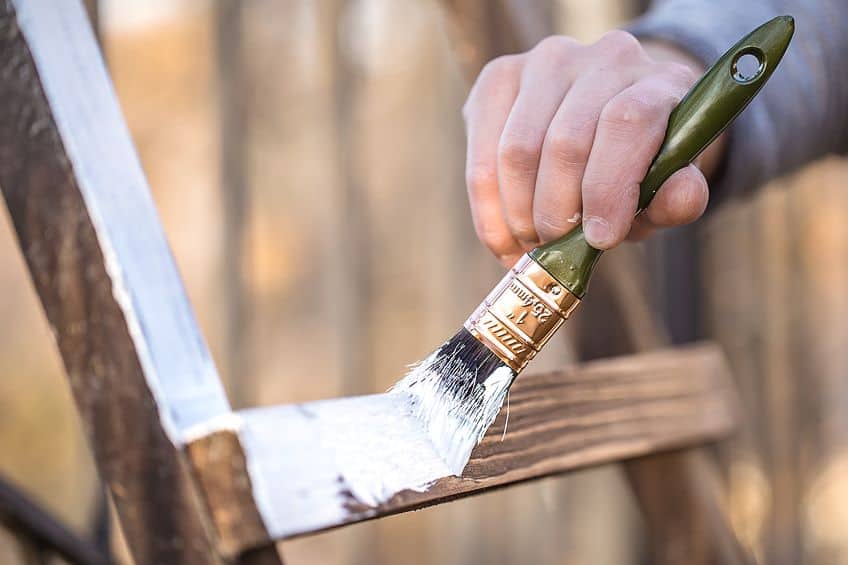
Prime Your Surface
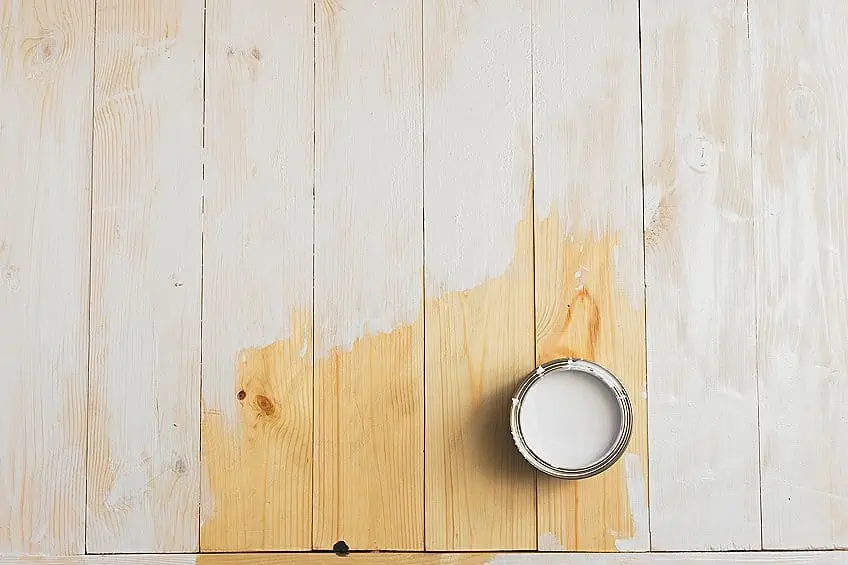
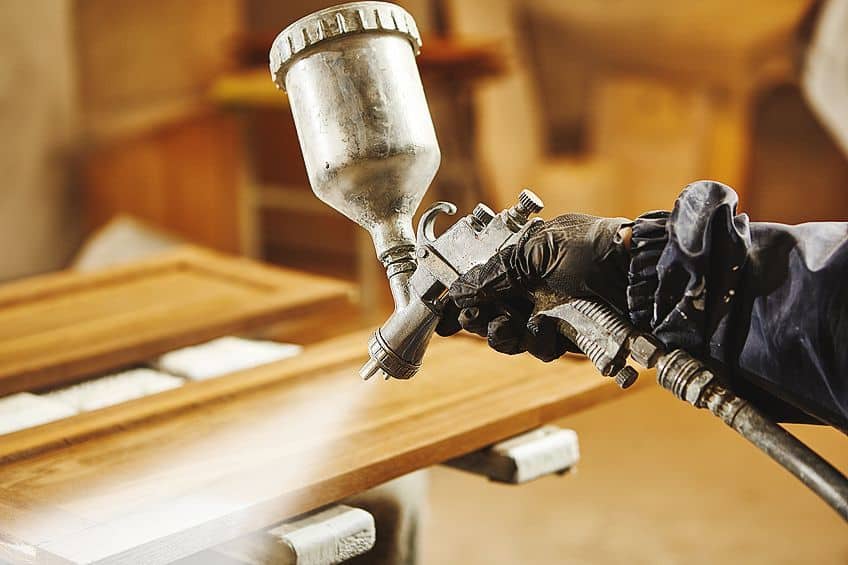
You will require a primer when painting treated wood. Once you are sure that your surface has dried you should get your primer ready. It is highly recommended that your use a primer that has been designed for exterior use (primer for outdoor decks and porch woods normally do the trick) as this will complement the nature of the material. Ensure that your primer is mixed on well, once ready you will have to choose between using a paint sprayer or a brush.
Using a paint sprayer will ensure you have a uniform application of your primer and the absolute necessary amount is applied to the surface of the wood. Remember that the wood fibers are already saturated with pressure-treated chemicals, so overloading the wood with another substance would be counterproductive.
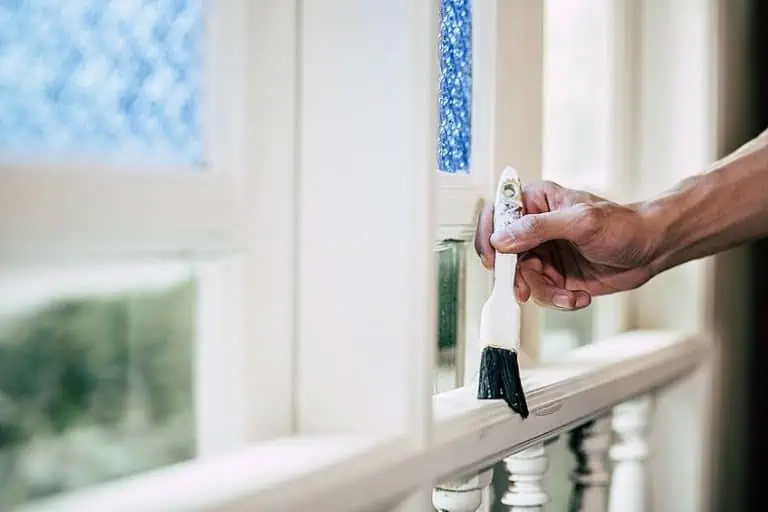
A brush can be used to reach those hard-to-reach areas especially if you are working with ornate furniture. Allow your primer to set in and dry for the time recommended by the manufacturer, if there is no recommended period 24 hours usually does the trick and eliminates any margin for error.
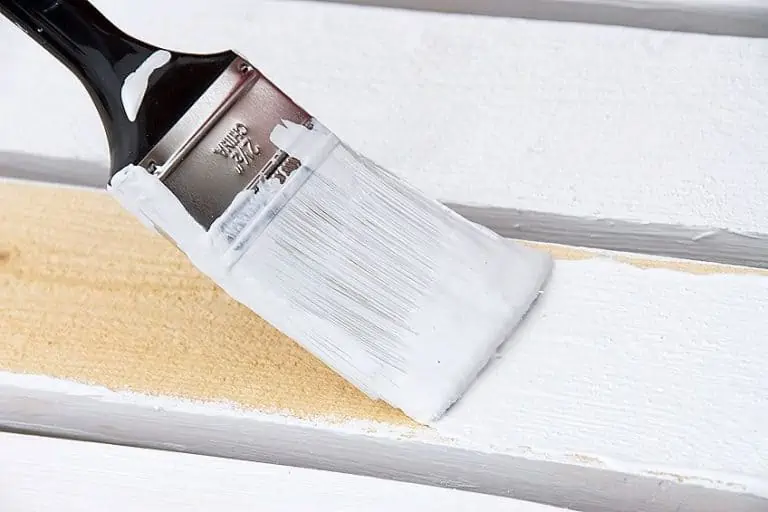
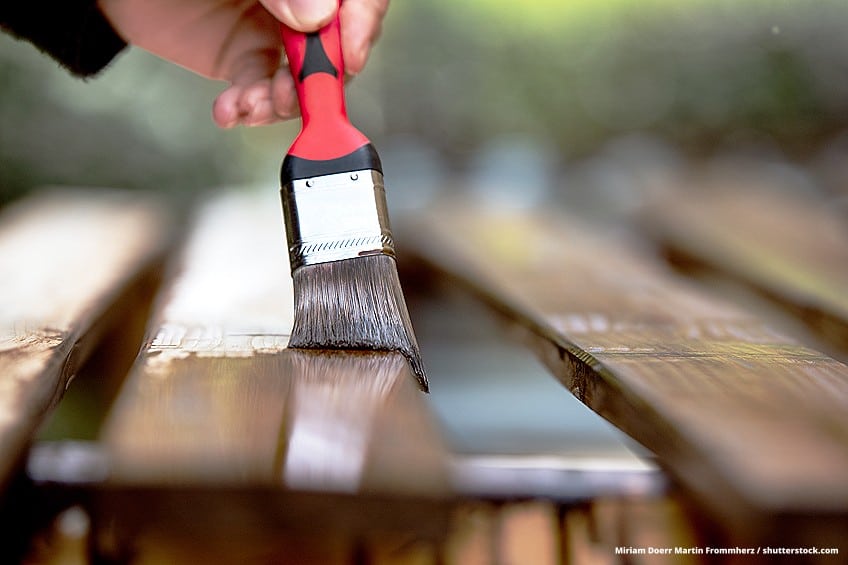
Painting Treated Wood
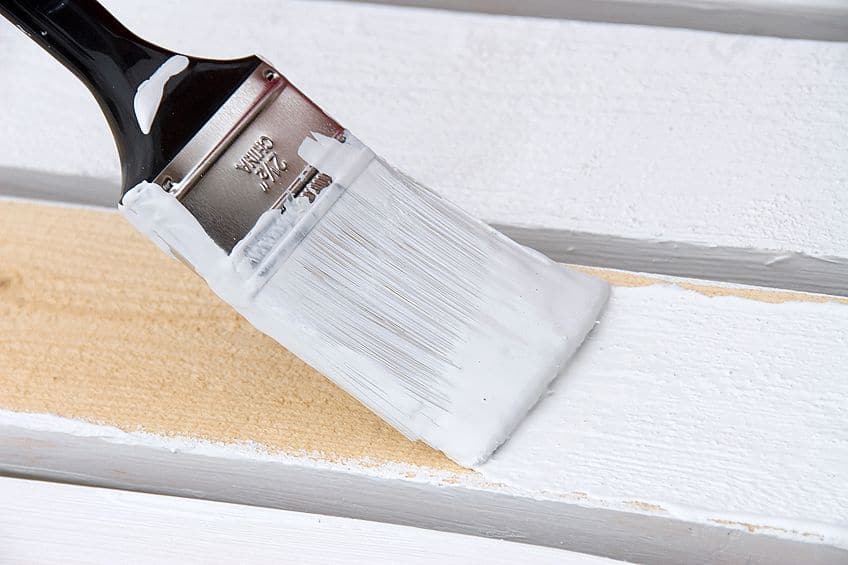
As we mentioned previously when you paint treated wood, you should avoid using substances that could conflict with the pressure treatment chemicals in the wood fibers. One of these substances is oil paints which won’t bond well to the wood due to the aforementioned chemicals. When you paint treated wood, it is best to use latex-based paints as these won’t have to work as hard to bond to the wood fibers. Remember that you don’t want to apply thick layers to this wood, medium coatings should be perfectly fine and ensure that your finish is of high quality.
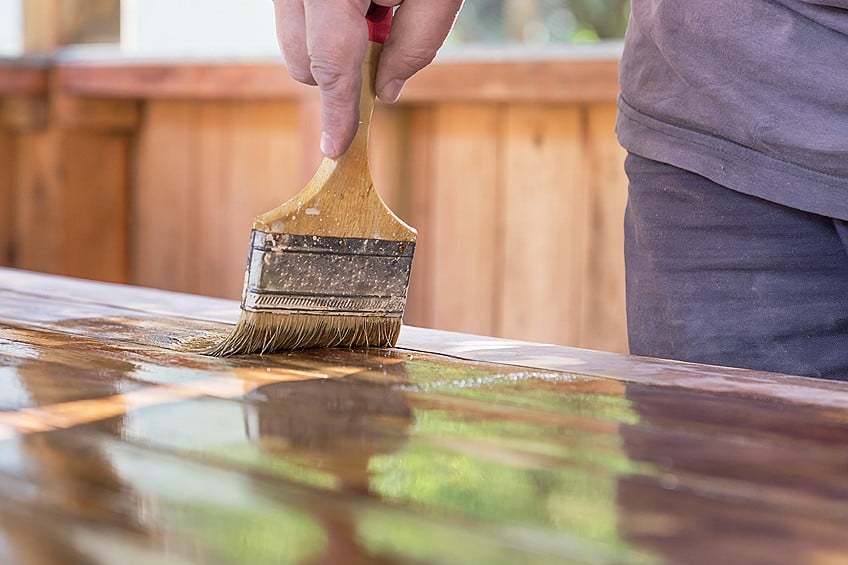
Typically, when working with pressure-treated wood it is considered ideal to aim for roughly two coats of paint, allow the paint to dry between coatings, and remember to sand the surface down lightly with fine-grit sandpaper and clean it off. Once your coatings have dried you can add a sealer if you would like to protect your finish, but this is entirely up to you.
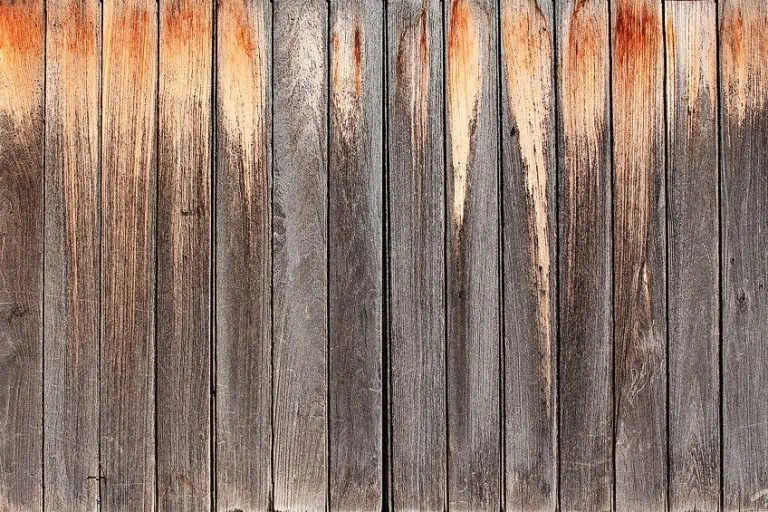
Your finish will ultimately last longer if you use a sealer or a resin coating, but this depends on how your board will be positioned. If your board is going to be used as a horizontal covering (an outdoor roof or outdoor flooring) your finish is going to take a beating, however, if it is positioned vertically (a fence or load-bearing pillar) your finish is likely to last longer.
Tips, Tricks, and Safety
Here are some quick tips and tricks regarding painting pressure-treated wood and how they can help make your finish last longer, your job easier, and your extremities a bit safer as your work in the future.

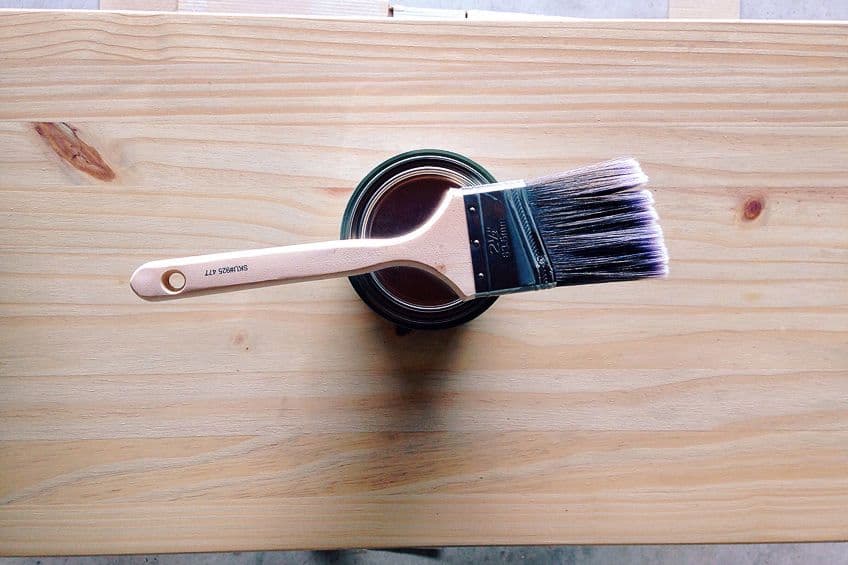
Choosing Primer
Painting pressure-treated wood is tedious but extremely rewarding once your workpiece stands completed before your eyes. An important part of the process and primer for pressure-treated wood is easy to come by, but don’t just use any sort of primer for this material as it could easily be rejected by the wood. The best primer for pressure-treated wood are ones that have been graded for use outdoors.
These primers tend to set in well and are formulated for use with tough paints as well, this will ensure that your painting process goes smoothly.
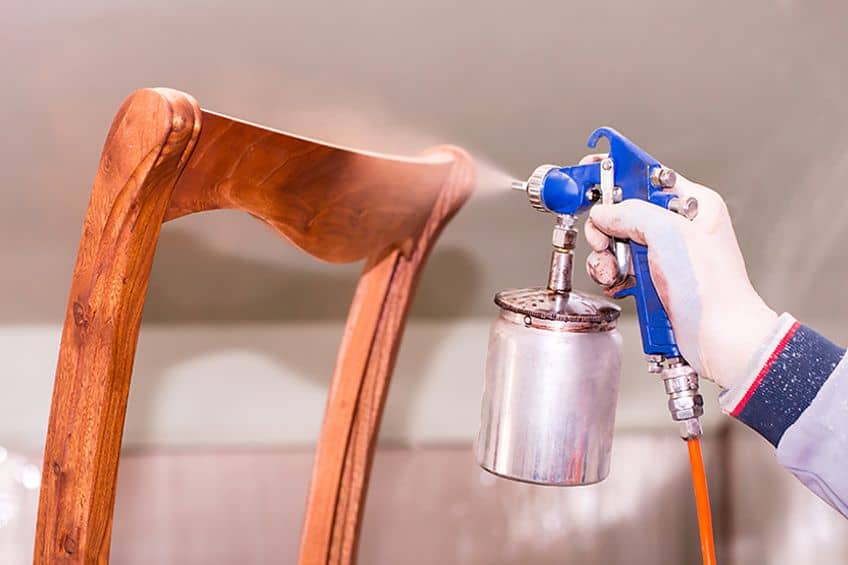
Using Sprayers
Remember that regardless of what type of material you are painting a spray gun will always make your life just a little bit easier. Spray guns allow you to spray evenly, accurately, and cut your spray time in half. They also allow you to gauge the consistency of your coatings a lot better and have nozzles that adapt to virtually any spraying pattern. Using a spray gun will also allow you to apply primer and sealer more effectively than a brush, so getting one for spraying treated wood is highly recommended.
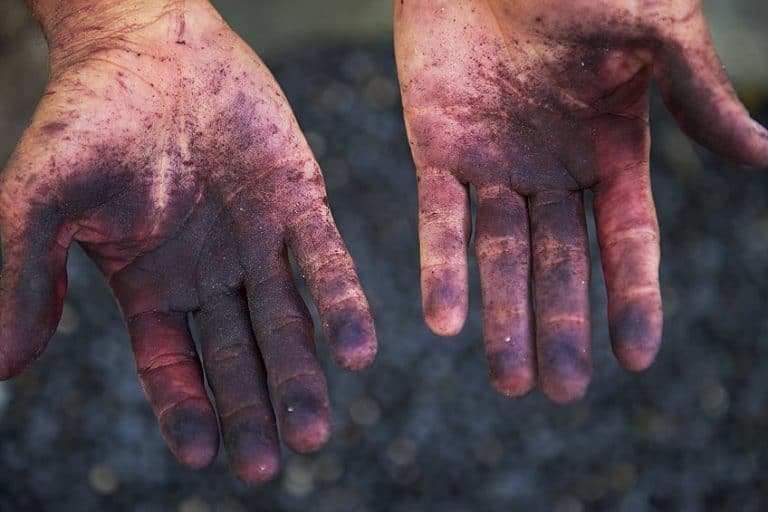
Safety First
Safety is of extreme importance when working with paint, regardless of whether you are using a spray gun. Although there are still many debates on whether the chemicals used to treat wood warrant any concern by craftsmen, it is always a good idea to ensure your eyes, hands, mouth, and nose are adequately protected when working with paint, primer, sealer, or any material that could potentially cause discomfort should they come into contact with these areas.
It is never a good idea to burn pressure-treated wood or use it as a surface that will come into contact with raw food products.
Now that you have an idea of what pressure-treated wood is, what the process of chemically treating wood is, how this process benefits you, and how you can go about painting your treated wood effectively, it is time for you to go out and test your skills. Remember to ensure you have the correct primer, use a sprayer wherever possible, and as always put your safety first!
Frequently Asked Questions
What Happens If You Paint Treated Wood Too Soon?
What happens if you paint treated wood too soon? Painting treated wood too soon ultimately results in the wood rejecting the paint. The chemicals in the wood have already saturated the wood fibers and therefore there will be no room left for the paint to be absorbed into the wood. Your paint will ultimately bead on the surface and run off the wood surface.
Can You Paint Treated Wood Right Away?
Can you paint treated wood right away? Although it is not recommended it could be possible if your wood has been kiln-dried beforehand and dry enough to accept your paint and primer. Kiln-dried wood can be identified by the marking KDAT on the surface of the wood, which usually means that the wood is ready to receive a coating, but just to be sure we suggest checking the wood by pouring some water on it. If the water beads up on the surface the wood is not yet dry enough.
How Is Pressure-Treated Wood Disposed of?
How is pressure-treated wood disposed of? Pressure-treated wood should by no means ever be burned. You should take any pressure wood you need to dispose of to your landfill and mark it as such. Do not attempt to repurpose this wood if you have no experience or knowledge of the process as fumes produced by this wood-burning may cause discomfort.

I have been into woodworking since 2005 and woodturning since 2011. Because of my love for wood and woodworking, I started woodhappen.com to teach other enthusiasts about how to finish and seal wood, the best woodworking tools, the different types of wood, and everything else related to woodworking! Read more about me here.