Types of Wood Joints – How to Make Carpentry Joints
While most of us appreciate our furniture in visual and everyday functional terms, we rarely consider how they were put together. There is actually a lot of time and effort that goes into the creation of all our furnishings, and the manner of their construction can be an instant clue to the quality of an item. One of the most overlooked aspects of most furniture is how their pieces have been joined together, and maintain their structural integrity over the course of their lifetime. There are many ways to join furnishings, namely with adhesives, locking mechanisms like screws, bolts, and rivets, and lastly, wood joints. The latter has a variety of applications not only in the woodworking industry but in crafting and even home construction. This being said, let’s have a look at what wood joints are, the different types of joints that are commonly used, and their specific applications in wood workpiece creation.
What Are Wood Joints and Why Are They Better Than Adhesives?
This is a pretty difficult question to answer considering that which one is better depends largely on the application. They both have their strengths and weaknesses, but wood joints are typically used for more robust applications where wood glues and similar adhesives would not be conducive. What applications would require wood joints instead of adhesives?

Well, if you only have wood glue at your disposal and your workpiece will be situated outdoors it’s likely that it won’t have the adhesive strength to withstand the forces acting on it. Things like the wind, moisture, heat, impact, abrasion can warp and even tear off joining points on a wooden workpiece if the adhesive used isn’t enough to hold it together.
In other instances, if a workpiece will be under constant strain and will be performing a load-bearing task like a bunk bed, shelving for kitchenware, housing units for stovetops, or even large bookshelves. In these applications, adhesive bonding mechanisms simply aren’t enough to withstand the forces acting on the furniture, and as a result, they are either replaced or used in conjunction with wood joints.

One of the most common applications of wood joints is in the construction of tables. This is because they need to be sturdy enough to handle the weight they’re meant to support, all while remaining sturdy enough to be moved without being disassembled. Wood joints also allow things to be disassembled with greater ease and act as a guide for when furnishings need to be assembled.
This being said, the addition of wood joints to a workpiece not only makes it more secure and a lot sturdier, but it grants a degree of convenience to both owners and constructors of furniture all over the world. The same cannot be said for adhesive polymers like epoxy and heavy-duty wood glues, which is why most crafters either use one or a combination of these joining methods.
Different Types of Wood Joints
It’s easy to see that wood joints are an important and convenient part of furniture creation, although it should be mentioned that there are many different types of wood joints. These are used in various applications where their particular fit is needed to secure a facet of a given workpiece. Let’s have a look at some of the most common types of wood joints and how implementing them strengthens and/or secures the workpiece they are used on.
A Tongue and Groove Joint
This is one of the most useful joint types, especially in the contracting industry. This joint type is typically used to ensure that floorboards do not move as they are being installed, but they can be used to construct vertical surfaces as well. This joint type runs along the long end of a board and is characterized by each side being step tapered. The receiving joint is a negative of the tapered one, which allows them to slot into one another.

Tongue and groove joints are relatively easy to make especially if you have the right tools for the job. You can cut a tongue and groove joint either with a dedicated tongue and groove joint cutter, with a straight bit, or with a slot cutter. All of these tools are readily available and should ensure that your tongue and groove joints are properly cut and won’t obstruct the installation of your workpiece.
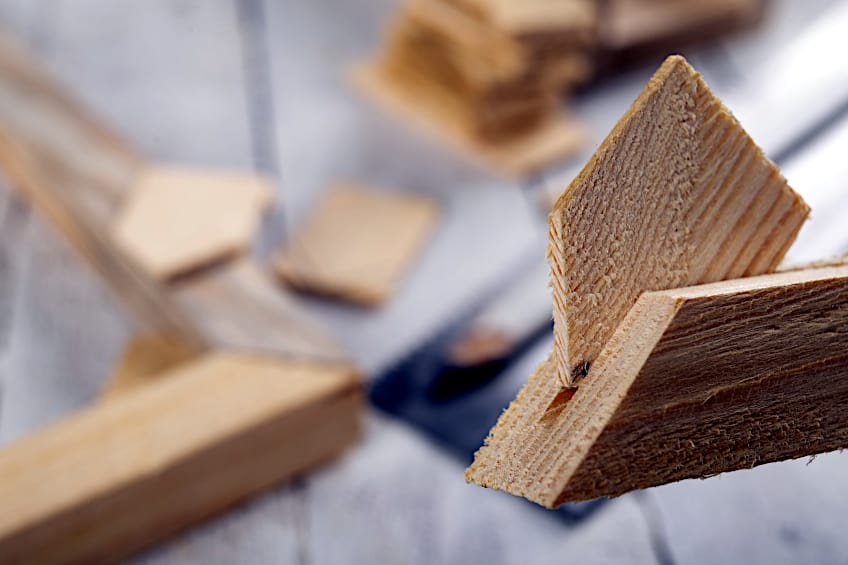
A Mitered Butt Joint
A butt joint is essentially when two pieces of wood are joined together at two ends with two dowels. A mitered butt joint is pretty much the same thing except that the joining points are at a 45-degree angle which allows for a perfectly tailored corner piece without having to sacrifice the length of either board.

This technique isn’t always required but it does present a neater finish as it is particularly useful when constructing wooden cabinets, boxes, tables, or molding brackets. It’s very similar to a butt joint but it is significantly stronger compared to a conventional butt wood joint. This joint can be cut by hand through the use of a protractor to measure the angle of approach and can be secured with dowels or things like nails or screws.
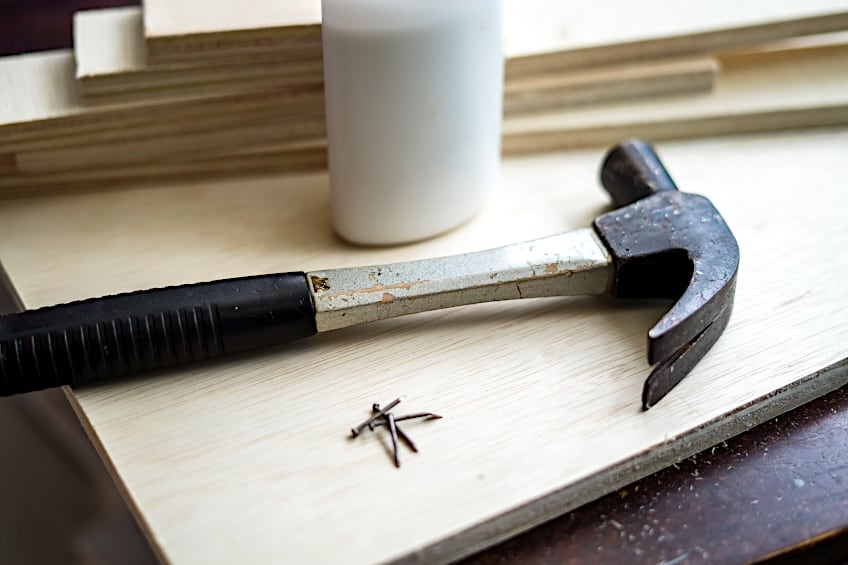
A Regular Butt Joint
In the world of wood joints, a conventional butt wood joint is one of the most commonly used joint types in any application. It’s typically used to create corner pieces like at the end of tables, floor lining, chairs, and even door frames. This technique is characterized by two boards butting against one another at (usually) a right angle and then joined using a fastener like nails or screws, but dowels can be used if the application demands it.
Unlike some of the other wood joints we’ve looked at so far, this doesn’t require a range of special tools to make up. All that you need to do is ensure that both boards being joined are the same length and breadth before joining them to ensure a perfectly flush joint. Essentially, all that you need is a ruler, some sandpaper, and a hand saw and you should be good to go.
A Biscuit Joint
One of the coolest looking and easiest to fabricate wood joint types has to be a biscuit joint. This joint is really useful and is one of the newer wood joining types available for use. This joint is fairly simple to make, all that you need to do is cut a slot into the ends of the boards that you want to join. Once the slots have been cut, fashion a piece of beechwood into a wafer and inert it into one of the slots you have cut.
The wafer or biscuit essentially acts as a flange between the two pieces of wood and when coated with glue before being inserted into the board, will expand fill the gap in the slots in the two boards. The easiest way to make the slots is to use a small bit on the edges of the board, just make sure that you mark the size of the slot you’re trying to make, or you’ll have to compensate with a wider wafer.
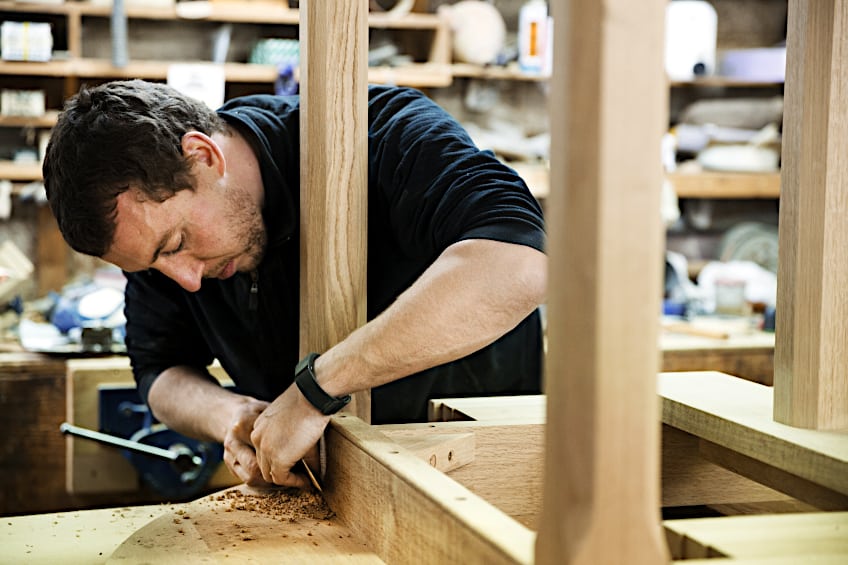
A Mortise and Tenon Joint
One of the oldest woodworking joints on the face of the planet is the mortise and tenon joint. This has been used for hundreds of years by many civilizations all over the world as a woodwork joining technique for load-bearing applications. It is characterized as one board having a cube recess cut into it and another board having a cubed flange attached to it. The flange is then inserted into the recess with (or without) some wood glue.

How do you make a mortise and tenon joint? All that you need to do is butt the two boards against one another to mark exactly where the recess needs to be with a pencil. Next, mark where you would like the shoulders of the flange to be, and then the flange itself. Next, use a mortise and tenon gauge to score the markings you have made
Finally, use a tenon (or similar) saw to carve out the cheeks of the tenon. Once all of the excesses have been removed, trim and neaten the tenon up very lightly with some sanding paper. Now to sort out your recess (or mortise). Clamp your second board and use a mortise chisel to remove material from the marked area of your board, and double-check the depth before inserting your tenon.
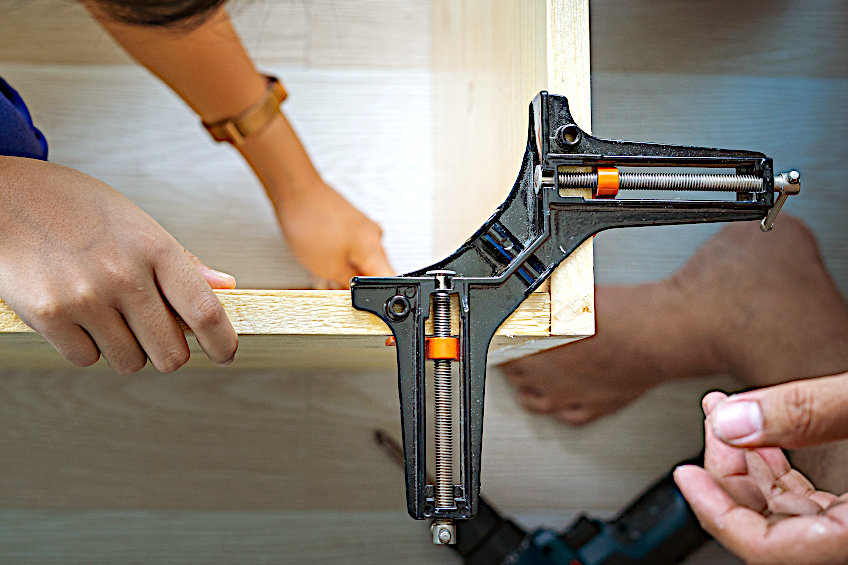
A Pocket Joint
Pocket joints are really fun to make and easy to use compared to some of the wood woodworking joints we mentioned previously. What is a pocket joint you ask? Well, simply it consists of pre-drilled holes that are drilled at an angle on one piece of wood, usually toward the surface toward the edge of the board. This then allows you to insert self-tapping screws into the holes to secure the board to another piece of wood.
How do you make a pocket joint? It’s really simple as you don’t have to prepare both pieces of wood to get it done. Pocket joints are made by drilling holes at a 15-degree angle towards the edge of the board in question. You should ensure that the spacing of the holes is equal though so don’t forget to measure and mark the distance between these holes beforehand.
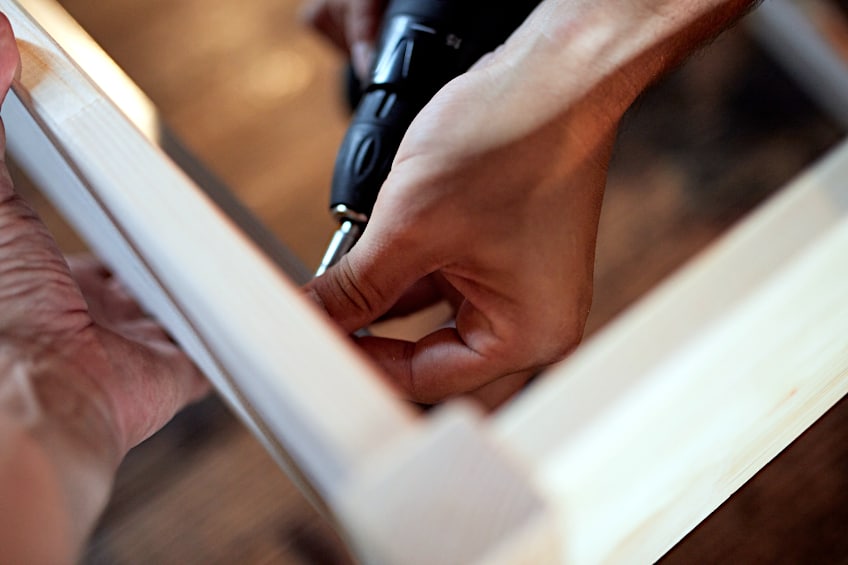
Once tapped, line your now pocket-jointed board up with the piece of board you would like to join it with and insert some self-tapping wood screws. These joints are usually used for joining corners of a workpiece and are a common sight in the construction of tables and chairs. Clamping both boards while inserting your self-tapping screws will also assist in the joining process.
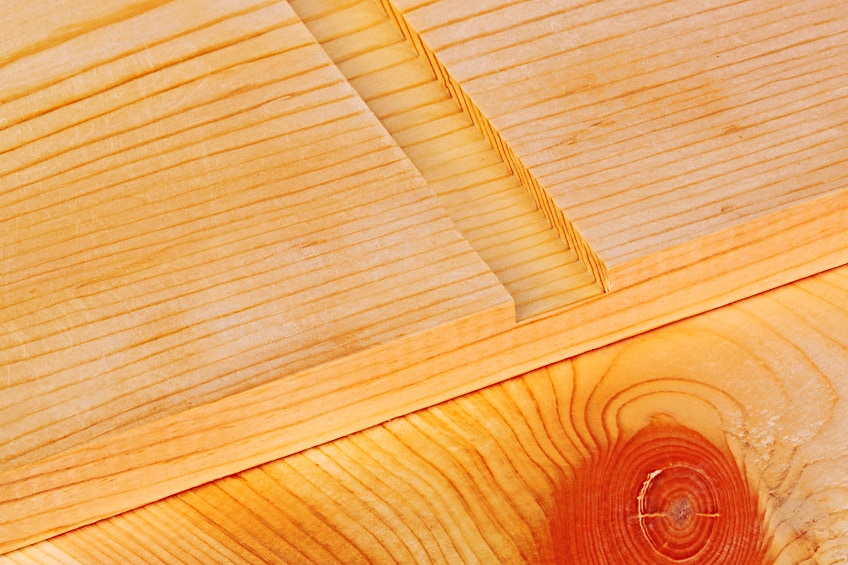
A Dado Joint
If you don’t need something to be entirely secure there are a number of wood joints available, but one of the easiest ones available to you is the Dado wood joint. This is one of those simple joints for wood that can be made and applied in just a few minutes with the right tools. It is characterized by being a square grooved slot that another wood board can be slid into. How do you make a dado wood joint you ask?
All you need to do is measure the length and width of the slot that you intend to cut and use a fine saw to score the surface of the piece you intend to cut out. Next, use a chisel to remove the section that you have marked and scored and clean out any of the excess material in the recess that you have created. As we mentioned previously making the joint is relatively quick and does require any specialized tools.
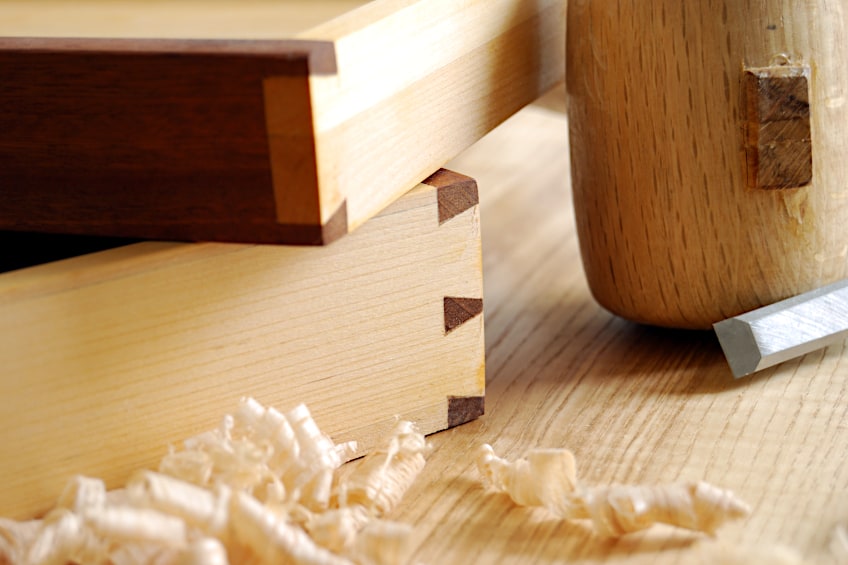
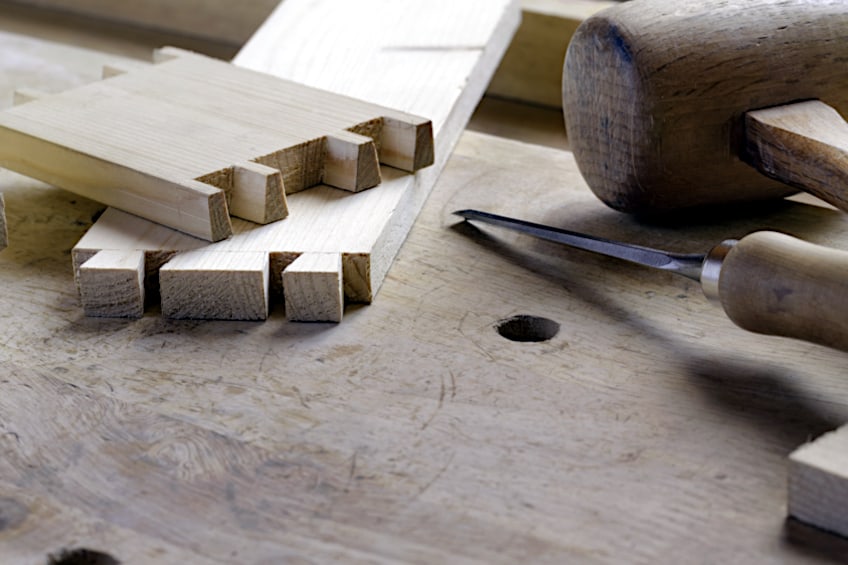
A Through Dovetail Joint
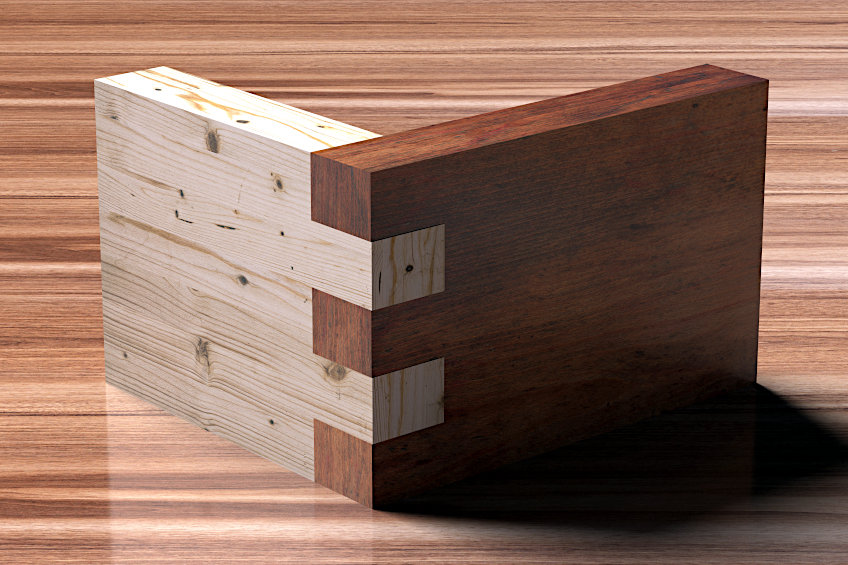
Whether you’re an avid woodworking enthusiast or a casual weekend DIY artist the chances are that you’ve heard about the infamous dovetail joint. They are notoriously changing to perfect, but when done right they present a beautiful and sturdy way to secure two pieces of board together. This is considered to be one of the strongest wood joint techniques out there and therefore is often used for rather robust applications.
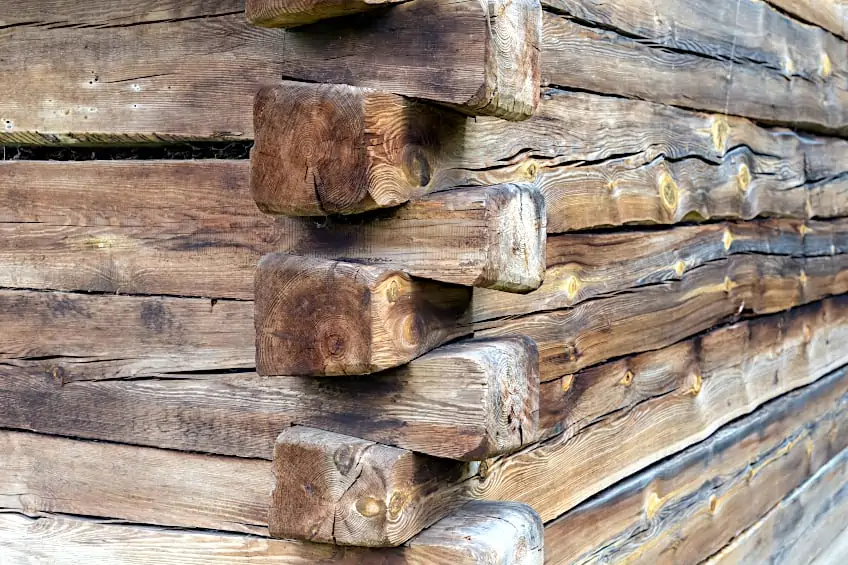
A dovetail joint is characterized by a series of pins or fingers cut into the edges of the board that interlock with another set cut into the joining board. These little pins resemble a dove’s fanned tail, hence the name, and are notoriously difficult to pull apart. This technique is commonly used on the front-facing boards of cupboards and in the construction of wood cabins.
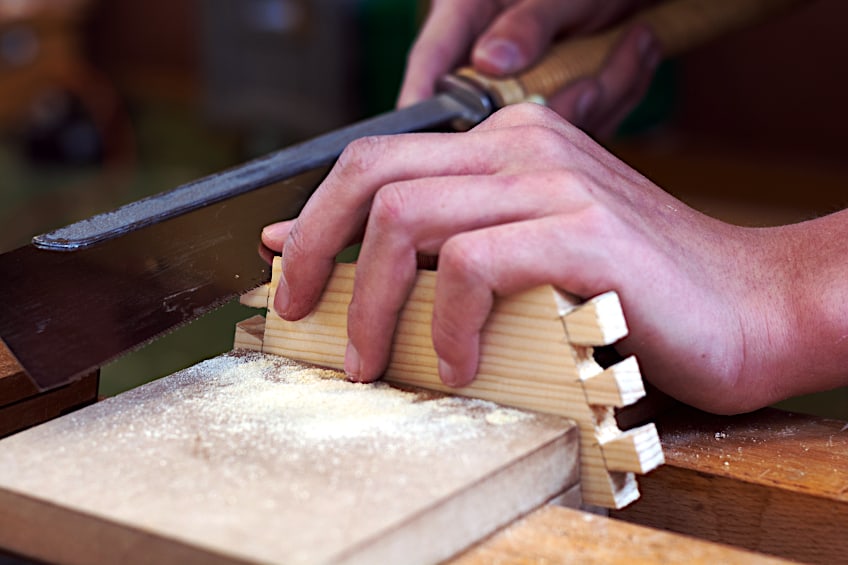
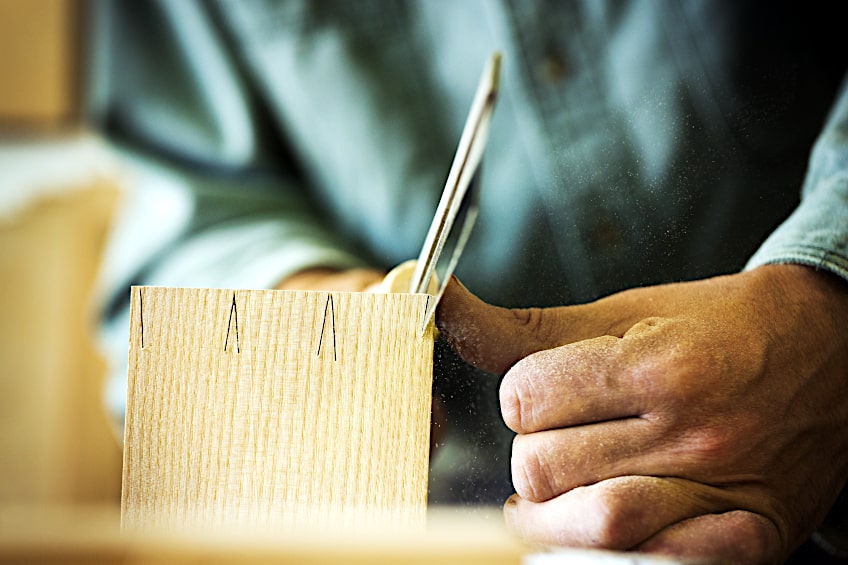
How do you make what is arguable the strongest wood joint around? Well like most corner joints it involves some cutting of the edges of the board you are joining. You have the option of cutting these fingers by hand or using a jig. Just remember to mark the interlocking sections and measure them accurately before you begin the cutting process.
A Rabbet Joint
If you’re looking for a simple joint for wood that you can practice but can still be used effectively in most woodworking applications, we think that the rabbet joint might be right up your alley. This particular joint is extremely popular in the construction of furniture and cabinets because it is simple to make and provides quite a bit of strength to the workpiece. In most carpentry and woodworking curricula, the rabbet joint is considered to be one of the most important wood joints to perfect.

A rabbet joint is characterized as a groove cut into the edge of a board which can then be inserted into a groove. It’s really important to get the measurements of both the groove and the flange correct so that you get a nice snug fit when they’re inserted into one another. Why is it important? Well, you don’t want your tables or cabinets falling apart at the slightest shove do you now?
How do you go about making a rabbet joint you ask? All that you need is a wood saw and a pencil to mark out the depth of the flange. Once your flange has been marked up and cut out, create the recess for it to fit into using a wood chisel (remember to make it a tight fit!) and clear the remaining wood particles out. Lastly, insert your flange into the recess and you’re good to go.
A Half-Blind Dovetail Joint
As we mentioned previously the dovetail joint isn’t exactly one of the simplest joints for woodworking but it is by far one of the most effective. This join is typically used when either of the surfaces will be subjected to a pulling force, which is why it tends to make a great cabinet joint for any setting. This join differs from a through dovetail by making the interlocking dovetail invisible.
How is the possible? The receiving fingers simply aren’t cut straight through the surface of the board, so you’re left with a half-blind cut instead of one that is fully visible on either side of the boards being used. This can be tricky to make especially for beginners but it’s a worthwhile technique to master should you be so inclined.
How do you make a half-blind dovetail? Measure the depth and width of your dovetail flanges as you normally would. On the surface board, do the same but compensate for the blind side with a little help from your depth gauge. Get your jig and create your dovetail joints on the interior wood piece (or by hand if you’re really cool).
For the surface piece which will have the half-blind joints, mark up the width of your joints and use the depth marking you made earlier as a stopping point. Use a drill bit to remove most of the material and then finish off the remaining wood with a wood chisel before using a mallet to lightly join the two boards together. Glue can also be used for added stability.
A Sliding Dovetail Joint
At this point, it’s likely that you know what a dovetail joint is, and this one is probably the easiest to make out of all that we have covered so far. This joint type is used in the obstruction of cabinets and shelves as it makes them a bit easier to construct especially if you’re trying to avoid using fasteners. It works a lot like a plastic book binder’s sliding spine, and even resembles it a bit. This particular joint type isn’t great for 90-degree corner joints.
This type of dovetail joint is characterized as a dovetail-style joint that only has one, admittedly long, flange that slides into an often equally long recess. If you intend to make these types of wood joints, most of your efforts will be spent in the measuring of the receiving end, and if you’re doing it entirely by hand, in the chiseling of the recess itself.
How do you make a sliding dovetail joint? Measure up the depth of both your recess and flange and mark them. Once your measurements have been marked and you’ve decided where the join will be placed, use your jib and handsaw to cut out the flange before sanding any rough edges. As for the receiving end, we recommend using a small drill bit to remove the majority of the material and using a chisel and any other fine tip woodworking tools to remove the remaining wood particles before sliding them into one another.
A Box Joint
Simple carpentry joints are a great way to develop your woodworking skills, this is why you should do your best to practice relatively easy wood joining techniques like the box joint before attempting slightly more intricate ones. The box joint is actually a good jumping-off point if you’re trying to warm up to the idea of doing a dovetail joint and will allow you to develop your confidence as you go along.
A box joint is best described as a dovetail joint without the tapered flanges. This means that what you’re left with is essentially little straight-cut wooden fingers that slot into each other. Obviously, these particular carpentry joints aren’t great if your workpiece is going to be pulled on a bit, in fact, they’re best suited for when your workpiece will not be pulled.
This doesn’t mean that they can’t be used in less robust applications that require some pulling, but you will need to line the edges of these flanges with some strong wood glue beforehand. These are usually used to construct wooden boxes and can be made by simply butting to pieces of wood together, measuring up the width and depth of your flanges, making the appropriate cuts, and then sliding them into one another after applying your glue.
A Half-Lap Joint
Another one of the easiest wood joints to make is the much used, and often under-appreciated, half-lap joint. This joint type is usually used on large pieces of lumber that need to be overlapped for increased structural integrity but without too much of their material being sacrificed to the sawdust pile. They can typically be seen in corner applications as they only really work in 90-degree angles, but they can be used in other applications if needed and of course, if you have enough material on each of your boards.
The half-lap joint is characterized as a flange cut into the edge of two pieces of board which is then overlapped with one another. Since this technique doesn’t do much in the way of locking the boards together, fasteners or adhesives can be added to ensure that they do not move during the construction process. This technique is used in framing applications, like wall runners in wood cabins or even ceiling trimmings.
They’re normally used to ensure that the mating surfaces are as flush as possible and to ensure that the end product is uniform, which is ideal when you’re working within a limited space. How do you make a half-lap joint? Clamp both boards next to one another. Measure a series of lines spanning each board, and then your desired depth.

Remember that both boards need to be marked equally or this won’t work so take your time. Use a power saw or hand saw to ensure you cut the series of lines to your marked depth. Finally, use a wood chisel to remove the slotted wood pieces and plain the newly chiseled surface before joining the wood pieces.
A Cross-Lap Joint
Since there are various wood joints that kind of resemble one another but are used for decidedly different applications it’s important for you to understand the names given to specific wood joins. One that you could easily mistake for being a half-lap joint is a cross-lap joint. It’s essentially the same thing as a half-lap joint but instead of joining to wood pieces at the end, it is used to join the end of one board to the middle of another.
What are cross-lap joint types used for? This type of joint is used (as the name suggests) to create a seamless cross by joining two pieces of wood in an interception fashion. This technique is typically used in wooden structures like ceilings or foundational reinforcement, but outside of these applications, it can be used on smaller scales in the construction of props and installation art too.

How do you make a cross-lap joint, you ask? Pretty much the same way that you would go about making a half-lap one. All you need to do is create a recess instead of a flange in the middle of your second board by marking the depth and width you want, and then using a saw to score smaller sections which you will then remove with a wood chisel. The second board can be fashioned in the same way that the half-lap joint is.
Now that you know what wood joints are, whether wood joints or glue is superior, and the different types of wood joints you have at your disposal (along with how to make them), it’s time for you to put your newfound knowledge to the test. Always remember to work in a well-ventilated area and ensure that you’re wearing the appropriate personal protective gear when working with power tools and wood dust.
Frequently Asked Questions
What Is a Good Cabinet Joint?
Wondering what the best choice for a cabinet joint is? Most people agree that the mortise and tenon joint is the ideal choice for constructing a stable cabinet. Why? It ensures that the structure is sound and is relatively easy to make if you have the right tools at your disposal.
Which Is the Strongest Wood Joint?
This is a challenging question to answer because the term strongest doesn’t always mean the best suited for a particular application. The mortise and tenon joint is objectively the strongest wood joint type you could use in everyday applications, but it can be challenging for beginners and might not be ideal for every project.
What Is the Craft of Making Wooden Joints Called?
While it’s pretty easy to dismiss wood joints collectively as a rudimentary wood joining technique, it is its own separate craft that can take a lifetime to perfect. The correct term for the specialization in the creation and implementation of wood joints is joinery, and it does take a certain degree of dedication and practice to become even adequate.

I have been into woodworking since 2005 and woodturning since 2011. Because of my love for wood and woodworking, I started woodhappen.com to teach other enthusiasts about how to finish and seal wood, the best woodworking tools, the different types of wood, and everything else related to woodworking! Read more about me here.