How to Remove Stripped Screws – Solutions for DIY Woes
Removing stripped screws can be a frustrating challenge in woodworking, but with the right techniques and tools, it’s entirely possible to conquer this common problem. Whether you’re a seasoned woodworker or a DIY enthusiast, knowing how to effectively remove stripped screws can save you time, effort, and headaches. In this article, we’ll explore various methods and tips to help you tackle stripped screws with confidence, ensuring that your woodworking projects proceed smoothly and successfully!
Key Takeaways
- Stripped screws can be removed using specific techniques and tools.
- Choosing the correct method depends on the screw’s condition and available resources.
- Ensuring proper usage and preventive measures can minimize future screw stripping.
Understanding Stripped Screws
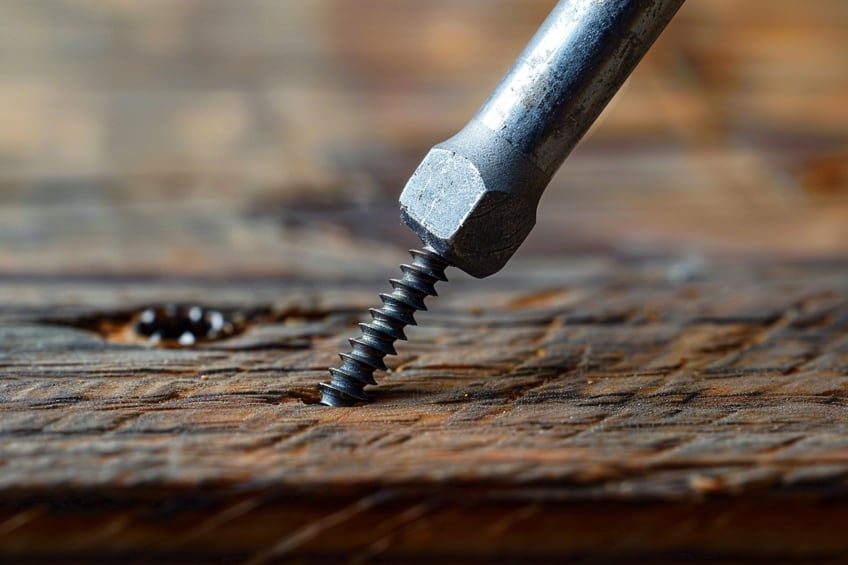
Removing stripped screws can be a challenging task that often occurs during the disassembly of electronics, woodwork, or any task involving screws. Over time, the head of a screw may become worn down or stripped, making it difficult to remove with a standard screwdriver. The head of the screw may lose its grooves where the screwdriver would normally fit, thereby preventing torque from being applied to turn the screw. This can be caused by using the wrong size or type of screwdriver, or from the screw being over-torqued or worn from frequent use.
There are various approaches to addressing the removal of a stripped screw. Depending on the extent of the damage and resources at hand, one may use a different sized screwdriver, a rubber band for added grip, a flat-head screwdriver to carve a new groove, or specialized tools like a stripped screw extractor.
The methods will vary, but with patience and the right technique, a stripped screw can typically be removed without causing further damage to the surrounding material.
Types of Screws and Common Materials
The world of screws is diverse, hosting various designs suited to different tasks. Two prevalent types are:
- Phillips-head screw: Characterized by a cross-shaped indentation, it’s designed to cam out under excessive torque to prevent over-tightening.
- Flat-head screwdriver: Compatible with screws that have a single, linear notch, requiring careful alignment to avoid slipping.
Common materials used in screws include:
- Metal: Often steel, providing strength and durability for securing components.
- Wood: Specifically designed with a sharp point and deep threads for strong insertions into wooden materials.
- Plastic: Generally used with softer materials and applications where less strength is required.
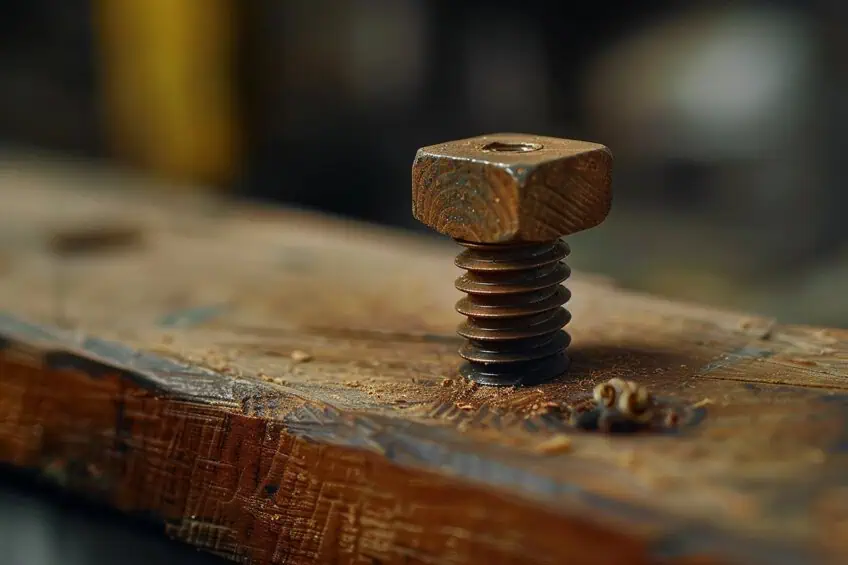
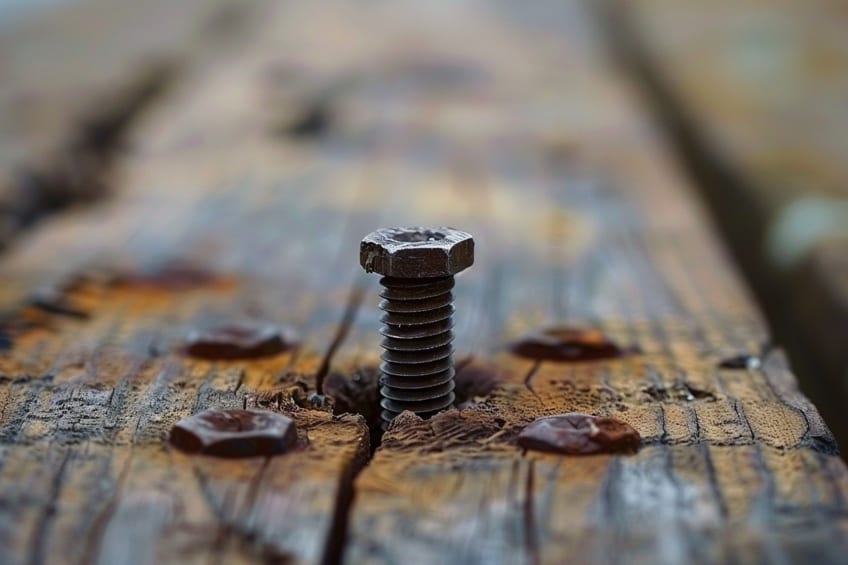
How Screws Become Stripped and the Importance of Torque Control
A screw becomes stripped when the head is damaged, causing the screwdriver to slip and lose grip. Several factors contribute to this frustrating phenomenon:
- Excessive torque: Applying more force than the screw can handle can distort the drive, especially in softer material screws like those made of brass or used in plastic.
- Incorrect screwdriver: Using a screwdriver that doesn’t fit the head properly — for instance, a Phillips-head screw with a flat-head screwdriver — can round out the drive slots.
- Wear and tear: Repetitive use and over-torquing over time can degrade the head, reducing friction and resulting in a stripped screw.
Torque control is vital; it’s the amount of rotational force applied. Proper torque prevents damage to both the screw and the material it’s securing. Torque should be enough to snugly fit the screw without exceeding the material’s tolerance.
Tools and Materials for Screw Removal
Removing a stripped screw can be a frustrating task, but with the right tools and materials, one can approach the challenge with ease. This section will outline the specific tools designed for extraction as well as additional materials that aid in the removal process by providing better grip and friction.
Specialized Extraction Tools and Kits
These contain specially designed bits made to latch onto the interior of stripped screws and allow them to be turned out. Use these with a compatible drill or driver for best results. Individual extractors are also sold separately and can be used with an adjustable wrench or vice grip.
Supporting Materials and Tools for Improved Grip and Friction
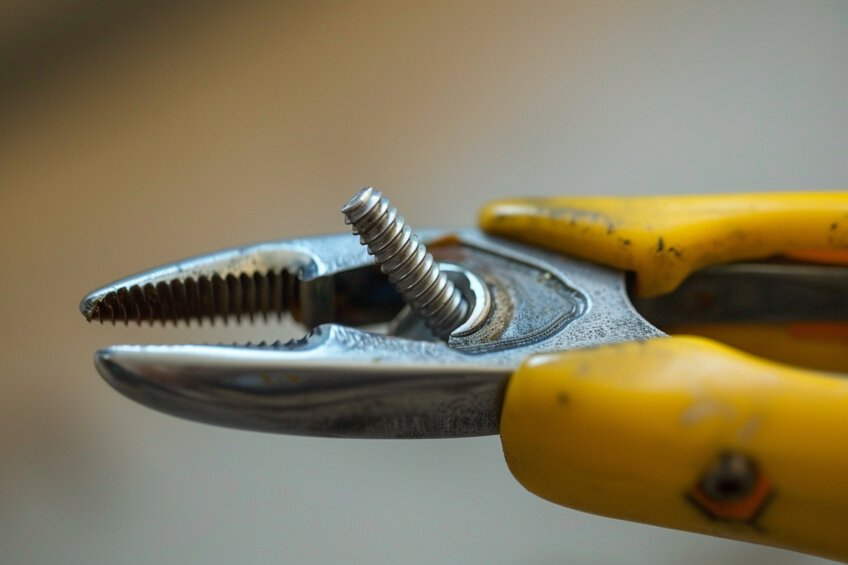
For improved grip when dealing with stripped screws, consider using locking pliers, which can securely clamp onto the screw head, enabling you to manually twist out the screw. Alternatively, placing a rubber band over the screw head can provide the additional grip necessary for a screwdriver to catch and turn the screw effectively. These methods offer practical solutions to the common challenge of stripped screws, ensuring smoother and more efficient woodworking projects.
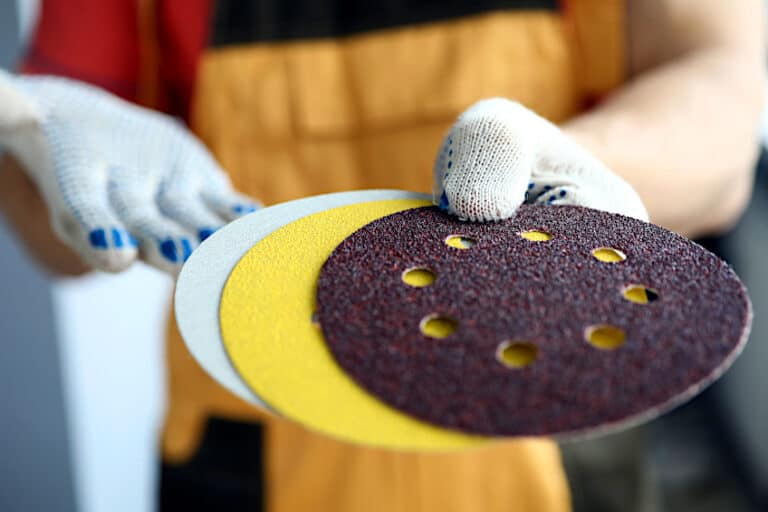
To increase friction and improve grip when dealing with stripped screws, consider using steel wool or abrasive material to fill the screw head, enhancing friction and holding the driver bit securely in place during removal.
Additionally, applying a liquid abrasive to the screw head can aid in creating the necessary grip for successful extraction. These techniques provide effective solutions for tackling stripped screws, making woodworking projects smoother and more manageable.
When dealing with stripped screws, additional support tools can be invaluable. Consider using duct tape, which, like rubber bands, can be placed over the screw head to enhance friction and provide a better grip for removal. Furthermore, ensure that you use a driver bit that fits snugly into the stripped screw head, as a tight fit minimizes slippage and increases the chances of successfully extracting the screw.
These simple yet effective tools can greatly improve your ability to tackle stripped screws, making woodworking tasks more efficient and enjoyable.
Techniques for Removing Stripped Screws
Stripped screws can present a challenge during a project or repair, but there are a number of effective techniques one can employ to remove them. Each method requires a different set of tools and approach, and the best option may depend on the specific situation and available tools.
Grip With a Rubber Band
Placing a rubber band over the head of the screw provides added grip. One should lay the rubber band flat over the screw and then press the screwdriver bit into the screw head through the rubber band, applying steady pressure and turning slowly.
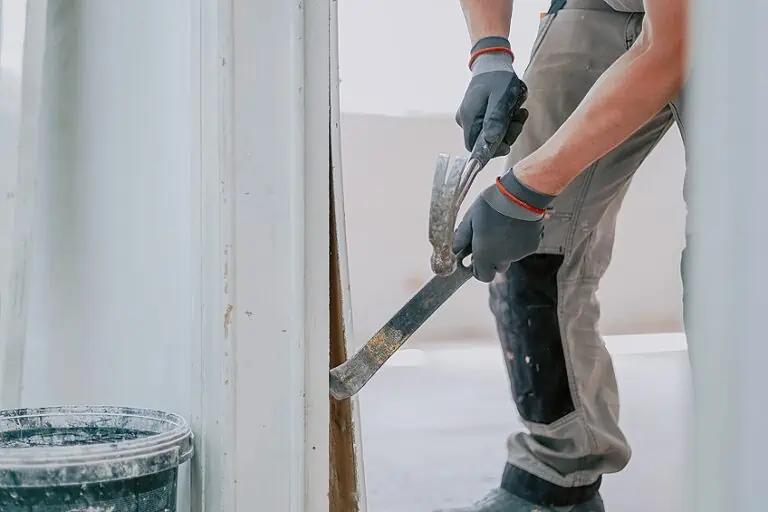
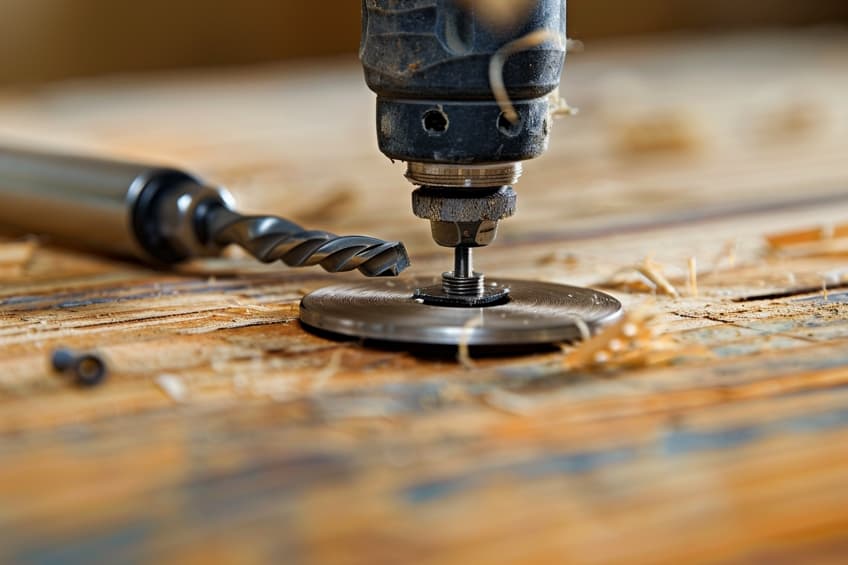
Cut a New Slot With a Rotary Tool
A rotary tool with a cutting disc can be used to carve a new slot into the screw head. Once the new slot is created, a flathead screwdriver can be inserted to twist and remove the screw. Care must be taken to avoid cutting too deeply and damaging the material around the screw.
Add Extra Grip With Steel Wool
For screws with slight stripping, a bit of steel wool between the screwdriver and screw can improve grip. One should wrap a small piece of steel wool around the screwdriver tip before attempting to turn the stripped screw.
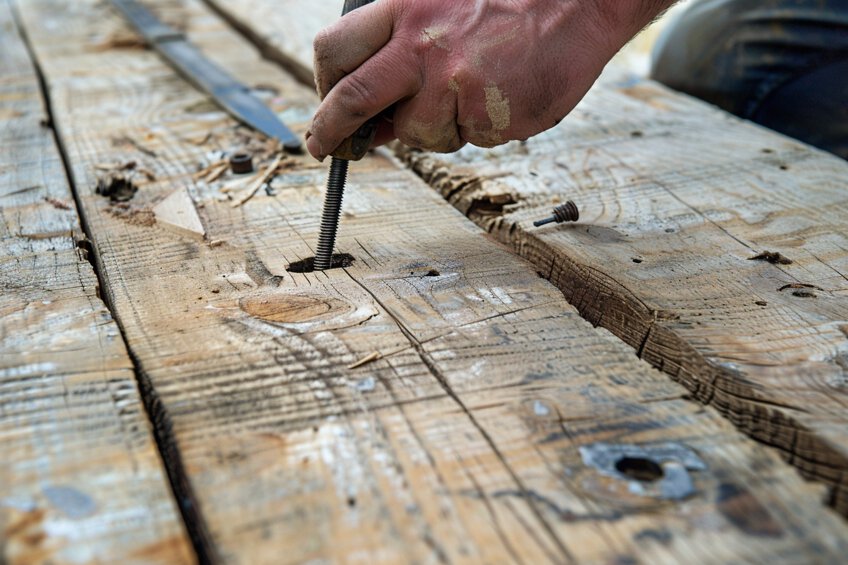
Use a Manual Screwdriver and Hammer
Tapping the screwdriver into the screw head with a hammer can help seat it more securely. This method often works by placing the tip of a manual screwdriver on the stripped screw and gently tapping it with a hammer to create a new notch or to embed the driver tip more firmly.
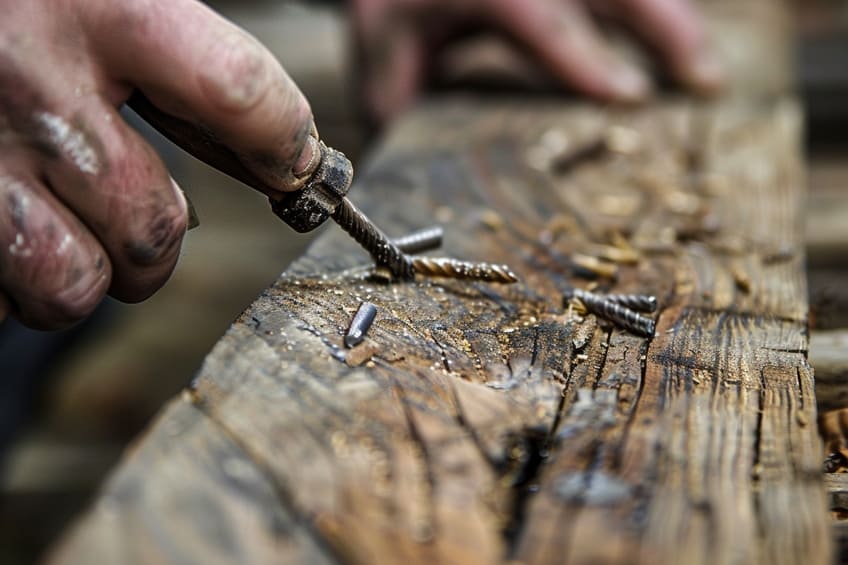
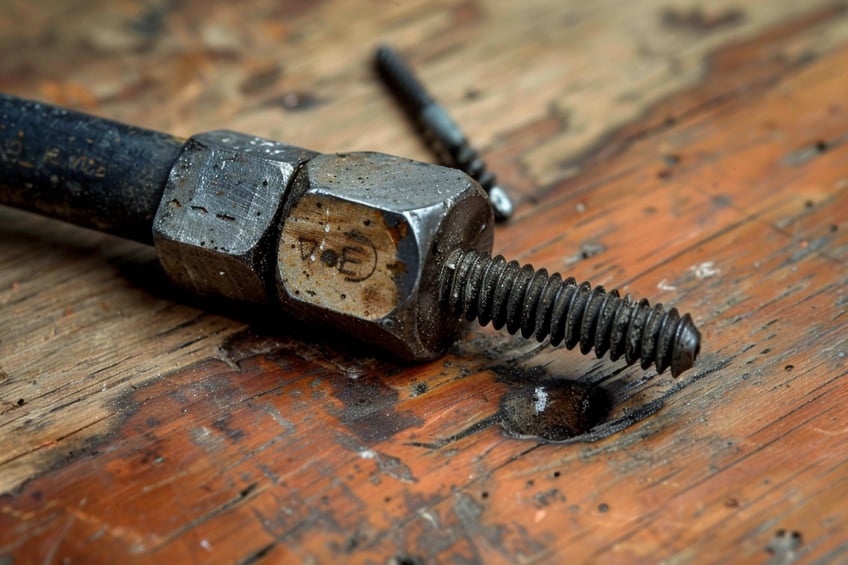
Use a Screw Extractor Kit
A screw extractor kit contains tools specially designed for removing stripped screws, including left-handed drill bits. One must drill a small pilot hole into the center of the screw head, insert the extractor bit, and turn it counterclockwise to remove the screw.
Grab the Screw Shank With a Pair of Pliers
If the screw head sticks out from the surface, pliers can be used to grip the shank of the screw. Once a firm grip is established, one can try turning the screw counterclockwise to remove it.
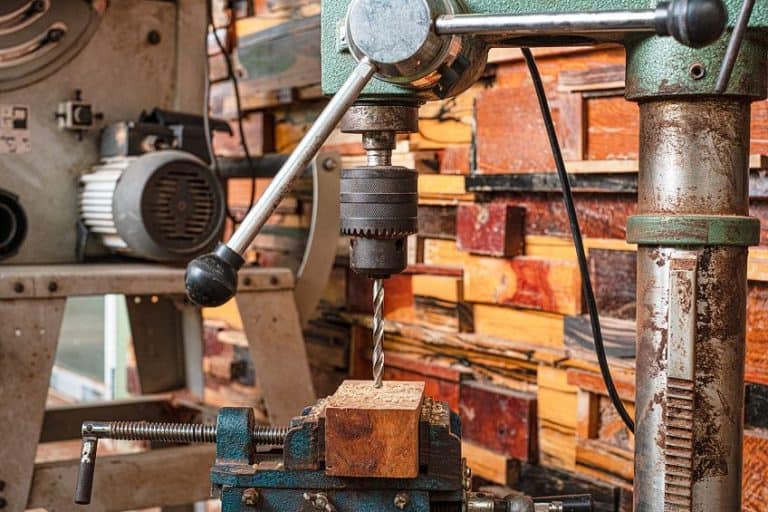
Use a Larger Drill Bit
Using a drill with a larger bit, one can drill out the screw head. Once the head is removed, the remaining shank can often be removed with pliers or the material can be separated without needing to remove the shank completely.
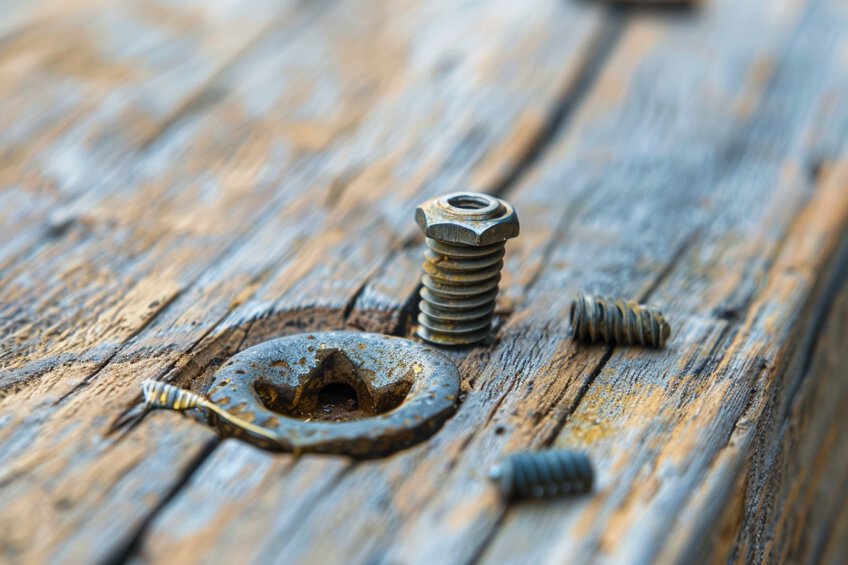
Preventing and Addressing Screw Damage
When dealing with screws, meticulous attention to detail can prevent the frustration of dealing with damaged or stripped screws. This section delves into how one can avoid causing damage to screws during installation and effectively address any surrounding damage post-removal.
Best Practices to Avoid Stripping Screws
To ensure the longevity and integrity of screws, one must exercise control during installation and removal. Using the correct tools is paramount; ensure that the screwdriver or drill bit matches the screw head perfectly. A poor fit can cause slippage and potential stripping. When inserting screws, applying the right amount of pressure is crucial. Too much force can strip the head, while too little can result in an insecure fit.
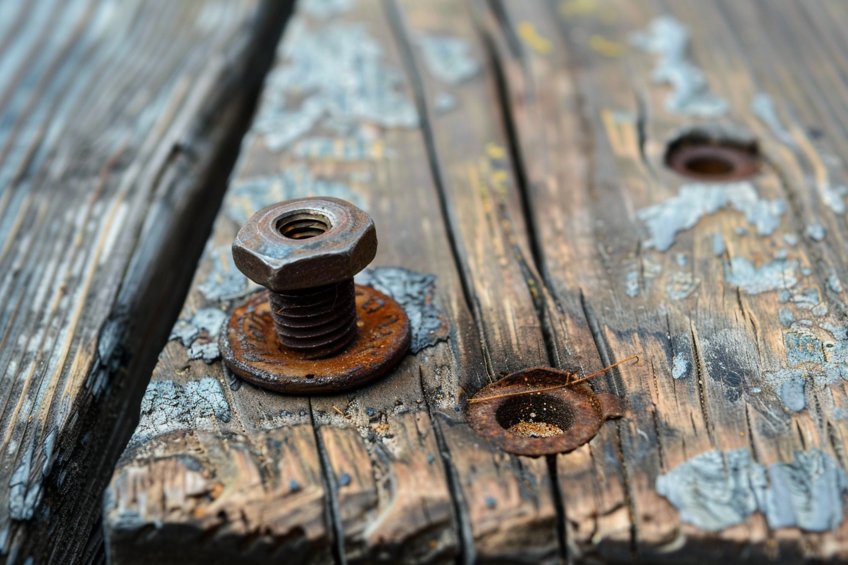
Pre-treating the screw area with an abrasive powder can increase traction between the tool and the screw.
This helps to maintain control and prevent slippage. It’s also important to keep screws free from rust, which can weaken their structure and lead to damage. Rust can be avoided by using stainless steel or coated screws, especially in environments prone to moisture.
Fixing Surrounding Material After Removal
After successfully removing a damaged screw, one may find that the surrounding material has been compromised. If the screw was stuck due to rust or welding residue, carefully clean the area to remove any corrosive elements. This can be done using a rust remover or gentle sanding, being careful not to further damage the material. To repair the hole left by a stripped screw, one can fill it with wood filler or putty, then sand the area smooth once it’s dried. For metal or plastic, a similar approach can be used with appropriate fillers designed for those materials. This restoration of the material ensures that it remains sturdy and ready for a new screw or alternative fastening solution.
Mastering the art of removing stripped screws is a valuable skill for any woodworker. By understanding the different techniques and tools available, you can save yourself from frustration and delays in your projects. Remember to approach each stripped screw removal with patience and precision, choosing the method that best suits the situation. With practice and experience, you’ll soon become adept at handling this common woodworking challenge, allowing you to focus more on the creative aspects of your craft.
Frequently Asked Questions
What Techniques Are Useful for Removing Stripped Screws from Metal Surfaces?
For metal surfaces, one can use a manual impact driver set to turn the screw counterclockwise, or carefully drill out the screw using a left-handed drill bit, which can catch the screw and spin it out. Another method is to use a rubber band over the stripped head, then press the screwdriver into the band and screw.
What Is the Best Approach to Take Out Small Stripped Screws If You Don’t Have a Drill?
If a drill isn’t available, place a wide rubber band over the stripped screw head and press firmly with a screwdriver to enhance grip. Alternatively, super glue can be applied to the screwdriver tip and attached to the stripped screw head, but one must allow the glue to dry before attempting to remove the screw.
How Can You Extract a Screw That Has No Visible Head?
To extract a screw with no visible head, one can use a screw extractor. This tool bites into the metal as one turns it counterclockwise into the screw shaft, allowing the screw to be removed. If a screw extractor is not available, one could try to grip the screw shank with locking pliers and turn it out.

I have been into woodworking since 2005 and woodturning since 2011. Because of my love for wood and woodworking, I started woodhappen.com to teach other enthusiasts about how to finish and seal wood, the best woodworking tools, the different types of wood, and everything else related to woodworking! Read more about me here.