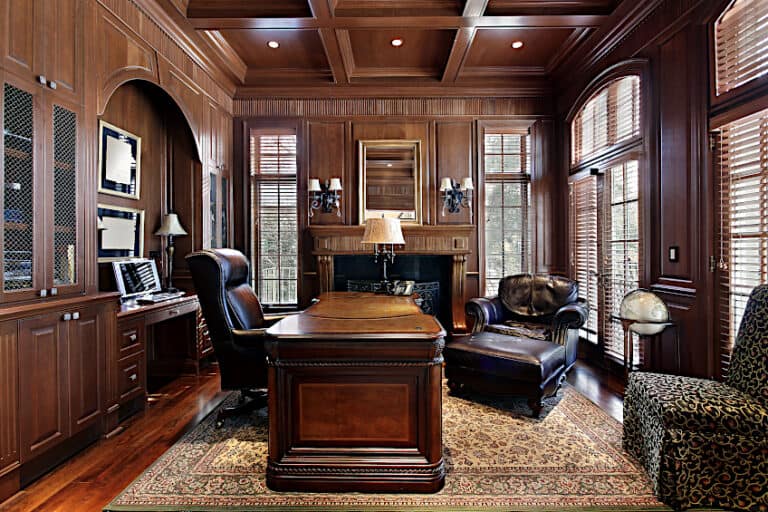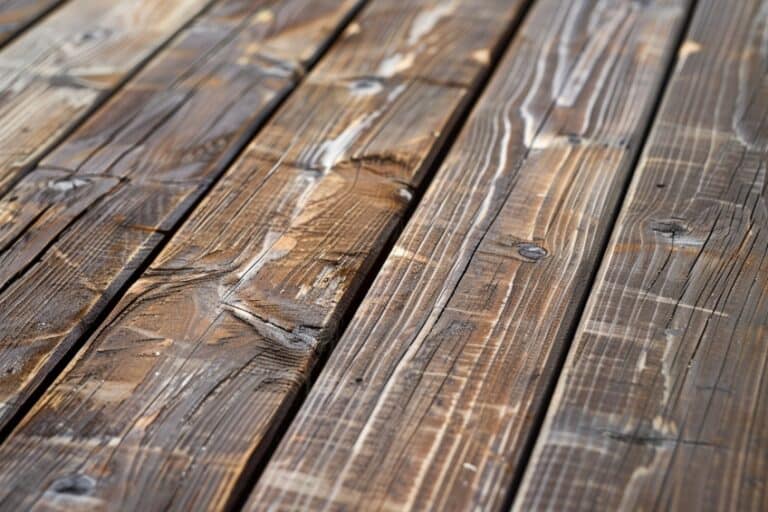
How to Protect Wood Tables – Best Sealers for Wooden Furniture
Wooden dining tables experience a lot of wear and tear if they’re used often enough. Therefore, protecting your surface is extremely important, and to make things a bit easier for you, we’ve prepared a short tutorial detailing how to protect wood tables. Let’s have a look at why protecting them from the get-go can save you a lot of time, money, and effort along the way.
Choosing the Right Finish for Your Surface
There are many options to choose from when sealing a wood table. Since there is no such thing as the perfect sealer, we thought we’d walk you through some of the pros and cons associated with some commonly used sealers before we show you how to protect wood tables.
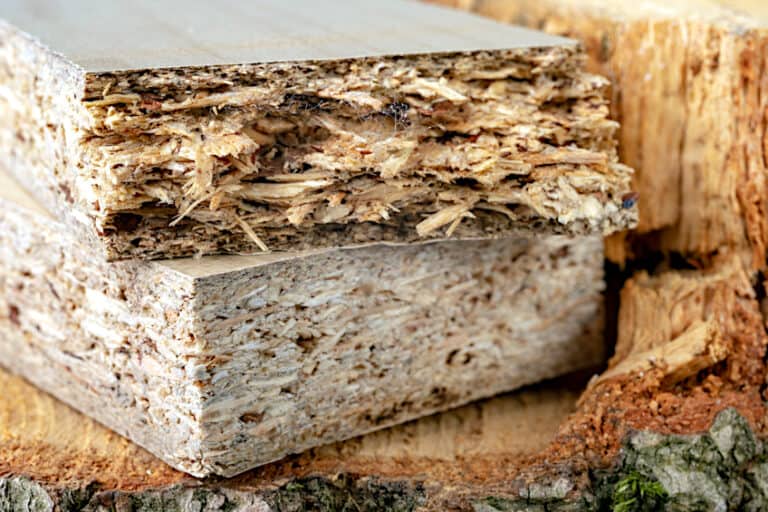
Keep in mind that different wood species are not all equally receptive to coatings and treatments.
Different Types of Finishes for Wood
Sealers can be composed of many different elements, all of which interact with your wood table in different ways. Knowing how these substances interact with your wood’s surface can help you pick the right one for your workpiece. Let’s have a look at a couple of wood table sealer products and how they interact and protect these surfaces.
Wax Finishes
Wax finishes are very popular in woodworking circles as they preserve the natural look of wood and they aren’t a permanent coating. Wax finishes are made from various animal and vegetable oils, which means they don’t have an environmental impact, and they aren’t hazardous to work with. Wax finishes are simply rubbed on once the table has been prepared.
- Easy to apply
- Contains little to no VOCs (volatile organic chemicals)
- Readily available
- Is not permanent
- Doesn’t obscure the grain of the wood
- Dispels water
- Not a permanent coating
- Needs to be reapplied regularly
- Not very impact and abrasion-resistant
- Is not waterproof
- Change the texture of your table
Oil Finishes
Another popular wood table sealer is rubbing oil. Oil does an incredible job of sealing wood surfaces thanks to the way it interacts with wood fibers. Unlike wax finishes that simply sit on the surface of your table, oil actually seeps into the wood’s pores, revitalizing your wood’s fibers and sealing the surface from the immediate atmosphere.
- Binds with wood fibers and surface
- Protects the wood from moisture, impact, and abrasion
- Can be used both indoors and outdoors
- Available in drying and non-drying variations
- Provided consistent protection
- Does not need to be maintained often
- Does contain VOCs
- Drying oils can leave behind a rigid surface coating
- Can be challenging to remove
- Is a permanent surface coating
- Does not work well on all wood types
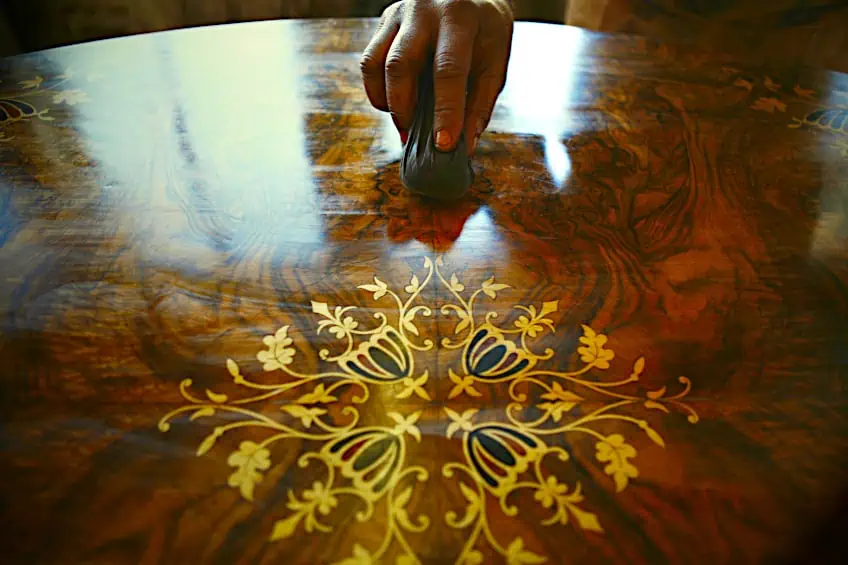
Varnish Finishes
Varnish isn’t as popular as oil and wax-based finishes, but it is one of the oldest means of sealing a wood table. Varnish is both a surface coating and wood treatment oil as it protects both the surface of the wood and bonds with the wood’s fibers. Varnishes consist of oil, solvent, and resin, which combine to make a hardy protective layer for wood tables.
- Bonds with surface and wood fibers
- Available in multiple finishes
- Protects against impact, abrasion, moisture, and UV light
- Suitable for interior and exterior surfaces
- Creates a sleek texture for tabletops
- Does contain VOCs
- Obscures the grain and texture of the wood
- Quality can vary depending on price range and brand
- Varnishes can yellow over time
- Can be difficult to apply for newcomers
Polyurethane Finishes
Polyurethane has become what can easily be described as the most popular surface coating in recent years. When used to seal a wood table, polyurethane finishes are not only extremely durable but they offer years of protection against various forces like impact and abrasion, not to mention moisture, heat, and UV light.
- Incredibly durable surface coating
- Protects against impact, abrasion moisture, heat, and UV light
- Can be applied with a brush or with a sprayer
- Does not need any maintenance aside from conventional cleaning
- Can be used both indoors and outdoors
- Readily available and can be imbued with colorants
- Does contain VOCs
- Can be challenging to apply for newcomers
- Quality can vary considerably according to brand and price range
- Can ruin your tabletop if applied incorrectly
- Not a biodegradable substance
Factors to Consider When Choosing a Finish
While applying a finish can be challenging, choosing one can be even more so. Depending on what you plan for your table, there could be a number of factors for you to consider. To simplify things for you we have listed a few things that you should keep in mind when considering a finish for your future table projects.
The Type of Wood
Tables can be made of many wood types. Everything from pine to maple and even walnut wood can be made into beautiful tabletops. Knowing the properties of these wood species and how they respond to certain sealants can save you quite a bit of frustration, and ensure you always use the best finish possible when sealing your tabletop.

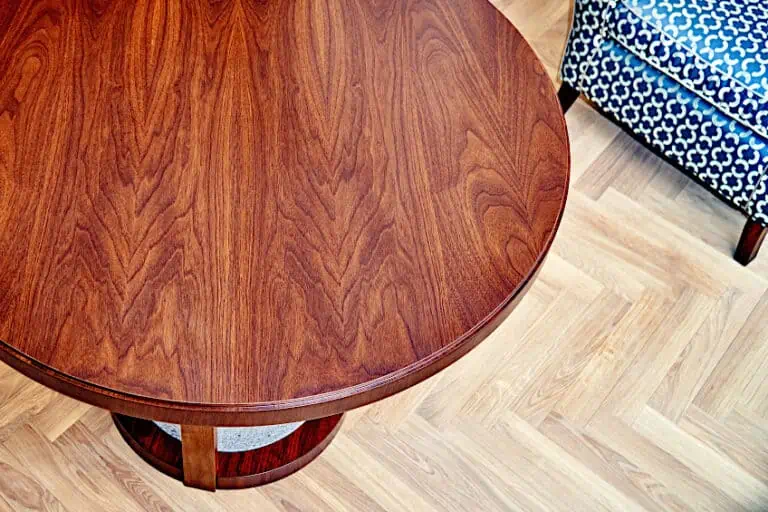
The Color It Will Produce
Depending on the type of finish you choose, it could produce a wide range of colors. This depends on the type of wood, its natural color, what the active ingredient of the finish is, and how much you use on your tabletop.
How the finish is applied is also important, as a poor application could leave your table blotchy and uneven-looking.
The Use of Your Table
Where will your table be placed? Will it be used by little ones for homework and craft projects? Will it be stuck in a corner somewhere? Will it be indoors or outdoors? Establishing how much traffic the surface of your table will be exposed to and what type of forces will be acting on it can narrow down what type of finish is best for you.

Where Your Table Will Be Situated
Tables can be placed in many spaces. They can be in contact with natural or fluorescent light, and they can be paired with many color pallets, so it’s important that you assess how your sealant will affect the table’s color, and how said color and finish integrity will interact with the immediate environment.
Keep in mind that certain finishes lean more toward aesthetic improvement than surface protection.
Steps for Refinishing a Wood Table
Looking at a worn-out wood table and imagining the work needed to refinish it can be a daunting prospect. However, refinishing a wood table (small or large) is actually quite easy whether you’re a professional or a newcomer. To show you just how easy it is we have prepared a short tutorial detailing how you can breathe some life into your old wood table.
Strip the Old Finish
The first thing you should do when refinishing a table is to remove the existing finish. The best way to go about this is with some sandpaper, usually, 120 grit should do the trick. Pick an end of your table and begin sanding thoroughly, slowly working your way to the other end. The goal here is to completely remove all traces of the existing finish.
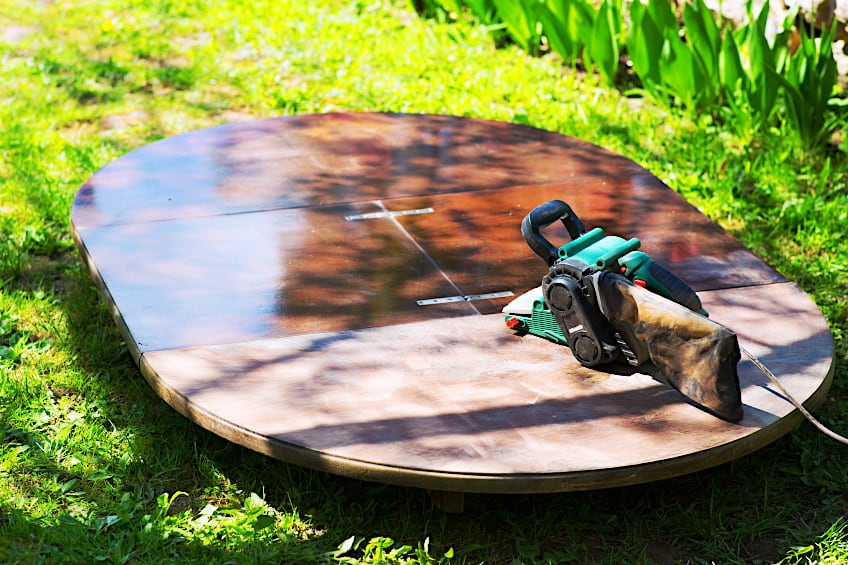
Once you have removed the existing finish you should wipe away any remaining wood particles on the surface of your table and any other areas you have sanded. If your surface is looking a bit too rough for refinishing at this point feel free to repeat the sanding process with a finer 160-grit sandpaper before moving on.
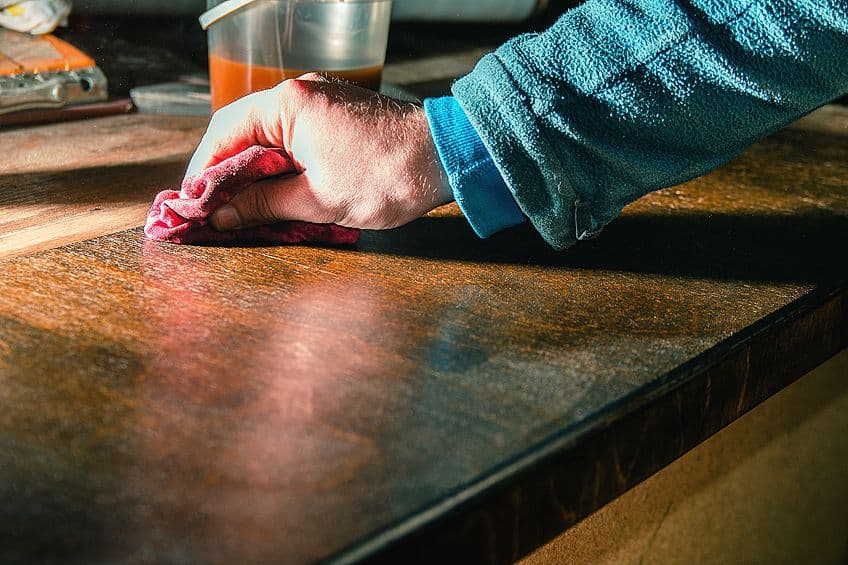
Clean the Surface of Your Table
Now that the old surface coating has been removed and fresh wood particles have been exposed you should clean up the surface too. The best tool for cleaning up a freshly sanded surface is some good old-fashioned soap and water. Simply get some soapy water in a bucket, grab a clean cloth and get to work. Thoroughly clean the surface using the same method you did while sanding it.
Once the table has been cleaned you should allow it to completely dry before attempting to move on to the next step. If weather conditions permit, you could pop it outside and let the sun expedite the process.
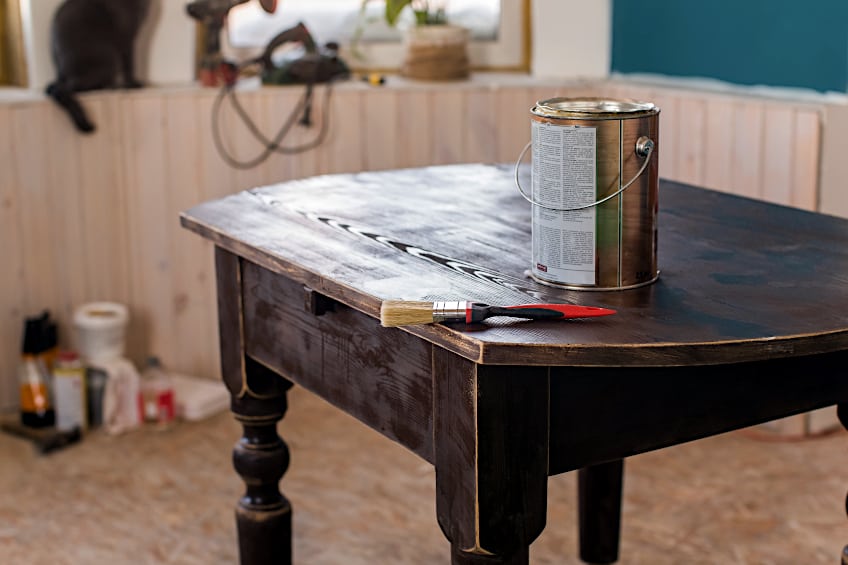
Apply Your New Finish
When applying your new finish there are two ways you can go about it. The first is to use brush/cloth, which is labor intensive but it allows you to get a feel for the contours of your table and gives you finer control over the application process. The other is to use a sprayer, which is quicker and less labor-intensive but could require some practice, especially for newcomers.
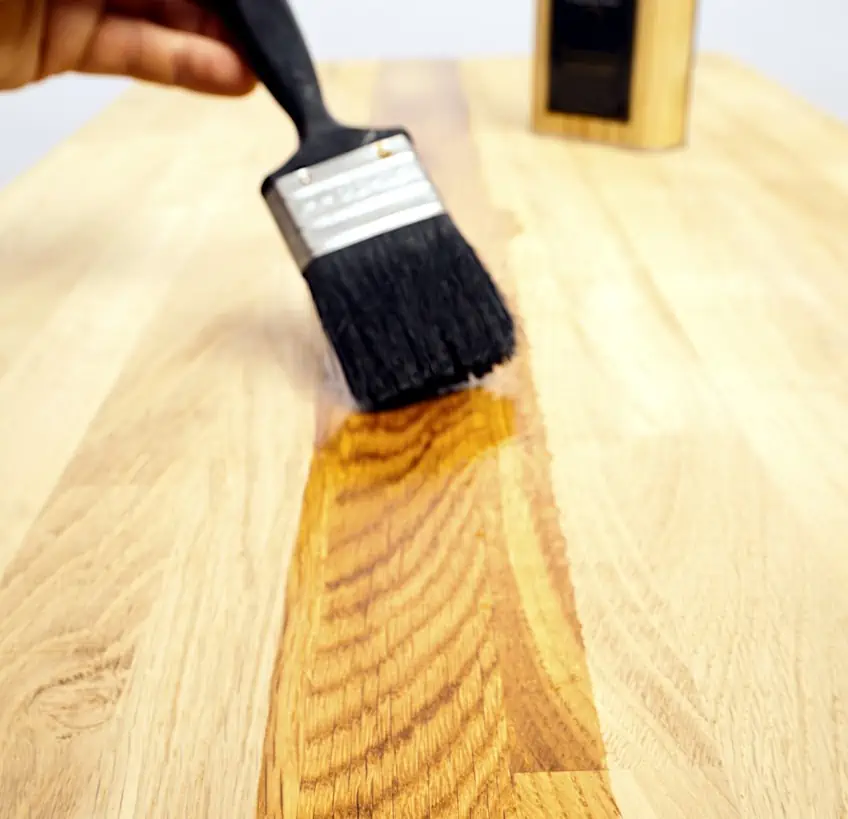
Using a Cloth/Brush
Using a cloth or brush is simple. Give your sealer a good shake and then either get some onto the surface of your table or onto your cloth. If you are using a brush, paint your sealer in sections, spreading it from one end of the table to the next. Apply more sealer as needed and be sure to tackle the overhang of your table as well as any corners like the ones at the leg joins.
When using a cloth, the simplest way to go about it is to start at the center of your table and work outward, rubbing your sealer in using circular motions and moderate pressure on the surface.
Alternatively, you could section your tabletop and rub your sealer in using the same end-to-end technique you did with the brush. Once done, allow the sealer to cure completely before using your table.
Using a Sprayer
When using a sprayer things can be a lot easier, given that you know how to use one and your sealer is graded for use with one. Give your sealer a good shake and then pour some out into your hopper or feed container. Test your sprayer on some spare material to ensure the spray tip is providing your desired spray pattern and reach. When spraying your workpiece use the following technique.
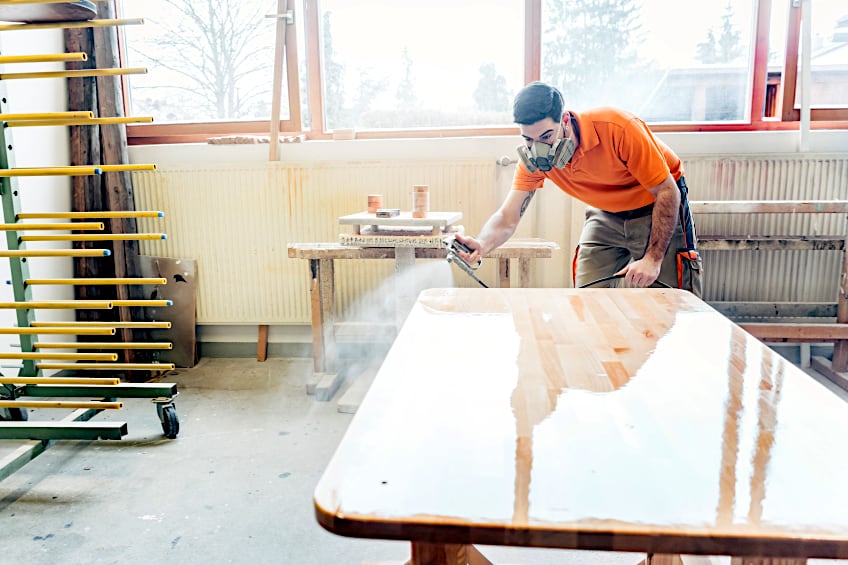
Begin with your nozzle firing just off the end of your table with little pressure on the trigger and then move your hand in a smooth motion across the tabletop slowly adding more pressure to the trigger as you move. Keep going until you have reached the other end of your tabletop and decrease your trigger pressure as you reach the end. Repeat this process until all the surfaces you want to seal have been coated.
Once done, allow the sealer to cure completely before using your table.
Pros of Protecting Wood Tables
Generally, wood tables are seen as an investment, as high-quality tables tend to be quite expensive.
Protecting it not only keeps your table looking good but also improves your table’s resale value.
There are some other reasons as to why protecting your table can be a good thing, so here are a few things to help you decide should you be on the fence.
It Protects the Look of Your Table
Wood tables make excellent additions to virtually any space, and thanks to the natural look of wood grain and naturally diverse color tones they have an intense visual impact on the space as well. Protecting your table by means of a wood treatment or coating can preserve this aesthetic impact and ensure your table doesn’t lose its luster over time.

It Seals the Surface of Your Table
If your table is situated outdoors, you need to ensure that the surface has been sealed. Why? This layer of protection discourages the buildup of fungus and prevents insects from making their homes inside your table.
It also ensures that moisture (whether in the form of vapor or condensation) doesn’t saturate your table and cause it to swell and/or crack over time.
It Keeps the Surface Smooth
Wooden tables that go untreated tend to have rough surfaces as the wood grain and grain patterns are exposed. While the look and feel of the table might appeal to some, it can make placing things on them a bit tricky. Sealing your table can keep the surface more level and far smoother than it would be if left untreated, allowing you to rest things on it without the risk of tipping over.
Signs That Your Table Needs Refinishing
Tables can see a lot of wear and tear over time. Understanding the warning signs can help you be proactive in refinishing your table before lasting damage has been caused to the surface.
Some signs are more prominent than others, so let’s have a look at some of the warning signs you can look out for to ensure that you know when your table needs some care.
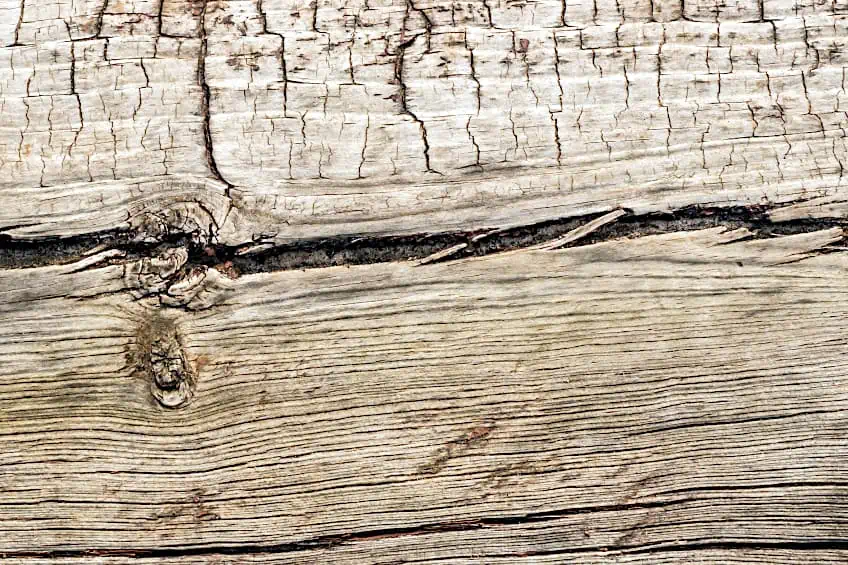
Cracks
A very obvious sign that the surface of your table has seen better days is when there are visible cracks. This usually happens due to excessive exposure to directed heat, or if the table has experienced repeated impact and abrasion. Removing the existing finish and resealing the exposed wood is objectively the best option in this scenario.
Flaking
This usually occurs when the existing finish has been applied poorly or if it has been exposed to an environment it’s not graded for.
Flaking means that the finish is no longer adhering to the surface of the table, and needs to be replaced.
This can present itself as large or small flakes coming off the table and should be treated as soon as possible to prevent the damage from spreading.
Watermarks and Blemishes
Watermarks are a good sign that your finish needs to be replaced. This can happen when water has been left to pool on a surface for a long time, or if hot coffee/tea spills have occurred regularly. This damages the surface coating and can create lasting damage to the wood if not treated quickly, so keep an eye out for this symptom.
Repairing Minor Damages
Life gets pretty busy these days, so you might be too late to prevent your table from being damaged.
Thankfully, there are a few tricks you can use to repair minor or superficial damage on your tabletop.
Here are a few things you can do to repair damage like scratches and watermarks on the surface of your table and what you’ll need to do it.
Dealing With Scratches
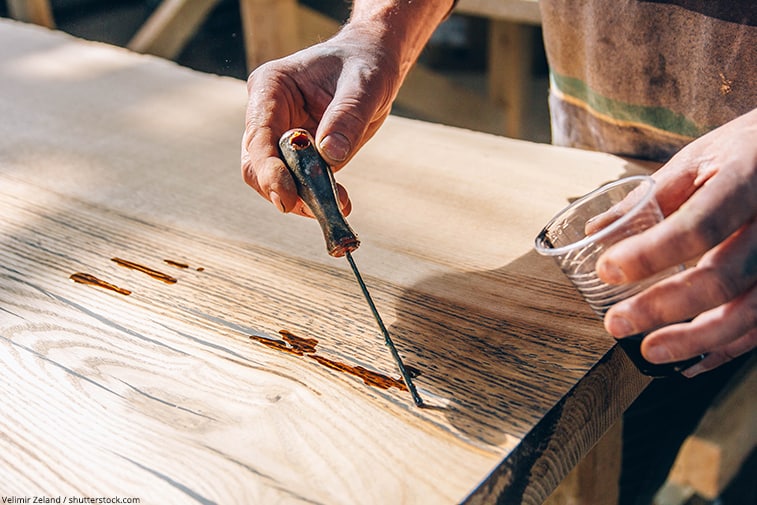
Scratches can vary in severity quite a bit. If you have a deep scratch that needs to be filled before the surface can be repaired you could use some wood putty or resin filler. These products are designed to fill small but deep scratches, and all you need to do is pop some in the crack, allow it to cure/harden, and then spot-repair the affected area with some sealer.
Dealing With Watermarks
Water stains are surprisingly easy to remove and can be remedied with common household items. First, get some non-gel toothpaste and mix it with baking soda and a few drops of water. Next, get a buffing pad for your power sand (or a clean cloth if you are working by hand) and thoroughly polish the affected area.
Careful buffing should remove the watermark without damaging the existing finish.
Regular Cleaning and Maintenance
Now that you have a fresh coat of sealant on your workpiece you probably don’t want to go through all that effort again any time soon.
Thankfully, if you maintain your table correctly your new finish could last for many years. Here are some tips you can follow to ensure your new finish maintains its fresh look for years to come.
Gentle Dusting and Wiping
Dusting and wiping is generally done after the table is used, so if you are using your table regularly it should be dusted and wiped down with some soap and water regularly. If you don’t make use of your table every day all you need to do is dust and wipe the surface of your tabletop around once a week to ensure it does not degrade over time.

Using Appropriate Cleaning Products
Part of ensuring that your table is in tip-top condition is knowing what products to use when cleaning your new finish.
Remember that some types of sealants are reactive to chemicals.
Take a look at the label on your product and follow the guidelines as set out by the manufacturer to ensure you don’t accidentally damage your finish.
Use Coasters and Placemats
While they might seem excessive to some, using a coaster or placemat on the surface of your table can save it from watermarks and heat damage. It can also prevent oily foods from coming into contact with your table surface, so be sure to get a good set of coasters and/or placemats for your newly sealed tabletop
Dealing With Spills Promptly
The longer you take to clean up spills the greater the impact they can have on the surface of your table. When allowed to soak into the surface coating or directly into the wood, it can cause stains, warpage, flaking, and even breakage. Deal with spills as promptly as possible to ensure your finish is preserved.
This is how you can protect your wooden table from damage. Luckily, sealers aren’t too expensive, and can be found at virtually all home improvement stores. You don’t need any special tools to refurbish your table either, so if you feel like your table could use some protection or an aesthetic update, why not consider resurfacing it yourself?
Frequently Asked Questions
What Is the Best Sealant for Wooden Table-Tops?
If you are looking for a good sealant for wood table units, there are a couple of options to choose from. While wax and varnish are popular and provide incredible color, polyurethane and oil finishes are far more durable.
Is Wood Sealer Food Safe?
Most commercially available wood sealer products are food-safe once they have cured completely. This does not mean when they are hard to the touch, rather it means that the sealer has cured for the time period indicated on the packaging by the manufacturer before they can be in contact with foodstuff.
What Is the Most Durable Finish for Wood Tables?
One of the most durable finishes for wood would be resin coatings. While they do obscure the texture of the wood, these coatings are resistant to impact, abrasion, heat, moisture, UV light, insects, mold, and even chemical damage!

I have been into woodworking since 2005 and woodturning since 2011. Because of my love for wood and woodworking, I started woodhappen.com to teach other enthusiasts about how to finish and seal wood, the best woodworking tools, the different types of wood, and everything else related to woodworking! Read more about me here.