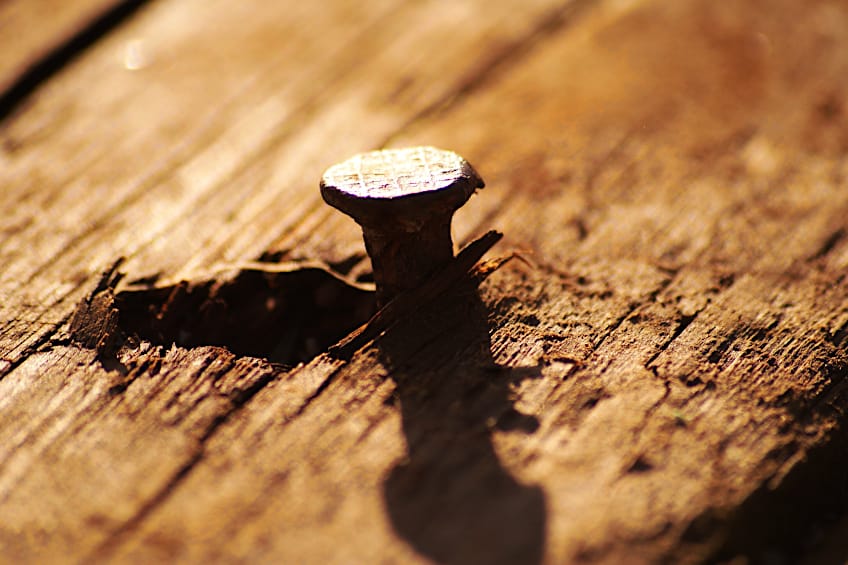
How to Fill Nail Holes in Wood and other Materials
Unexpected surprises make life exciting, but they can also leave you scratching your head, trying to figure out how these things happen. This rings especially true in the constructing and crafting industries, particularly when you discover holes in a wall you’re refinishing. The process of replacing drywall or having part of a wall replaced is time-consuming, not to mention expensive. Thankfully, there are ways and means of repairing all the little holes that have accumulated in your walls over the years without breaking your wallet. Hole filler is one of the best ways to ensure that all of the holes in your walls or other surfaces are filled and made as flush as humanly possible. The best part about using wall filler is that it is not only cheap but it’s really easy to use. There are hole filler products on the market for virtually every application you can think of, so let’s have a look at the different types of hole filler, what their respective applications are, how to use nail filler, and what some of the leading brands on the market are.
Table of Contents
How to Apply Wood Filler Effectively
Knowing what wood filler is and the different types of wood filler available is all well and good, but unless you know how to use it effectively, this information won’t do you much good. This being said, we have created a quick tutorial to help you plug up the holes in your workpiece as quickly and as easily as possible. While the process doesn’t particularly require patience, it does require some precision and practice. If you have a spare board laying around, we recommend giving the product you have selected a test run to get a feel for it and the range of motion you will need to apply your wood filler effectively. Before you begin you should have the following tools ready.
- Wood filler of your choice (preferably spackle for drywall and filler for wood)
- Fine-grit sanding paper or block (180-202 grit)
- A putty knife of no more than two inches
- A clean cloth or rag

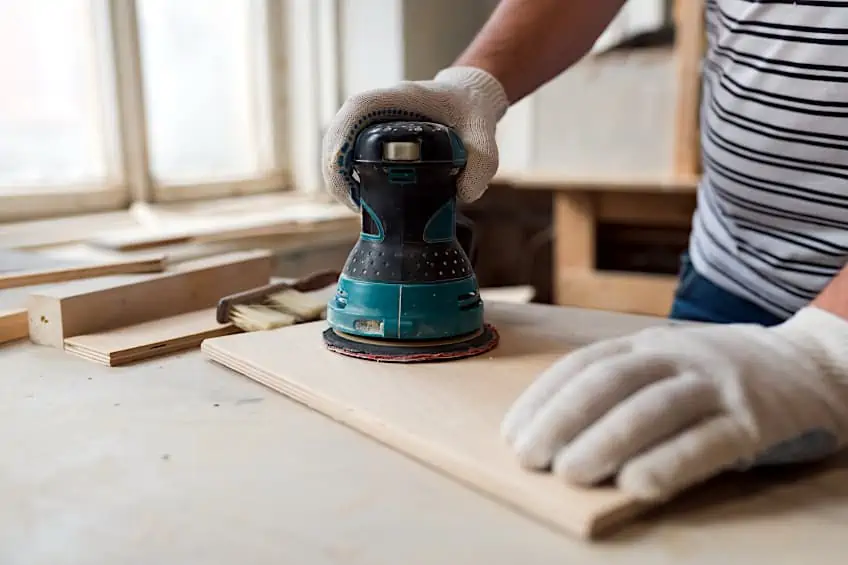
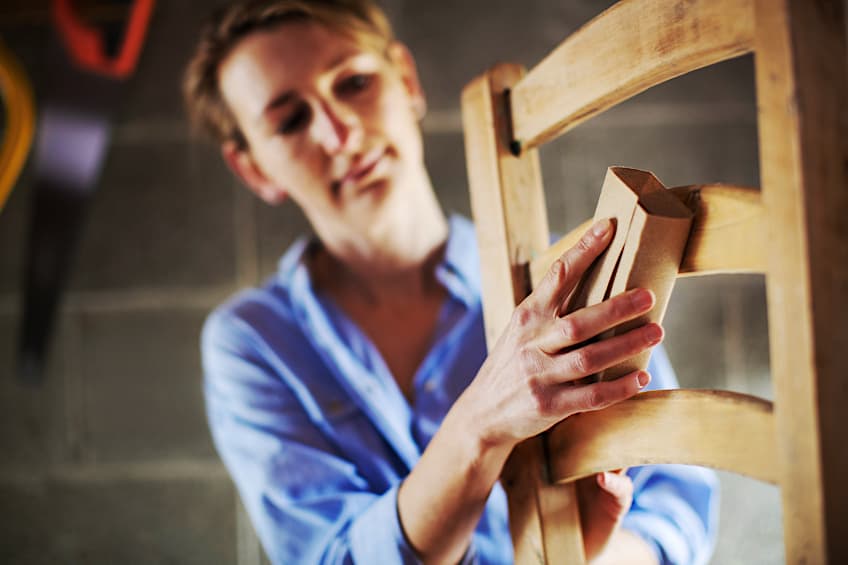
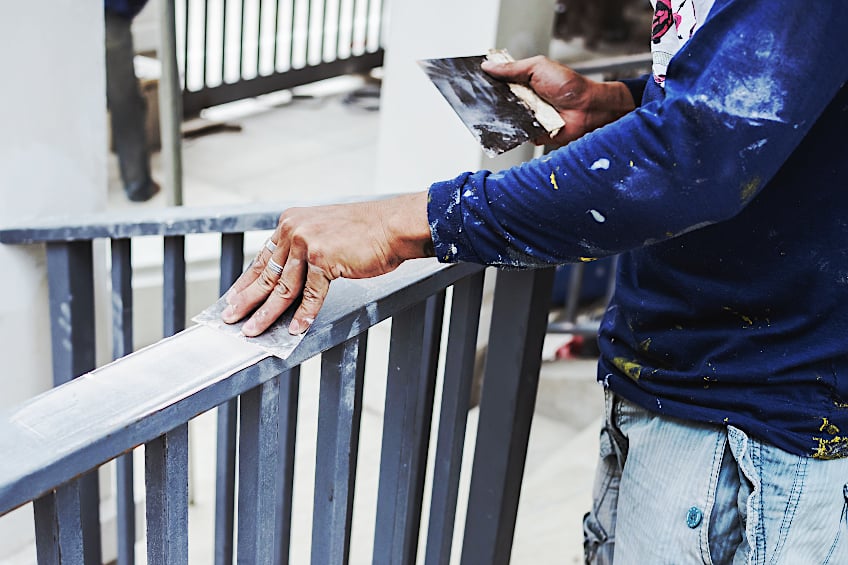
Sand the Surface of Your Workpiece
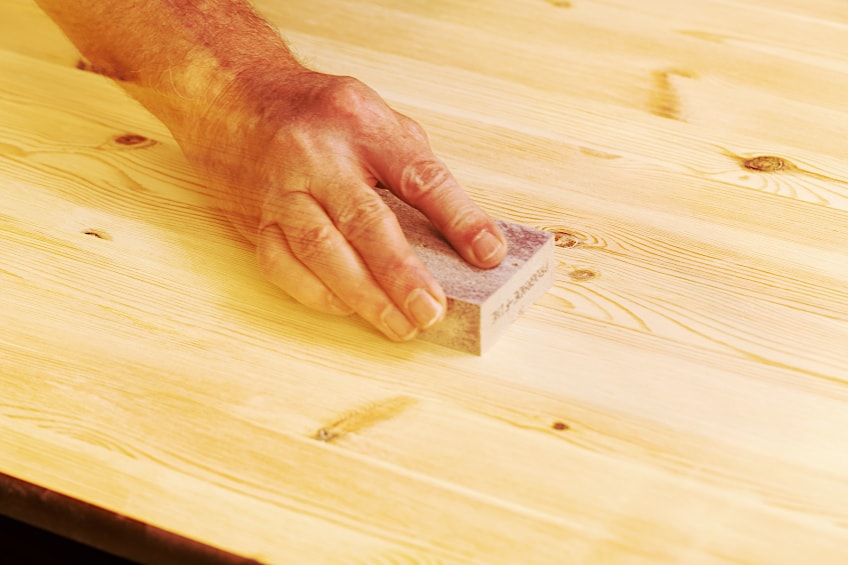
The sanding process does differ a bit depending on the type of surface you will be fixing up. If you are working with drywall, you should sand the surface of the hole in an effort to remove any gypsum residue that caked around the head of the nail or screw that was previously there. Sanding drywall is pretty easy as you can sand in whichever direction is best suited to your position to the workpiece.
When sanding wood, you should always sand in the direction of the grain of the wood to avoid ruining your aesthetic. Always ensure that your surface is completely flush and clear of any stray particles before moving on to the next step in the filling process. To ensure this, you can simply wipe the surface of the hole (the ae you have just sanded) with a clean cloth.
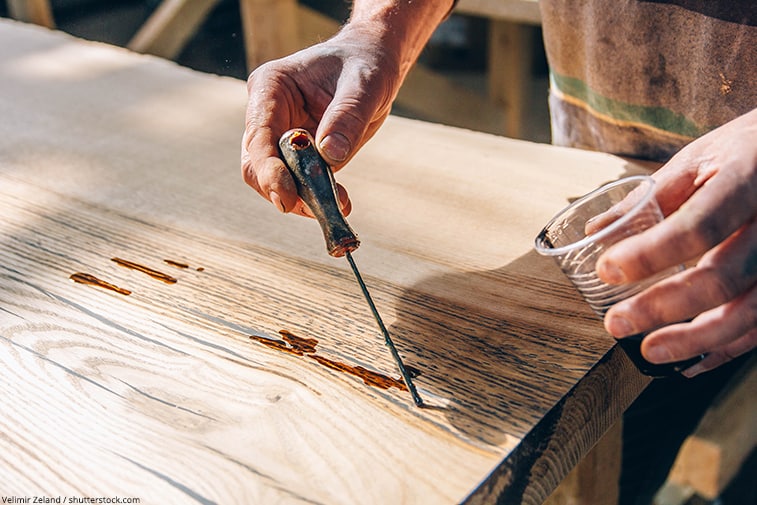
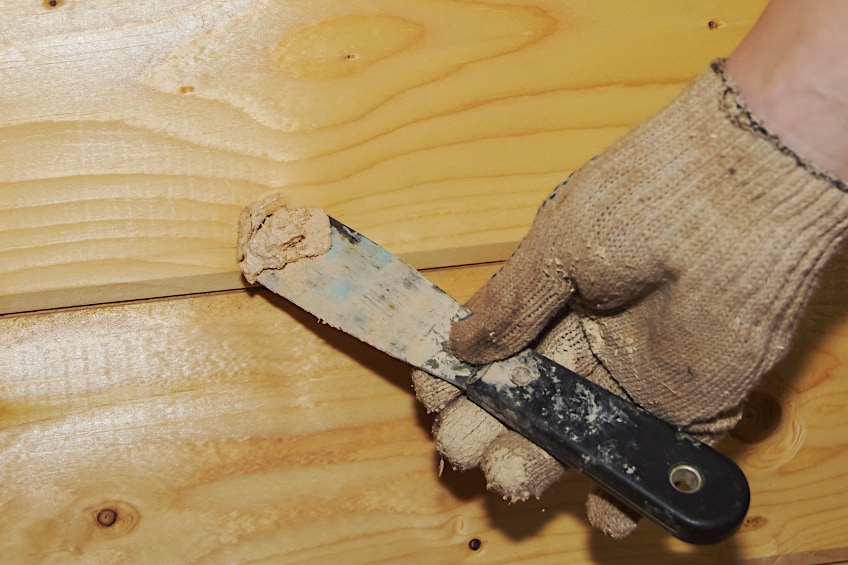
Spread and Fill the Holes in Your Workpiece
A hole might be a hole but the surfaces they’re present on can vary considerably in the way they can be filled up. This being said, you will need to use wood filler for the wooden board (or wood putty) and spackle for drywall. Remember to never use these materials interchangeably or you will end up with a mess on your hands.
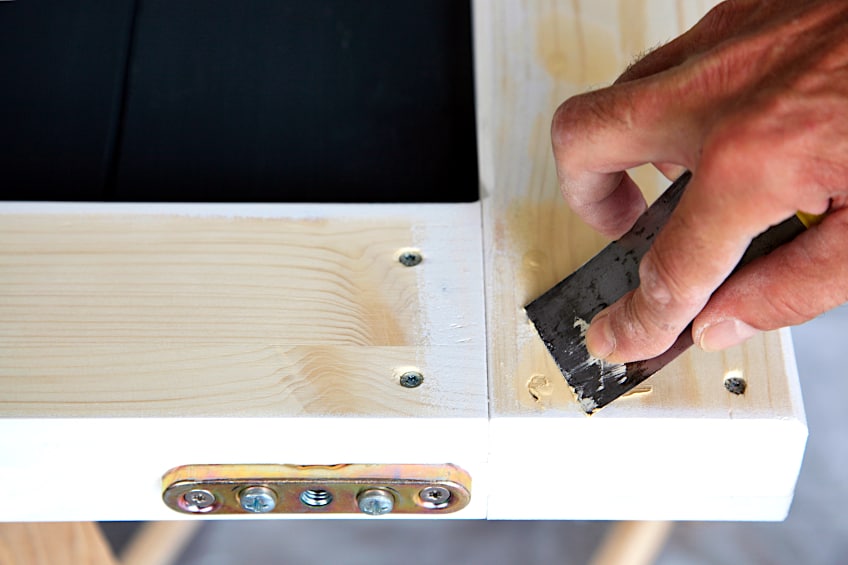
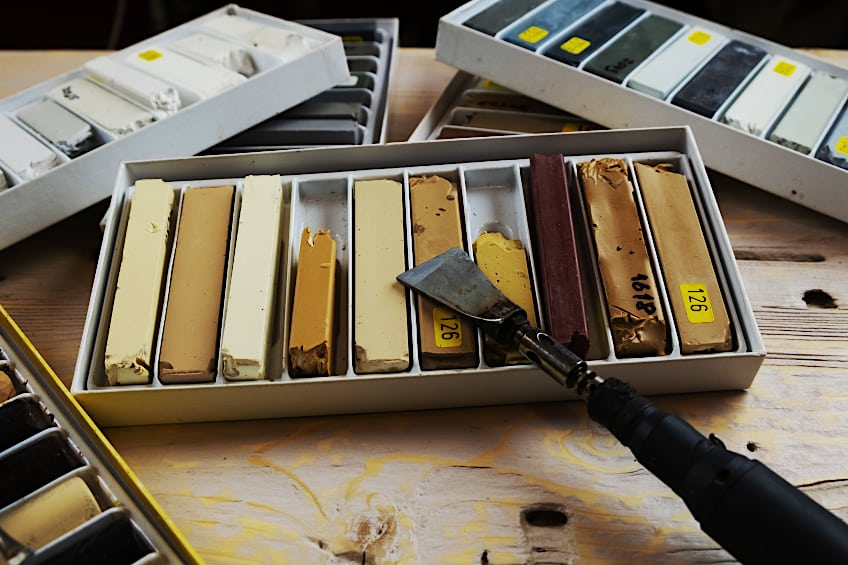
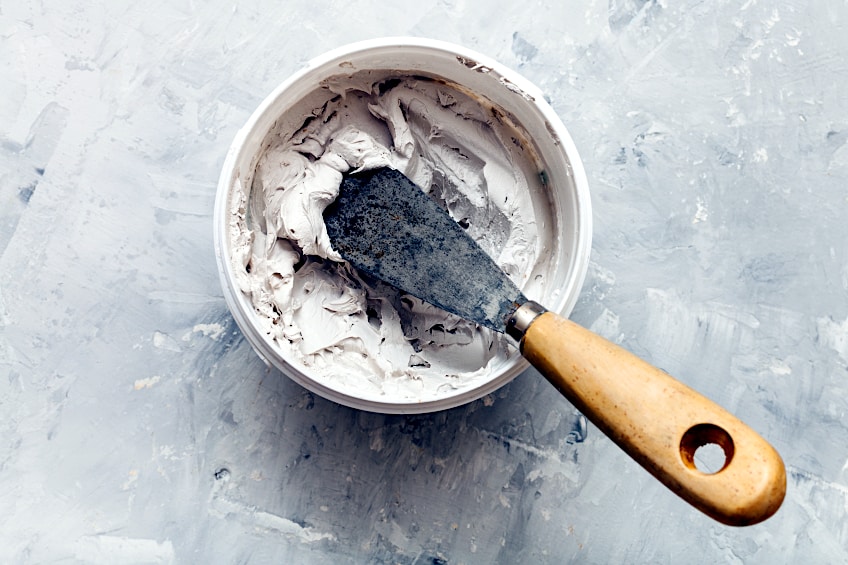
Okay so get your applicator and pick up either your spackle pastes or wood putty, we recommend always placing some on your applicator instead of trying to cram it in the hole to avoid making a mess. Remember that although spackle is pretty much the same thing regardless of brand, wood filler and putty are graded for particular purposes like painting and staining. To avoid disappointment, always consider what you will be doing to your workpiece after it has been filled before you purchase your filler.
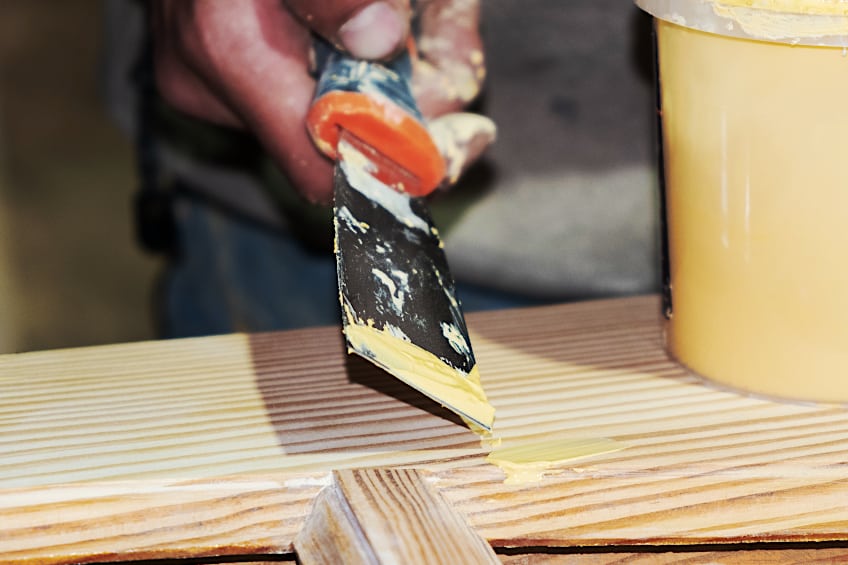
Ensure that you do not try to smoothen the spackle or wood filler with your hands or fingers. Why? Well, if you’re a person, you know that our hands are pretty soft because they have evolved to grip things comfortably. This is all well and good, but when you try to flatten something with the squishy tip of your finger it will leave an indent in the spackle or wood filler which is the opposite of a flush surface.
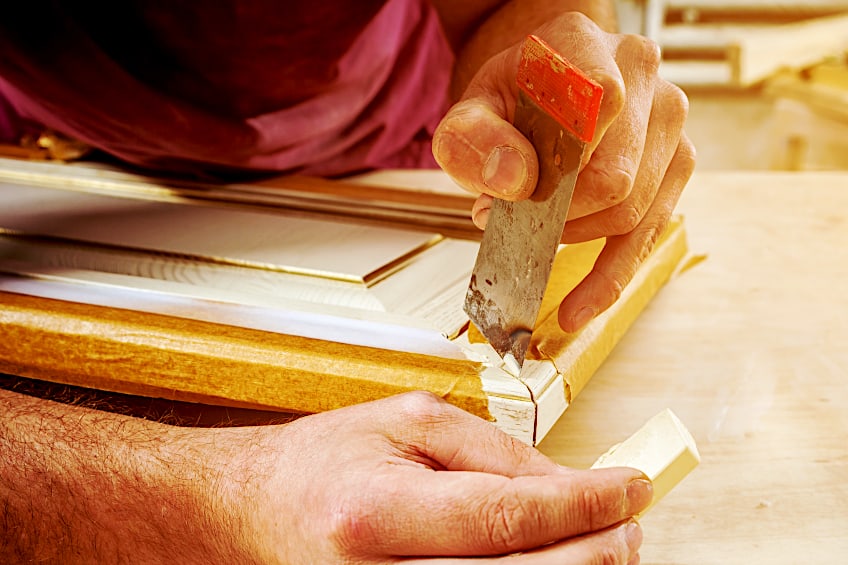
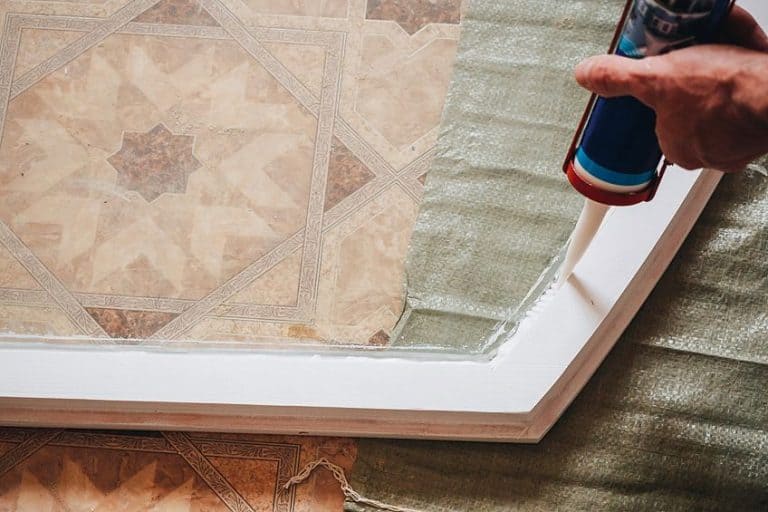
When sliding the applicator across the surface of your workpiece, only use a medium amount of pressure. Use your first swipe to fill the hole with your spackle or wood filler and the second one to wipe up any stray filler left behind. If your second swipe yields quite a bit of spackle or filler you may have applied too much. Use this to gauge how much filler you will need going forward
Once you have filled all of the holes on your workpiece, allow the filler or spackle to dry for the manufacturer’s recommended time period before moving on to the next step in the process. Once the filler or spackle has dried, sand them with your sanding block or paper to ensure that the surface is as flush as possible.
Apply Your Second Layer and Coat Your Surface
Once your first layer of filler has been applied and sanded you should wait for a while before painting over the holes you have filled. Why Wait? Well, not all brands of filler and spackle are created equal, and since they are filled with quite a lot of moisture-rich chemicals, they could shrink incrementally once the moisture dries up.
This is pretty normal but the degree to which effect takes place can vary considerably from product to product, and if the filler shrinks it can easily become loose and unable to fill the hole effectively. This is why we recommend applying a second layer of filler over the spots you have filled to take care of any gaps in the circumference of the holes you have filled.
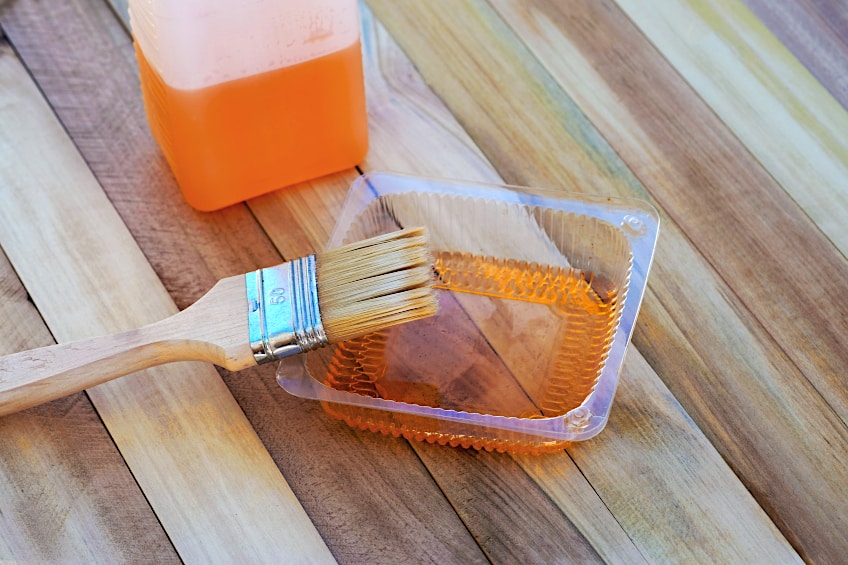
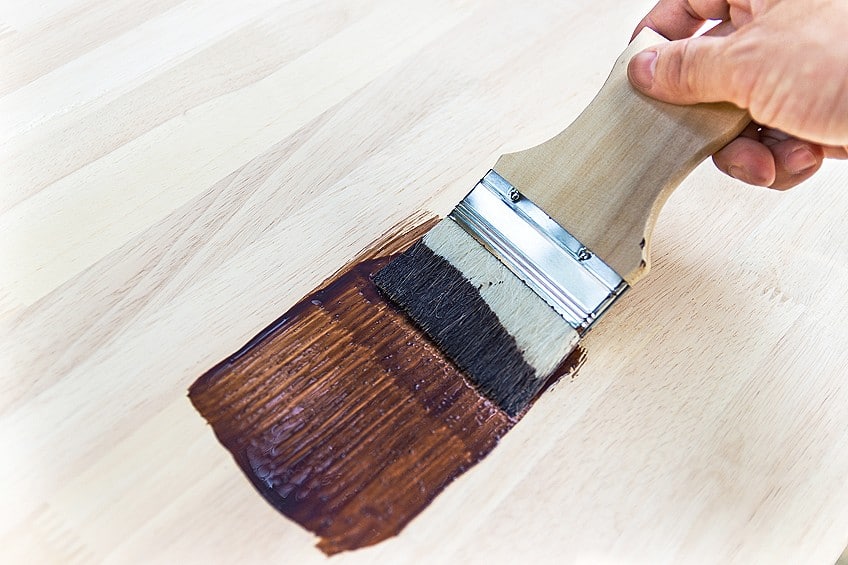
Once you have allowed the second coat of filling to dry for the manufacturer’s recommended time period it’s time for you to decorate your workpiece with the coating of your choice. Spackle and wood filler work particularly well with paint, but results can vary with wood treatments like a wood stain or their natural alternatives like Tung oil or linseed oil.
To ensure that you don’t ruin the area you have filled, check online reviews or DIY forums about how the product you have chosen works with wood treatment. As a final piece of advice, some spackle creators claim that their products can be painted while wet, and while they might work, we always recommend allowing the product to dry for the manufacturer’s recommended time period before applying a coating or treatment to your workpiece.
Can You Use Spackle on Wood?
Can you use spackle on wood? Absolutely. Spackle is graded for us on a wide variety of materials, namely wood, wallboard, metal, brick, and even masonry! Spackle is water and heat-resistant and can be used as a quick and easy way to fill holes and repair surfaces. Even if you aren’t a professional crafter or DIY enthusiast, keeping spackle around your home will ensure that you always have a means of repairing all those unforeseen problems we tend to come across in our daily lives.
Is it Better to Repair Wood with Putty or Replace it?
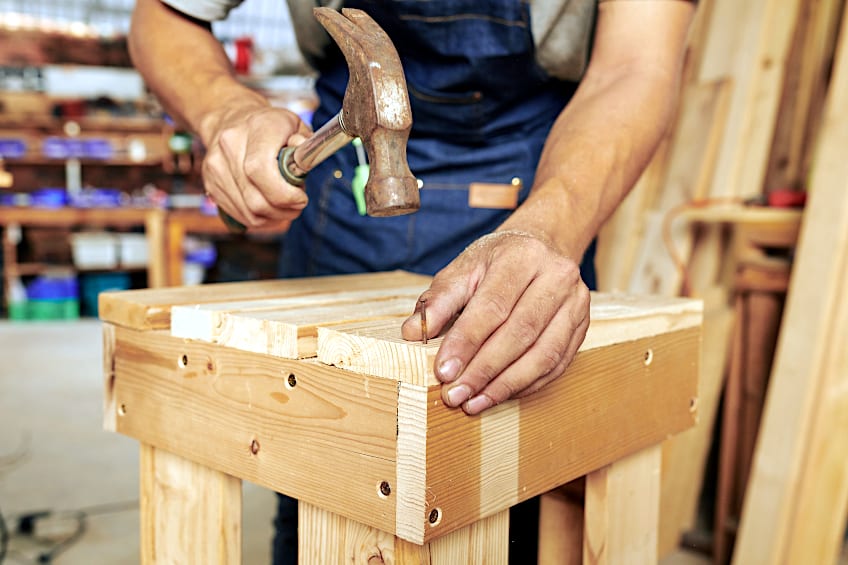
There are typically two reasons that you would use wood filler, putty, or spackle. The reasons are either to repair a broken board or to fill nail holes as we have covered previously. This being said, when is it better to simply replace a board rather than repair it? Where is the definitive point of no return? Well, this depends on a number of factors, but let’s have a look at a few of them to give you a better idea.
The extent of the damage can play a big part in deciding whether a workpiece is worth saving or not. If surface damage exceeds around 80% then it would cost more to repair it than it would to simply buy or make a new item. Wood filler is not magic, it cannot save something that is beyond repair. Always weigh the outcome against the cost, regardless of how much you may like or value the item when making this decision.
Is your workpiece replaceable? If you’re a lover of vintage furnishings you will know that there are certain sets of furniture that simply cannot be parted, whether it be because of their inherent value as a set, the aesthetic impact of the combination, or simply because they form more than the sum of their parts. How replaceable a workpiece is plays a big role in whether to repair or replace it.
Finally, what is the workpiece’s function? Repairs often just hide aesthetic blemishes on the surface of a workpiece. If a furnishing is designed for structural integrity and a key point has been corroded or damaged, it’s probably best not to repair it with filler or spackle. Even though spackle and other wood filling products can make a workpiece look as good as new, always remind yourself that it is not a new workpiece.

How Long Does Wood Filler Last?
How long does wood filler last? While we have mentioned how effective wood filler is and how easy it is to use, we would be remiss if we weren’t to mention how long it lasts. While wood filler and wood putty are great ways to revitalize your workpiece and improve the overall aesthetic of various surfaces, it is not a be-all and end-all solution to everything wood-related.

While wood filler is reasonably durable, especially the variety that is graded for use with outdoor furnishings. This type of wood filler will protect the workpiece from things like abrasion, corrosion, impact, and exposure to excessive amounts of UV light, which is great, but wood filler won’t last forever.
Keep in mind though, that on average, most wood fillers last around two years, or a bit longer depending on the condition of the wood and the conditions it has been kept in. Although, most manufacturers will claim that wood filler can last up to 20 years if it is stored in ideal conditions and maintained on a regular basis.
In addition to filling voids in wood, wood putty also provides color matching properties that can be used to complete wood workpieces that would otherwise be poorly refinished. This ability (although very useful and convenient) is as temporary as the structural repair itself. If a poor-quality finish is applied to your workpiece or if no finish is applied at all, the color matching effects of the wood filler will also wear over time.
Can Wood Filler Be Stained?
In recent years the interest in wood staining seems to have increased dramatically for seemingly no reason at all. There is a reason though, wood staining is an easy and affordable solution not only to making your wood look great, but protecting it from various forms of damage.
What is wood stain? Well, wood stain has been around for a number of years as an alternative to surface coatings, a term that refers to things like paint and epoxy resin coatings that cover the surface of a wooden workpiece for protective or aesthetic purposes.
Wood stain on the other hand is more of a wood treatment than a surface coating (even though it does very much affect how your workpiece will look) because it penetrates beneath the surface of a wooden workpiece and bonds with the wood’s fibers. It’s this binding process that affects the wood’s color and ability to resist damage.
What damage does wood stain allow your workpiece to resist? Well, most wood stains are graded for exterior use and protect furnishings from things like insect infestation, UV damage, impact, abrasion, scuffs, and scratches. Wood stain is also a lot less messy to apply than paint, and in most cases, all you need is a rag and a well-ventilated workspace to get going. How well do wood filler and putty work with wood stain though?
In short, fillers and stains don’t go together well, and if you’re wondering why, it’s because most wood stains contain some amount of volatile organic chemicals which react poorly with the base substances of wood filler and/or putty.
As a matter of fact, there are very few concrete facts about staining wood that has been filled, it all comes down to a game of trial and error which we strongly recommend you do with a piece of wood that is not your workpiece.
Before you apply your wood stain to wood that has been filled, check online forums to get a feeling for filler’s track record with wood stain. If you’re looking to even the playing field a bit, you could use a wood conditioner to reduce the amount of stain that the wood filler absorbs. Why would you do this? Well, wood filler tends to absorb more stain than the wood around it, this means that the section of the wood that has been filled will be darker in appearance than the rest of the board which can be off-putting and annoying, to say the least.
If you find yourself looking for a good alternative to wood filler you should consider some pour-in epoxy resin for those pesky holes. Not only does it give a workpiece a modern-classic look, but it provides all of the benefits of wood filler with absolutely none of the drawbacks (aside from the price). This being said, epoxy does take a while to set up and cure completely, which is not great if you’re repairing, or the project is time-sensitive.
What Are the Different Types of Nail Hole Filler on the Market?
You would forgiven for thinking that hole fillers are all the same, but fillers are designed for specific applications. Different filler types are designed to work on specific materials and substrates. This being said, let’s have a look at some hole fillers, what they’re all about, and what specific applications they have been designed for. Remember that the best nail hole filler will be the one that gets the job done, keeps working, and bonds with the medium of your workpiece well.
Putty
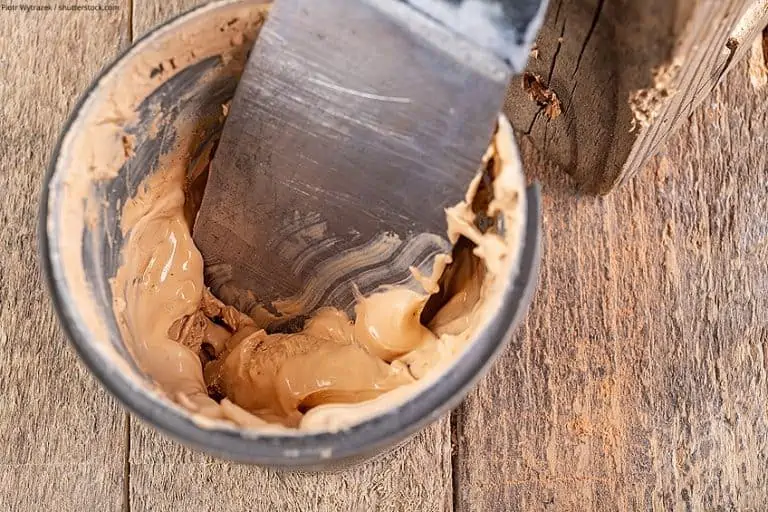
No discussion on nail hold filler compounds would be complete without mentioning putty in some way shape or form. Putty is one of the most tried and true methods of filling nail and screw holes, whether it be on your walls at home of on a workpiece that you’re updating. Either way, putty has your back in filling all of those unsightly holes and scratches on virtually any surface you can think of. Putty is made of a polyurethane base which is applied in a semi-liquid form and can be inserted directly into the hole of your choice.
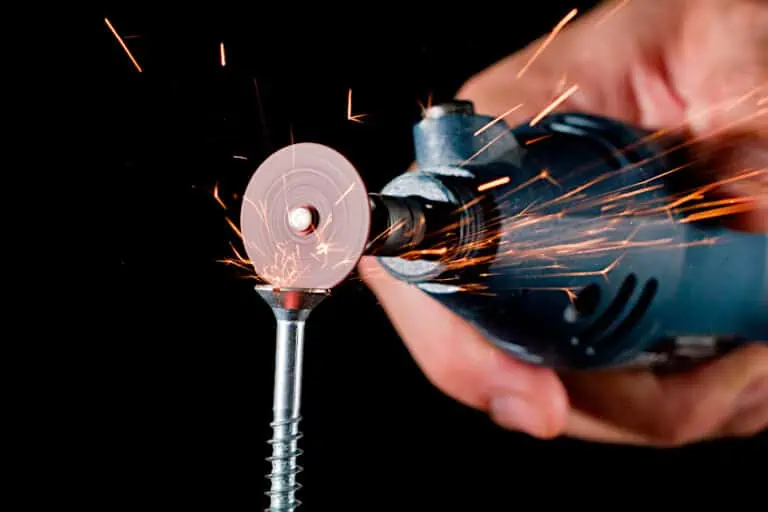
There are two types of putty, namely two-part epoxy resin putty and one-part putty, both of which are sold practically everywhere and are super easy to use. The one-part variant is arguably easier to use for those new to hole filling, as the two-part formula consists of an epoxy and a hardener which you need to mix before using the resulting substance to plug a surface imperfection.
One-part putty doesn’t harden, which means it’s easier for you to correct any mistakes or misapplications, unlike the two-part variant, which you will likely have to drill and/or sand to smooth.
One-part putty is ideal for beginners or if you simply need a quick and effective solution to filling a gap. However, it cannot be used outdoors, like most other hole-filling solutions are. If you need to fill gaps on outdoor surfaces, use a different product.
Filler
People tend to get filler and putty mixed up a lot of the time, mainly because of their similarities in application and properties. Filler differs from putty in being graded and designed for outdoor use. Wood filler for nail holes can also be used for filling holes in masonry and drywall, which makes it the handyman and professional contractors’ best friend, especially when working with surfaces that have seen a lot of remodeling or harsh weather conditions.
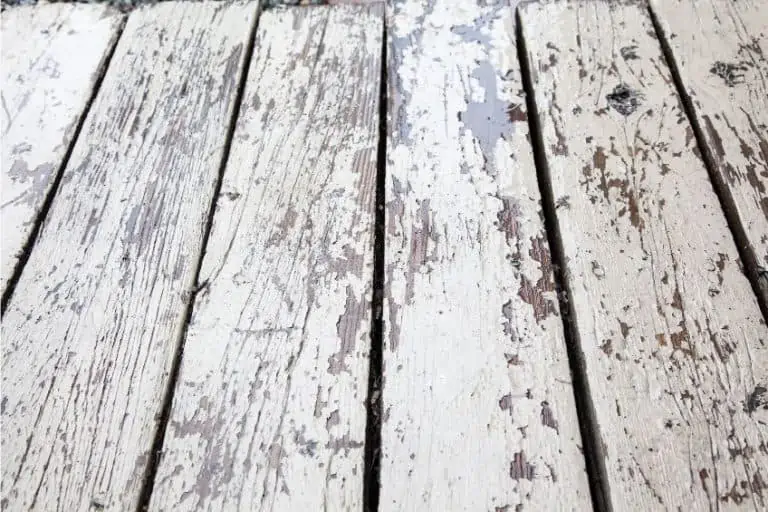
Common applications for filler include outdoor walls that have had exterior lighting removed, outdoor furnishings that have been remodeled, wooden decks that need to be resurfaced, and even outdoor plumbing installations like runoffs and gutters.
As much as filler can be distinguished from wood putty, there are also many similarities: both are available in various colors for matching surfaces. Fillers are also available in one and two-part versions, and filler even smells a lot like putty! This being said, wood filler for nail holes doesn’t do too well when exposed to direct sunlight beyond two years, which means that it needs to be replaced regularly. Filler is typically used in its latex form, but for various applications (often more robust ones) it is also available in an epoxy two-part form and a powder that can be mixed and applied.
You should keep in mind that both filler and putty can be harmful before they have had a chance to cure completely, and considering they look a lot like paste, we recommend keeping them out of the reach of small children. Filler is arguably the best nail hole filler for outdoor use on the market today.
Spackle
To the uninitiated, spackle can sound like a kid’s play-dough toy that one buys when they’re screaming in the middle of the grocery store aisle, and you simply don’t have the energy to fight them on it. In reality, spackle is a really useful wall hole filler that comes completely ready to use with absolutely no preparation needed.
This substance is fairly common in the drywall industry in particular, allowing contractors to quickly correct any unsightly errors that may ruin an otherwise perfectly good drywall sheet. This wall hole filler can also be used wood, regular wallboard, metal, brick, and even masonry, which make it by far one of the best and most versatile putties for nail holes on the market.
Spackle for nail holes also grants you the distinct advantage of not having to prime the void you’ll be using it on, but if you’re priming an exterior surface you may want to take the extra step to ensure adequate adhesion to the surface.
Spackle also dries pretty quickly which, in conjunction with its ready-to-use formula, makes it by far the most ideal tool for all of those time-sensitive projects that love to rear their heads every now and then. As with putty and filler, you can paint over spackle without the need for preparation beforehand. Just ensure that it’s flush with the surface of your workpiece to avoid any nasty-looking bumps on the surface of your workpiece.
You’re also pretty much spoilt for choice when it comes to spackle, as spackle for nail holes are sold in the interior, light, professional, and exterior variations. If you’re using spackle for nail holes, always ensure that you are using the variation that is most conducive to your specific application to avoid disappointment.
| Properties | Putty | Filler | Spackle |
| Can You Paint Over It? | ✔ | ✔ | ✔ |
| Can It Be Used Outdoors? | ✘ | ✘ | ✔ |
| Can It Be Used on Brick And/or Masonry? | ✔ | ✔ | ✔ |
| Is It Waterproof? | ✘ | ✘ | ✔ |
| Does It Come Ready to Use? | ✔ | ✔ | ✔ |
What is the Best Brand of Hole Filler for Each Type?
Knowing what types of hole filler products are on the market is kind of half the battle and can seriously help when it comes to choosing which type of product will work best for your application. Unfortunately, even though you know the categories of void-filling products, not every brand will provide the same quality of the product. Thankfully, we have taken it upon ourselves to sift through some of the top hole filler substances on the market to provide you with the very best the industry has to offer in each respective category. Let’s have a look at what they are and what sets them apart from the sea of other fillers on the market today.
Best Wood Filler: ELMER’S E855 Carpenter’s Wood Filler
There are loads of products that claim to be the best in the business, but none of them really have anything that sets them apart, or anything to back up this bold claim. If you’re going to choose a product that claims they are the best in the business, you should consider one made by a company that has been around for nearly 80 years.
That’s right, Elmer’s team has been making glue and glue related products for as long as the world health organization has existed, and this is saying quite a bit considering that you wouldn’t be able to read this article on your screen or read anything besides what was happening during the second world war at the time.
Elmer’s has truly proven itself to be a brand worthy of being called a household name, making a vast array of high-quality affordable products that often last the lifetime of the workpieces they are used on. Their 3.25 oz carpenter’s wood filler is no different, grating you strong, versatile, and easy to use a product that gets the job done every single time.
What you’ll notice right off the bat when it comes to Elmer’s wood filler is what pleasure it is to work with, as while other wood fillers tend to be a bit runny and awkward to work with, Elmer’s has a thinner, almost chalky consistency that is easy to work with and leave you finding little chunks of it in odd places alter on.
The tube containing the wood putty seems to have been designed with ease of use in mind too, making it virtually effortless to dispense exactly how much you need with every squeeze. It’s not just the application of their wood filler that the Ellmers team has paid attention to though, the filler itself dries extremely quickly and can be both sanded and painted once fully cured.
Although this wood filler does dry quickly (around one minute), we strongly recommend allowing it to cure for the manufacturer’s recommended time period before sanding or painting over the spot you have filled.
- Versatile
- Easy to use
- Ergonomic squeeze tube
- Reputable brand
- Fast drying time
- Relatively fast curing time
- Malleable during the application process
- Cannot be used outdoors
- Sold in a small volume
- Limited color selection
- Cannot be used on brick/mortar
Best Wood Putty: MINWAX Wood Putty
Feeling a bit scared about your first time plugging up some holes? Well, if you are perhaps starting off with wood filler isn’t the best idea. Fortunately, wood filler isn’t your only option, and thanks to the team over at Minwax you have access to prime wood putty. Why is wood putty better for beginners compared to wood filler?
Well, as we mentioned previously wood filler tends to dry up a lot quicker compared to other wood fillers like wood putty. Why is this important when working with wood filling substances as a beginner?
Well, if this is your first-time filling holes there is a good chance of either over or underfilling your workpiece and if the product you are using dries up quickly it doesn’t leave much margin for error. This is where the wood putty from the Minwax team comes in, it comes neatly packaged in a container instead of the tube which makes it easy to manage and control the portions you apply at any given time.
As an added benefit, Minwax claims that the product is skin safe which means if you really want to get your hands dirty you could remove your gloves (although we recommend being safe rather than sorry).
This product is marketed as a means to smooth over any scratches or abrasions you might come across on a workpiece or essentially any wooden furniture you might come across in your daily life. This then is a quick, easy, and effective solution to gouges on your wooden flooring, scuff marks on the legs of your furniture, or a way to touch up older furniture that’s seen some mileage.
If you’re concerned about color matching, the Minwax team seems to have over-compensated (thankfully) by offering you over 10 colors to choose from so you can perfectly match it to whatever surface you’re trying to repair. This putty can be sanded and painted like the wood filler we mentioned previously, but also like the wood filler it cannot be used for outdoor or particularly robust applications.
- Easy to use
- Easy to manage portions
- Convenient air-tight container
- Available in multiple colors
- Can be used to maintain and repair
- Whitewood putty is ideal for beginners
- Versatile
- Cannot be used outdoors
- Applying by hand can be challenging
- Available in limited quantities
- Whitewood putty does not dry or harden
Best Spackle: RED DEVIL ONETIME Lightweight Spackling
If we’re using the pedigree of brand as a metric for quality, you would be hard-pressed to find a brand with a greater legacy than the Red Devil team. The brand traces its origins all the way back to the 1870s and has had a huge impact on the home improvement and commercial construction industry.
Their ONETIME lightweight spackling really does illustrate how the red devil team focuses on providing quality products that allow anyone to get their hands dirty with some drywall, masonry, wooden board, and even brickwork with the peace of mind of knowing that product will work and keep working for the lifetime of the workpiece.
If you’re a hole-filling veteran then you know that waiting for a product to dry and set can be really annoying, especially if you’re on a schedule or the job is time-sensitive. The Red Devil team understands this and has provided you with a spackle that is fast drying and easy to apply.
Applying Red Devil spackle requires absolutely no sanding or priming on your part, as the product can be smoothed out to be completely flush with the surface of your workpiece. Unlike some of the other hold filling substances we have covered thus far, spackle is graded for use in outdoor settings, with heat, moisture, and abrasion having little to no effect on surfaces treated with it.
On the other hand, like the other products we have covered so far, you will be able to sand, drill and tap into any orifice filled with ONETIME spackle with very little effort needed. The party piece of the ONETIME spackle has to be the fact that it is exceedingly easy to clean up compared to other products in its class.
ONETIME spackle inherently forms in clumps, so if you were to say, drop some on your floor, carpet, clothing, or hair, it is easily removed simply by picking it up! All of the aforementioned is great but spackle is not the ideal choice of hole filler for beginners as it dries pretty quickly and doesn’t leave much margin for error, but if you insist on trying to hit the ground running the learning curve shouldn’t be that steep.
- Easy to use
- Can be used outdoors
- Can be sanded, tapped, and painted
- Easy to clean up
- Available in a variety of colors
- Dries quickly
- Not suitable for beginners
- Contains volatile organic chemicals (VOCs)
- Not available in easy-apply tube
- Cannot be used on certain metals
Now that you know why filling nail holes is important, how to fill nail holes, what the best hole-filling products on the market are, what each product can be used on, their strengths and weaknesses, and even when and when not to repair your wooden workpieces, it’s time for you to get out there and put your new-found knowledge to the test. Remember to consider the finish you intend on using on your workpiece before purchasing your filler to ensure compatability.
Frequently Asked Questions
Is Wood Filler Waterproof?
Although wood filler is a versatile substance that is both easy to use and affordable, it is not graded for use in outdoor conditions. Prolonged exposure to extreme heat or excessive moisture can and will break down the bond in wood filler composites.
Does Wood Filler Harden like Wood?
Wood filler is a compound that has been specifically designed to fill and bond unsightly holes in the surface of the wood board. This substance binds with the wood particles it comes into contact with and hardens with the surface over time.
What is the Difference Between Wood Putty and Wood Filler?
Wood filler typically consists of wood particles like sawdust that have been mixed with a binder to form an adhesive filler that hardens once it has been applied (much like spackle). Wood putty on the other hand is completely synthetic and does not dry out.

I have been into woodworking since 2005 and woodturning since 2011. Because of my love for wood and woodworking, I started woodhappen.com to teach other enthusiasts about how to finish and seal wood, the best woodworking tools, the different types of wood, and everything else related to woodworking! Read more about me here.