How to Use Epoxy Wood Filler – Repairs with Wood Epoxy Putty
This article will discuss the best wood filler options for your DIY projects. This means that you will be saying goodbye to the problems of rotten or cracked wood. Learn how to use an epoxy wood filler for wood repairs, since it is a cheaper method of restoring wood. You will be able to do this process at home without buying new wood to replace the old one.
Table of Contents
What Is an Epoxy Wood Filler?
Epoxy comes in different forms to maintain and restore the overall structure and outlook of wood. An epoxy wood filler comes in the form of a pourable liquid or putty, although you will find that many jobs require the use of both types. This epoxy is useful in filling any gaps, cracks, and holes of the wood so as to restore the original strength and structure. The epoxy also prevents the rotting and decaying of the wood.
Epoxy is durable and suitable for various materials. It sticks to any surface and can provide a durable bond in the long run. It can be resistant to chemicals, heat, and it is waterproof. It dries to a hard state and provides a base for wood when it is used in the process of restoration.
Epoxy filler comes in two parts, being the hardener and the epoxy. The mixture of the two will create a reaction that causes the epoxy to dry and harden. So, you must act fast once you have mixed the two parts.
The liquid version is best for pouring into holes and cracks. This makes it easy for the epoxy to flow into the internal holes, thus filling them up. On the other hand, the putty version works on holes and cracks that exist on the outer surface. You can sand it down to match the wood shape once it has cured.
When to Use a Wood Epoxy Resin Filler
Epoxy resin is not used by most people because they do not understand its purpose and how to use it. But epoxy is incredibly easy to use in order to achieve a smooth and even finish. It can be used to replace or fill wood, and is considered the cheapest option of replacing wood rather than hiring a professional to do it. So, when is an epoxy filler for wood necessary?
Replacing wood is only necessary when half of your wood has been damaged, or if there is a standard cut on the wood, or if you have already done at least three epoxy fillers on that same type of wood. If you opt to replace at least half of the wood, then you should clear finish the wood first. A Dutchman patch can be used to drill or mill the wood piece. You should also consider this process if you want to maintain the original wood species. You can use epoxy wood for the following circumstances:
- If the process of removing the piece of wood is difficult or if it will affect the other structures of wood.
- If that piece of wood was specifically designed or quite difficult to replace. This can mean elements that had detailed designs or required a lot of effort in making.
- If 80% of the wood is still in good order and only a small portion has holes or cracks.
An epoxy resin is only necessary under specific conditions. Moreover, epoxy is moldable, can be applied from any angle of your choice, and it can effectively soak into the wood. Epoxy resin filler can also be sanded down to restore the original shape of the wood.
Advantages of Using Epoxy Wood Filler
Epoxy is a good filler when it comes to wood. This is because it is quite easy to use and there are a lot of benefits when it is used to fill up holes. So, you do not have to feel intimidated to use it. Here are a few benefits:
- A hard and durable substance that can effectively support wood is formed when epoxy cures fully.
- Epoxy is suitable for any wood type and it has strong adhesive qualities that enable it to stick to a lot of surfaces.
- Epoxy wood filler is quite easy to use. This is because you can pour, mold, shape, and process it quite easily.
- You can easily get epoxy into the hard-to-reach areas.
- The piece of wood does not need to be removed for the epoxy to work.
- Epoxy can fit into any wood piece or detailed wood piece.
- Epoxy can fit quite easily into the holes of wood and all the internal passages.
- It is a good external sealer that prevents any decays in the future.
How to Use a Wood Epoxy Resin Filler
Since we have looked at the best epoxy resin fillers that you can use in fixing and restoring your wood, we will now look at the processes involved in working with epoxy. Follow this step-by-step guide on how you can easily use epoxy resin filler in your home.
Prepare the Wood
Before you get started on the filler, you must prepare and clean the wood first. You must thoroughly remove any paint or dirt so that you can see how badly the wood has been damaged. The piece of wood you want to work on has to be fully exposed before you begin the process. You might have to sand or use a paint stripper in order to clean the wood.
You must make sure that the wood is clean and dust-free before you apply the epoxy wood filler. This is because the filler might be affected by paint, dirt, or any type of grease on the wood. The piece of wood must not be bent or warped, or else the epoxy will freeze the wood into this position.
Apply an Epoxy Consolidant
When you are done preparing the wood, it will be time to prepare the epoxy resin wood filler. First, apply a consolidant epoxy coating on the whole surface that you will be working on. An epoxy consolidant is a thin coat of epoxy that uses a resin to coat all the wood fibers together.
This consolidant is slow to dry and should be used together with a wood epoxy putty. This is because it enhances the adhesion properties and allows the wood to last longer with a stronger bond. Leave the surface to dry before moving to the next step.
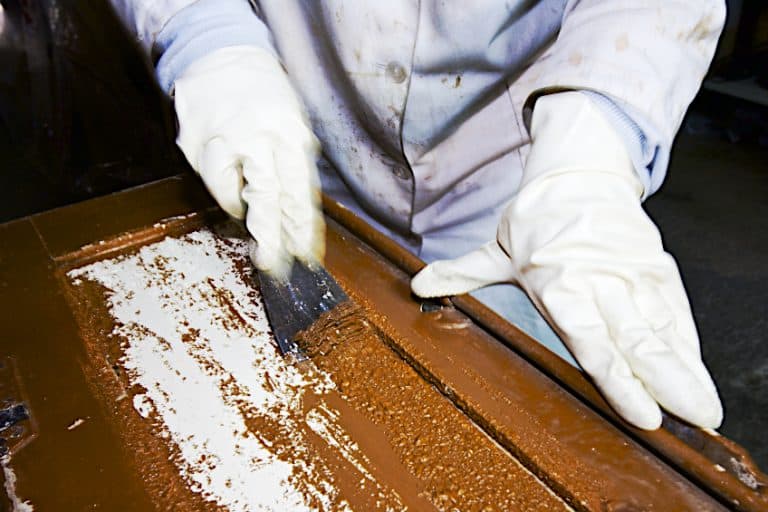
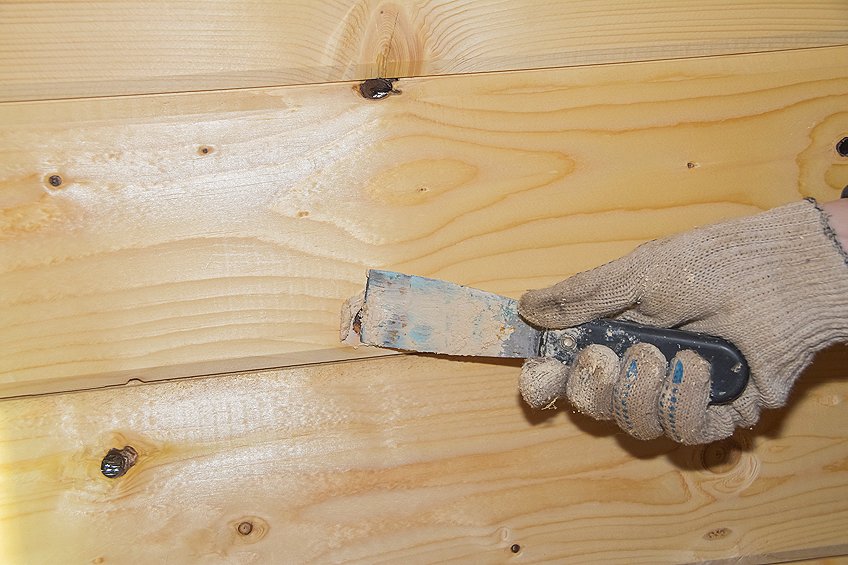
Apply the Exterior Epoxy Wood Filler
Once the consolidant has cured fully, fill up the cracks of the wood. This is because holes in the wood tend to continue extending much further. The worst case scenario is when the hole is made by insects, as it will form a tunnel right through into the wood. If you pour the liquid wood filler too early, it might drip through these holes and run through the tunnel made by the insects.
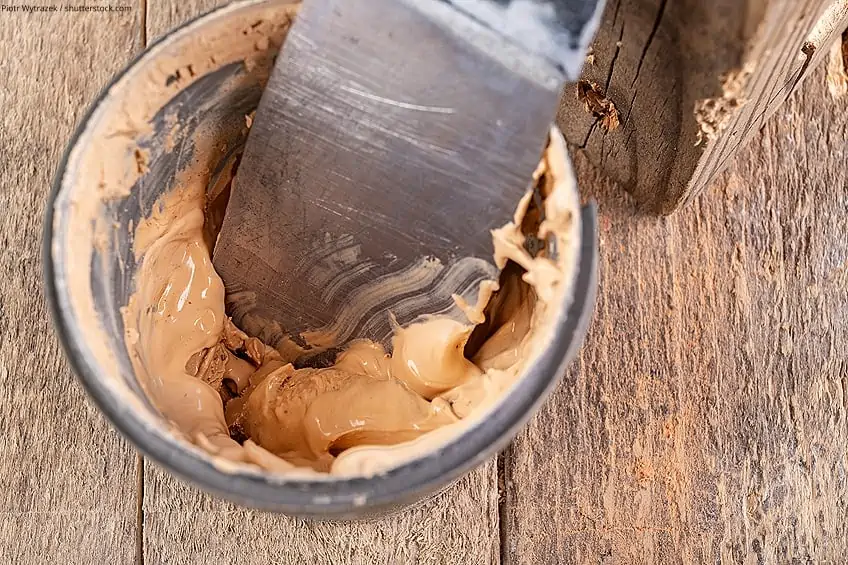
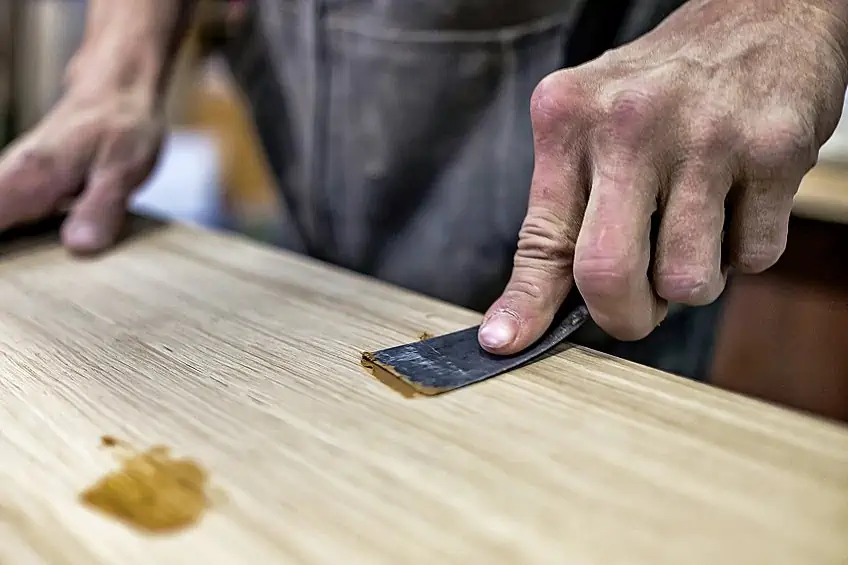
So, to prevent this process, use wood epoxy putty. Take two parts of epoxy filler and mix them together to form a paste. You can use it on these holes and cracks on the wood. A putty knife can smoothen out the exterior epoxy wood filler. Seal all the cracks properly and do not worry about producing an even finish, as the surface will be sanded down later.

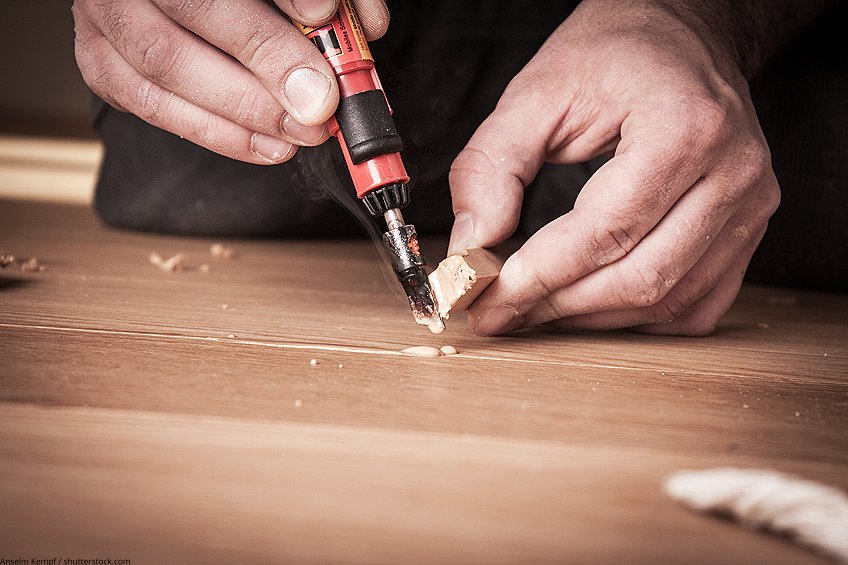
Pour the Liquid Wood Filler
Before you pour the liquid wood filler, let the wood epoxy filler putty cure first. Get a good pourable consistency by mixing the wood filler liquid with the resin. You can pour it all over the wood and allow it to flow into all the insect tunnels and cracks. You can now pour the liquid filler all over the remaining cracks and holes. Once they are filled, leave the filler to soak in for a few minutes.
The epoxy will drop a little at this stage. Then, pour some more once it has dropped. Continue pouring more epoxy filler until it has filled all the holes and cracks or until it is no longer dropping. You must make sure that the epoxy has penetrated all the holes and that they are filled. This will provide a necessary structure in supporting the wood.
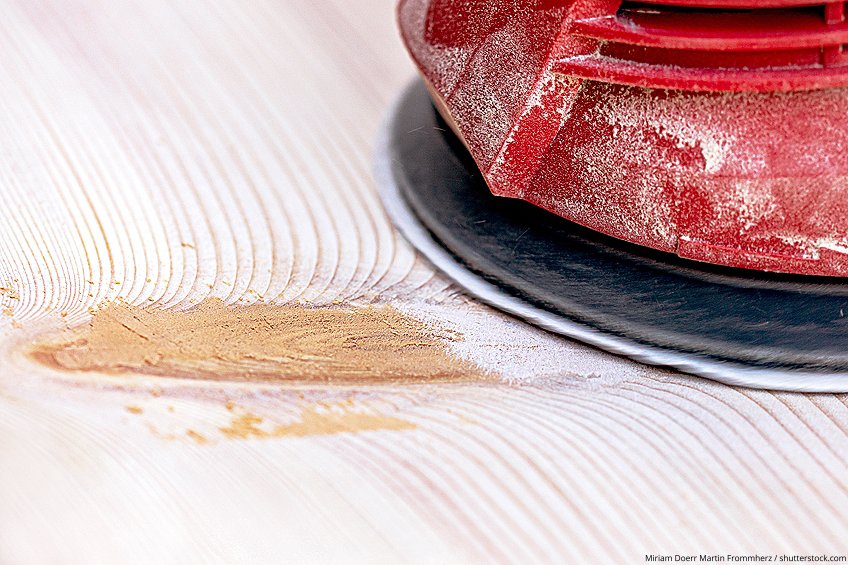
Finish the Wood
Before you start finishing the wood surface, ensure that the epoxy filler has cured completely. This depends on the brand you will be using and the manufacturer’s instructions. However, it is advisable to wait at least 24 hours before you start using the wood again. When it is completely cured, sand the surface down until it is smooth and even.
You can use your hand or opt for an electric sander. It is also possible to stain and paint the wood, as the wood filler acts like wood once it has dried. This means that you can drill, paint, and do all the things you normally would on normal wood.
Tips and Tricks for Using a Wood Epoxy Resin Filler
The following are some of the tips and tricks that you must remember when using epoxy wood filler. These helpful tips will make the process flow much easier without any complications or mistakes.
- Before you start mixing the two parts of epoxy, make sure that you are ready for the entire process. This is because there is a limited time before the epoxy dries. Only combine the mixture when you are completely ready to use the epoxy. You should also work faster once you have mixed it. Mix only the amount you want to use – not anything extra. If you have excess unused epoxy left, you can safely store it to use later.
- Some minor depressions may be left in the wood when the liquid wood filler has cured fully. You can use wood epoxy putty to fix this problem. Apply the exterior epoxy wood filler once more into the holes and cracks or any other part of the wood that might be exposed.
- Temperature determines the time needed for the epoxy to fully cure. It is advisable to work in warm temperatures for the best results. You can also apply heat to speed up the process a little bit.
- Epoxy is plastic-like, thus it will take longer to sand. It requires a gentle process of sanding that may require more sheets of sandpaper. So, you must be patient!
- You can either place a cover over the wood or opt to do the process indoors when the filler is curing. This is because dust or dirt can affect or stick to the wet epoxy.
- Remove rotten or decayed wood before you start working on this project. If the epoxy is too wet, it can crumble, and the gaps will have to be refilled again.
Frequently Asked Questions
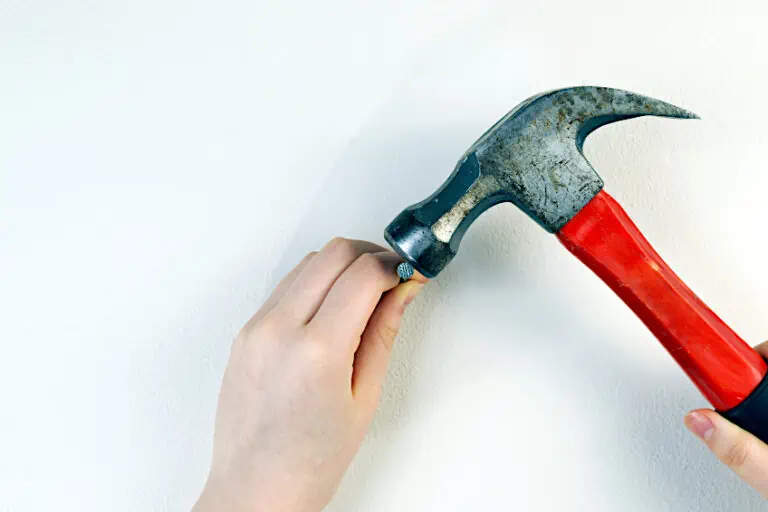
Is It Possible to Screw Into the Wood Filler?
Yes, it is quite possible. Epoxy wood filler is a little more like wood when it has cured. You can treat it like normal wood by drilling and adding screws.
Can Epoxy Wood Filler Be Categorized as Waterproof?
Yes, this is because epoxy wood filler has a waterproof and durable solution. You can use this filler in both indoor and outdoor conditions.
Is It Necessary to Prime Epoxy Wood Filler Before Painting?
Priming is an option, but it is not necessary. Priming will enhance the adhesion properties of the wood and the filler. So, priming might be a good idea to obtain the best results.
How Long Should You Leave Epoxy Wood Filler Before Sanding?
The approximate time is determined by the surrounding temperatures and the type of epoxy used. On average, epoxy takes at least 20-30 minutes to dry. It is advisable to leave it until it has fully cured before you begin sanding, which takes around 24 hours.

I have been into woodworking since 2005 and woodturning since 2011. Because of my love for wood and woodworking, I started woodhappen.com to teach other enthusiasts about how to finish and seal wood, the best woodworking tools, the different types of wood, and everything else related to woodworking! Read more about me here.