Can You Stain Over Stain – How to Refinish Wood
If you did not already know what staining your wood can do for your woodworking project, then you will by the end of this tutorial! Staining, or re-staining your wood can bring out the natural colors of the wood, and help show off the beautiful grains that the different trees create, and it can level your work up to a professional standard, with just one coat! The question today, however, is, can you stain over stains that are already on your wooden item? That is what we are here for today, to discuss how to stain over the stain, in detail. We will talk about what it means when one says they are “refinishing wood”, and the improvements staining over stain can bring. We shall include how to restrain wood and the best method behind applying a stain over polyurethane, as well as describe what a polyurethane stain is. If you want to enhance your wooden item where the stain has weathered slightly, or you would like to learn how to stain wood darker than the existing stain, then keep reading!
Table of Contents
Types of Wood Stain
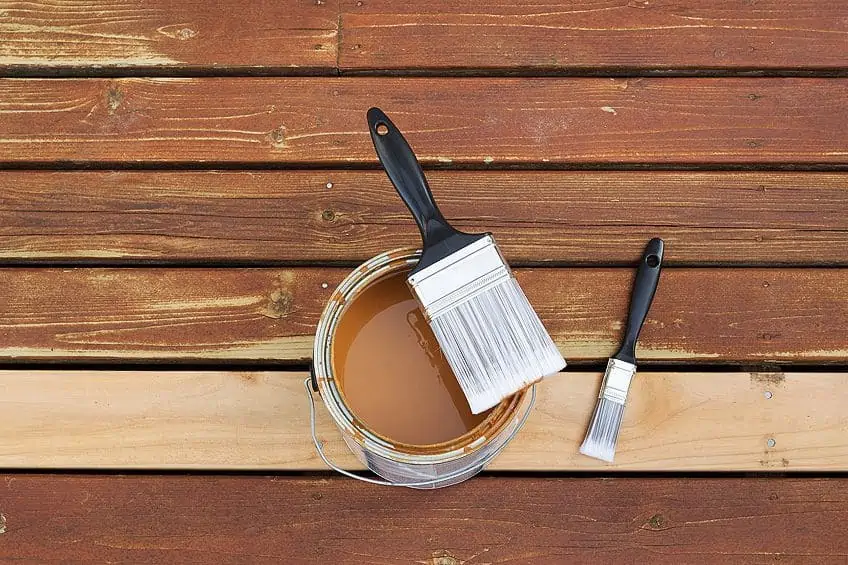
Can you stain over stain? Before we can address that, we must first understand what a stain is and what the different types of stains there are on the market. If you were to compare a piece of wood that has o stain on its surface, and another piece of wood that has been stained, you will see a massive difference in the color of each piece of wood. The stained wood will have a deeper hue, and the different grains will seem enhanced.
The surface of stained wood will also be smooth to the touch. Staining, or re-staining your wood brings life to the fibers and grain, it warms the appearance, and it also gives any woodworking project that extra professional touch. It is important to know the different types of stains so that you know which stains are compatible, which is important when learning how to stain over the stain. Here are a few examples of the different types of wood stains that you can choose from.
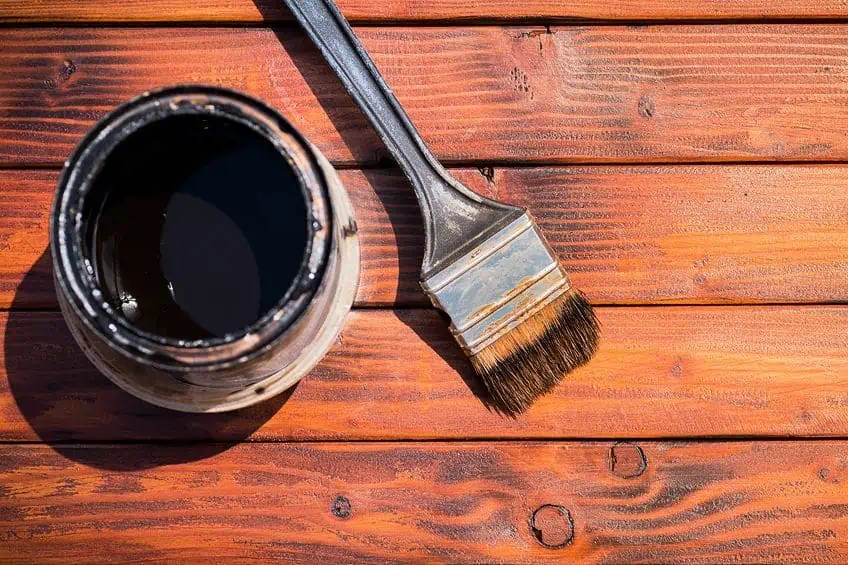
Oil-Based Wood Stain
Linseed oil is the main ingredient for oil-based wood stains. Even though the oils are natural, there are some manufacturers who like to add mineral spirits or thinners to the formulas so that it is a thinner consistency and easier to work with. That being said, it is the safer option to use for wooden tops, as other manufacturers add fewer chemicals, making it less toxic so food may be resent once it has dried and cured. If you wish to finish off with a finish coat, we recommend avoiding a water-based finish because we all know what happens when you mix water with oil, they do not mix.
Water-Based Wood Stain
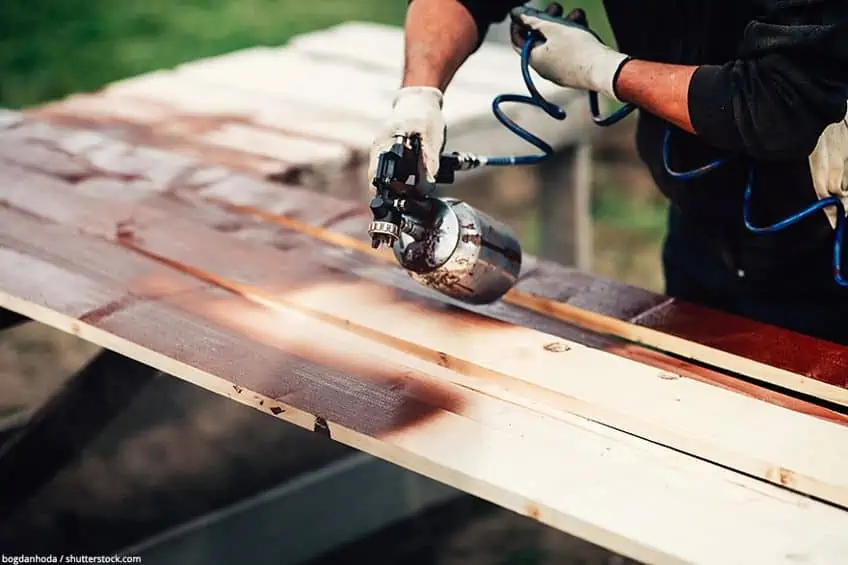
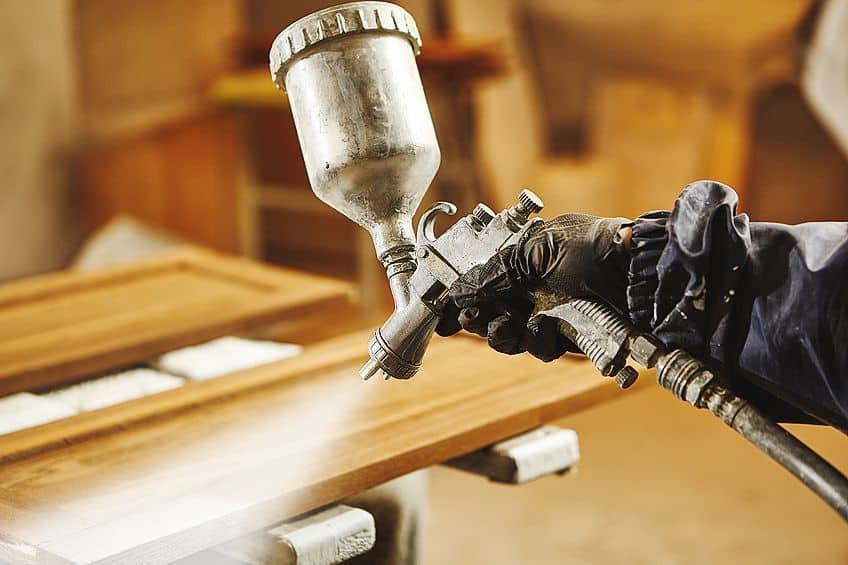
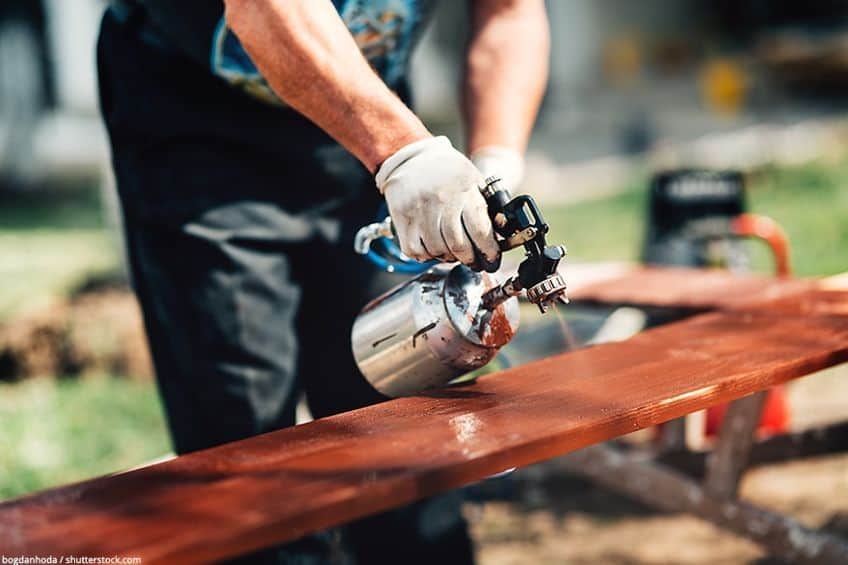
If you are a lover of the environment and your priorities are set toward saving it, then you will prefer to use a water-based wood stain. This is because there are little to no chemicals in this formula, so it is much kinder to our earth. Not only are they eco-friendly, but they are also much easier to work with, and they take far less time to dry in comparison to oil-based stains. This also makes it easier to apply with a spray canister, which helps take less time, and makes a smooth and even finish an easy thing to achieve.
Gel Wood Stain
A gel stain has a much thicker consistency than both the oil-satin and, of course, the water-based stains. They are much easier to apply because of their thick consistency, and they can also be applied to vertical surfaces, and they miraculously will not drip, so the appearance of your wooden piece will not be ruined by those dripping marks. If you want to learn how to stain your wood darker, we recommend using a gel stain, and they can also stain over polyurethane so it is handy that way too.
Varnish or Lacquers
Some people prefer to use a varnish to finish off their wooden item, or maybe even a coat of lacquer. Both of these products contain a certain amount of pigment in them, so they are like a sealer and a stain in one product.
Water-Soluble Dye Stain
If you use this type of stain, we recommend that you use a sealer over this, and a transparent one so that you do not deepen the color unwillingly. Water-soluble dye stain will dissolve when it comes in contact with water so it is not advisable for outdoor projects.
Refinishing Wood
Here is a table to help you understand what the various types of stains are good for, and how their appearance will affect your wooden item. This will help you to make a more informed decision for yourself.
| Oil stain | Must use a darker stain, and make sure you restrain with another oil-based stain |
| Water-based stain | Use a darker shade, and it can b used to retain over existing water-based stains |
| Gel stain | You can use a gel stain to stain over polyurethane coats, but make sure the shade is darker |
| Varnish | The first thing to do when staining over varnish is to remove the varnish with a stripper first |
| Lacquer | The first thing to do when staining over lacquer is to remove the lacquer first |
| Water-soluble stain | Make sure you use a darker shade if you are re-staining. |
If you want to refinish a piece of woodwork and you don’t know what type of finish is already on it, then the video below will show you how to identify the various types of finishes you can expect to encounter.
Different Types of Wood Stains
Now that you are aware of the different types of wood stains there are to choose from, you can start to learn how to restrain wood. If you originally used a polyurethane stain, you need to work out how to stain over polyurethane because not every stain will manage in retaining wood with that type of finish.
How to Stain Wood Darker
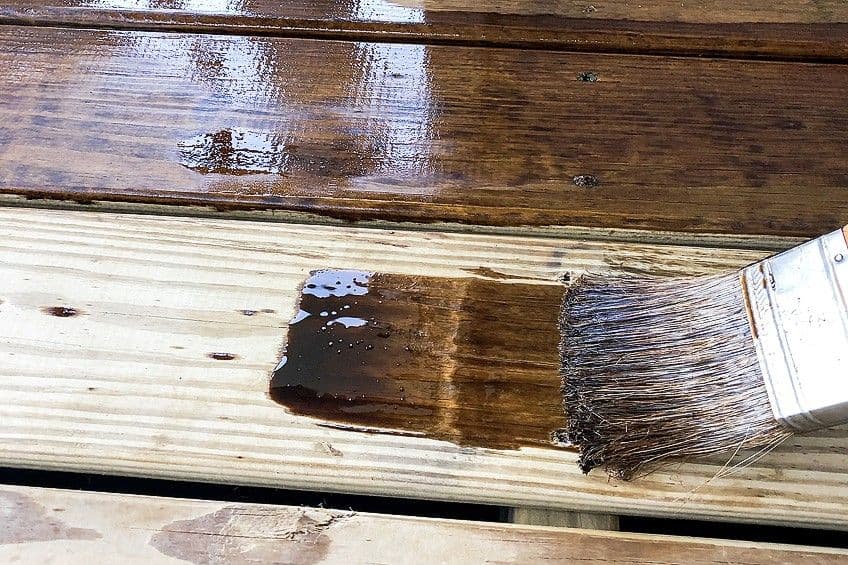
This is the part where we explain how to stain wood darker. Firstly, can you stain over stain? Yes, you can, but you need to make sure you have a stain that is compatible with the stain that is already on the wood. Be advised that the color of your stain will be influenced by both the already existing stain and the new stain you apply, but this is typically going to make it darker, which is what we are trying to achieve unless the stain you are applying over the original stain is so light in pigment that it is almost clear.
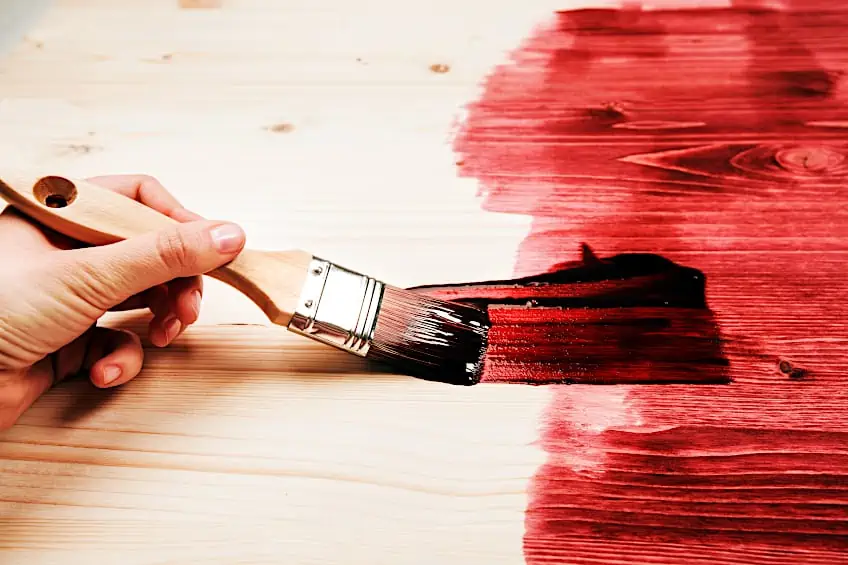
If you are staining over a stain that is a medium pigment, and your intention is to achieve a deeper tone, we recommend you use a stain that is darker than the original stain. You can even manipulate the color bias of the wood by adding a stain with a red tone – like Cherry – to give it a warmer effect.
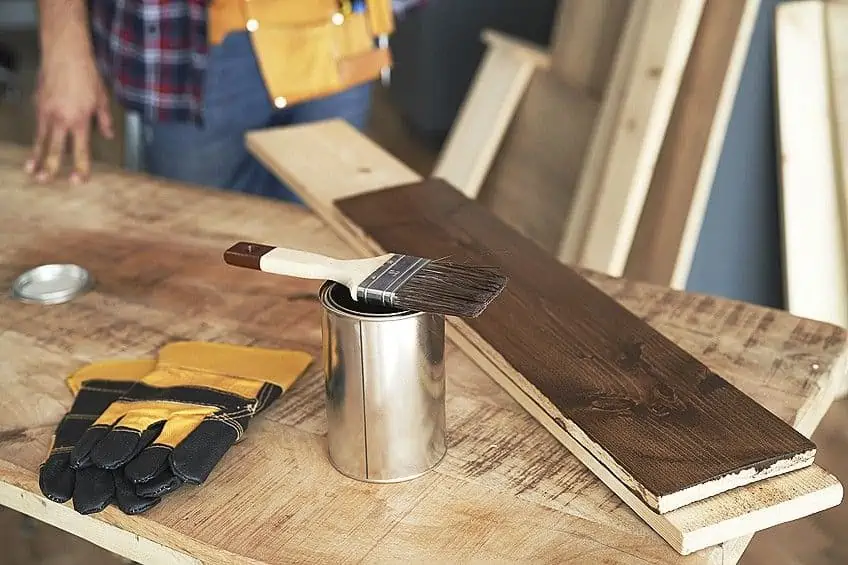
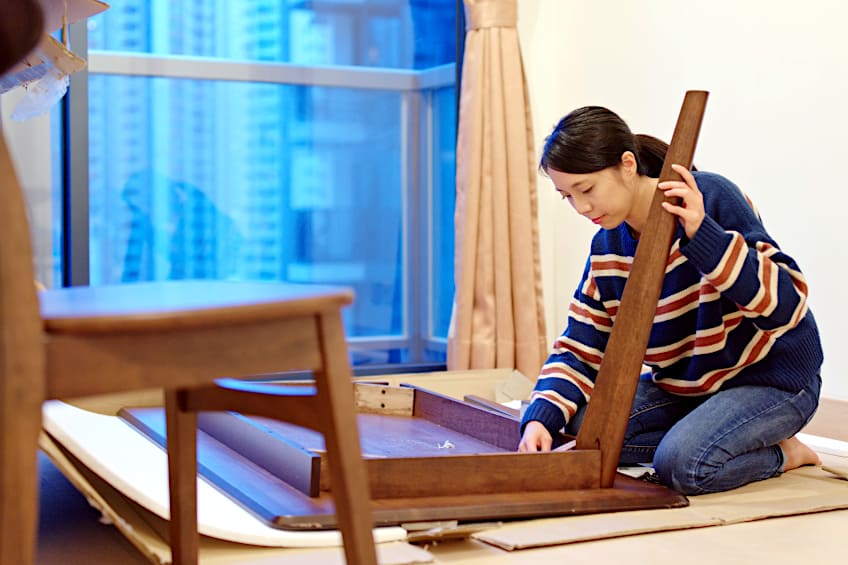
Disassembly and Preparation
Ideally, you want to do the job the right way, and this means that you need to take off any additional parts from your wooden item that you wish to stain. Any doorknobs on your doors, door knockers, handles on cupboards and cabinets, and the extra shelves inside, everything must come off so that you can easily apply the stain without having to maneuver around any obstacles.
Start preparing your workspace with a plastic tarp on the floor to protect the ground underneath. Make sure that your space has a roof if you are not working indoors. If you are indoors, make sure the windows are open and you have enough ventilation.
Staining Over Stain
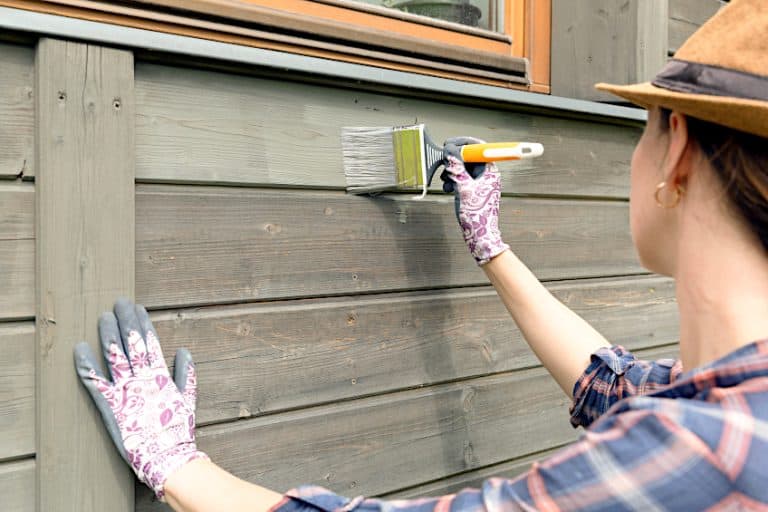
If you are here to learn how to re-stain wood then understand that your stain might not adhere very well if your original finish was a polyurethane coat. For this, you will need to apply a polyurethane stain. Otherwise, you will need to strip the stain before applying a new stain or sand it down for some extra grip. If the existing stain is an oil-based stain, you must make sure you have another oil-based stain or a gel stain to restrain the wood.
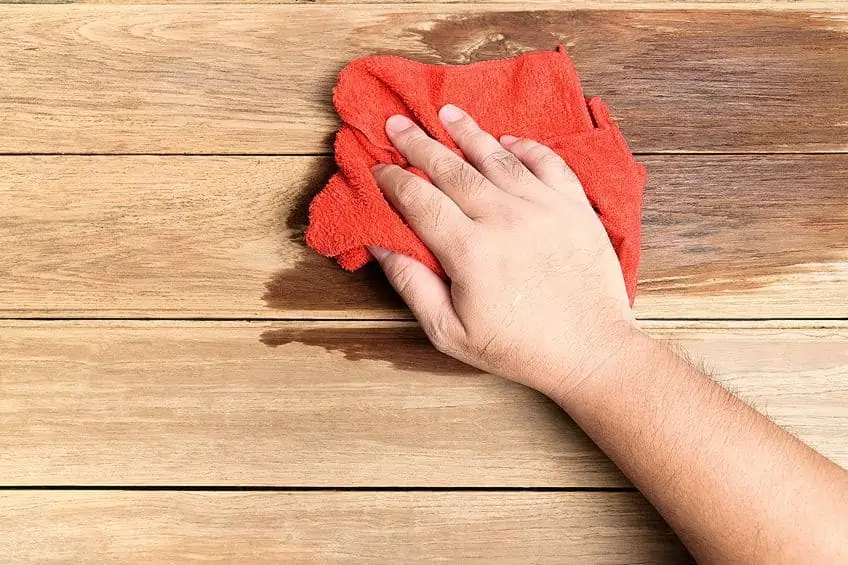
Use some TSP soap, or a specially designed degreasing sap to clean the surface before you apply the fresh stain. If there are any dust particles or grime on the surface, it will prevent the stain from sticking, or it will have a bumpy effect. You can also try sanding down the surface with a very light gritted sandpaper, this gives the surface a more textured feel which helps the stain adhere to the surface better. Again, make sure you clean off the sanding residue.
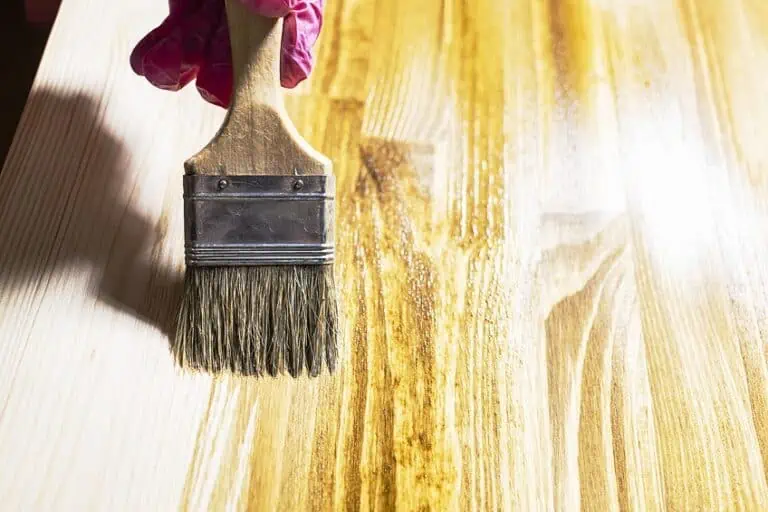
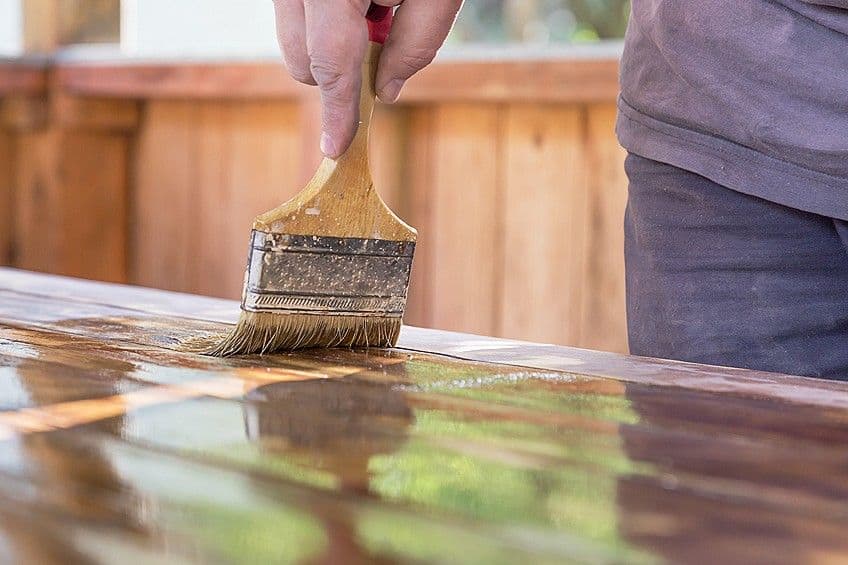
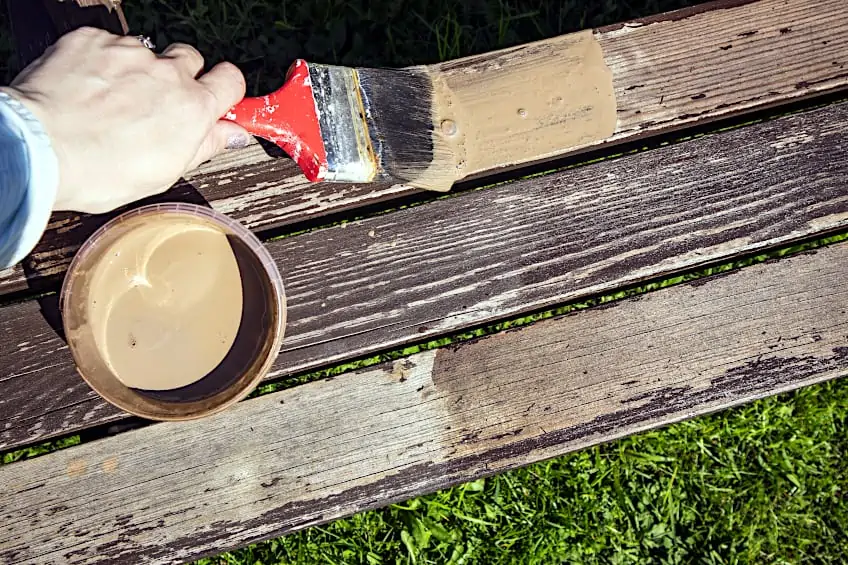
You can apply the stain using your preferred method, either by cloth or by spray mechanism. But, be generous with it because you can spread it around more. If you can find them, there are staining pads that you can use that will help with easier application and a smooth finish.
Adding a Toner and Topcoat
A toner in spray form can be a great way to deepen the color of your wooden item. Not only that but, the toner can also take away any unwanted yellow tinges, as well as green tinges. This can prevent you from having to add so many layers of stain that you can no longer see the actual wood. These topcoats and toners also help to prolong the longevity of your project because they add extra protection to the surface.
Reassemble and Enjoy
Now that the re-staining is complete, you must make sure that you have waited the right amount of time, stipulated by the manufacturers, for the stain to dry, as well as cure. You will find this stated on the label of the product packaging, you must just turn the bottle of the tub around to read the fine print. This is very important because if you start to rebuild the items that you took off in the second step, then you might ruin all your hard work. The drying and curing time can take anywhere from 10 hours to 24. Once it has cured, you can reattach all the pieces that you took off.

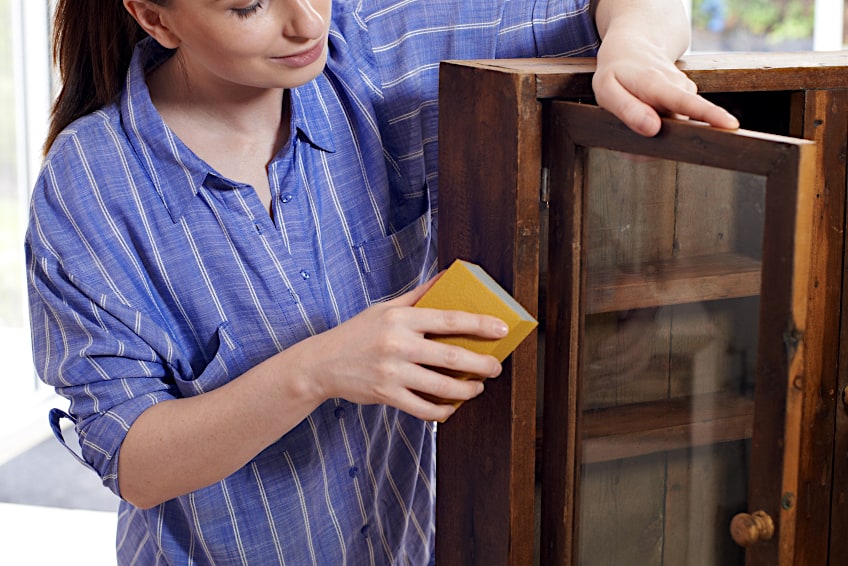
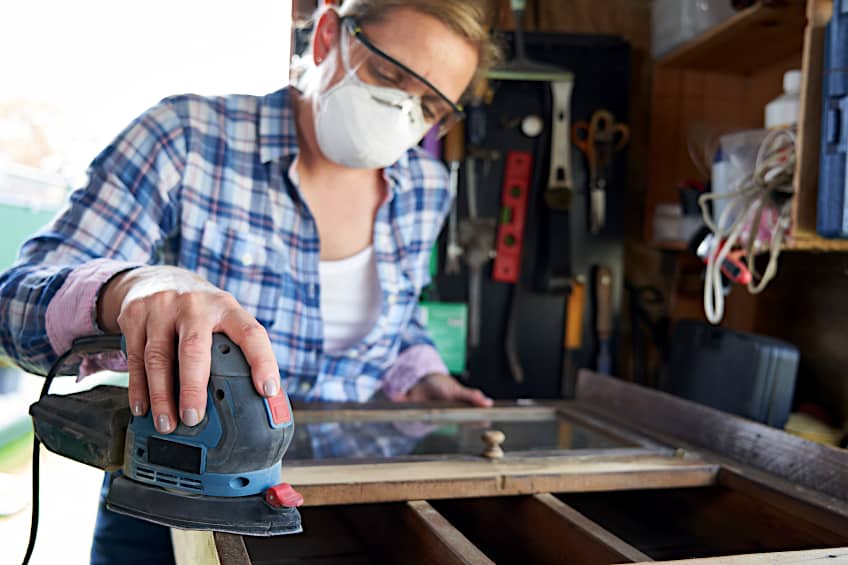
Sanding
If the topcoat of your wooden item has been weathered over time, you might need to sand it off, to smooth out any of the uneven or peeled-off bits. This might seem a tad laborious but you will appreciate the extra effort when you are done. You can use a piece of sandpaper that has a grit of 80, and run it over the surface to remove as much of the topcoat as possible. Once you have finished with that grit, you can increase it to a 200 or 220 grit, and then run that lightly over the surface as well. If you can, you can use a machine sander, known as an orbital sander.
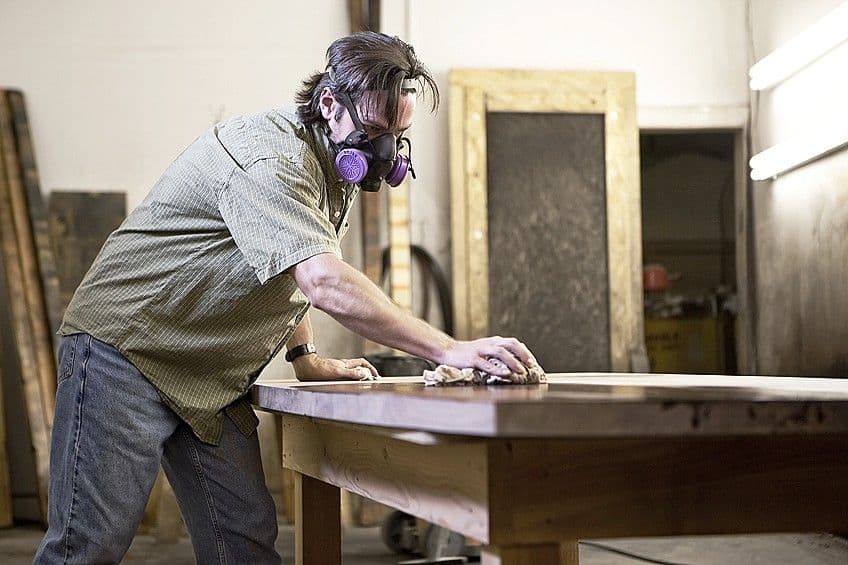
Chemical Stripper
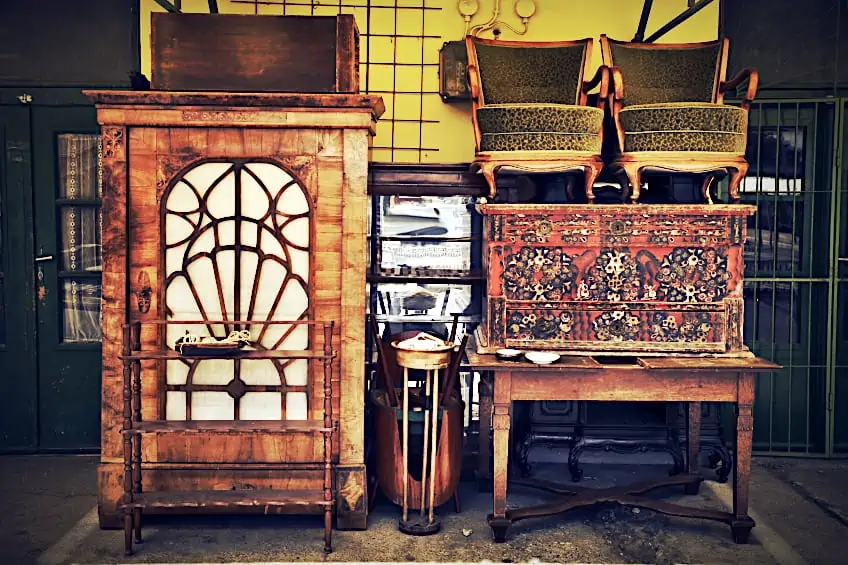
The topcoat on a car can sometimes be very thick and very difficult to remove with sandpaper. In order to remove paint and other coatings from wood, chemical strippers might be needed. Delicate pieces like your vintage furniture will appreciate the chemical stripper because the sandpaper might be too rough and cause damage that is irreparable. Make sure that you have the right amount of protective gear like a respiratory mask, an eye mask, and some gloves to protect the skin on your hands.
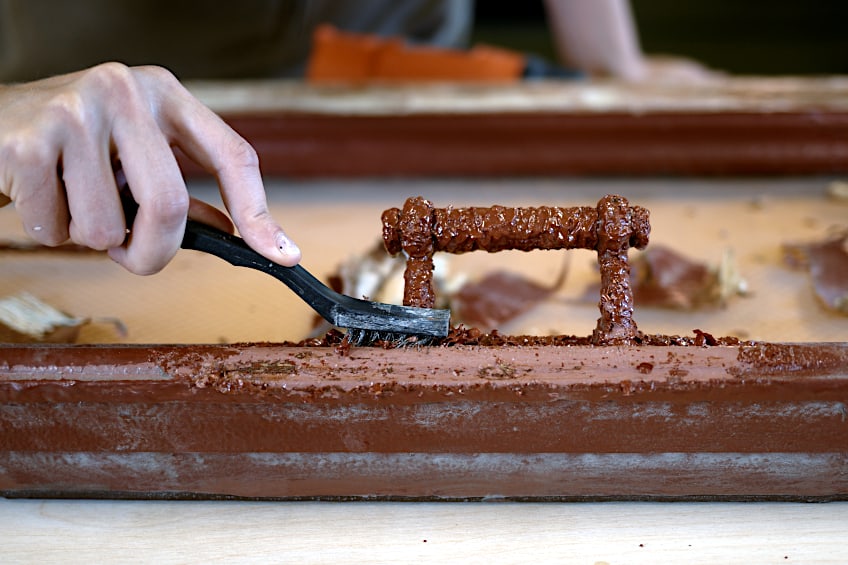
These products are great inventions, and if you are working with a deadline that is creeping in on you, you might want to use these for they work really fast in removing any topcoats. As soon as the topcoat is applied, the wood will begin to create bubbles and lift off from the surface of the wood. You can start scraping the parts that have been left with a palette knife or a paint scraper.

If you are having trouble removing the stain, you may need to reapply the stripper on stubborn areas. If you are unable to remove the stain using the stripper alone, we recommend using steel wool along with the stripper.
Once you have removed the wood stain from the wood surface, you will need to make sure that all traces of dust and dirt are gone from the wood surface. For this, you can use a cloth or a tack cloth. Then you can start to apply the wood stain with the above-mentioned methods.
Final Suggestions For Staining Over Stain
Staining over an existing stain is not something to be taken lightly because the results can turn out the furthest thing from what you expected if you take the wrong approach. Here are a few of our final suggestions to make the process so much easier, especially if you are a beginner.
- If you are trying to stain your wood a lighter color, you will need to strip the previous darker stain off before you can apply the lighter one because it will not be visible over the darker stain
- Before applying a wood stain test a small area. Choose an area of your project that is hidden. This will allow you to figure out whether or not the color you have chosen meets expectations
- Use a gel stain if you are staining over polyurethane. Polyurethane acts as a sealer so it makes the surface non-absorbent. A gel stain sits on the surface nicely
- Use lacquer as a finish after applying a stain. It provides a beautiful accentuation of the natural wood
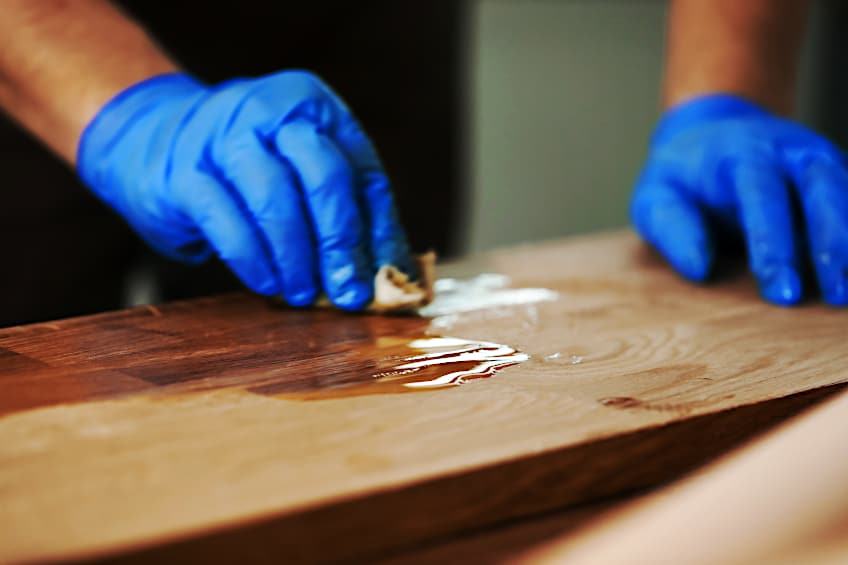
- Apply the stain liberally with a cloth. Use that same cloth to rub in the stain, almost like you would with polish
- You can darken the shade of the wooden item in question. Make sure you are using either a darker shade than the existing stain, or alternatively, apply multiple layers of the same color
We hope all our tips and recommendations have been stained into your mind forever, because it will be what makes your final result look and feel like a professional had done it. Good luck with your woodwork refinishing project!
Frequently Asked Questions
How do I Re-stain Wood?
First check to determine what the existing finish consists of. Varnish and wax are impenetrable coats that make the surface of the wood impervious to liquid. This means that you will not be able to stain over it, but you can strip it first in order to do so. If you want to re-stain wood that has a darker stain and you want a lighter stain, you must first remove the said stain, or you can use a darker stain over the lighter stain in order to darken the existing stain.
Can I Lighten an Existing Wood Stain?
If you want to lighten an existing stain, unfortunately, you are going to need to remove the existing stain chemically using a stripper product, or you could sand it off. Bleaching the darker stain might show off the wood highlights within the grain, but the topcoat will still need to be removed.
Can I Apply a Stain Over a Stain?
This is possible, but if you want the second stain to be visible over the first then you must make sure the second stain has a darker tinge so that it can be seen over the lighter first stain.
Can I Darken the Stain With More than One Stain?
If you add more than one coat of the stain it will be sure to darken the first layer. The more layers of the same stain that you add will help deepen’ the color, but there is a risk of hiding the natural look of the wood entirely underneath all of the stains.
Do I Need to Apply a Topcoat After Staining?
If you want your item to spend time outside and endure the weather conditions of the climate you live in, then a topcoat is necessary. It will help make your product resistant to liquid spills and rain.

I have been into woodworking since 2005 and woodturning since 2011. Because of my love for wood and woodworking, I started woodhappen.com to teach other enthusiasts about how to finish and seal wood, the best woodworking tools, the different types of wood, and everything else related to woodworking! Read more about me here.